nitro_rat
Lunchbox Lockers
Got an order from Rock Auto in today. Dorman front bump stops, front sway bar end links, and some Energy Suspension poly stops that were listed for the rear.
I didn't work on the back yet. The way the Energy Suspension rear stops were listed I wasn't sure if they were for the spring "traction bar" location or for the frame to axle position. The instructions were kind vague and mentioned requiring the installation of an "included washer" that wasn't included. They are too tall for the "traction bar" position. I may try to send them back.
On to the front. When you're at stock ride height and the rubber is missing from the bump stop, a few things happen. The most immediately noticeable thing is the hard bottom out on even "mild" hits. More concerning is what happens during that "hit."
The front bolt on each side that secures the bump stop hits the front shock mount/u-bolt area of the front axle and it deforms the head of the bolt. The bolt head becomes the new stop. Also the front sway bar end links over travel and in my case, both lower bushings were shot and on the passenger side the lower bolt was quite bent.
In order to remove the upper sway bar end link bolt on the passenger side, I had to remove the nut, push the bolt back until it hit the exhaust and cut it with a hack saw. It's a 10mm 10.9 bolt so it's quite hard and difficult to cut. I would recommend a power tool if you have access to one. If your truck doesn't have the V10 YMMV. Once the offending bolt is removed it is a simple matter to insert its replacement from the outside with the nut on the inside.
The difference in handling, NVH, and ride quality is astounding. The truck is very smooth and composed in my rough driveway which previously caused a bottom out at least once every time. Money well spent!
If you're keeping score, the tab at Rock Auto was about 88 bucks. I still need to decide if I'm going to use the poly stops for the rear. At this point I'm leaning towards keeping it all stock as it seems like it's working pretty well for me so far.
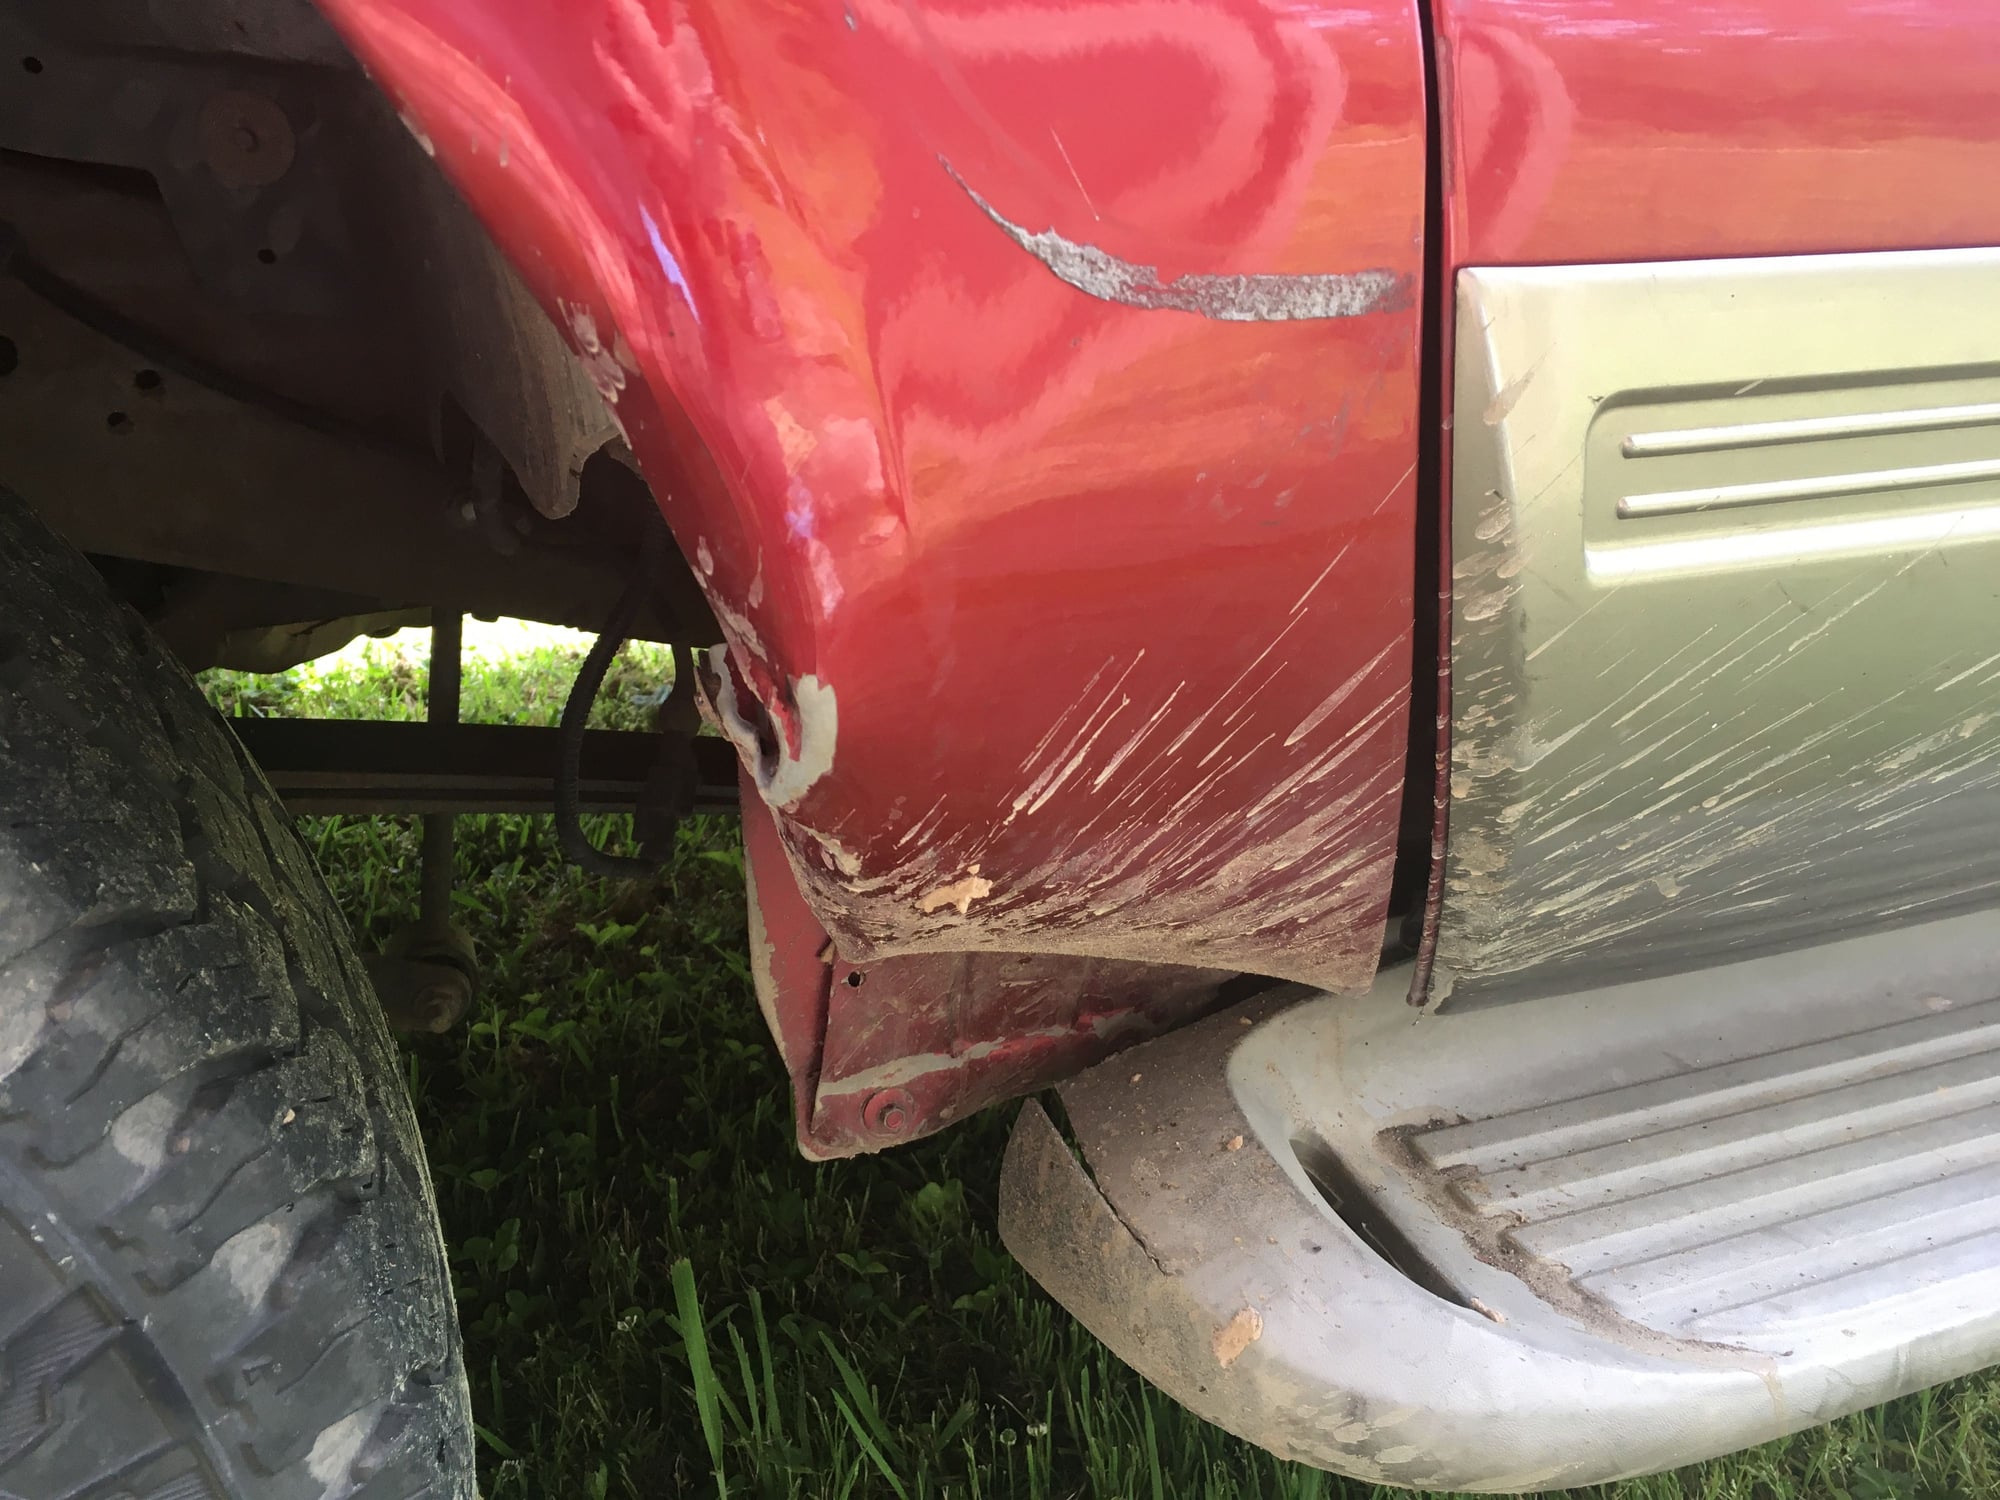
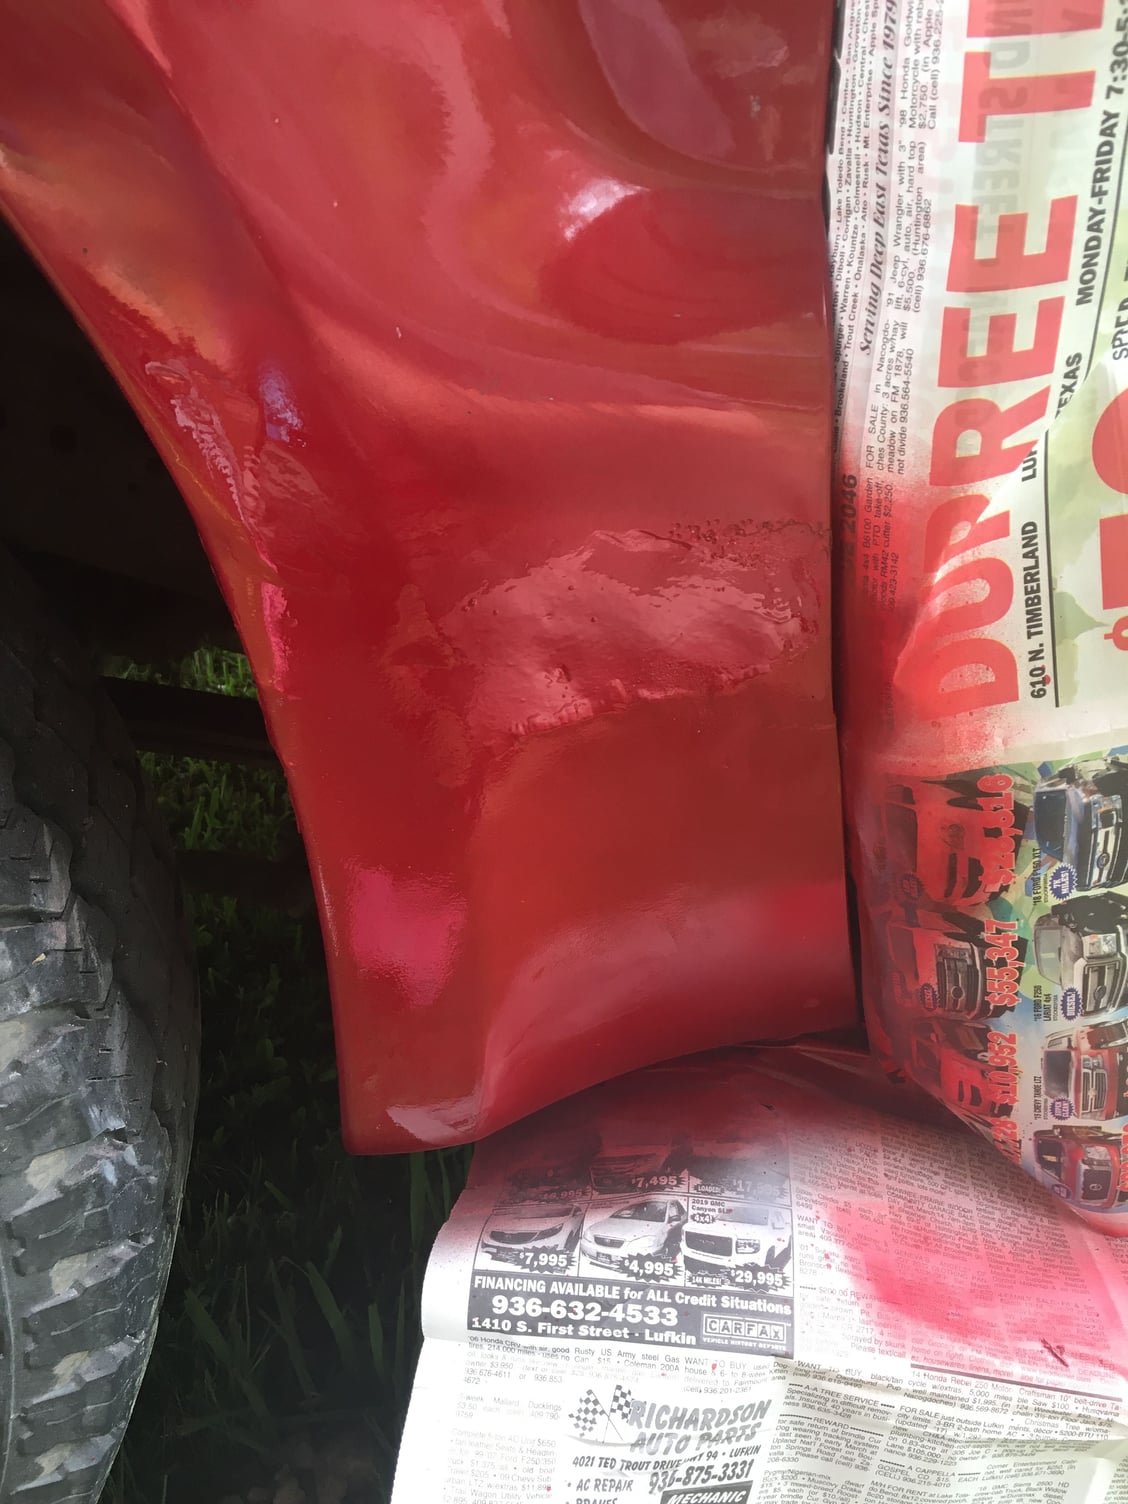
My trip to Colorado in February should reveal any weak spots, I'm thinking I'm going to want front and rear lockers and 4.56 gears to round out the package. I'll probably try to sort out some cosmetics before addressing the axles as they both seem to be in pretty good shape and not leaking at this point!
I didn't work on the back yet. The way the Energy Suspension rear stops were listed I wasn't sure if they were for the spring "traction bar" location or for the frame to axle position. The instructions were kind vague and mentioned requiring the installation of an "included washer" that wasn't included. They are too tall for the "traction bar" position. I may try to send them back.
On to the front. When you're at stock ride height and the rubber is missing from the bump stop, a few things happen. The most immediately noticeable thing is the hard bottom out on even "mild" hits. More concerning is what happens during that "hit."
The front bolt on each side that secures the bump stop hits the front shock mount/u-bolt area of the front axle and it deforms the head of the bolt. The bolt head becomes the new stop. Also the front sway bar end links over travel and in my case, both lower bushings were shot and on the passenger side the lower bolt was quite bent.
In order to remove the upper sway bar end link bolt on the passenger side, I had to remove the nut, push the bolt back until it hit the exhaust and cut it with a hack saw. It's a 10mm 10.9 bolt so it's quite hard and difficult to cut. I would recommend a power tool if you have access to one. If your truck doesn't have the V10 YMMV. Once the offending bolt is removed it is a simple matter to insert its replacement from the outside with the nut on the inside.
The difference in handling, NVH, and ride quality is astounding. The truck is very smooth and composed in my rough driveway which previously caused a bottom out at least once every time. Money well spent!
If you're keeping score, the tab at Rock Auto was about 88 bucks. I still need to decide if I'm going to use the poly stops for the rear. At this point I'm leaning towards keeping it all stock as it seems like it's working pretty well for me so far.
My trip to Colorado in February should reveal any weak spots, I'm thinking I'm going to want front and rear lockers and 4.56 gears to round out the package. I'll probably try to sort out some cosmetics before addressing the axles as they both seem to be in pretty good shape and not leaking at this point!