Idacamper2.0 Color change, please let me know your thoughts.

IdaSHO

IDACAMPER
Original paint is nothing more than a single stage alkyd (rustoleum) with a good amount of hardener, and thinned with Naptha.

Application was done using the "roll and tip" method. Rolled on with a foam roller, then "tipped" with a fine bristled brush to remove bubbles.

44142886161_0db7e048c3_o.jpg


Considering the age and use, it has done remarkably well. The substrate has a LOT to do with that however.
But the obvious (lack of) UV resistance of the paint itself is something I need to get ahead of.

Monstaliner is a considerably more robust product, and is claimed to be resistant UV
Its also textured, which will hide some of the not-so-perfect parts of the camper.
I think the think will look like a million bucks after this o_O
 

IdaSHO

IDACAMPER
No grumpy cat sticker, but it will have a few decals.
Most decals will be used as stencils during the paint/coating application.

I ave been working on my Monsta order today...

Looks like Ill need roughly 11 gallons

Im running with a 30-40 sqft of coverage per gallon….
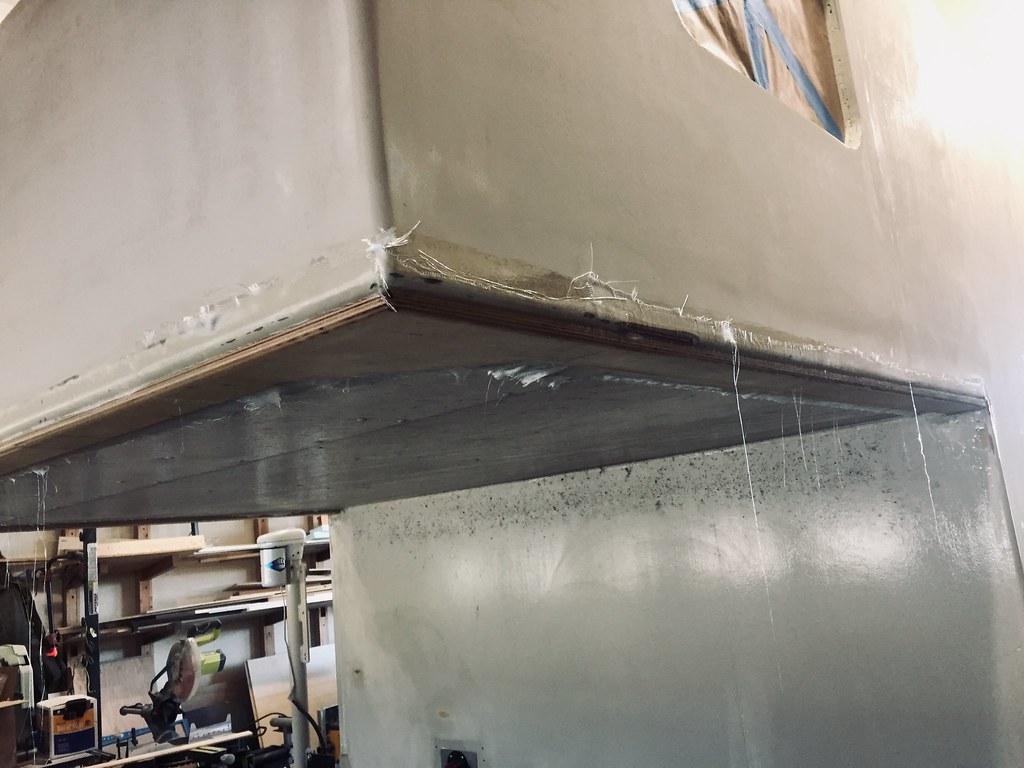
Camper is roughly 15 feet long, 7 feet wide, and 7 feet tall.

Not painting the roof with Monsta, nor the underbelly.
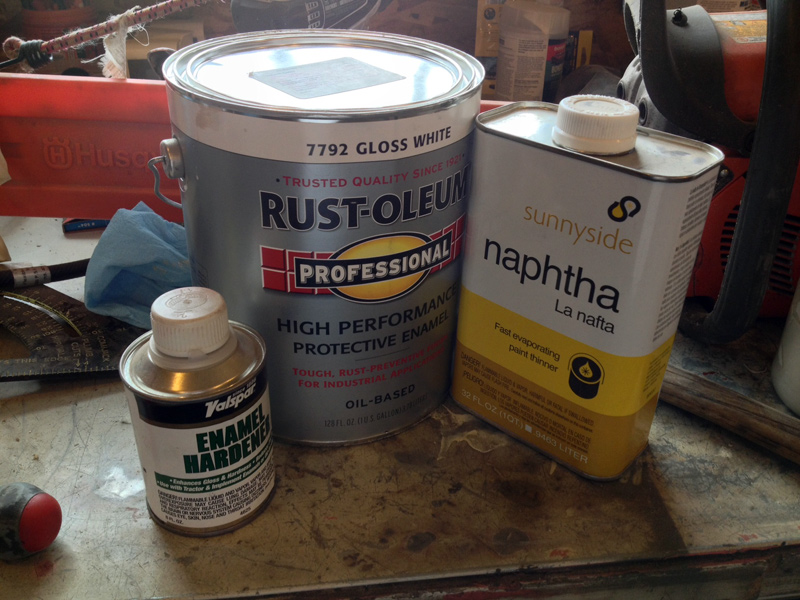
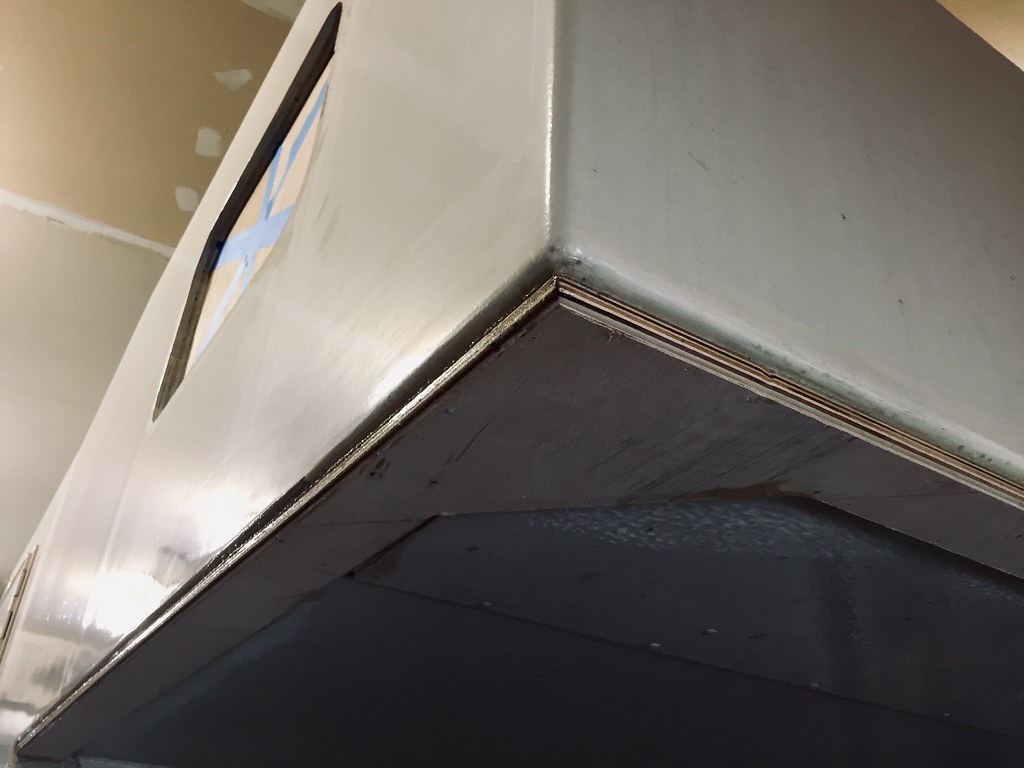
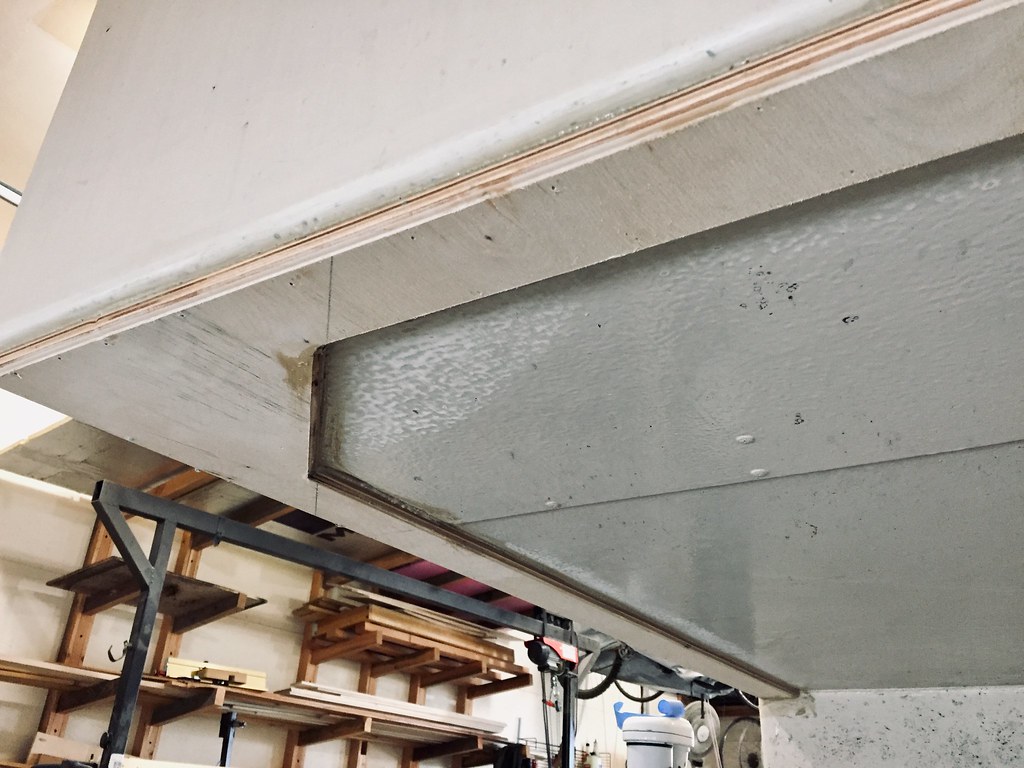
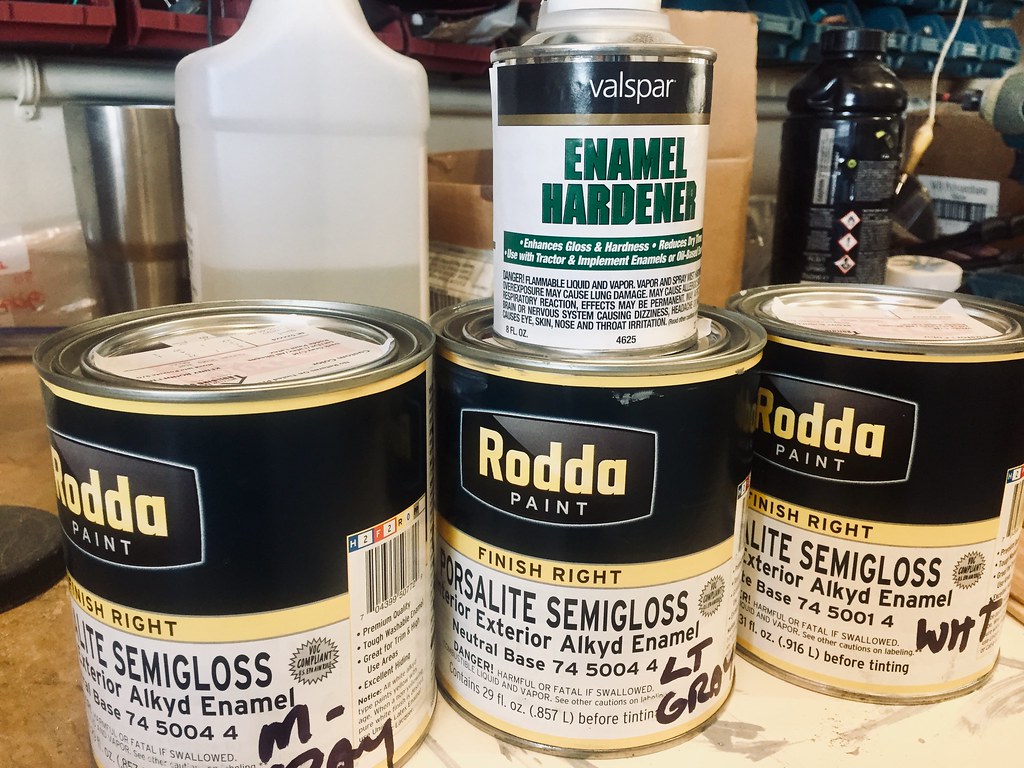
Underside of the cab-over and base layer for graphics will be Medium quartz gray.
Looking at 3 gallons of Medium Quarts Gray, 4 gallons of Nuclear Winter, and 4 gallons of light Quartz Gray.


49837820171_28796303ea_b.jpg


Graphics will be fun...

These will be used as templates for the sides...
49837862586_3be7843131_b.jpg


Ill mix these in on the sides as well...
49838164112_735e750d10_w.jpg


This will be used as a stencil as well, on the rear of the camper.
Its pretty big :)
49838164252_886f8c3979_b.jpg


Had to get a replacement DrWho Tardis decal.
Will be located in the same spot as before, rear passenger.
Also have a new IDACAMPER3.0 decal coming to go on rear drivers
Both will be BLUE
49838164002_c0b1a7d6f4_c.jpg


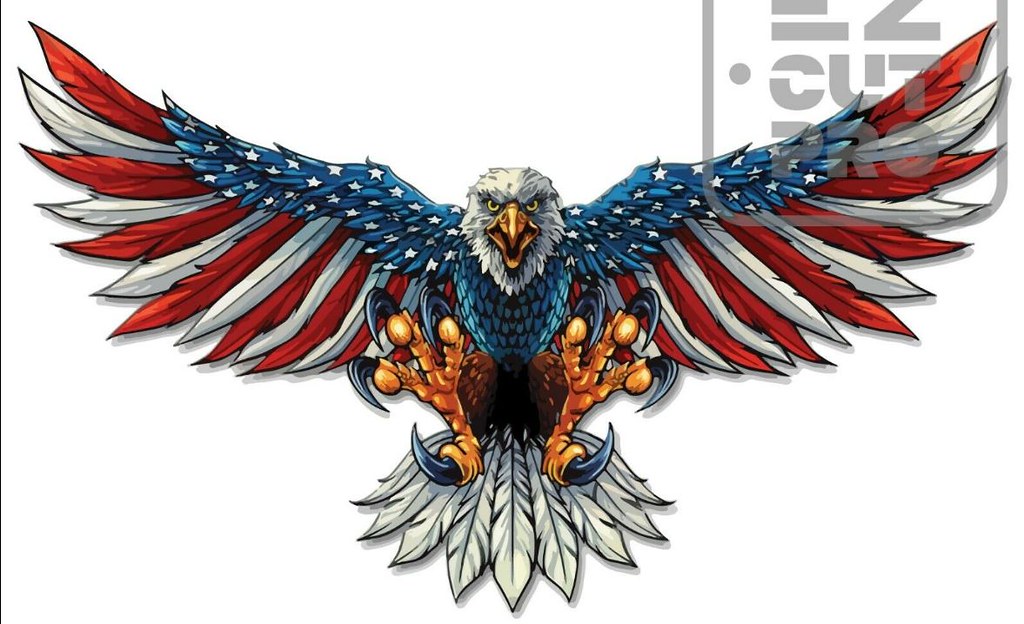
And finally, to top it off and add a bit of color, a big bald eagle to be placed on the very front.
49837317988_b22157648f_b.jpg


Also have a few more, safety related ones coming.
First Aid & Fire Ext on board, LP compartment designation, etc...
 

IdaSHO

IDACAMPER
Shenanigans continue...

Lots of sanding, and the occasional MEK wash....
Even sprung for some new goggles for this project! :eek:

49847653796_acc8edae7d_c.jpg


So... if you look closely here....
You can see an overlap joint on the underside of the cab-over.
This was quite literally the first joint I dealt with on the original build, and I fumbled it. That joint has bugged the hell out of me ever since...

49848000397_c2c75f933c_o.jpg


So I'm addressing it, best way I can, all the while closing the gap between the new truck bed and the camper. The results should be very nice.
The corners that once had stainless eye's will also be changed a bit, to accommodate hardware to bold the camper to the flatbed rack, to provide some additional strength to the over-cab rack.

I took some 1/2" baltic birch, and went to town. Sanded, router'ed, and bonded together with PL Premium and stainless brads. Once cured final sanding to give it its final shape, then epoxy and glass to finish it off.


49847128778_61da375b4c_b.jpg


49847662341_1a12a0c2fb_b.jpg


Generator vent hole closed up 100%

49847964537_cc0c877f9d_b.jpg


Entire underside to wall joints finished up, plenty of epoxy, and two layers of glass here. A bit more sanding and one more coat of epoxy needed here.

49838206313_87b98a95ea_b.jpg


And starting from the bottom and working my way up (electric jacks sure are helpful!) Ive started a complete sanding job. Flattening imperfections and deglossing the entire thing to prep for the new coating.

49847966592_c860167157_b.jpg
 

Chorky

Observer
with the designs this is going to look awesome! I thought you were just doing a flat color, no designs. Looking forward to seeing it.

Side question - curious if you've ever weighed your camper...
 

IdaSHO

IDACAMPER
Original plan was to stay simple.
Then the plans went out the window.... :ROFLMAO:

We are roughly 2200lbs dry.
Loaded and wet we are pushing 3000lbs (y)
 

Brewdiak

kodiak conversionator
Original plan was to stay simple.
Then the plans went out the window.... :ROFLMAO:

haha i laughed... i may have to put this quote on my truck! I don't even remember what my original plan was but I know it didn't involve what it has become!!!
 

BaseCamp

Observer
Are you planning on using wiretrim? Your design seems a bit detailed for monstaliner so I'll be interested to see how it goes
 

IdaSHO

IDACAMPER
No wire trim.

Ill be using the decals as stencils, and will live with the results, whatever they might be :oops:

Its all an experiment. But I am confident it will work decent.

The primary decals will be cut in half length wise prior to applying, so they are two-piece, an upper and a lower.

So, apply color for graphics (medium gray), let cure, then apply (now) 2-piece decals.
Mask lower, spray upper, then pull upper half of decal.

Then mask upper, spray lower, then pull the remaining decal.

In theory...... :LOL:
 

ExpoMike

Well-known member
You will want to pull your decals while the liner is still wet. Once dry, I doubt you will have any luck getting them off, let alone with any crisp lines.
 

IdaSHO

IDACAMPER
Last of the fiberglass down, but plenty more sanding and epoxy needed.

BTW, laying glass on gravity challenged surfaces is entertaining.....

49870822883_e9e746c440_b.jpg


49871351261_2334e5853c_b.jpg


And a vision of things to come.

I had 3 qts of enamel mixed to match the colors we are going with. This paint will be used for entry and compartment door jams, the camper jacks, and touch up down the road.

Here, after a sanding and a coat of Acid#9 primer, I applied a bit of the light gray (with hardener) to the stainless vents. The round vent will be for the new range hood vent, and oval will be for the new AC vent.

Paint was applied with a foam brush, then dabbed for texture to (more) closely resemble that of the actual coating.

The large rectangular vent shown (still in acid#9 primer) is for the side "wet" good compartment. It will be painted white.

49871663387_52a65d422b_b.jpg


49871663187_233022f3cb_b.jpg


49871351421_a92d77a637_b.jpg


Finally, a bit of work to use an old Schutz gun I have.
This is from a few of the Raptor liner projects Ive had, and I will use it for the Monstaliner.
Although as many have found, empty bottles are impossible to find, and the threads are some European spec thread, so no bottles seem to fit it.

1-1/4" NTP with a bit of work is close enough, so I have adapted the gun to take standard juice bottles as application bottles using the bottle cap and a 1-1/4" PVC pipe plug.
The plastic was sanded, glued with sika 252, and pop-riveted together. Only thing left is to extend the dip tube to fit the new bottles.

I much prefer clear bottles anyhow, so it is easy to verify the bottles are fully cleaned out after each use.

49871350476_ca0e959aa5_b.jpg


49871348076_0dba78d083_b.jpg


49870819783_5e4f42305b_b.jpg
 

Forum statistics

Threads
185,830
Messages
2,878,685
Members
225,393
Latest member
jgrillz94
Top