Los Angeles -Class Attack Sub(urban), Build / Collected Werks topic - '02 k1500 Z71

rayra

Expedition Leader
Thank you for the suggestions, I will look into them. Especially the Burbank area, I'm down there every couple months.

eta

Almost done with the metal framing studs for supporting the grills. Intend to finish the wiring / switch / plug install by the weekend, as well as reworking the brackets on the cantilevered pergola braces. Expect to be cutting stone this weekend to fit around the grills. Heat was brutal the last two days.

grillcounter166.jpg


CAD / Cardboard Aided Design

grillcounter168.jpg
grillcounter169.jpg
 
Last edited:

rayra

Expedition Leader
Thx. Stole the acronym from someone here, might have been pappawheely, it's very amusing.
I and my electrician neighbor both happened to be up very early today, so we got the wiring mods / extension done before the mercury topped 90F. Have a two-gang weather enclosure covering a Decor-style dual outlet and a Decor-style light switch with LED-compatible dimmer slider. I put '60W' LED frosted vanity round bulbs inside the 'Arts & Crafts' porch lights that I faked up. Tonight will be first dimmer test.
Finishing the steel framing this evening, hopefully. Then I can put the grills in and get busy shaping the stone remnants.

An early shot of the lamps at night, and the stone template laying on the kitchen counter, I'll be using remnants of that same stone for the grill counter. We (I) did the kitchen remodel ~6yrs ago. All BUT the stone, ironically.

grillcounter156.jpg
grillcounter170.jpg
 
Last edited:

rayra

Expedition Leader
Two steps forward, one step back with this thing. Probably going to have to re-make the crossbraces. Several small things wrong or not quite optimum, but they add up to some doubt about putting 190-lbs of cantilevered 2x6x10' purlins 8' in the air, with our high seasonal winds.
Was hoping to start cutting the counter stone this weekend, but looks like I'll be remaking the cross braces instead and finishing the shade portion next instead.


grillcounter185.jpg


There's just under 14" of counter space at the narrowest point between the grills. The desire to increase that space came after I set the big posts in the group. Oops. Another 'changing plan as you go' mistake

grillcounter186.jpg


There'll be a square foot of stone beyond the stainless shelf / 5th burner.

grillcounter187.jpg


grillcounter188.jpg
 

rayra

Expedition Leader
Still need to make some slatted end panels for the counter, and then shift into tile saws / stone cutting mode.

grillcounter213.jpg
grillcounter214.jpg
grillcounter215.jpg
 

rayra

Expedition Leader
Got some slat framing started on both ends of the counter, cutting the rest of the wood and fence planks I had on hand. Still need three more fence planks.
Then I started taking down my tile saws in prep for stone cutting and I managed to snap off the cheap plastic elbow that feeds water into the blade of the bridge saw. Very annoying. Then I remembered I wanted to make a small wood base for the propane tank to sit on and while trimming that up and thinking how I was going to fix the broken water fitting ... I stuck my left index finger tip in the table saw blade. Chewed up a chunk the size of a No.2 pencil eraser. Bandaged up like a cartoon, throbbing like hell.
Yet I’m still screwing around setting up the tub saw, determined to cut the 12x11 stone piece.


eta

the stone cut like butter on the bridge saw. I expect likewise on the upcutting table. I'll probably have to thoroughly tape the surface to fight crumbling at the cut, on that saw. or try to cut it upside down. Will try cutting the rest tomorrow.

After I cut the small rectangle I knocked its sharp top edges down with a hard rubber sanding block and some 150grit paper. Once all the pieces are cut I will probably do some extensive sanding efforts to smooth and polish the edge faces and bevel the sharp edges. Especially as so much of the edge faces are visible in this design.
And then slather them with stone counter polish / treatment to enrich their color and stain-proof them as much as possible.

The slats on the end faces of the counter have top and bottom horizontal frames just like the door panels and recapitulate the ventilation gaps across the very top, at the counter top wood trim.

grillcounter223.jpg
grillcounter224.jpg
grillcounter225.jpg
grillcounter226.jpg
grillcounter227.jpg
 

rayra

Expedition Leader
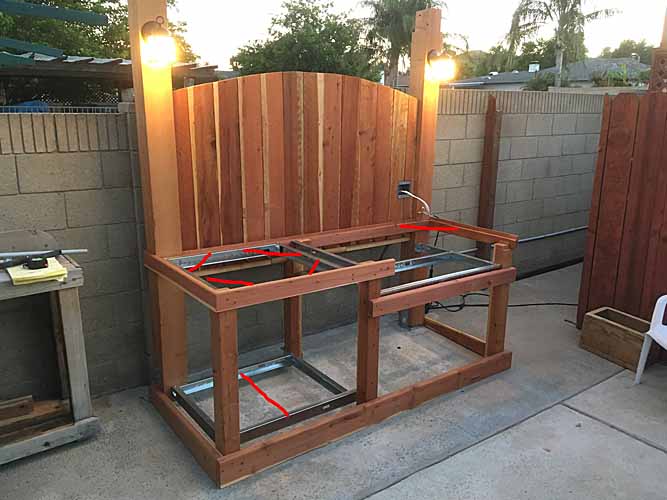
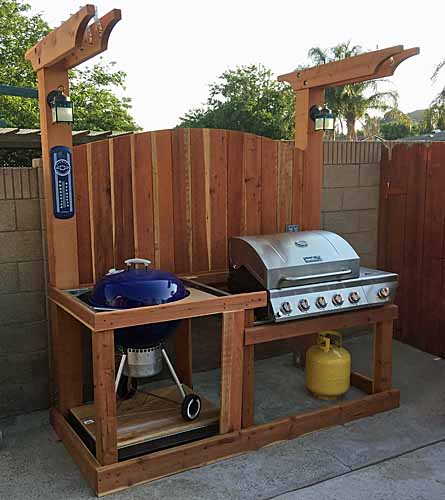
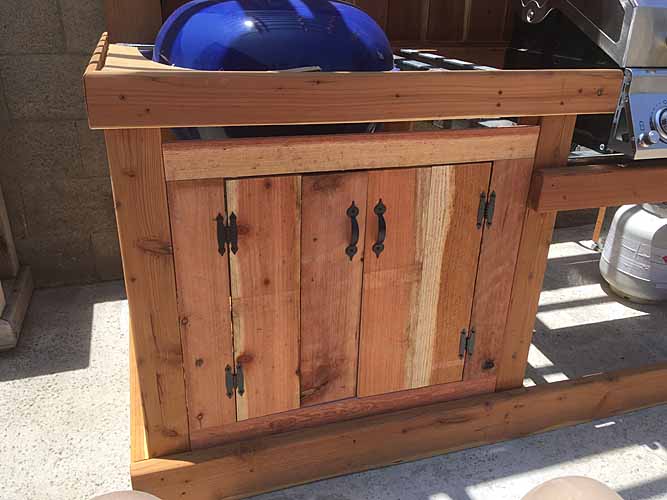
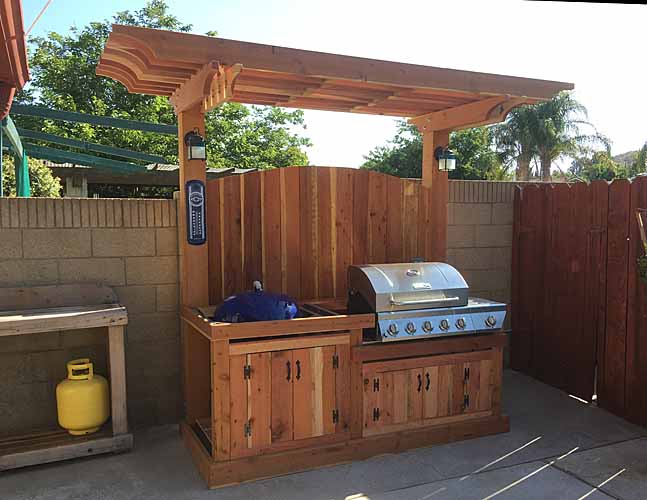
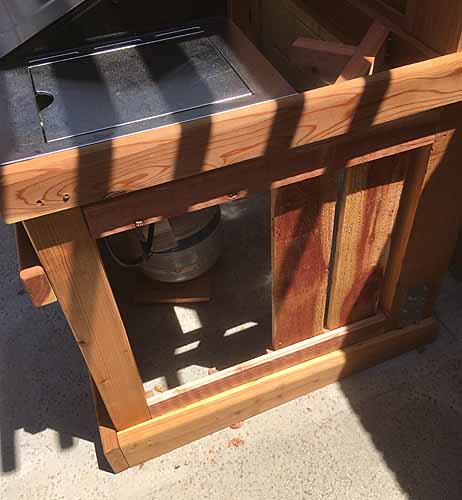
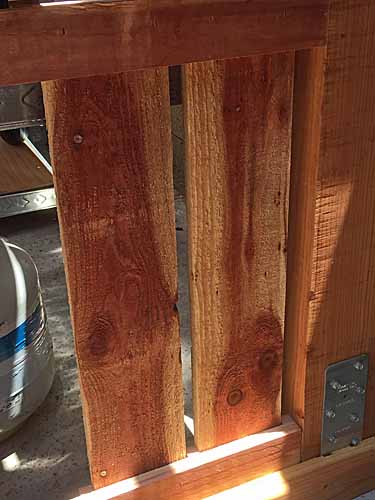
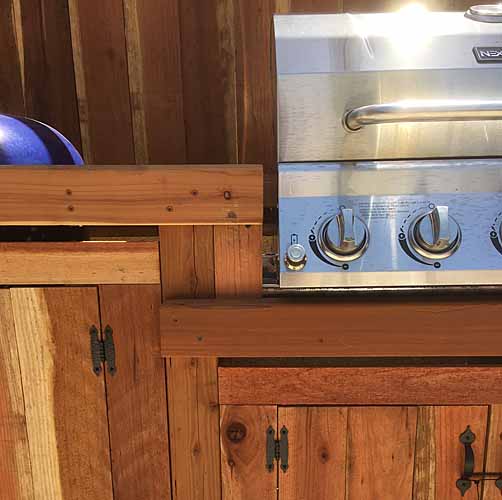
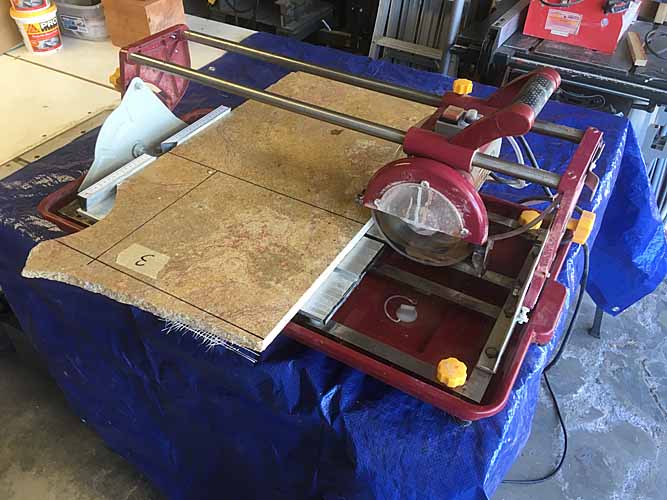
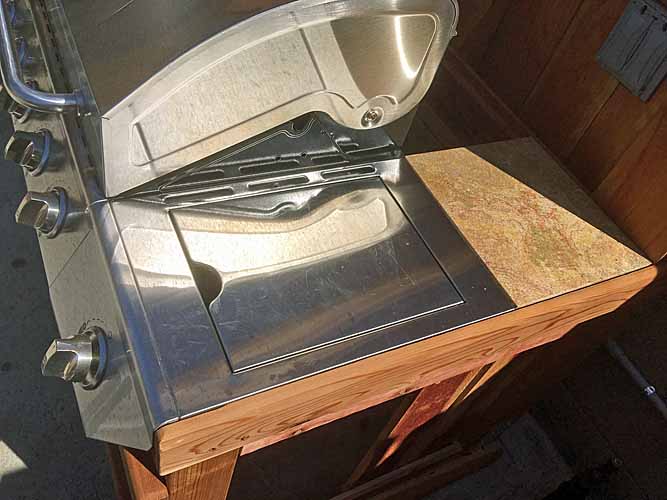
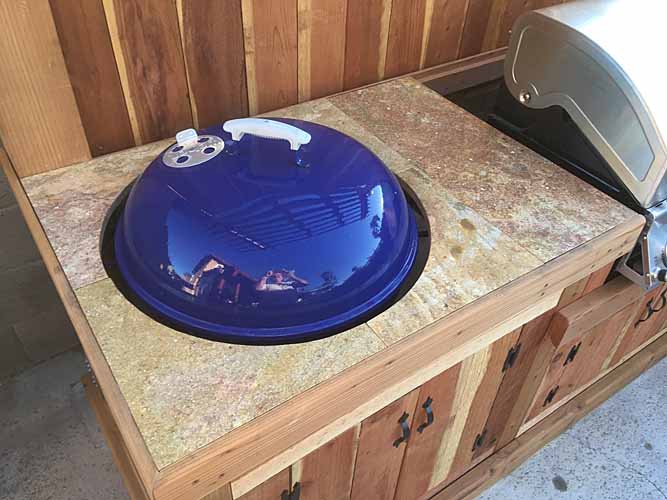
Dressed the last three stone pieces and polished them up today. All that's left is finding some hardware to hang the grill tools and Weber lid from. Other than that it's pretty much finished.
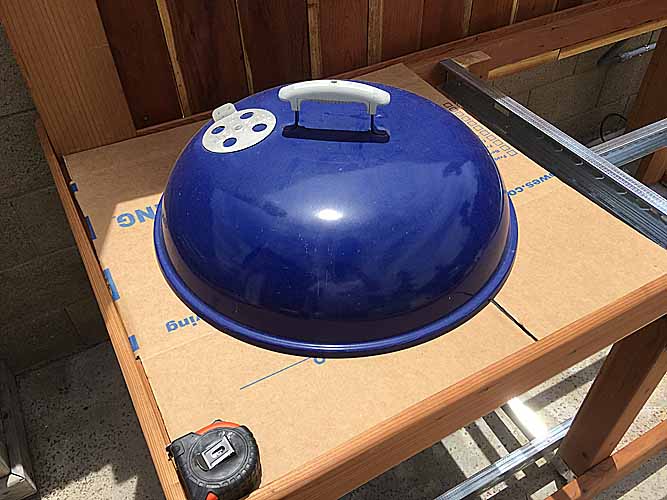
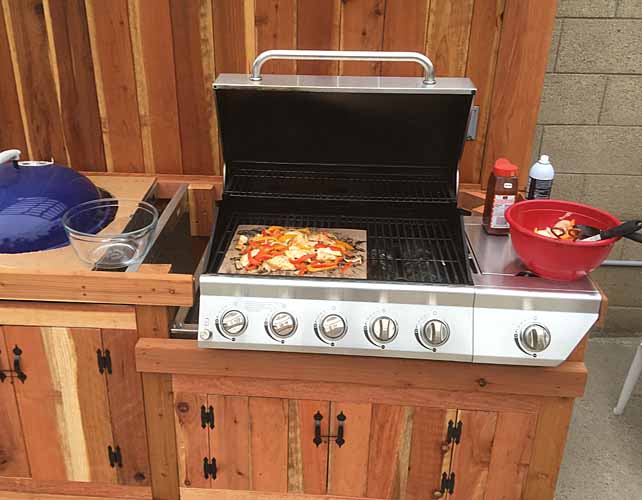
Found a shiny new grill grate for the Weber on Amazon for $17.
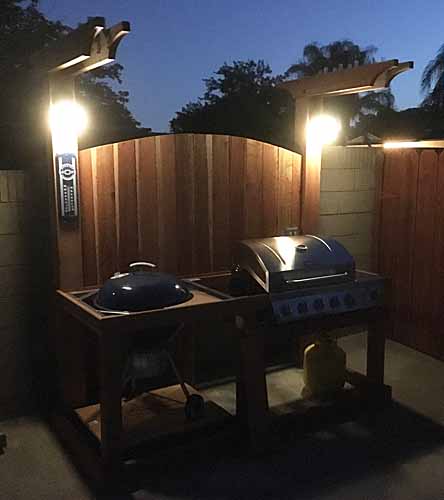
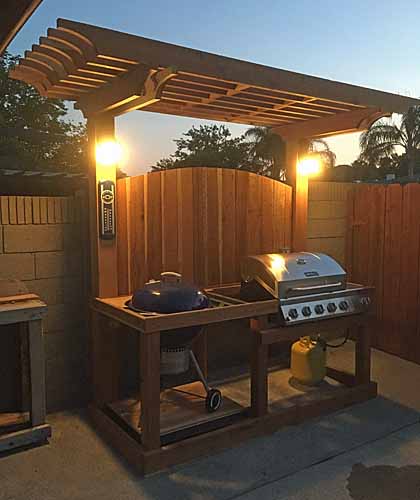
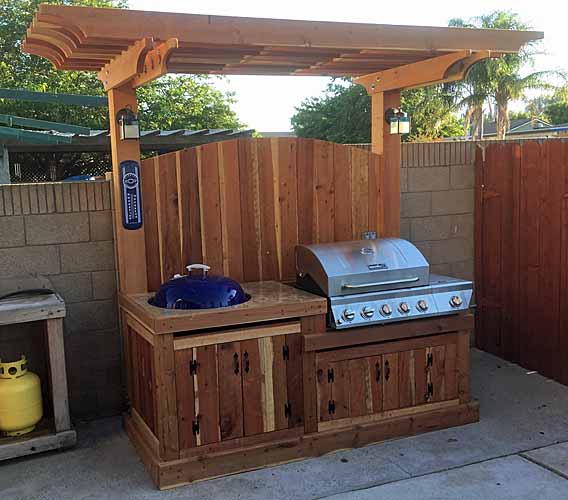
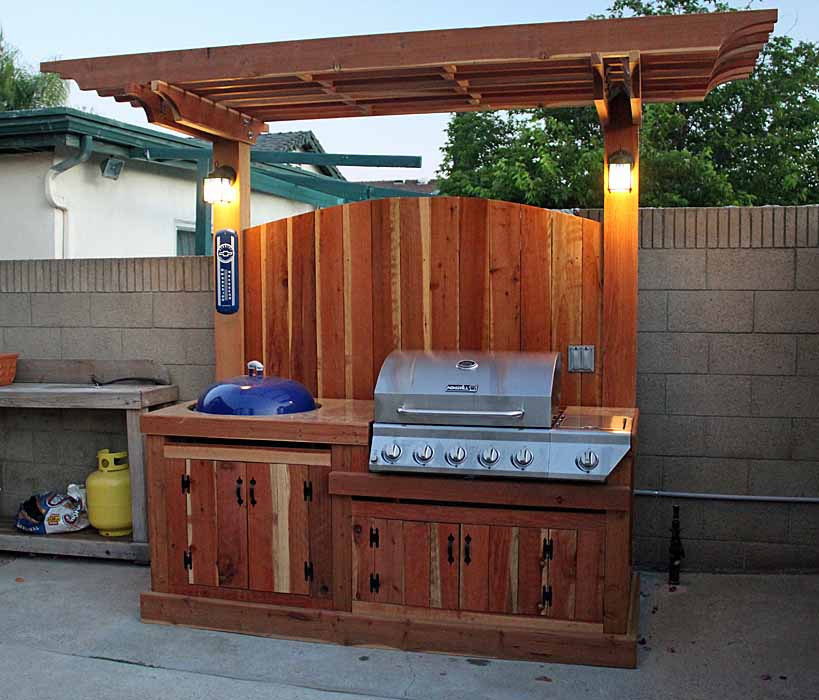
Waiting to take a twilight 'beauty' shot now.

grillcounter255.jpg
grillcounter256.jpg
grillcounter257.jpg


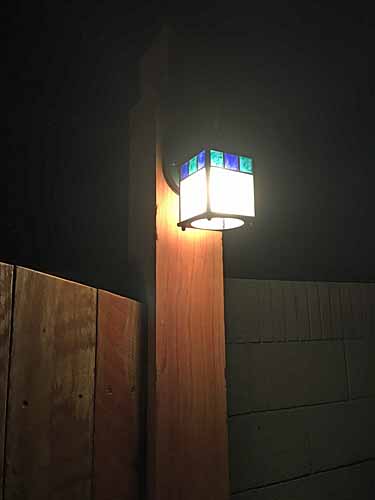
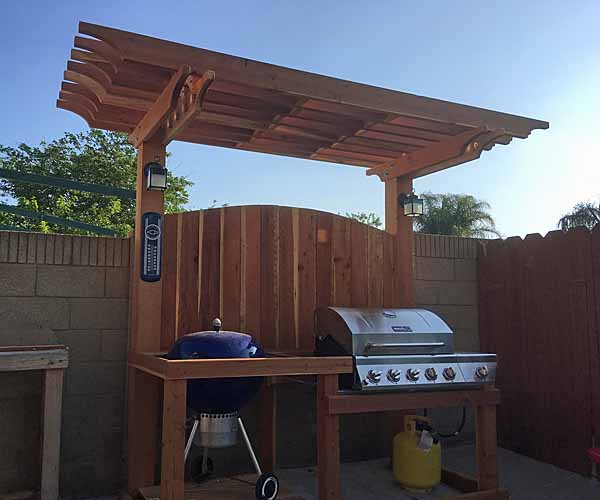
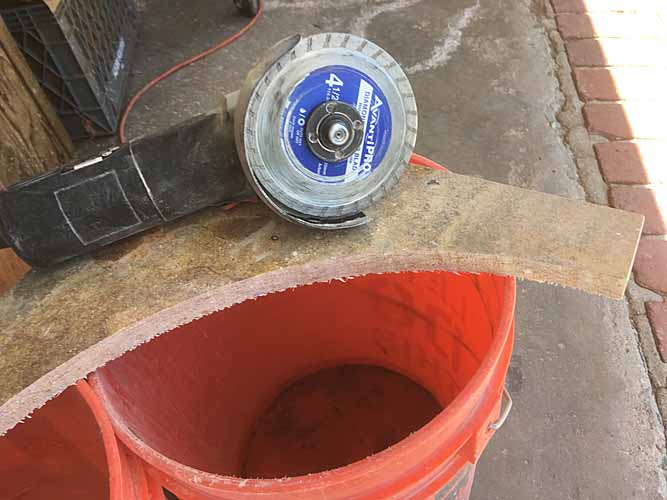
Material costs were about $1100, not counting existing grills and remnant stone slabs. Includes about $200 for electrical extension, conduit, weather housing with Decor plug and LED dimmer slider switch, cheap porch lamps and craft 'stained glass' paints to plus them up and 500lumen LED vanity bulbs. Lots of pricey redwood. Pro tip - the local 'pro lumber yard' wanted $400 EACH for 6x6x8' clear redwood posts / beams. I got this pair from Home Depot for $50ea.

I should have built it years ago so I could enjoy it. Our current plan is to sell this house and get out of CA in the next 12-16mos.

This weekend I get started on sanding / refinishing the back yard benches and pool cover cover. Using a redwood-tinted version of the sealer I used on the grill counter. Hope to get most of that done before the 4th, too.


eta Big Finish!

grillcounter260 finale.jpg


---

In actual ON-topic news, I'm fishing around for a local / regional supplier of 'King Star Board' in black, it's basically a 1/4" or 1/2" thick 4'x8' sheet of HDPE. As replacement / upgrade for my roof deck on the Sub. Call it the MkIII iteration. The 'nice' birch plywood I used for MkII is delaminating at the ends pretty badly. It might be car wash brush abuse. I sealed and over-primed and painted those edges as best I could, yet they still came apart. But the edges facing the side rails are not. The back middle edges are peeling back so bad it looks like some sort of shelf mushroom.
So deck replacement and routing rooftop solar wiring thru the rack footing have moved to the top of the list.

And I've STILL got some sort of shifting movement noise in the front end somewhere, when coming to a stop and when I start movign again. I've changed ALL the steering and suspension parts over the last year. Got some noise from my brake calipers so will be disassembling those to clean and re-grease and put some of that blue silicone goop on the back of the pads. And new engine and trans mounts are high on the list. AND I have 4 new u-joints laying around waiting. I also need to make a close inspection of my idler arm mount. I'm afraid it might be cracked. Or something is cracked somewhere in the front end. Too many washboarded roads, late in its life-cycle, maybe. The front end noises started at about the time the radiator top mount bracket cracked the tank, too. I've been hoping the pre-planned front suspension refresh would do away with the noise. Ride's swell now, but still with the damned noise / feel of something busted when stopping / starting.
 
Last edited:

rayra

Expedition Leader
Still bogged down with woodworking and earthquake after effects, but took the short time needed to swap in some nice clear new headlights / signal lights. $80 for the set of Amazon, Hecho en Taiwan. They fit ok and look real good. Swapped them in twilight yesterday and got them roughly aimed, need to drive it after dark and fin tune where they are aiming. Came with unbranded hi- and low bulbs in the headlights. I'd recently installed some Sylvania 'Silver' factory+ bulbs to overcome my worsening original light housings, so I went ahead and swapped those bulbs into the new housings. Was gearing up to polish the haze out of them for the third time in four years and said f it and bought replacements.

subheadlightsreplace01.jpg

subheadlightsreplace02.jpg


Other half of the project was a bust. My driver window quit working again, 3rd? 4th? time. I've replaced everything except the switch and I've taken that apart to clean contacts once already. Had replaced the window motor with a Chinese Dorman-branding POS. So pulled the door interior apart to get to everything and the power plug to the motor is fine, showing the voltages it should when switch is hit. Dead motor. Again. Put it all together and ordered a new AC Delco replacement. Came quick. So before I did the headlights, I pulled things apart again and last thing before dismantling the motor and window regulator framework, I pulled the new motor out of the box and ******** I ordered the wrong side. I KNEW they were left- and right-handed and somehow mis-clicked when I ordered it. So that got dropped off for return shipping and the loss of $6 and another is on the way.
It's inconvenient as hell not having a window that will work, but it isnt worth the hassle to take BOTH driver side doors apart and switch the motors. Hopefully I'll get the replacement in time to install it before next weekend.


still sanding and re-staining / sealing the pool cover box, other wood furniture in the back yard. At least I got the grill done in time for the holiday cookout.

poolcovercover02.jpg
 
Last edited:
  • Like
Reactions: rho

jgaz

Adventurer
Totally agree on the replacement lamp assemblies.

I polished my 2001 Dakota headlamps three times in less than three years myself. I used a different manufactures kit each time and didn’t really see any difference in how long the job lasted.

Replaced the assemblies and never regretted it.

Your wood renewal looks good. Wood finish vs. strong sun is a never ending battle.
 
  • Like
Reactions: rho

rho

Lost again
Totally agree on the replacement lamp assemblies.

I polished my 2001 Dakota headlamps three times in less than three years myself. I used a different manufactures kit each time and didn’t really see any difference in how long the job lasted.

Replaced the assemblies and never regretted it.

Your wood renewal looks good. Wood finish vs. strong sun is a never ending battle.

I just replaced the housings in my partners truck as well and the difference was night and day. The orginals were BAD and I've never heard good things about the polishing/clearing kits. It really makes a difference in our old trucks!
 

rayra

Expedition Leader
The first time, I used a powered buffer and some rubbing compound. I used a hobby razor saw to cut off the three protrustions / feet off the lens, to get them out of the way. That polishing lasted about a year.
Next time I used a cheap 'as seen on tv' kit and that crap is just a sponge applicator loaded with clear lacquer. Less than a year before that thin application crapped out.
Third time I did a full up microsanding / wet sanding up to 2000grit and then the buffer / compound. And then top coated with a couple sprayed layers of gloss clear with UV protection. Still only ~18mos and they wound up looking like they are in the left side of the image above.
Gonna drive around the neighborhood tonight and get them aimed where I want them. THey came with the adjusting screws at a max extension, so much so that they looked screwed up when they were pinned in. Gaps all wrong. Once they were roughly aimed they look as good as OEM.
 

rayra

Expedition Leader
ta-da. After a couple years of dicking around, I have finally replaced EVERY component involved with moving the driver window. And now for the fourth time, my window is working again.

subwindowswitch.jpg


I should see if rockauto.com is a publicly traded company. They throw a car magnet in with each order. Got 47 now with no dupes. Over the last 4-5yrs or so. They've been around for 20yrs. I curse at the idea of how much money I wasted in those preceding 15yrs, even trying to be a miserly shopper.

rockautocollection47.jpg


eta oh and the 'payoff' on the headlight swap. I think they look real good and are certainly now much brighter at night. Annoyed by the condensation in the daytime / signal fixtures after ONE car washing in the driveway. I'm going to have to pull everything apart and blow them dry with compressed air. And also find the gap / leaks that way, so I can hopefully seal them up with silicone some way that doesn't look bad.
Frankly, the amazon product reviews had a high number of good reviews with a few complaints about water intrusion. I gambled and lost but would have 'gone cheap' regardless. So that's on me. I don't mind having to tweak them a bit. For $80 for the full set, I'm not complaining too much about it. I've got the time, tools and ability.

headlightpayoff.jpg
headlightcondensation.jpg
 
Last edited:

Forum statistics

Threads
185,920
Messages
2,879,713
Members
225,497
Latest member
WonaWarrior
Top