M416 hybrid (updated w lots O' Pics)

preacherman

Explorer
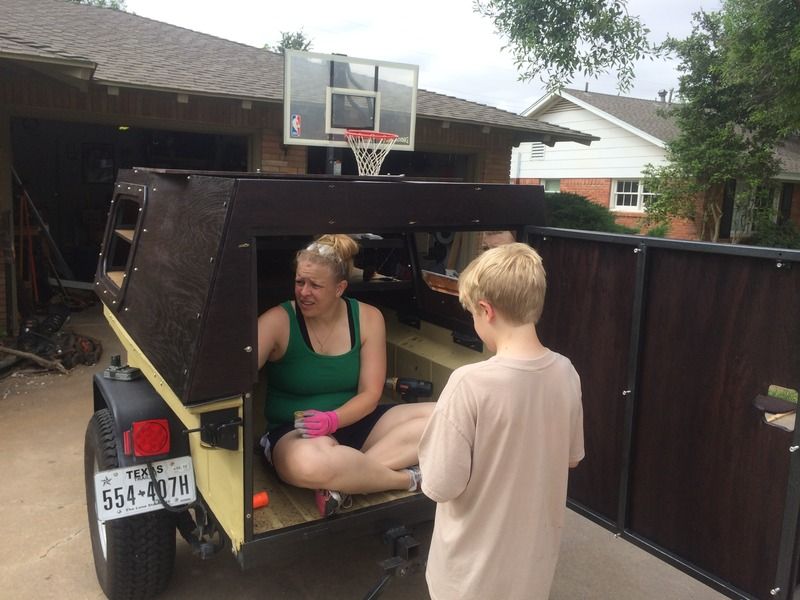
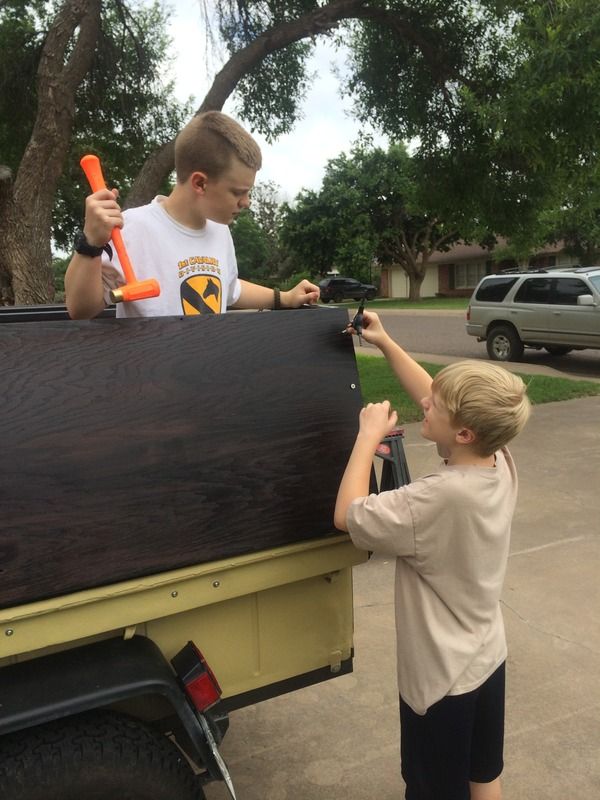
For final assembly I again got the whole family involved. With all hands on deck everything went smoothly. For attaching the sides to the trailer frame I used stainless steel button head bolts with nylock stainless steel nuts. I really wanted something that would last and look good. I ordered all the hardware online and saved a ton over hardware store prices.


Last edited:

preacherman

Explorer
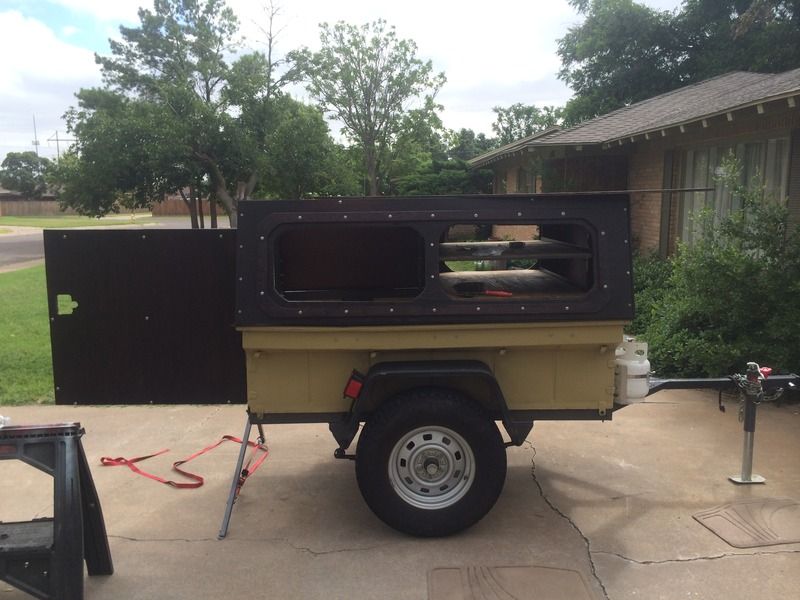
Its starting to come together now...


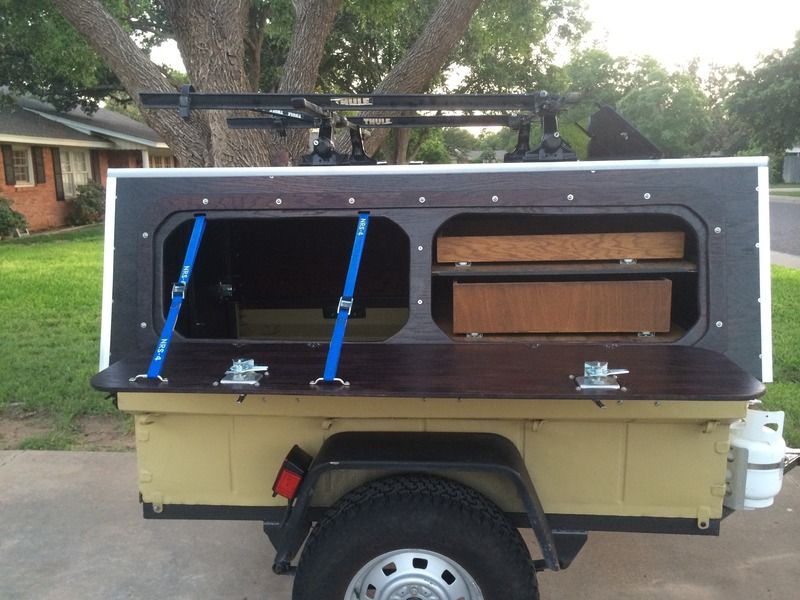
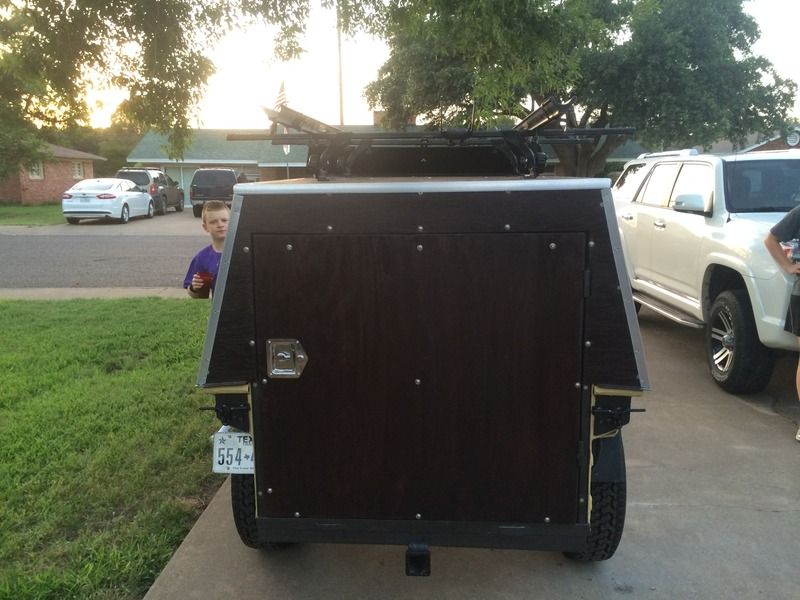
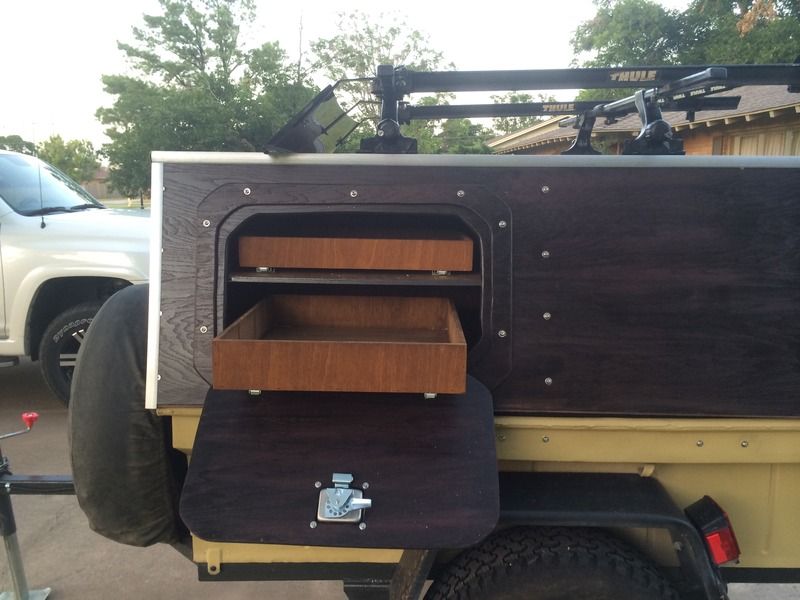
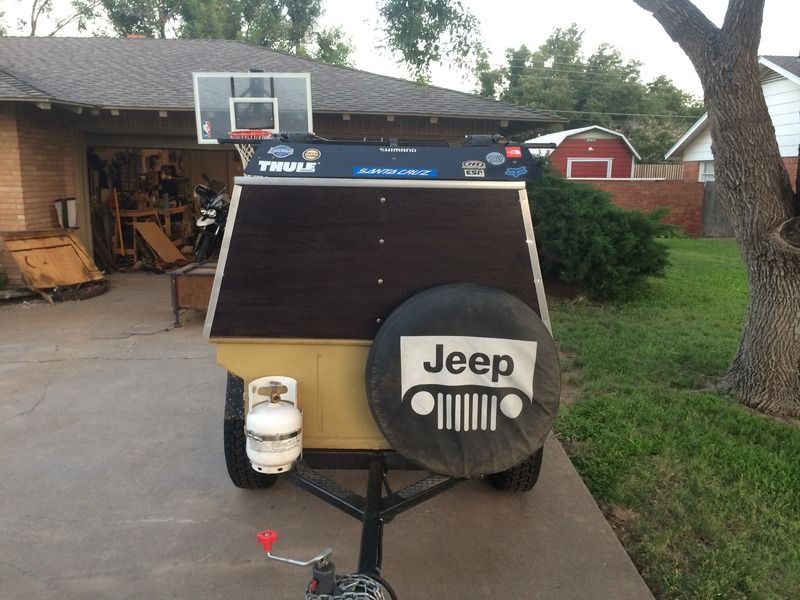
Next I drilled and mounted the roof rack. We usually all take a mountain bike for everyone, so I have to carry 4 everywhere we go. I decided to do two on the top and two on a hitch carrier on the back of the trailer. I also attached (for the last time) all of the stainless steel hinges and drawers. For wing supports I used 4ft NRS straps. This was a perfect way to make the wings adjustable.


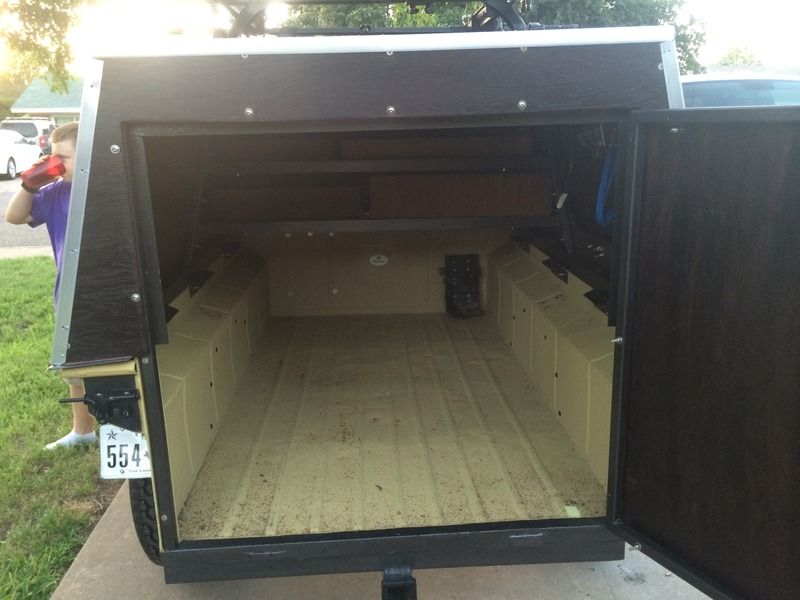
Rear door installed.


Drivers side
 
Last edited:

preacherman

Explorer
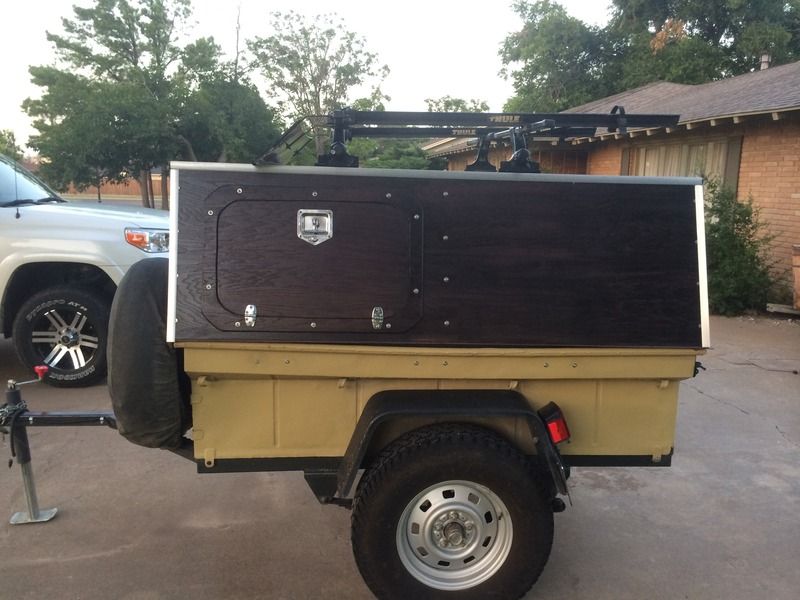
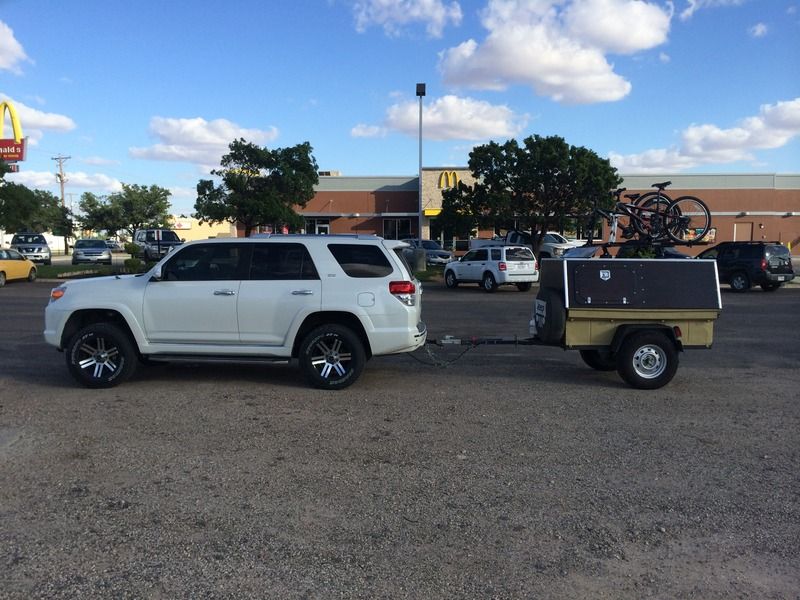
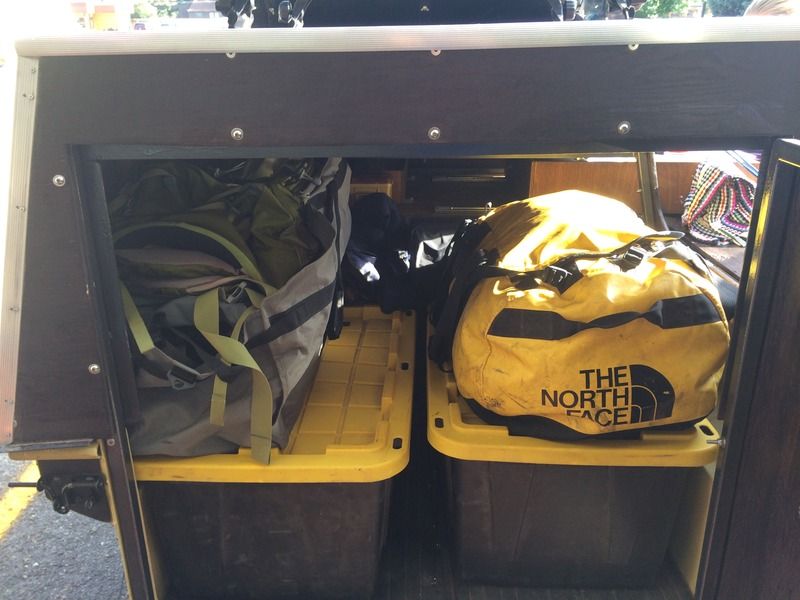
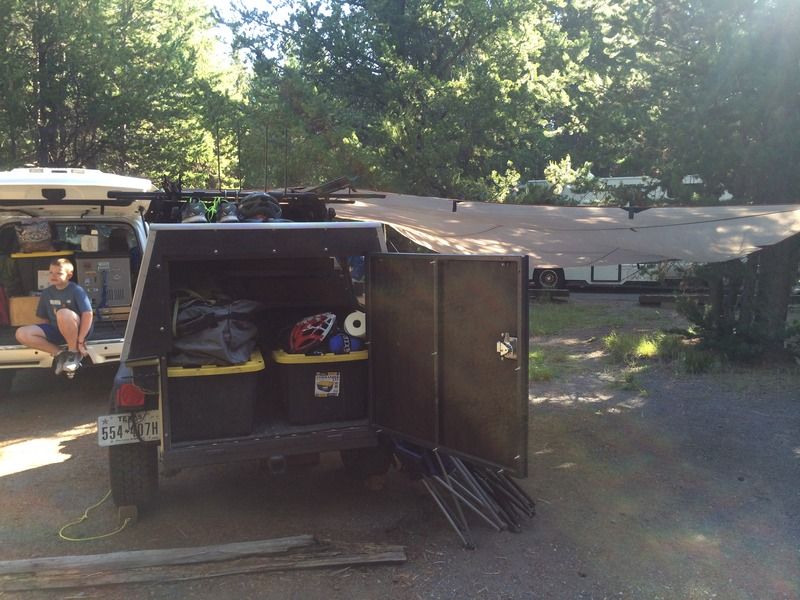
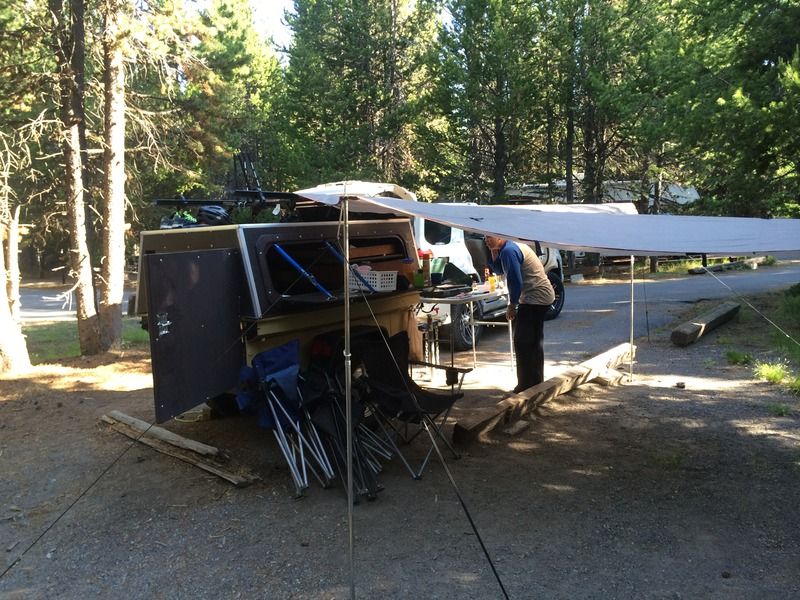
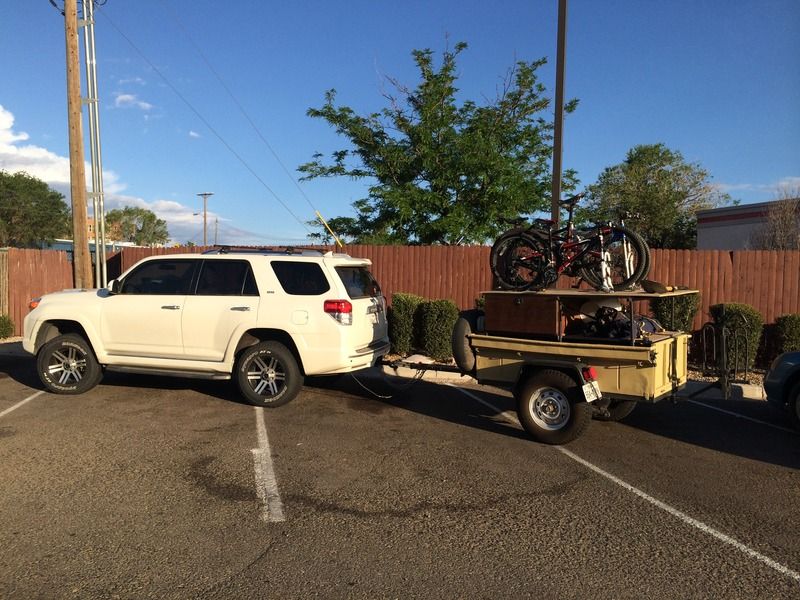
I finished the new version the day before a 3,000+ mile trip to Yellowstone. Here are a few pictures of the trailer on the trip and in use.

Hooked up to the 4runner


Loaded up


Set up at camp (the sun shade is a Kelty Noahs tarp)


preacherman

Explorer
So to review. Version 2.o started here...


And ended here...


So what went well, what has been changed and what still needs addressed? Overall the trailer performed very well. I have pulled it over 5,000 hwy miles and around 250 4x4 miles (over 30 in 4 low) and I can say it has performed flawlessly. The trailer is 100% waterproof (I have driven 100’s of miles in driving rain storms), locks up tight (I have left it on several trailheads for days at a time) pulls straight, and tucks in tight behind our truck as to reduce wind drag. Overall I still got 15mpg pulling it fully loaded.

One problem that has arisen however is the springs. The original springs are now showing the signs of sagging with the new heavier weight of the wood sides. I will have to replace them this winter. I am currently trying to decide between, new springs, re-arched springs, or a timbren set up.

Lighting is also an issue, the trailer is so tightly sealed it lets in zero light. I have led strip lights and a solar panel setting on my workbench waiting to be installed. That is another project for this winter.

Thanks for hanging in while I updated everything, I will try to do a better job of updating this thread as more mods are added.
 

mmp3823

Observer
That turned out great. Can you post some pictures of how you attached the top to the trailer? Did you put any weather stripping between the angle iron and the top of the trailer?
 

preacherman

Explorer
Sure I will post some up tonight. To attach the top (and the sides as well) I simply drilled into the center of the cross bars of the metal frame and used the stainless steel hardware to go through the wood and the frame and bolted it down. The hardest part was getting everything aligned so many times. I went throughout about 7 1/4 inch drill bits. I made sure the joint where the top and sides meet was overhanging from the top to protect water from dripping in the seam.

I didn't use weatherstripping. My original intention was to use it, but when I tested it, I never could get the even consistency I wanted to make the holes line up accurately every time. I instead used silicone caulk on all seams. I used an aluminum color on the edges (by the angle iron) and a brown that matched the stain everywhere else. For the corners and for where the top meets the sides, I used aluminum angle iron that I also sealed with caulk to cover the entire edge or joint. I should note that while I used button head bolts everywhere, i switched to flat top recessed head stainless steel bolts on the sides and edges, so they would be flush enough to cover with the angle iron. All joints on the outside are therefore sealed and then covered with angle iron and sealed again.

I also intended to put weather strip on the hatch doors but again ever type I found was too think for the hinges to close properly. After testing it, I just made the lip on the inside of the hatch door larger. The latches I uses are adjustable so I can adjust them to tighten or looses the clamping force needed to really seal the hatch well (same with the back door). I have never had any problem with the hatch doors leaking because of this.

I hope that makes sense. I will post up pictures of everything I just talked about when I get home tonight.
 

preacherman

Explorer
Here are the pictures I promised of how I mounted the top and side. I also went ahead and took a few close ups of the hardware I used.

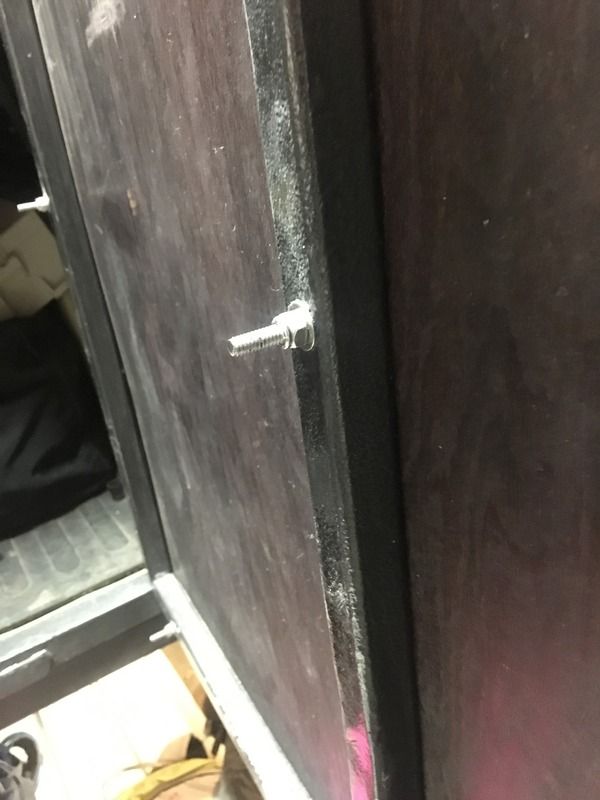
Here is a picture of how I mounted the sides and top from the inside. This particular bolt is on the door, but I mounted all wood in the same manner to the trailer.

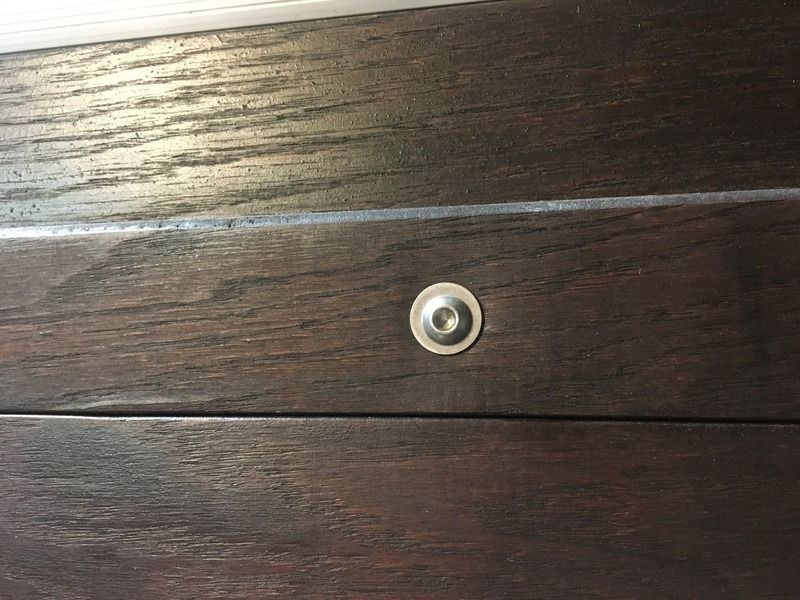
Here is a close up of the button head bolt I used for all sides. I really wanted the look of a hatch similar to a boat. I also choose to use metric allen really just because I liked this look best.


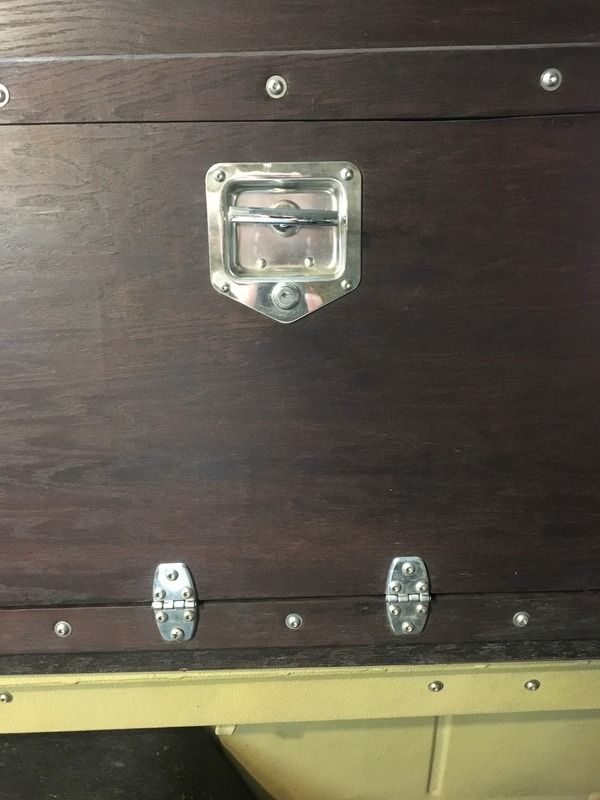
Here is a shot of the bolts alongside the stainless hinges and the latches I choose.


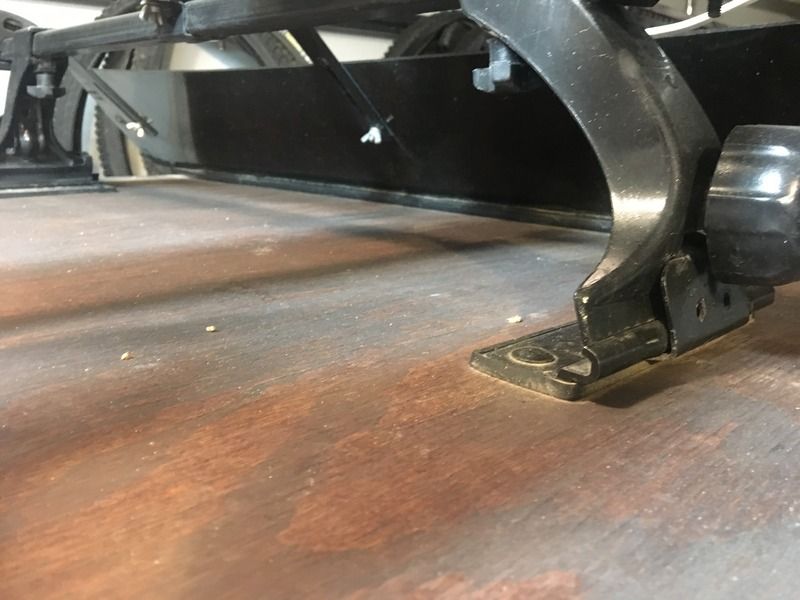
Here is a picture of how the roof rack is attached. I simply used a kit from Thule. Originally the cheapskate in me was going to make a special mount but I ran out of time and I have amazon prime so.....


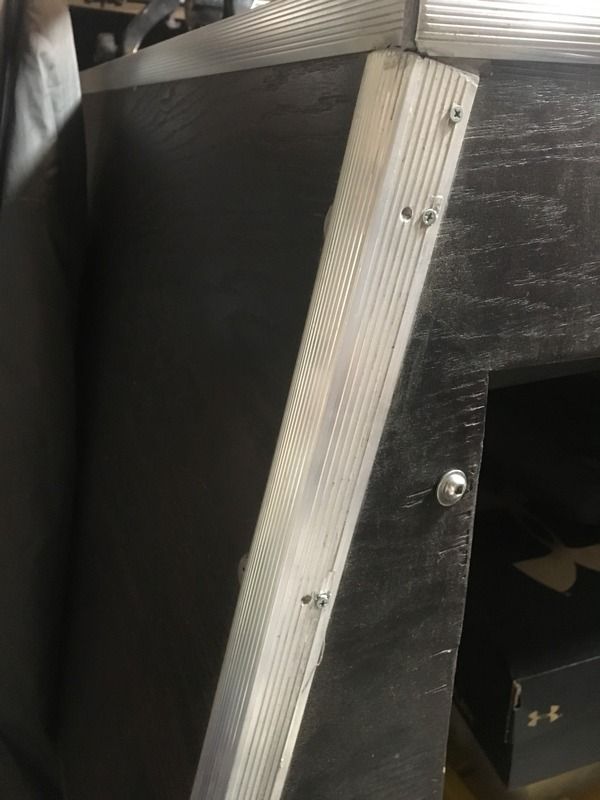
Here is a closeup of the aluminum angle I used to cover the seams where each joint meets. I really wanted to use aluminum because believe it or not I was trying to keep weight down when possible. After pricing all the aluminum I would need I really didn't want to spend as much as it was going to cost. I also didn't like that the angle iron was smooth, it looked weird. While walking down the isles of the hardware store I noticed stair carpet runners. They where textured, cheap, aluminum and fit the bill perfectly. I saved over $100 by using these instead of aluminum angle. (You can see the alum colored silicone in the corners as well.)


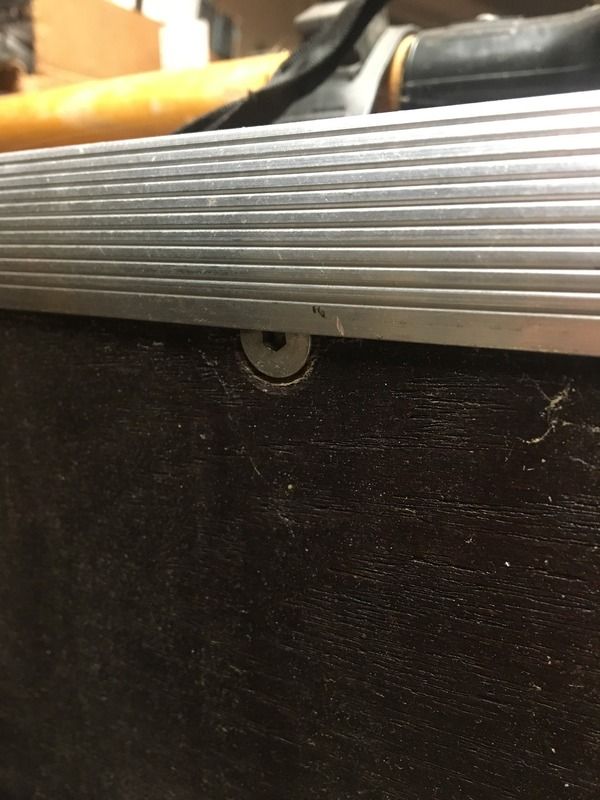
Here you can see a close up of the stair runner as well as the flat head bolts I used on the corners so that the angle would set flat.


If anyone wants to see any other specific pictures of how I mounted anything please let me know. The hours and hours I spent looking at other peoples set up is what led me to what I built.
 

preacherman

Explorer
SOA 416 Conversion

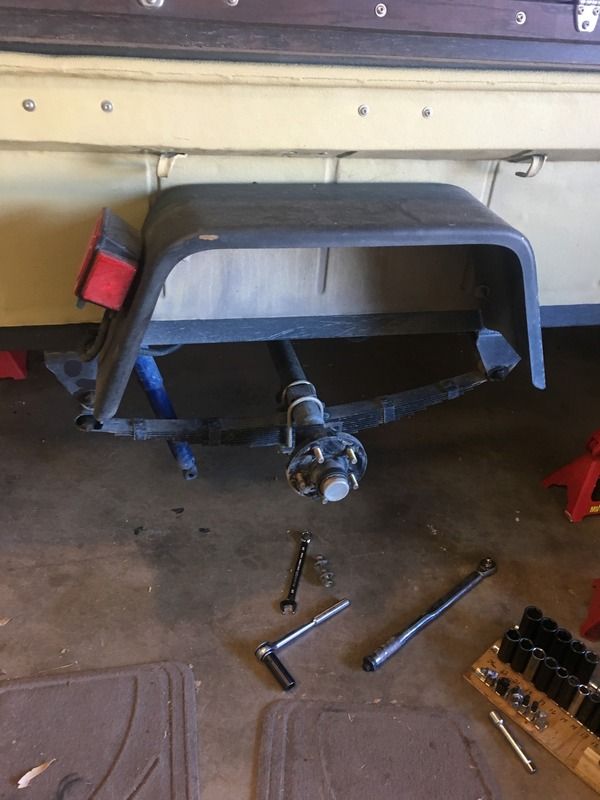
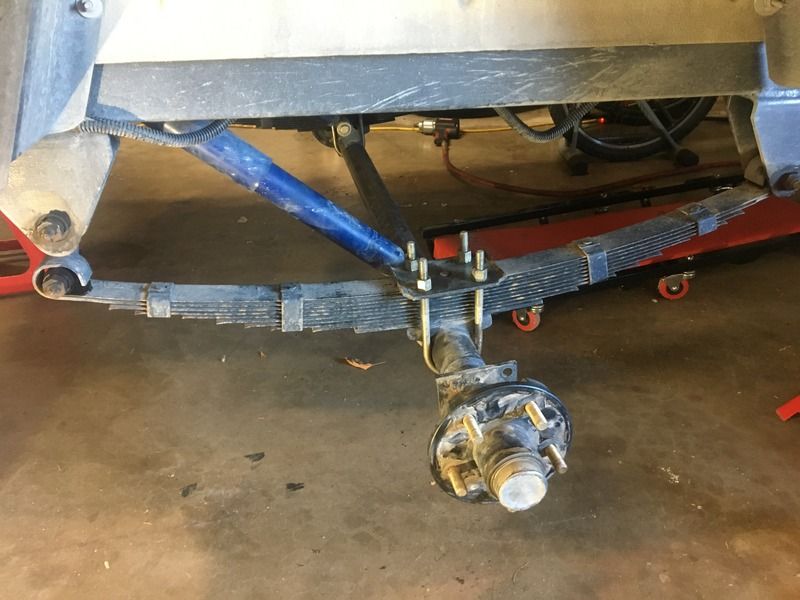
I had a chance this weekend to work some more on the trailer. I started to tear everything down so I could have the springs re-ached when I remembered I could flip the axle to go spring over axle (SOA). When I built the trailer the first time, I made sure and welded the new shock mounts in a position that would allow me to flip the axle from on top of the axle (spring under axle) to under the axle (spring over axle).

All I had to do was remove the axle and swap it around. I figured “why not”, I could always switch it back and just have the springs re-arched if I didn’t like it. All I would be out is time.
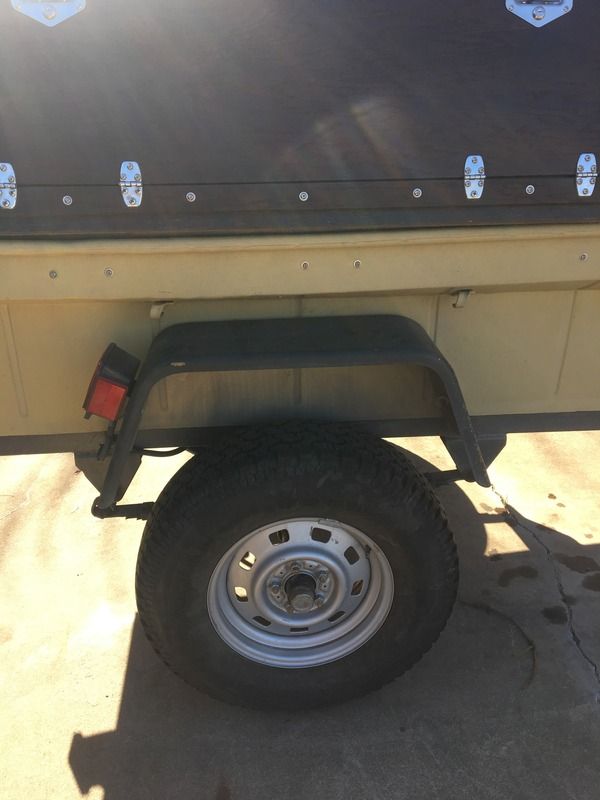
Springs before


Springs After (SOA)


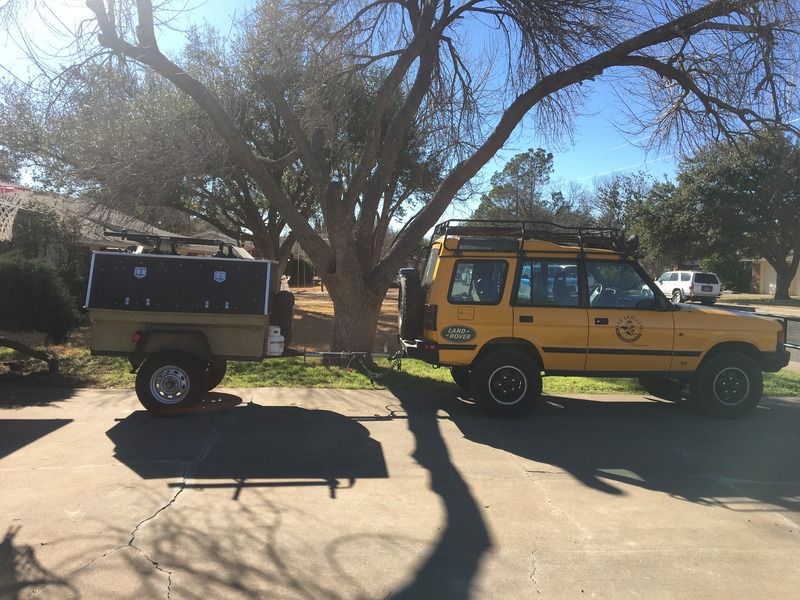
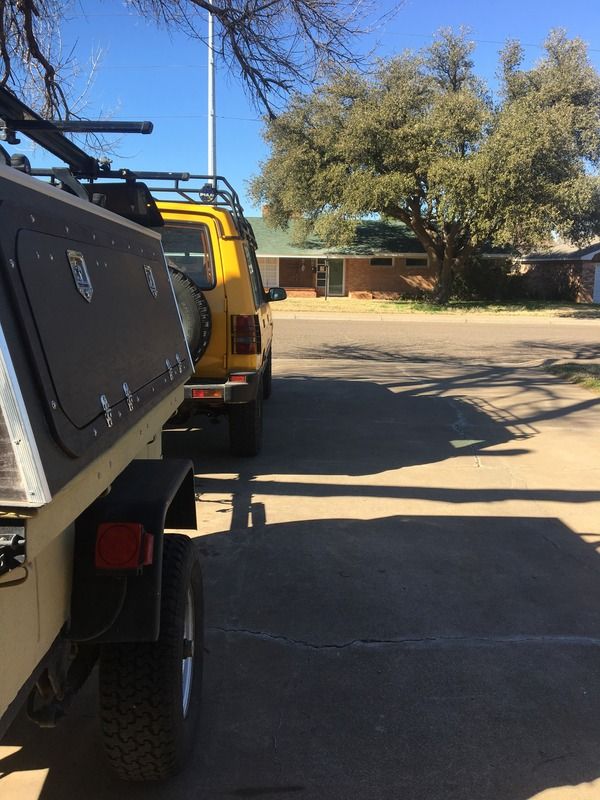
It only took me about 30 minutes. When I got everything back together, I pulled it in the driveway to see how it looked on the Land Rover. I think it looks better. The ride hight is much now a much closer match to the Land Rover.


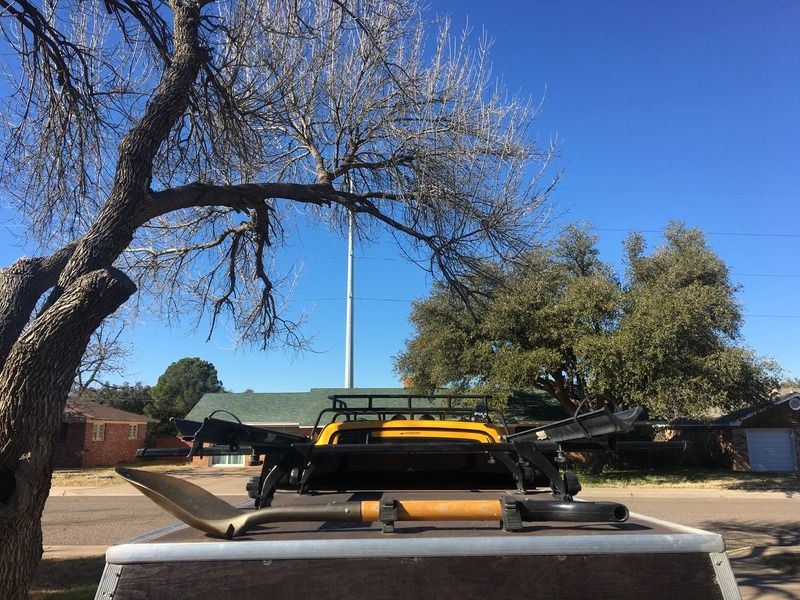
You can see the trailer tucks behind the Land Rover nicely.


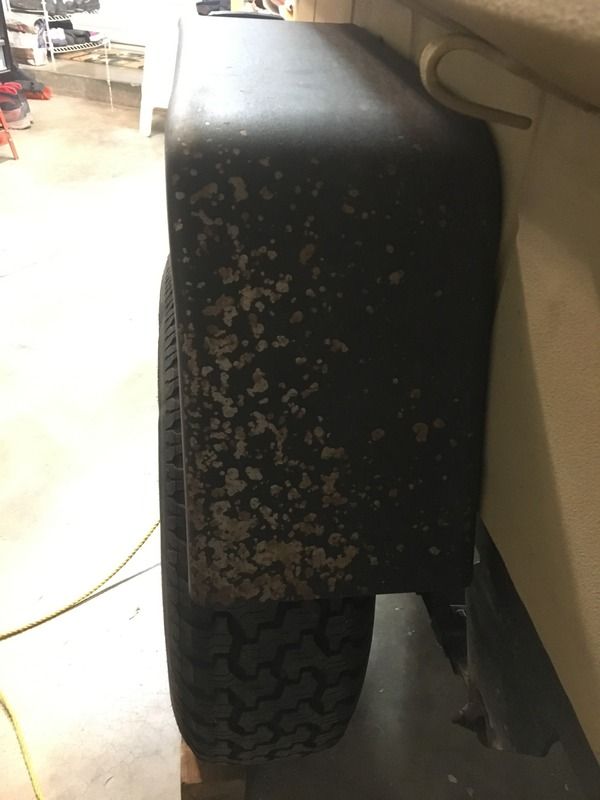
While I was at it I also removed the finders to re-coat them with bed liner. Driving down miles and miles of dirt roads had left lots of rock chips.


They are drying in the garage now. Next up, interior lighting.
 

preacherman

Explorer
Lights

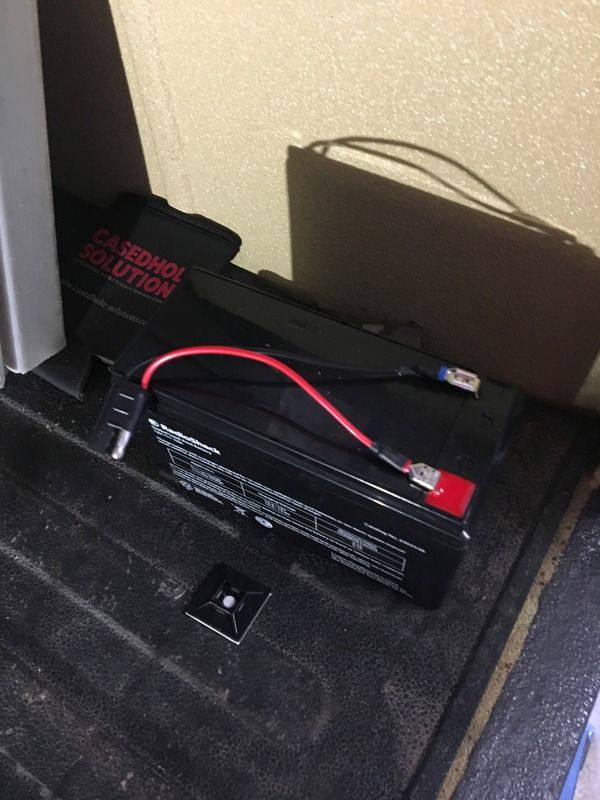
I had been wanting to add lights to the trailer for sometime. It seemed like every time we camped I had trouble at night finding things. While a full trailer battery with shore power is nice, I could not convince myself we needed that much power. I really just wanted lights. Our 12v fridge lives in the truck, so there is no need for anything but lights and a few small devices like phones or tablets.

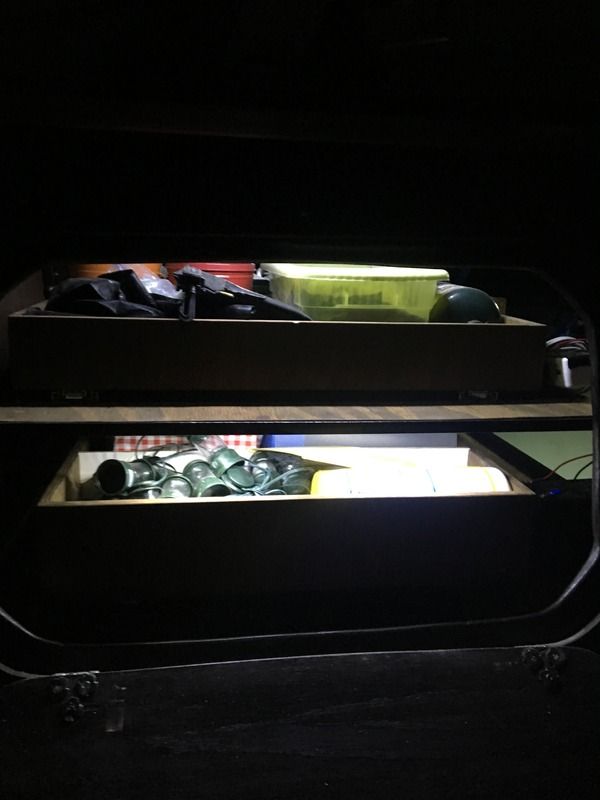
After debating for far too long of a time, I got a simple 12v battery for go karts, lawn mowers, deer feeders and small things like that. The battery is very small, is easy to tuck away, and charges quickly with the 7w solar panel I had laying around. I wired a simple disconnect to the battery and mounted it tucked away on one on the shelfs.


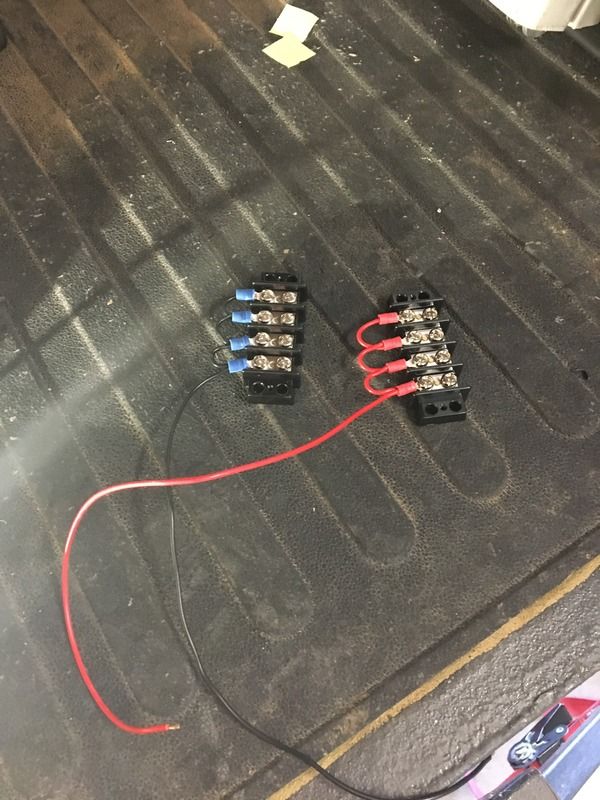
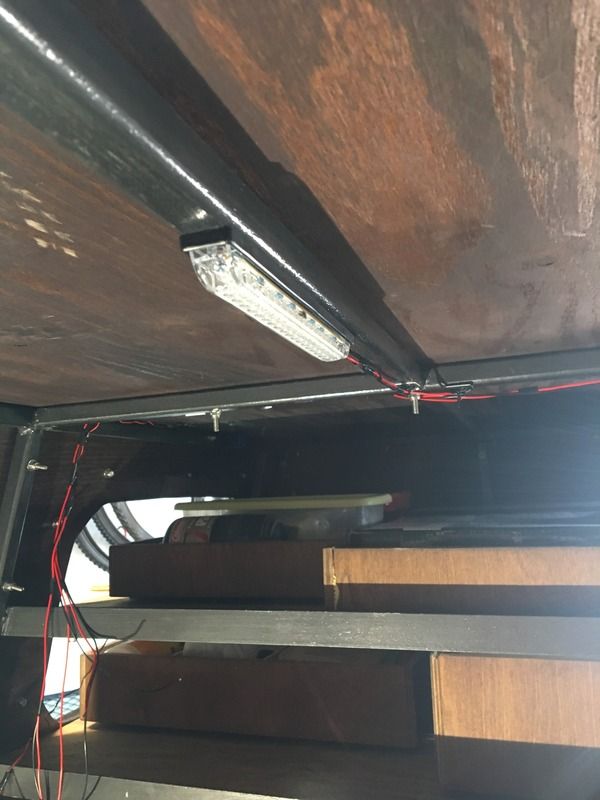
After running all the wires for led strip lights, I made a block for the wires. I wanted a master switch for the lights, but I also had to wire the solar charger and a small set of 12v adapter plugs and a 12v usb so I could also charge my phone or ipad from the trailer if I wanted to to.


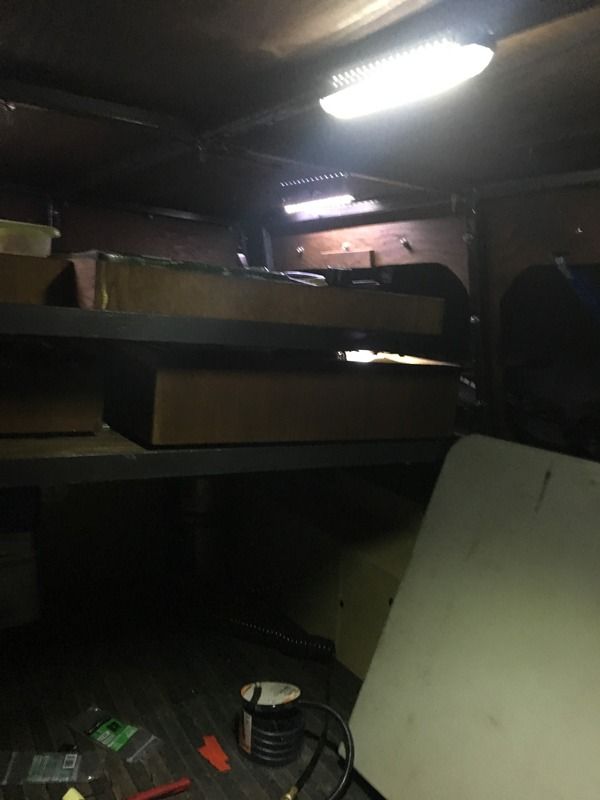
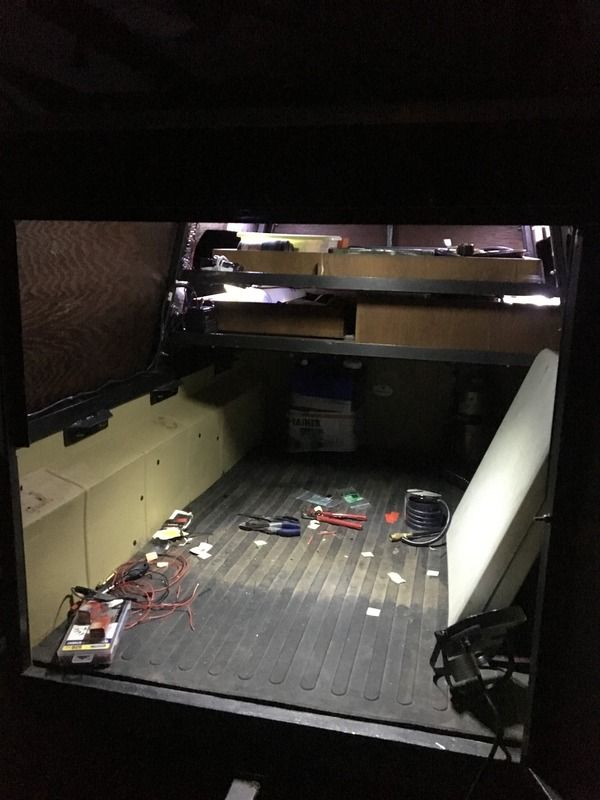
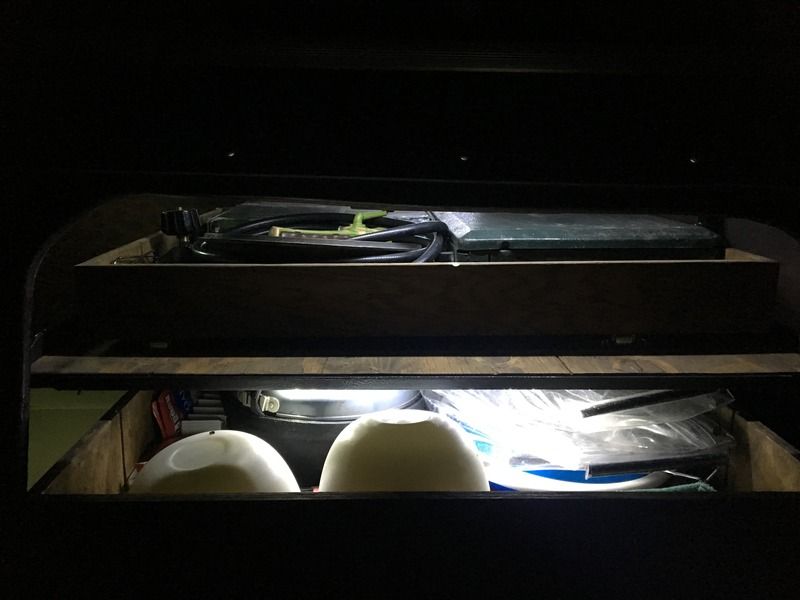
In the drawers


Overall I am very happy with the results. I was able to light up everything very affordably, and easily with no overly complex wiring, parts or design. All parts are commonly available if a repair is needed and it's a simple, yet effective solution.
 

Ohio Boo

Observer
Preacherman, I wanted to take a moment and offer my sincerest apologies. I started a thread with the same title as yours. I am not a forum guru but will work on changing my title. At the time of my build I was not aware the title was already in use. I guess I should have done a google search before hand (lesson learned). Again, please accept my apologizes. Tom (ohio boo).
 

Forum statistics

Threads
185,783
Messages
2,878,182
Members
225,329
Latest member
FranklinDufresne
Top