Dr. Marneaus
Station Wagoneer
Well, I might as well document it.
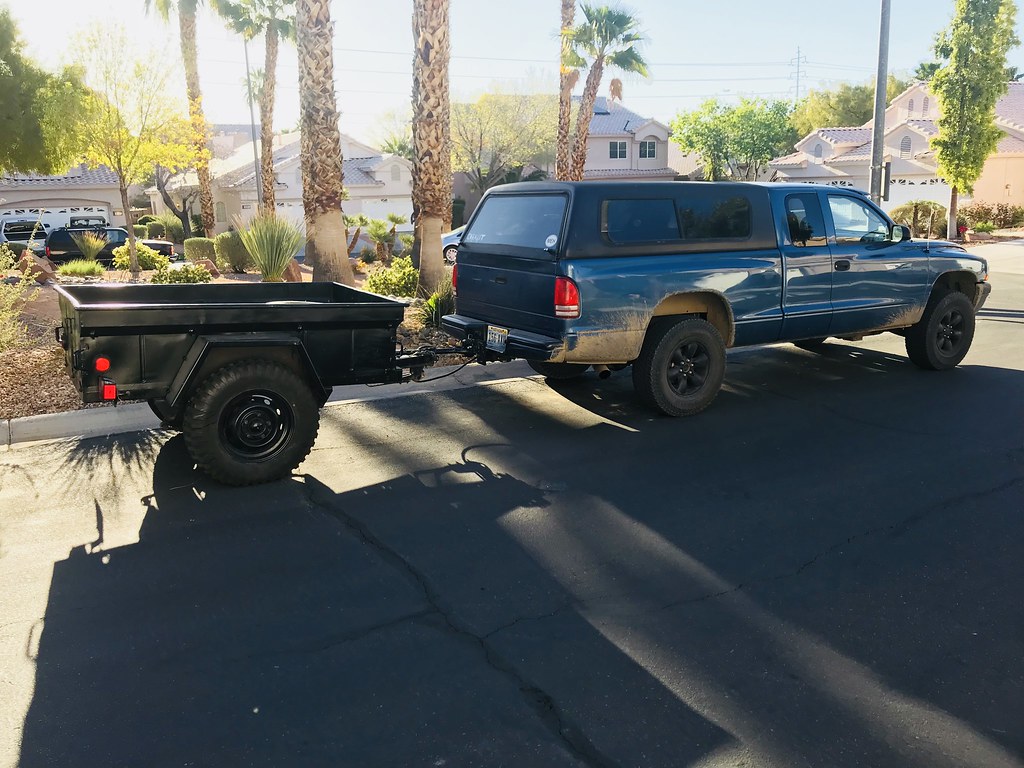
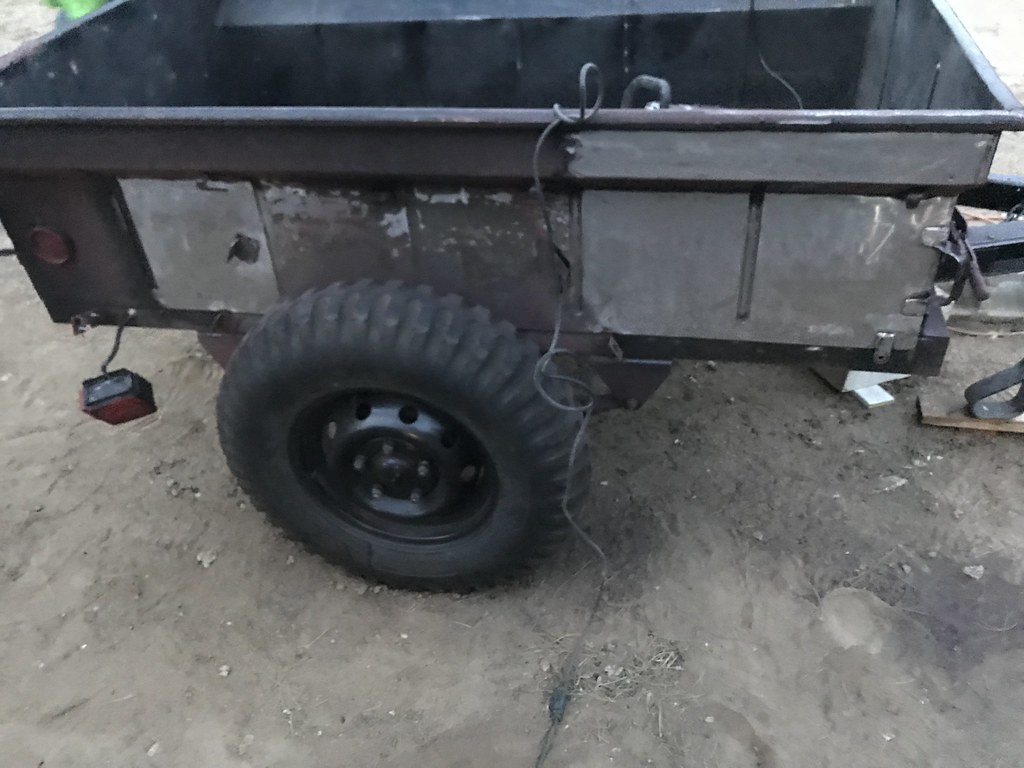
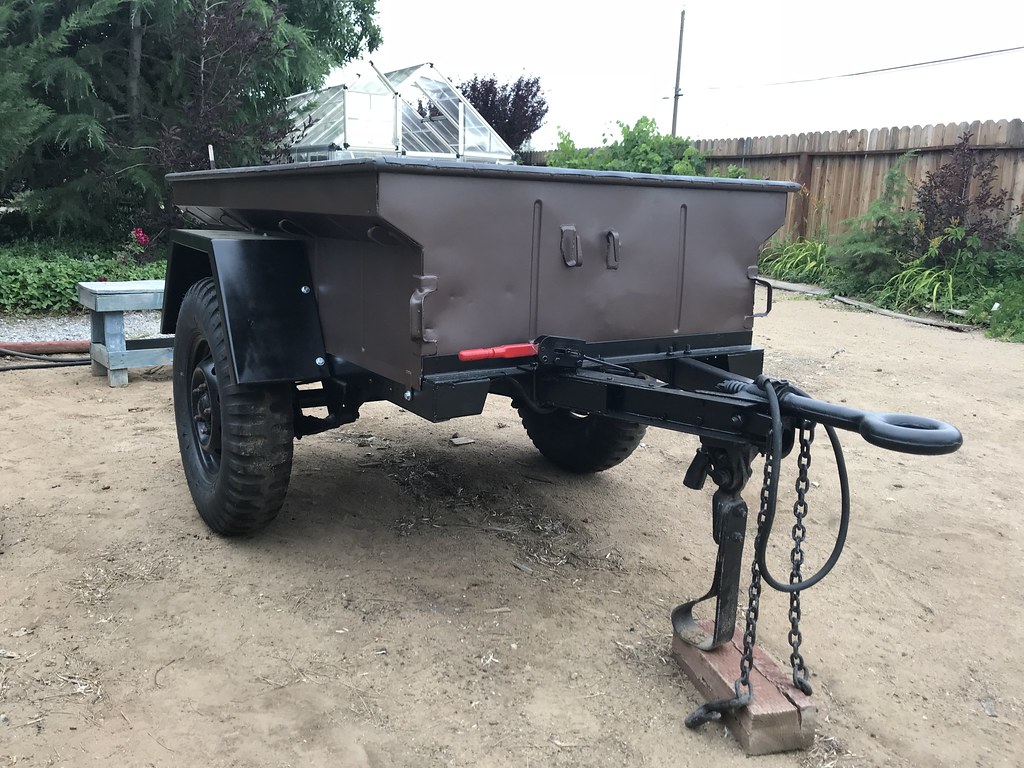
Last time I was down in Vegas I picked up a 1960whatever M-416 that was in original (aside from paint and lights being added) condition. It was titled as a home built 2015 from NY. Tires were new (well a few years old), wheels were new, bearings were new, came with extra bearings, LED tail lights, included a pintle hitch, blah de blah de blah. I probably over paid but it was exactly what I wanted.
After fighting a little with the DMV about it not being currently titled or registered, I drug it home, 450 miles.
 Untitled by Marn, on Flickr
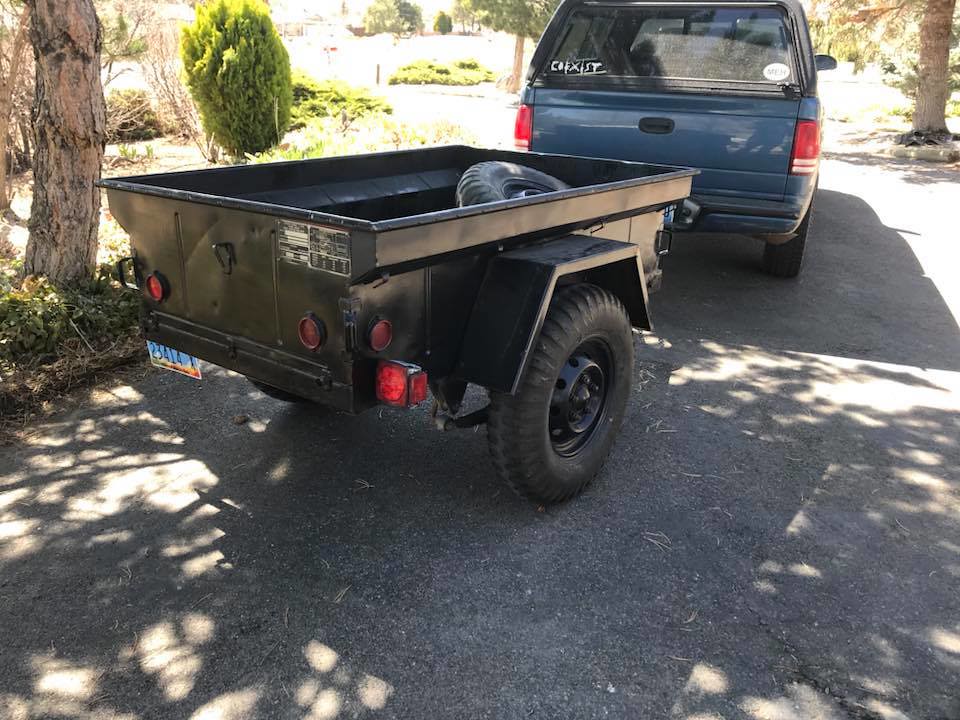 trailer1 by Marn, on Flickr
I tested it out behind the wag.
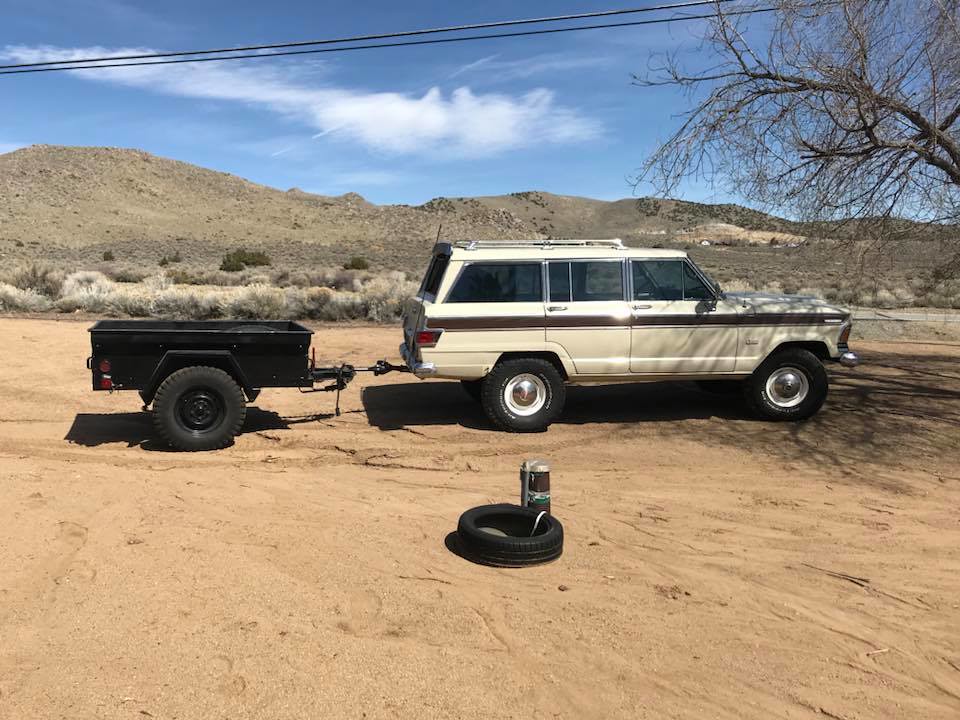 trailer2 by Marn, on Flickr
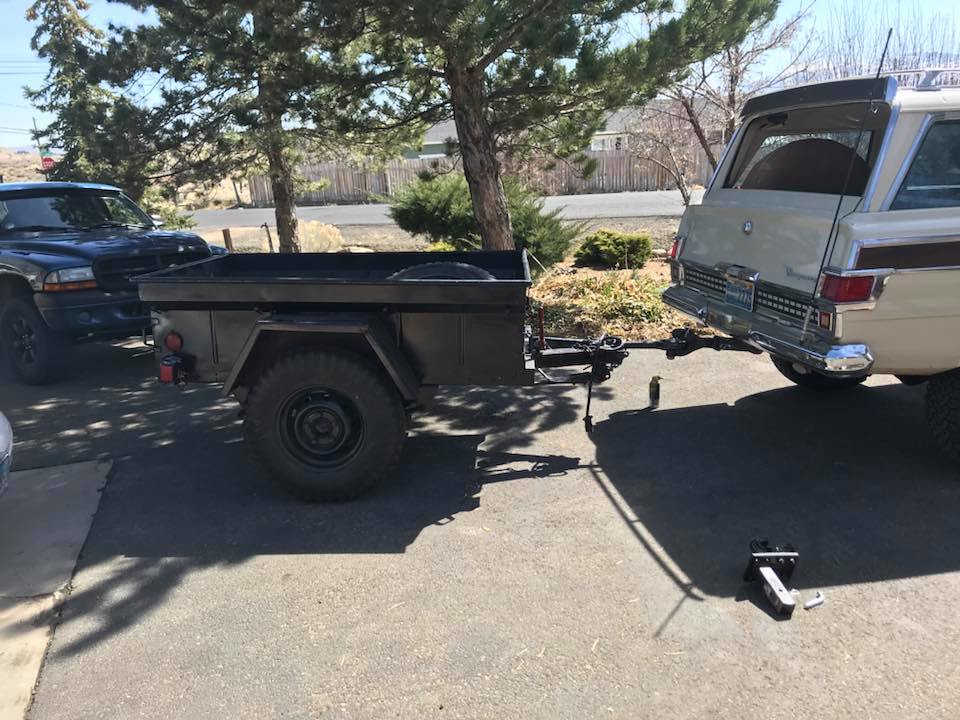 trailer3 by Marn, on Flickr
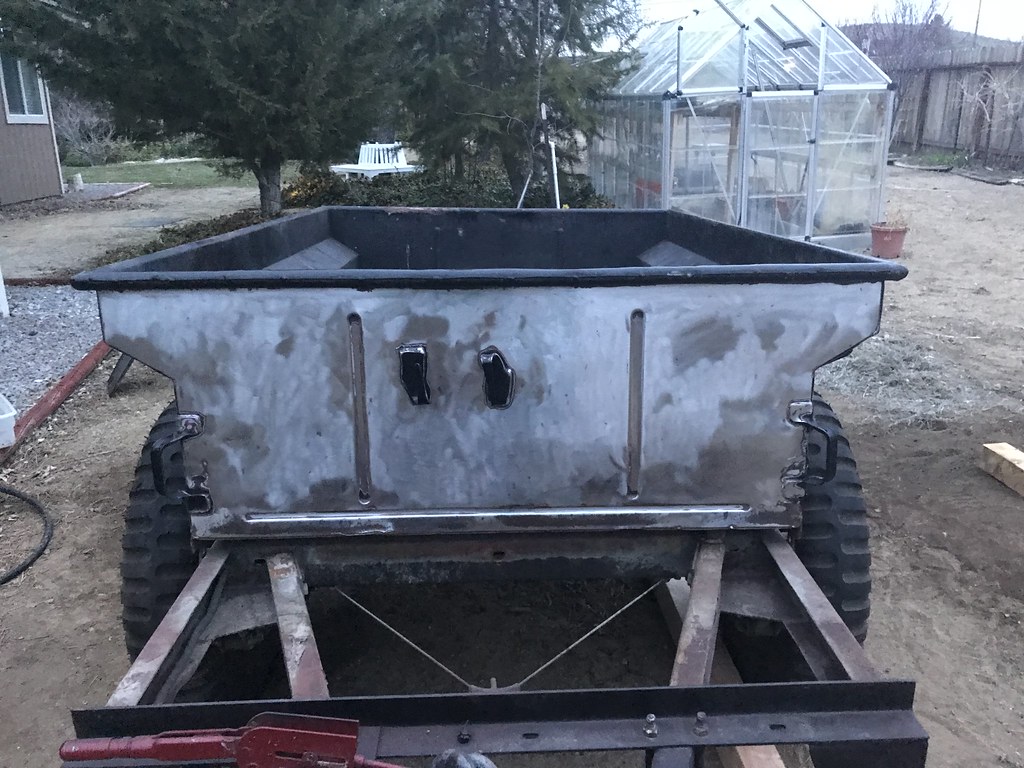
So, I began to tear it down to refinish it a bit. It had been somewhat sloppily painted black (tons of runs) over a red paint job, over some primer, over the factory green, over the factory red primer. I grabbed my respirator, and began the terrible process of grinding allllllllllll the paint off.
 Untitled by Marn, on Flickr
 Untitled by Marn, on Flickr
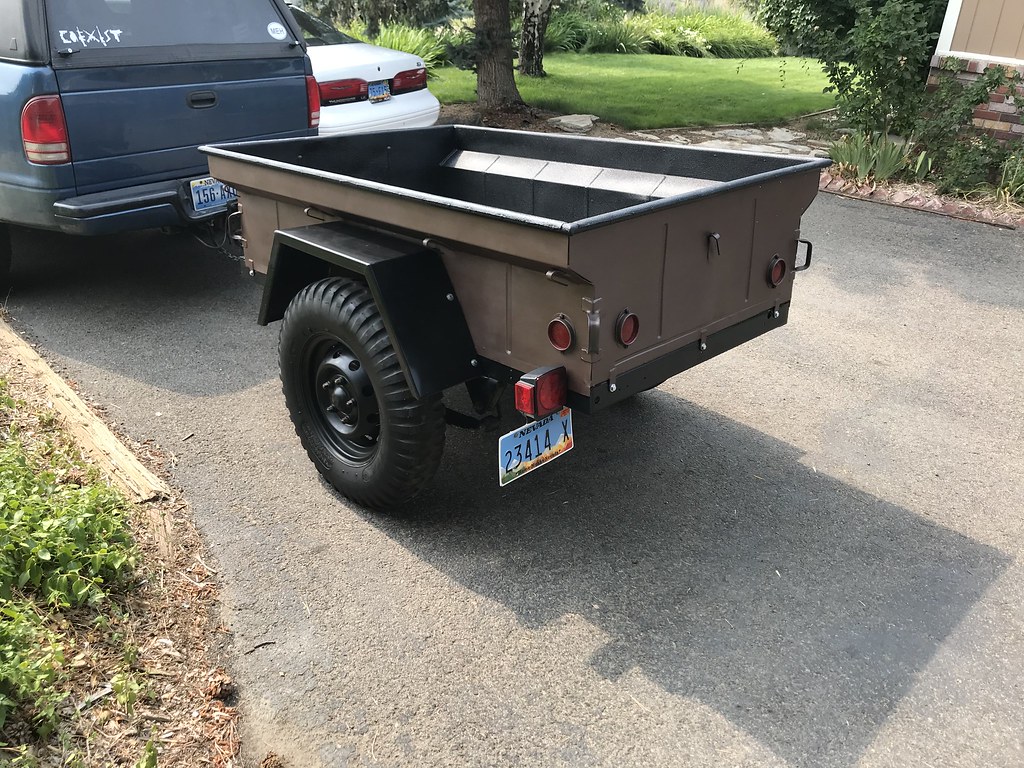
I lost motivation after getting like 2/3rds of the way there and it sat for several weeks. I finally geared back up and got it going again. Painted the tub and the fenders and the frame and the suspension.
 Untitled by Marn, on Flickr
 Untitled by Marn, on Flickr
 Untitled by Marn, on Flickr
 Untitled by Marn, on Flickr
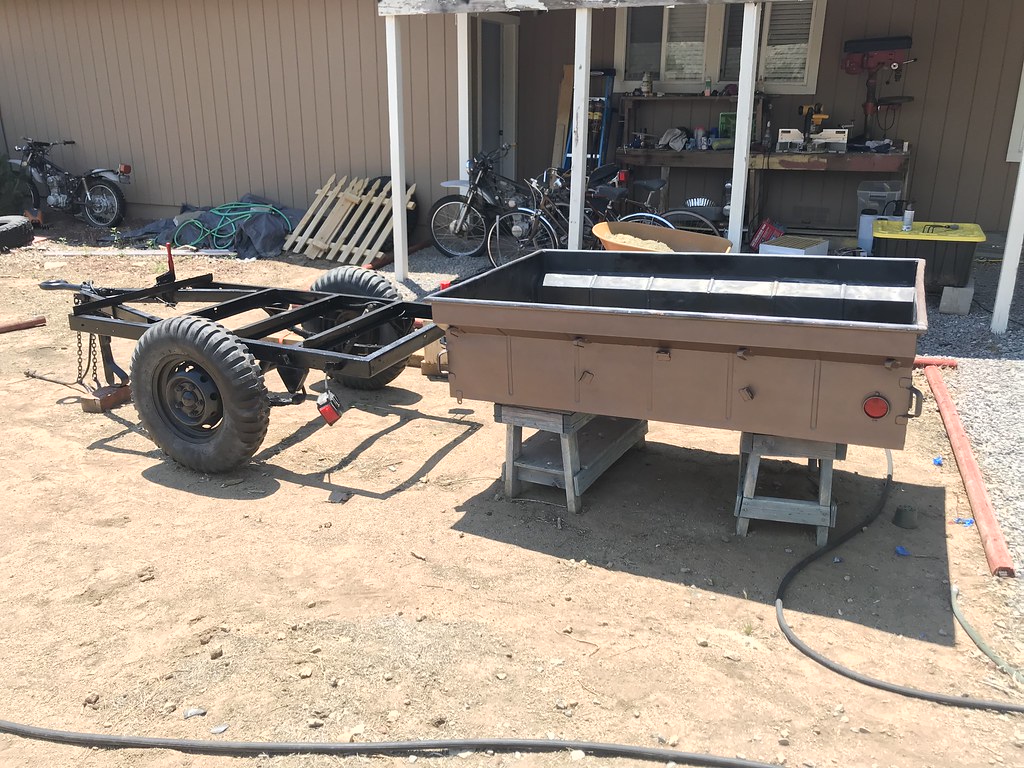
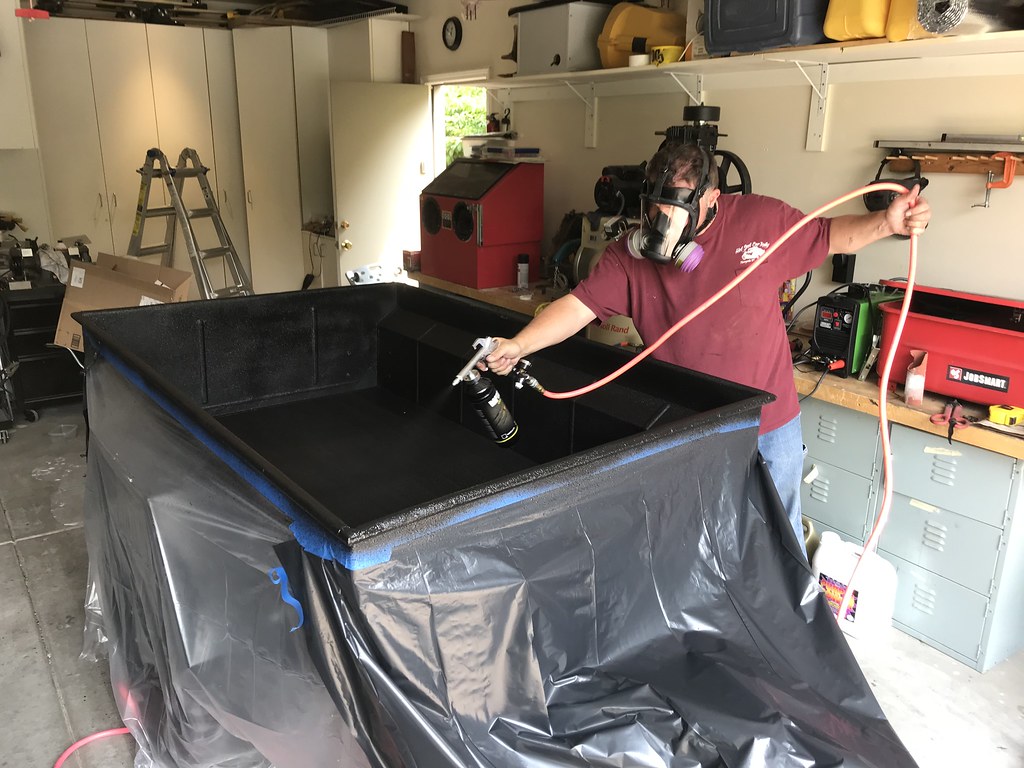
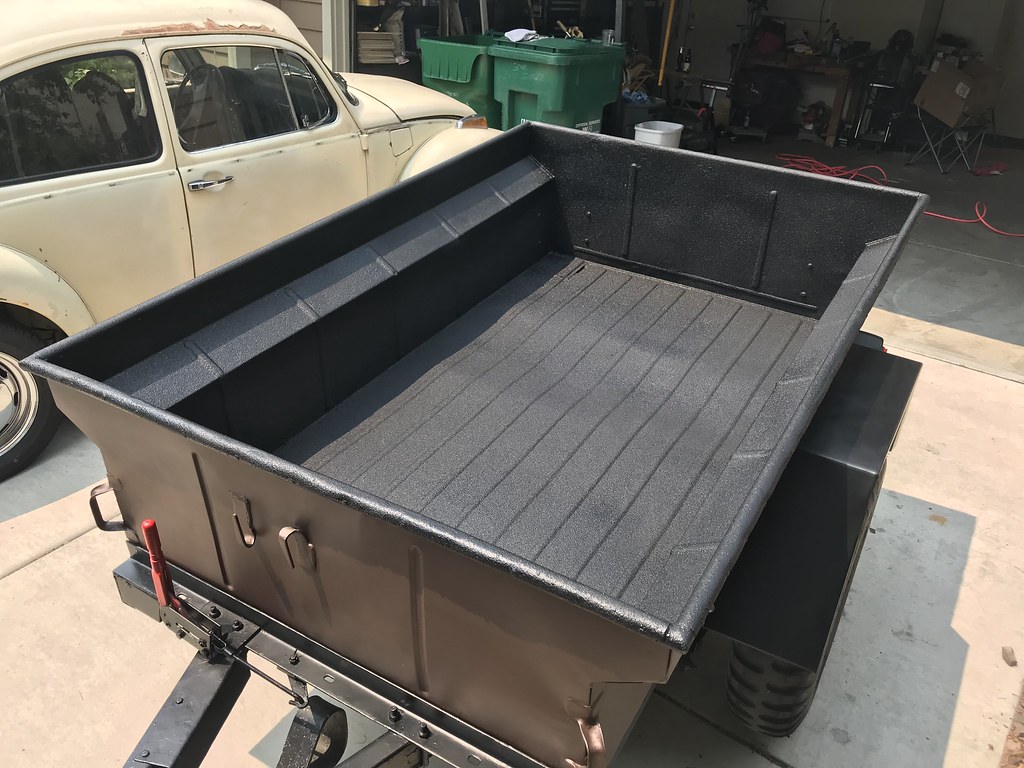
Soooooooo. from there, I weant ahead and bed lined the interior with Raptor. Was super easy using a buddy's bigger compressor.
 Untitled by Marn, on Flickr
 Untitled by Marn, on Flickr
 Untitled by Marn, on Flickr
I let that cure for a few weeks.
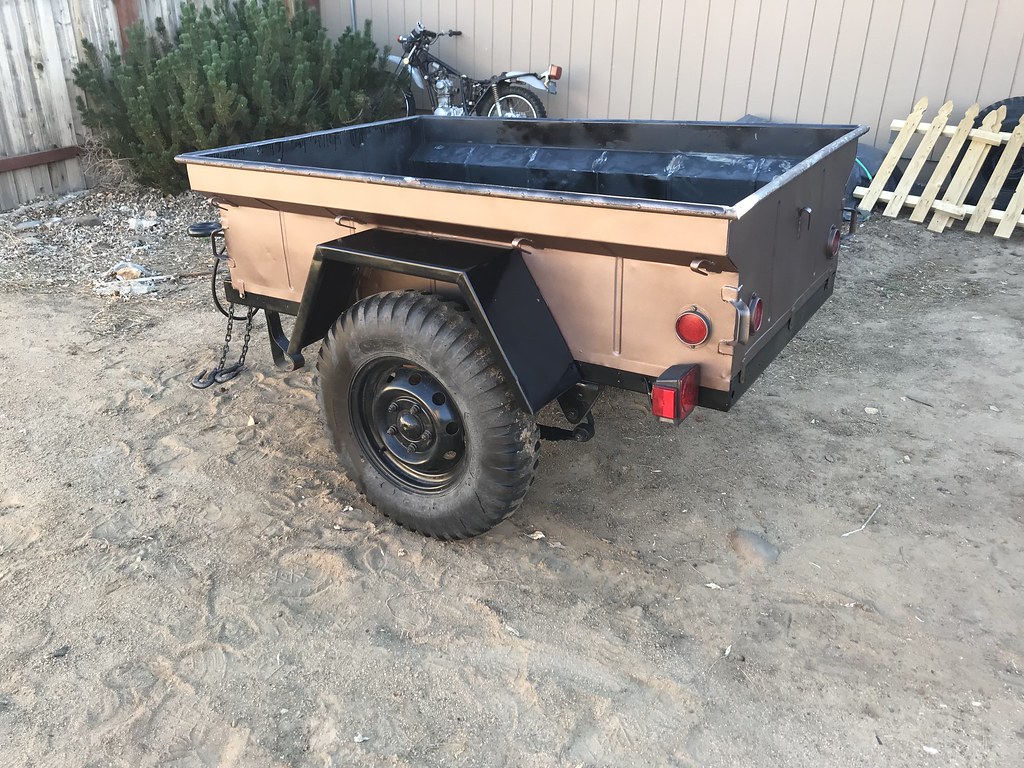
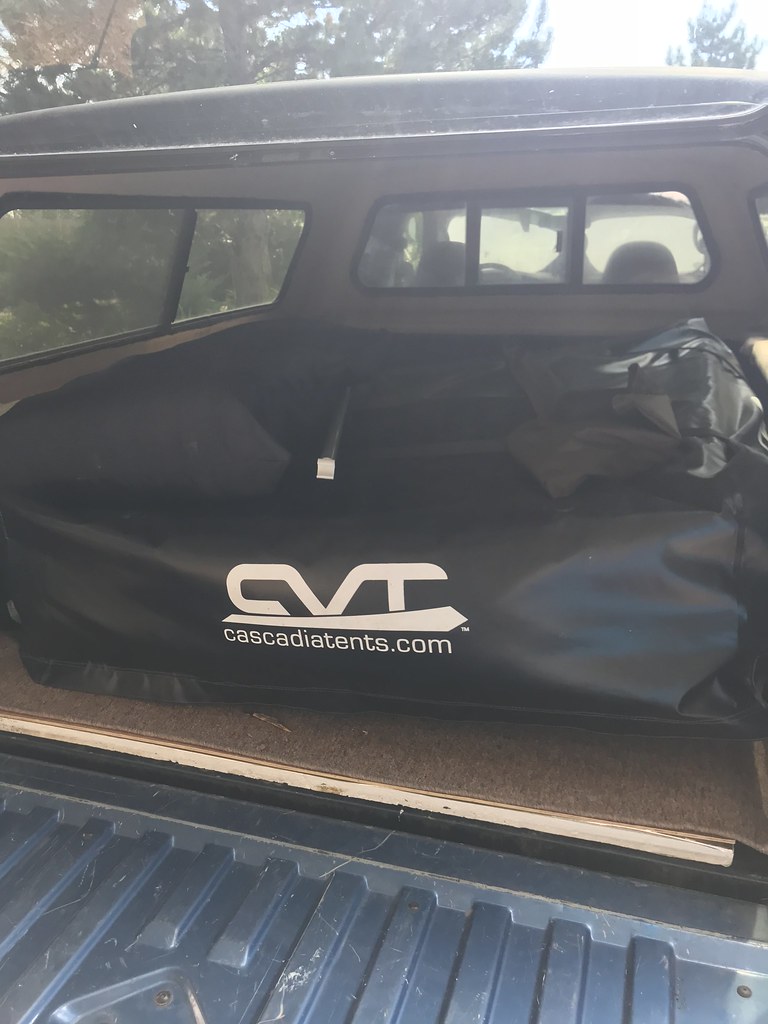
Somewhere in there I went and bought a CVT tent. Wife and I took the camper camping, and got super annoyed with the situation. We had to go to 8 campgrounds before finding a spot, then had to deal with screeching kids, off leash dogs, oompa oompa music coming out of some lowered trucks that came in with the beds packed to the roof line with bikes and play houses and toys and luggage, and everybody walking directly through our site to use the outhouse. As soon as we got home, i hit up craigslist and brought home the RTT. IT was lightly used over the course of the previous year. Saved about $1300 off retail. CVT Mt. Shasta Summit Series.
 Untitled by Marn, on Flickr
So, that lit a fire under my butt. After I bed lined it, I looked at alot of builds and made the decision to go with a fixed height rack. I'm tall, and the ability to move around in the Annex was super important. Queue all the "oh my god its too tall you're gonna tip over and kill a bus full of nuns and lawyers children" comments.
Last time I was down in Vegas I picked up a 1960whatever M-416 that was in original (aside from paint and lights being added) condition. It was titled as a home built 2015 from NY. Tires were new (well a few years old), wheels were new, bearings were new, came with extra bearings, LED tail lights, included a pintle hitch, blah de blah de blah. I probably over paid but it was exactly what I wanted.
After fighting a little with the DMV about it not being currently titled or registered, I drug it home, 450 miles.
Untitled by Marn, on Flickr
trailer1 by Marn, on FlickrI tested it out behind the wag.
trailer2 by Marn, on Flickr
trailer3 by Marn, on FlickrSo, I began to tear it down to refinish it a bit. It had been somewhat sloppily painted black (tons of runs) over a red paint job, over some primer, over the factory green, over the factory red primer. I grabbed my respirator, and began the terrible process of grinding allllllllllll the paint off.
Untitled by Marn, on Flickr
Untitled by Marn, on FlickrI lost motivation after getting like 2/3rds of the way there and it sat for several weeks. I finally geared back up and got it going again. Painted the tub and the fenders and the frame and the suspension.
Untitled by Marn, on Flickr
Untitled by Marn, on Flickr
Untitled by Marn, on Flickr
Untitled by Marn, on FlickrSoooooooo. from there, I weant ahead and bed lined the interior with Raptor. Was super easy using a buddy's bigger compressor.
Untitled by Marn, on Flickr
Untitled by Marn, on Flickr
Untitled by Marn, on FlickrI let that cure for a few weeks.
Somewhere in there I went and bought a CVT tent. Wife and I took the camper camping, and got super annoyed with the situation. We had to go to 8 campgrounds before finding a spot, then had to deal with screeching kids, off leash dogs, oompa oompa music coming out of some lowered trucks that came in with the beds packed to the roof line with bikes and play houses and toys and luggage, and everybody walking directly through our site to use the outhouse. As soon as we got home, i hit up craigslist and brought home the RTT. IT was lightly used over the course of the previous year. Saved about $1300 off retail. CVT Mt. Shasta Summit Series.
Untitled by Marn, on FlickrSo, that lit a fire under my butt. After I bed lined it, I looked at alot of builds and made the decision to go with a fixed height rack. I'm tall, and the ability to move around in the Annex was super important. Queue all the "oh my god its too tall you're gonna tip over and kill a bus full of nuns and lawyers children" comments.
 Untitled
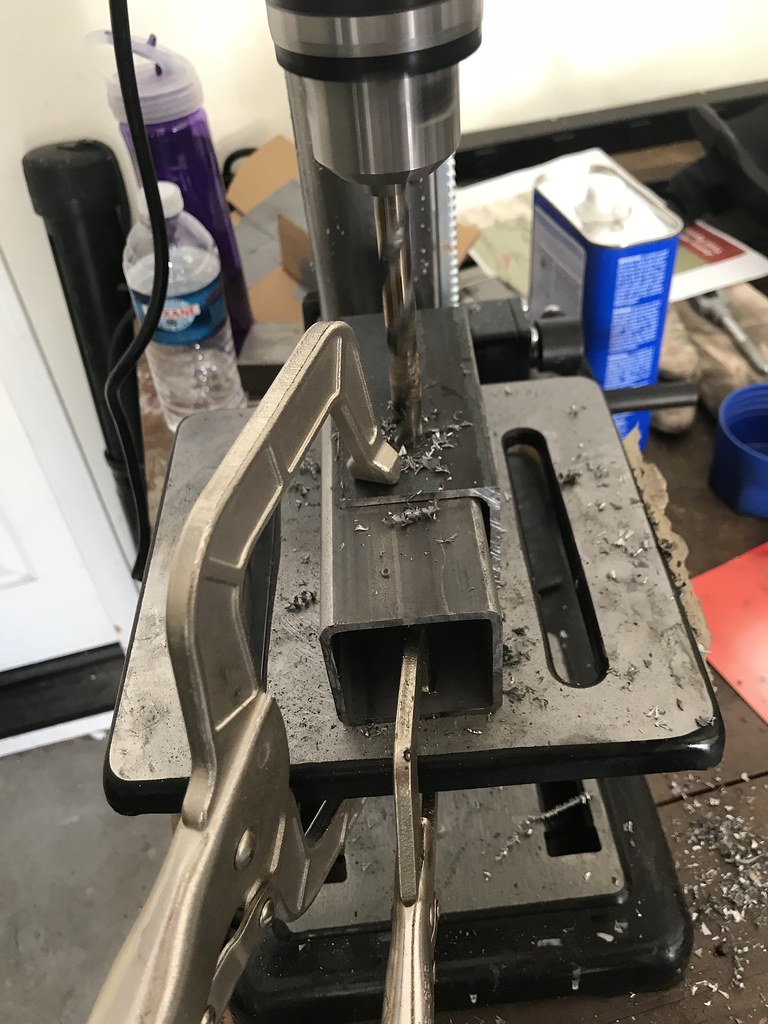 Untitled
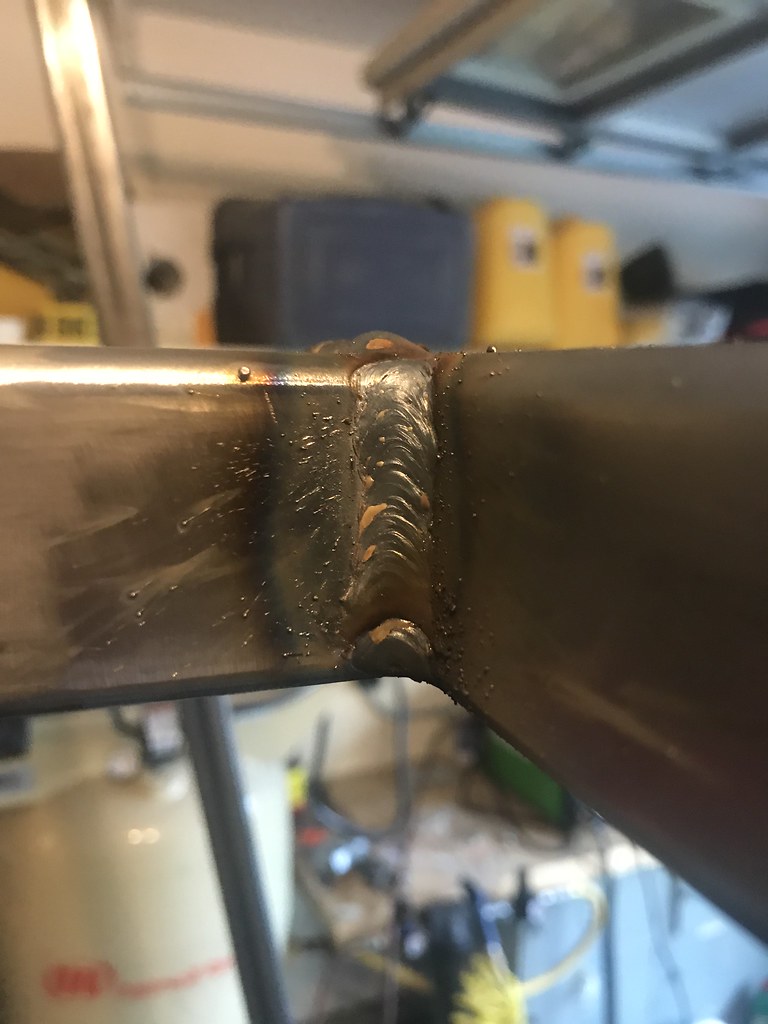 Untitled
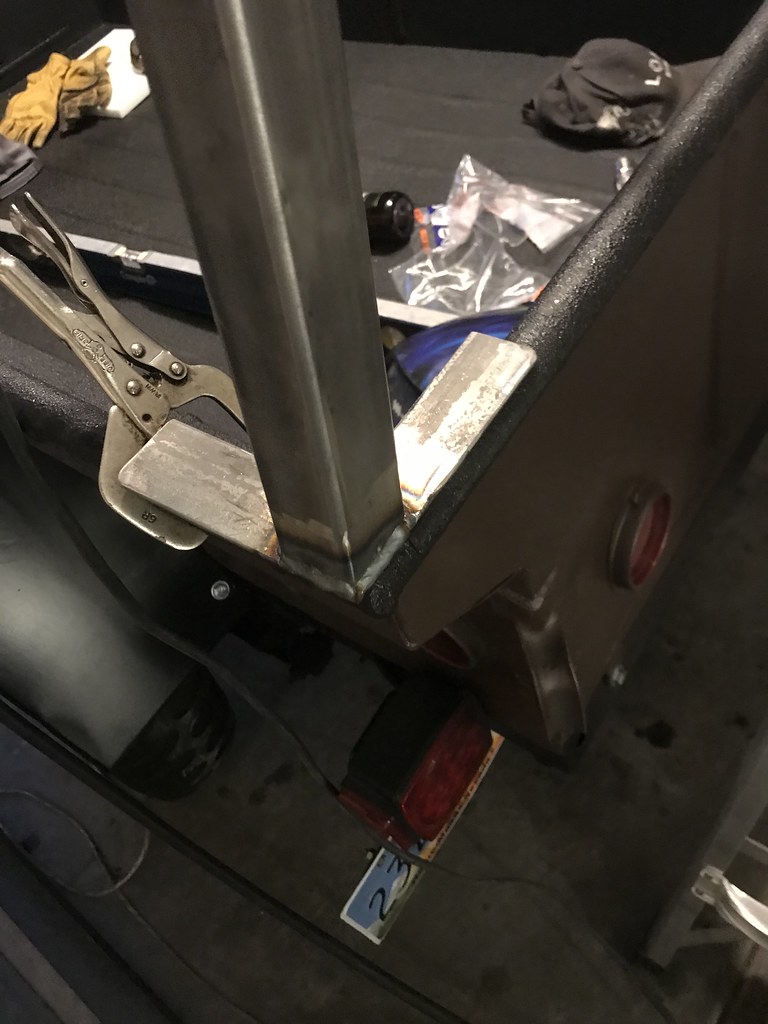 Untitled
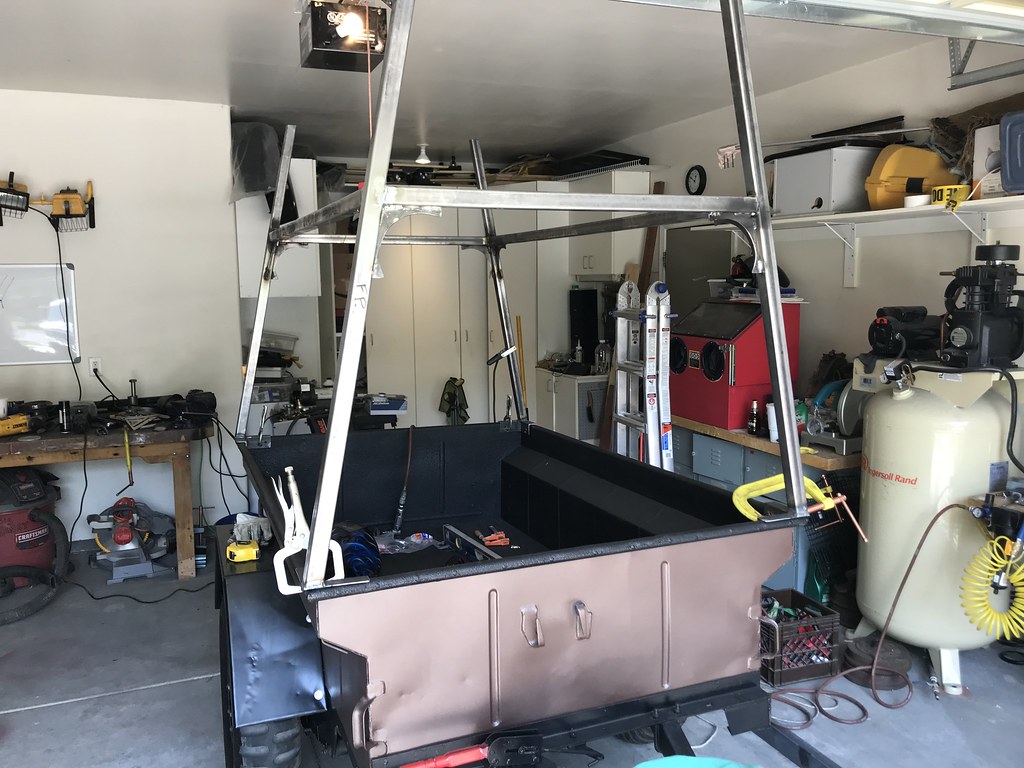 Untitled
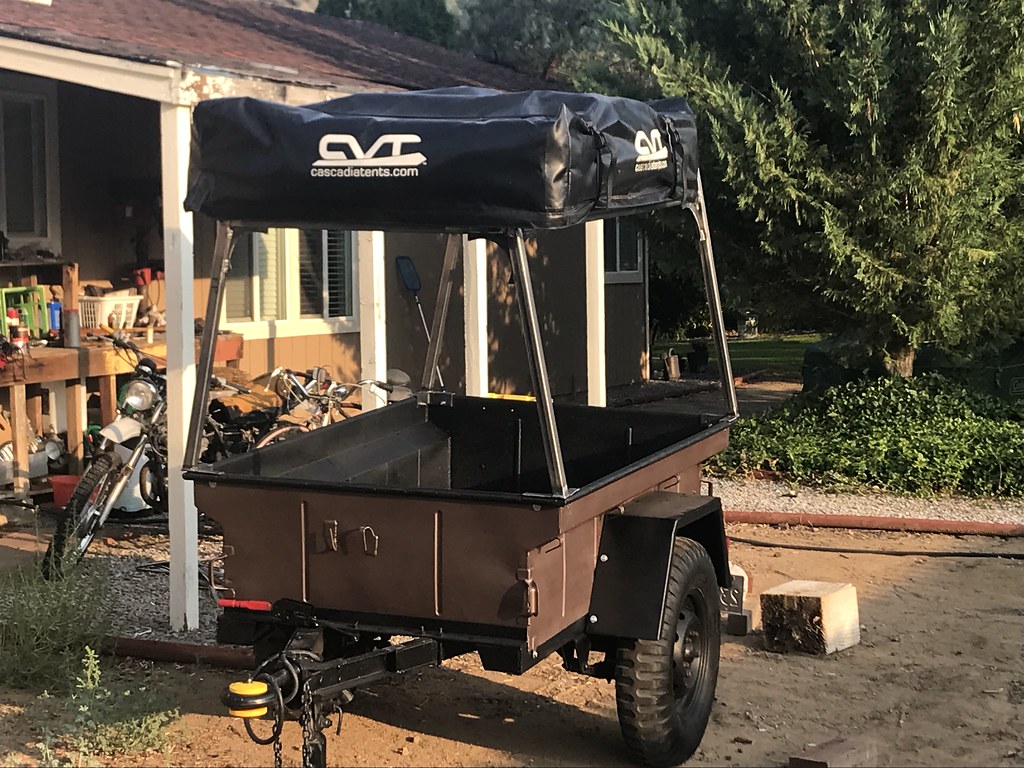 Untitled
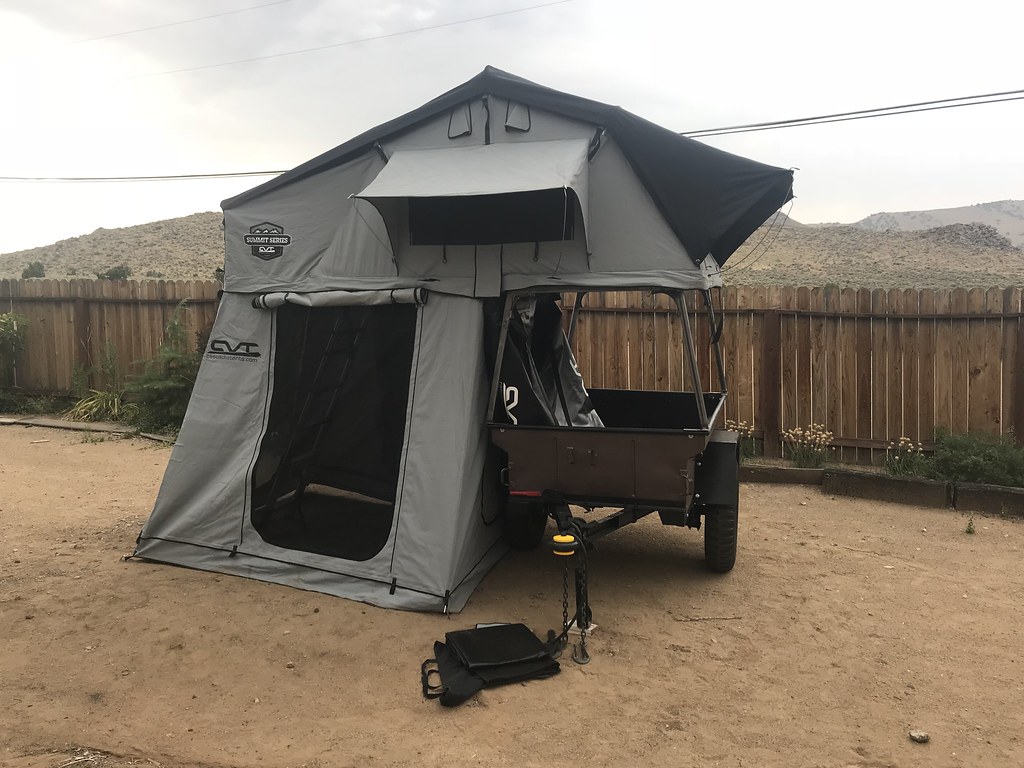 Untitled
 Untitled
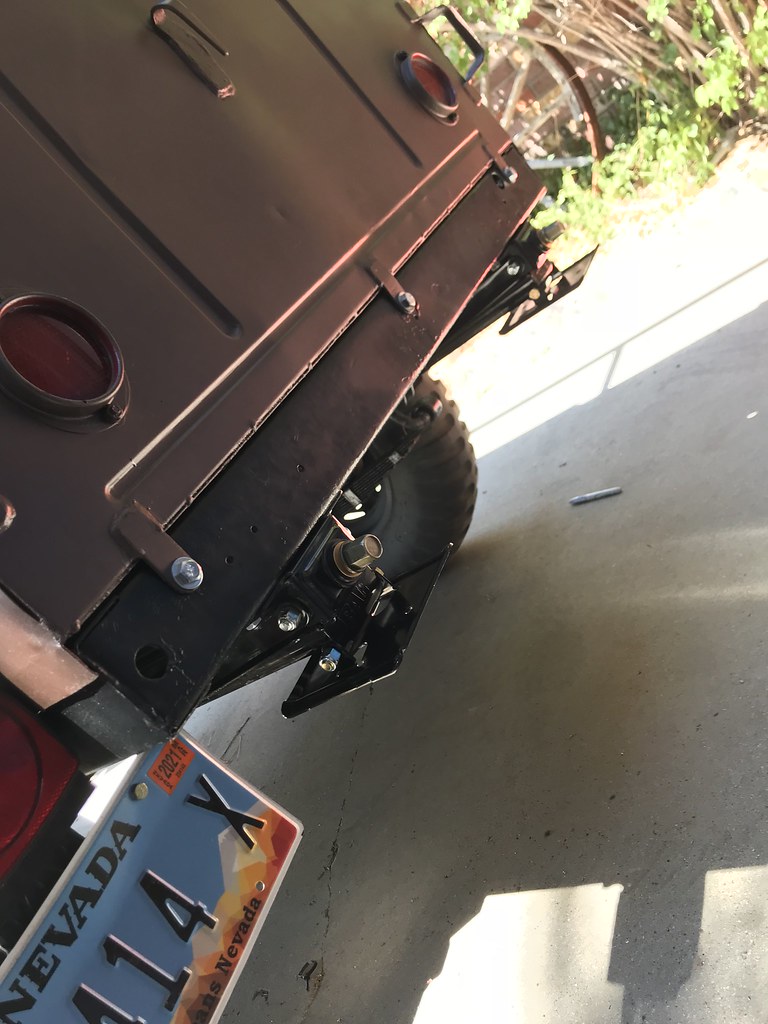 Untitled
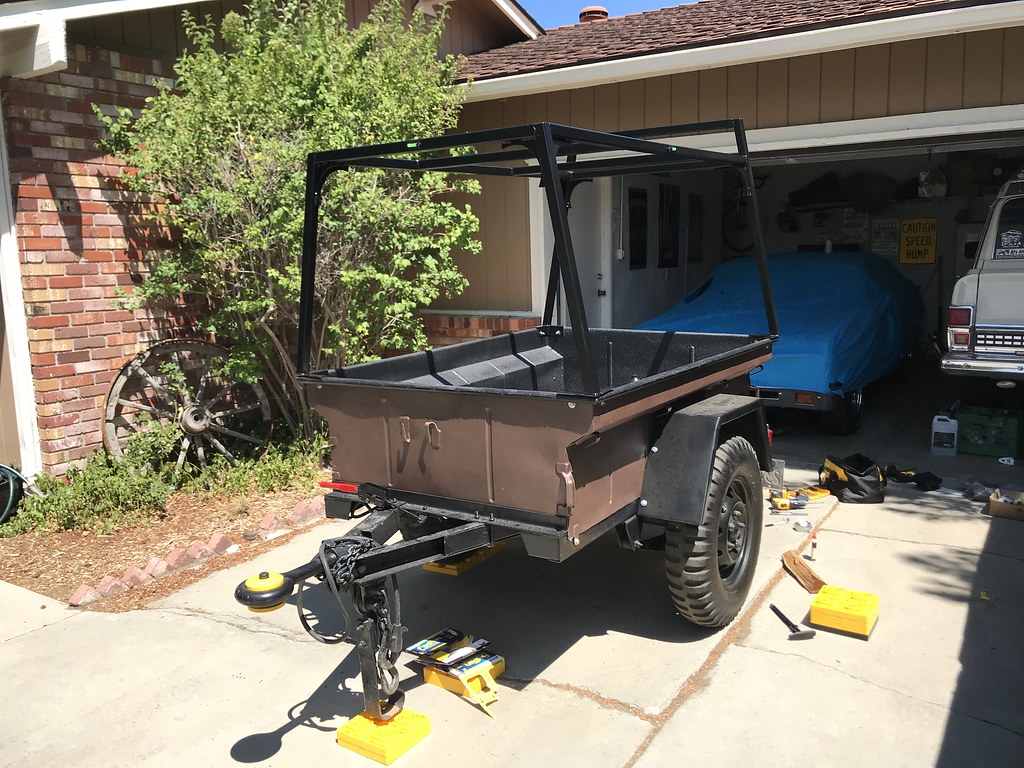 Untitled
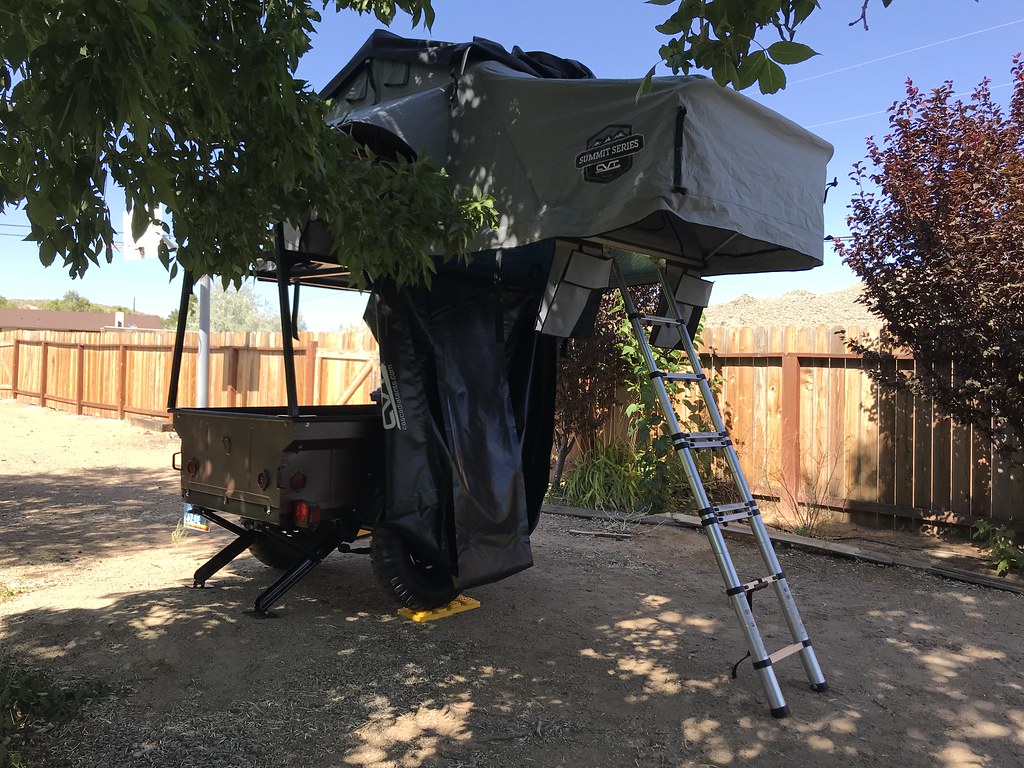 Untitled
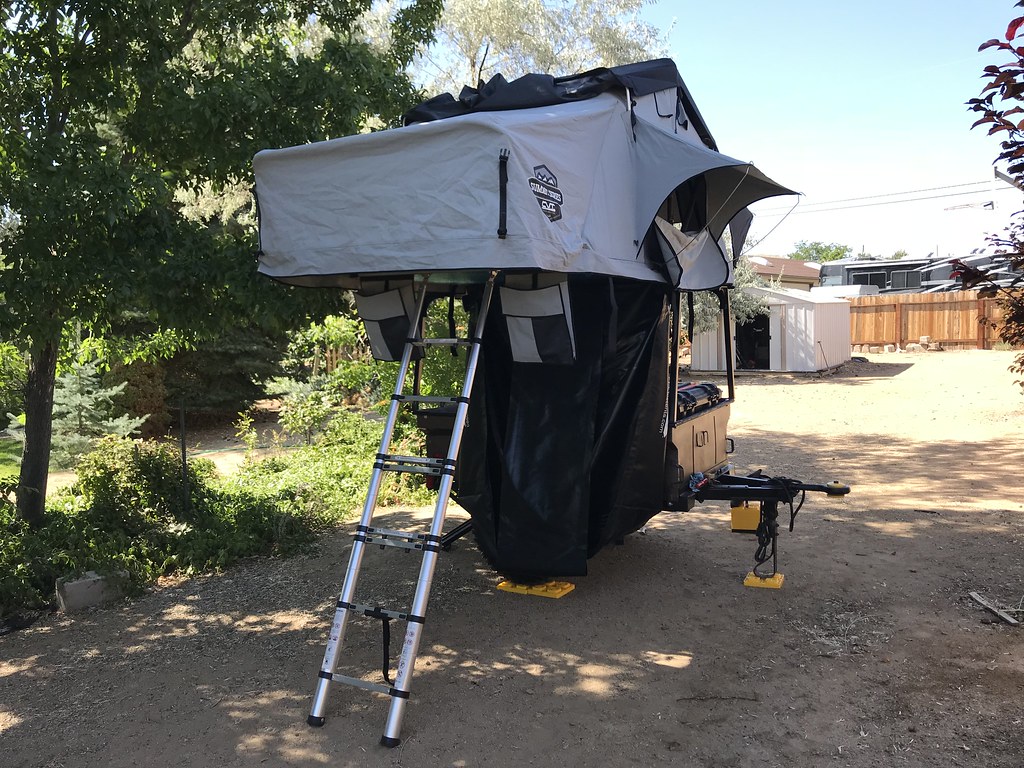 Untitled
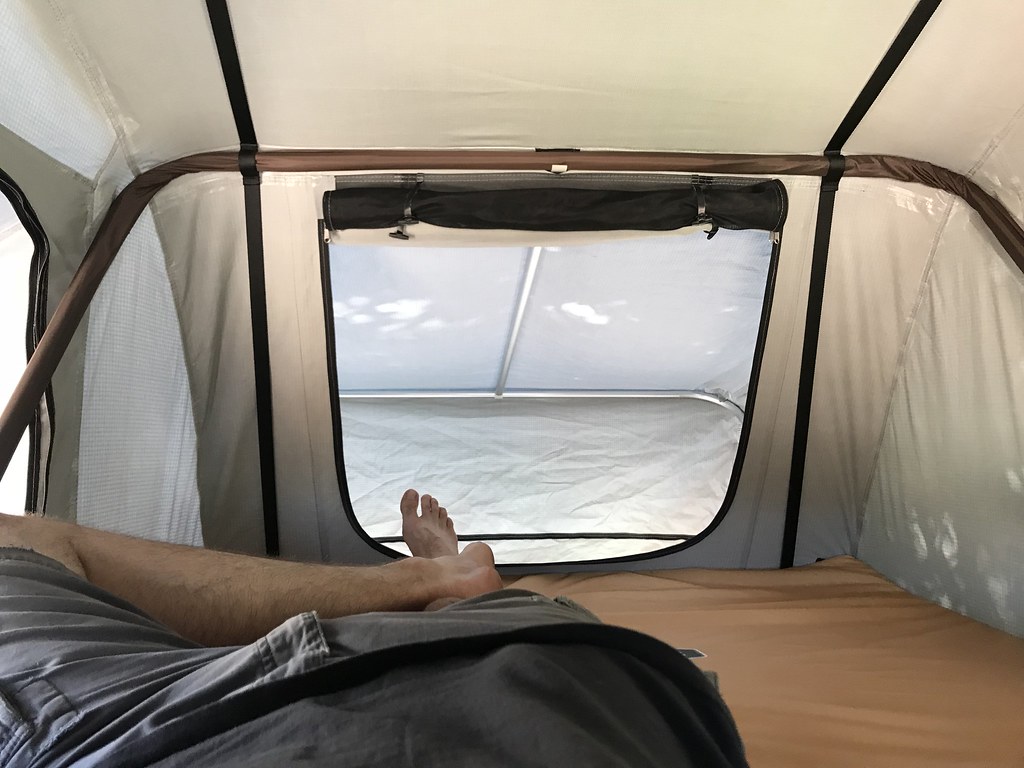 Untitled
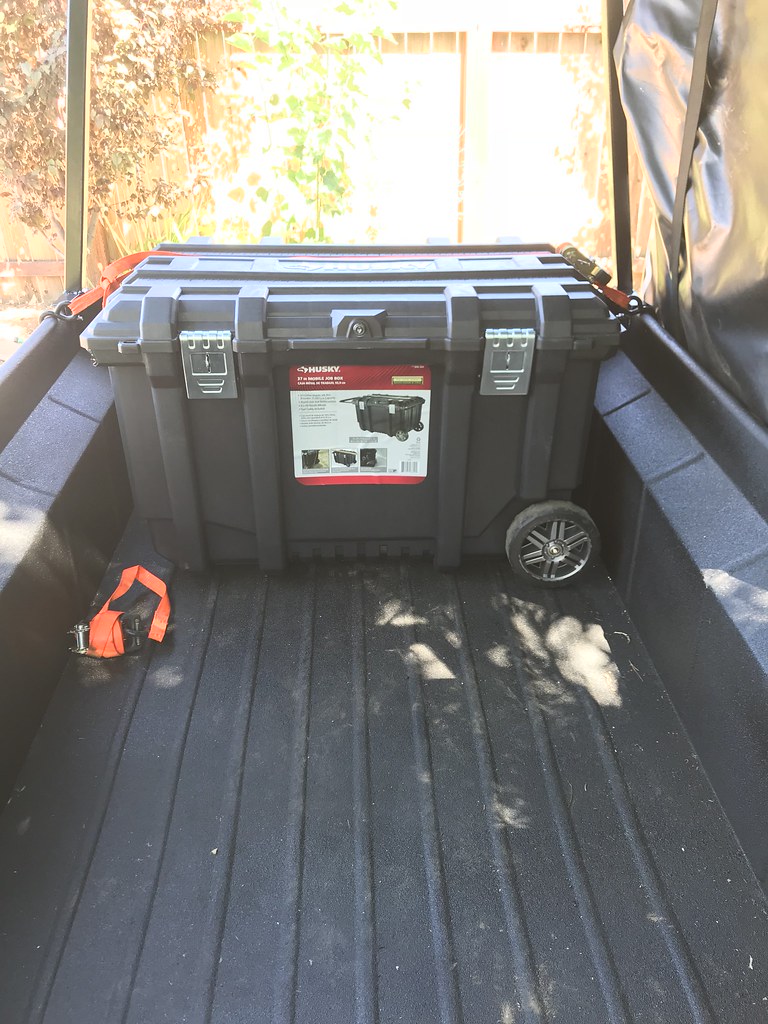 Untitled
 Untitled
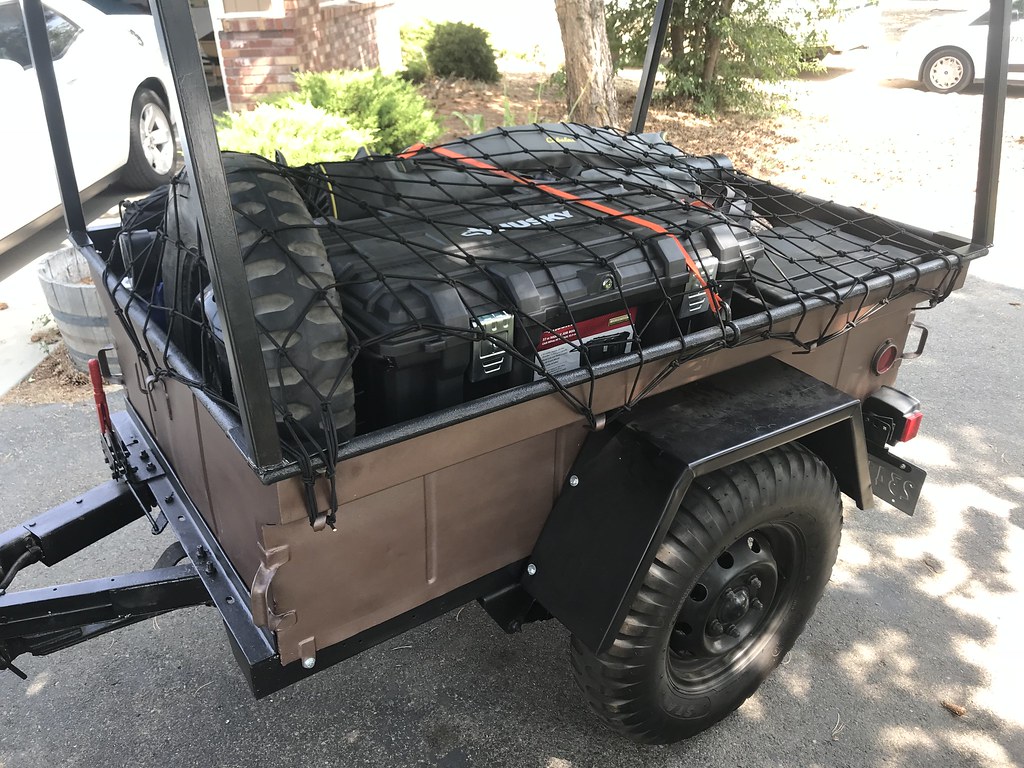 Untitled
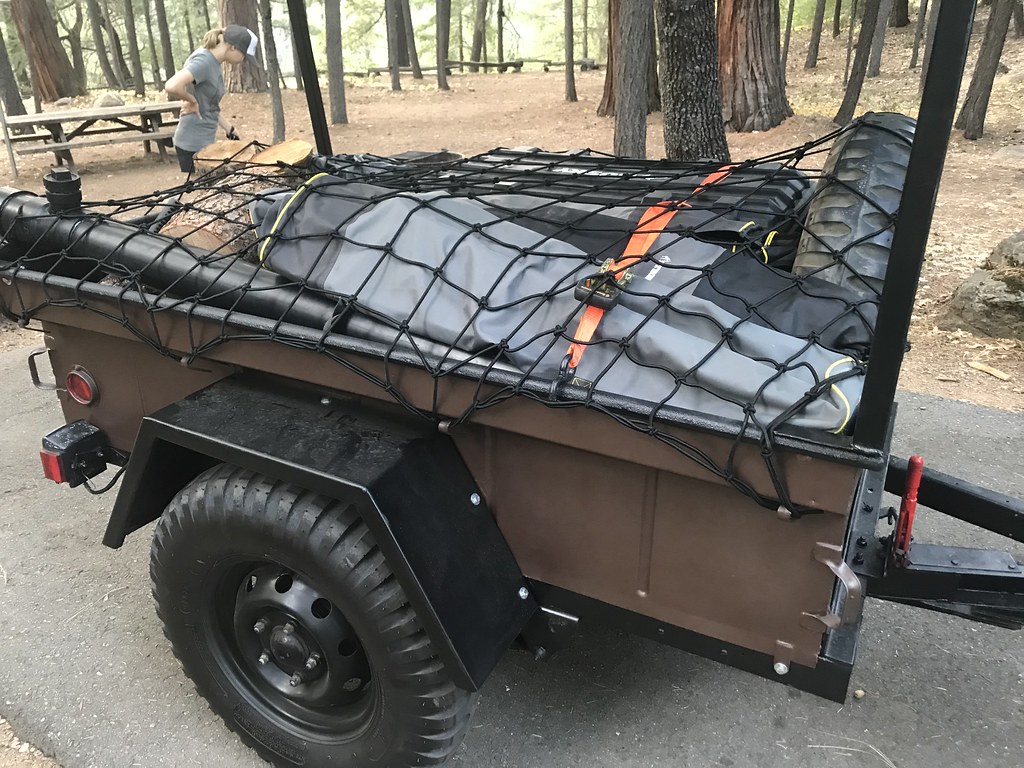 Untitled
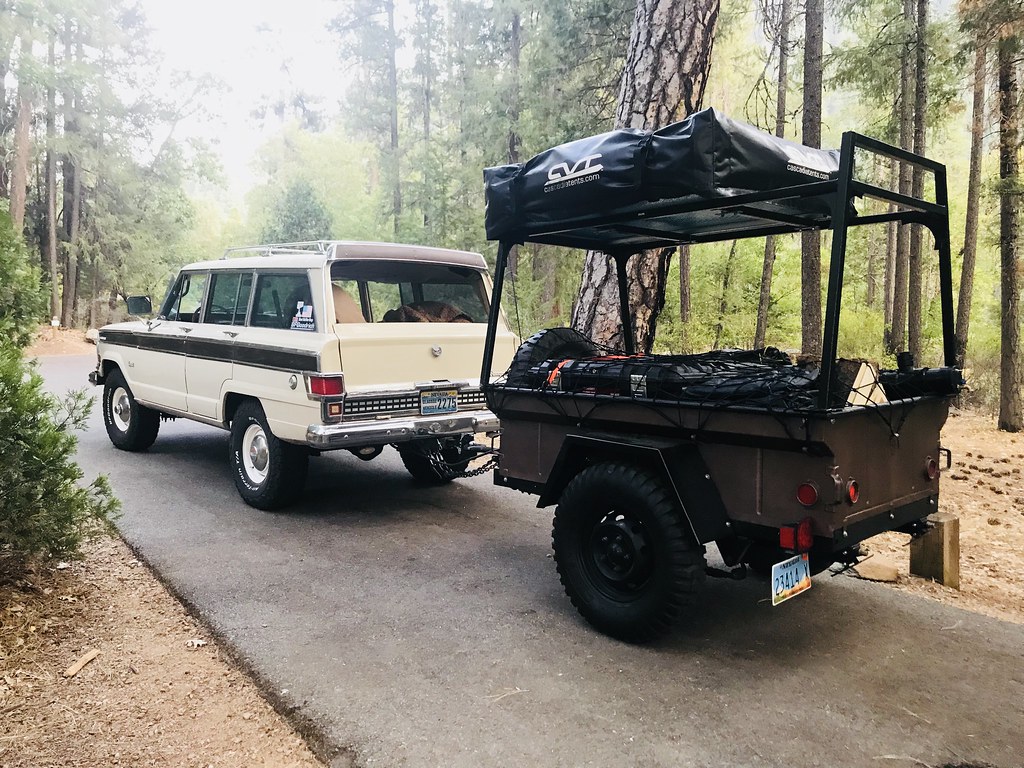 Untitled
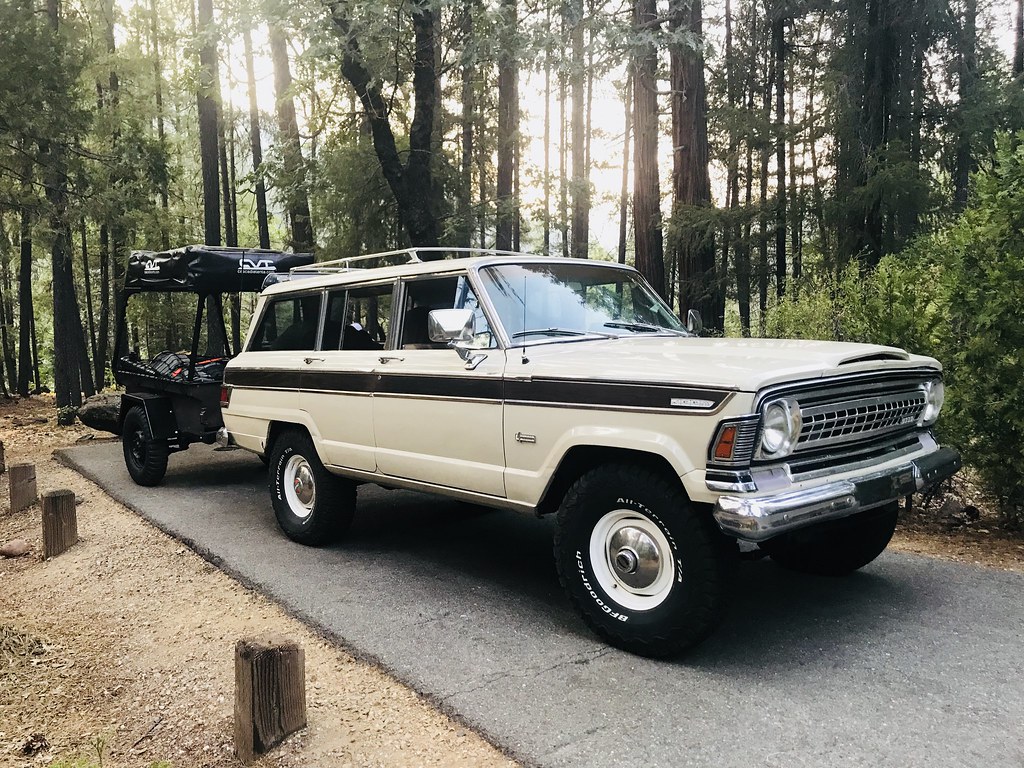 Untitled
 Untitled
 Untitled
 Untitled
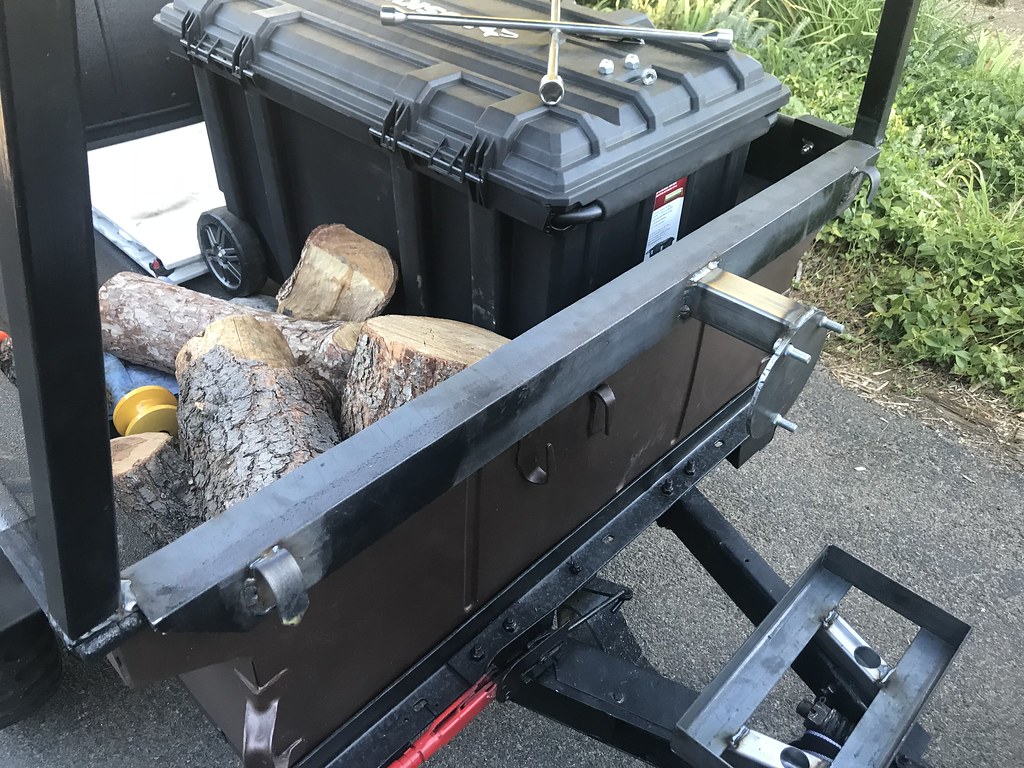 Untitled
 Untitled
 Untitled
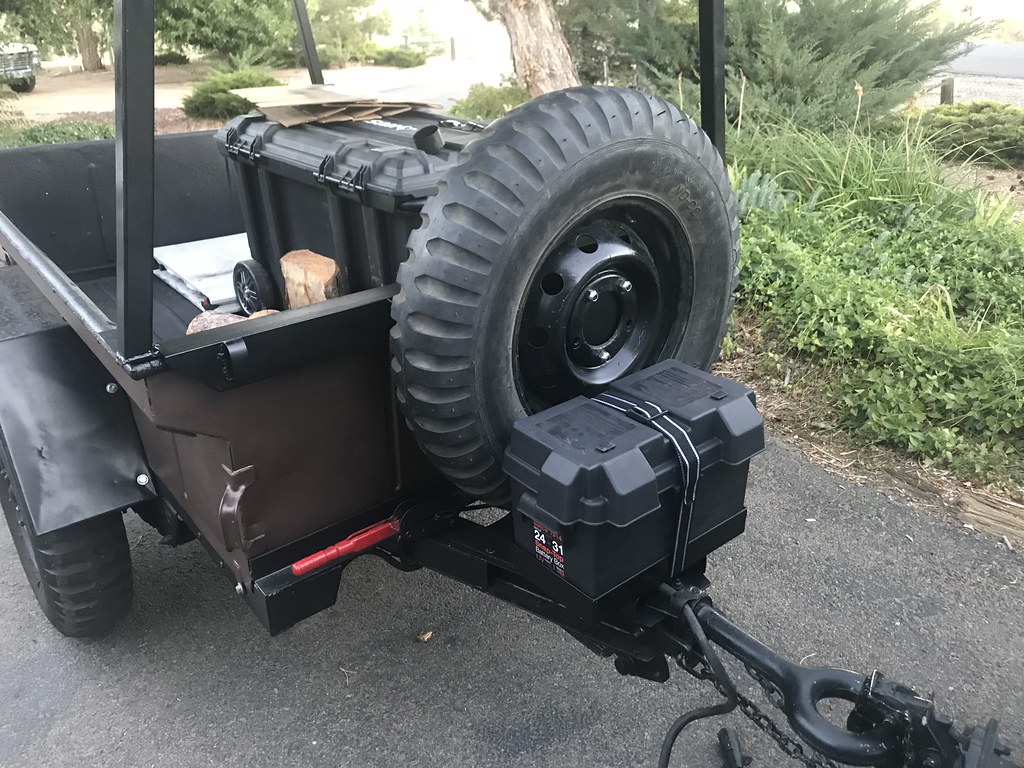 Untitled
 Untitled
 Untitled
 Untitled
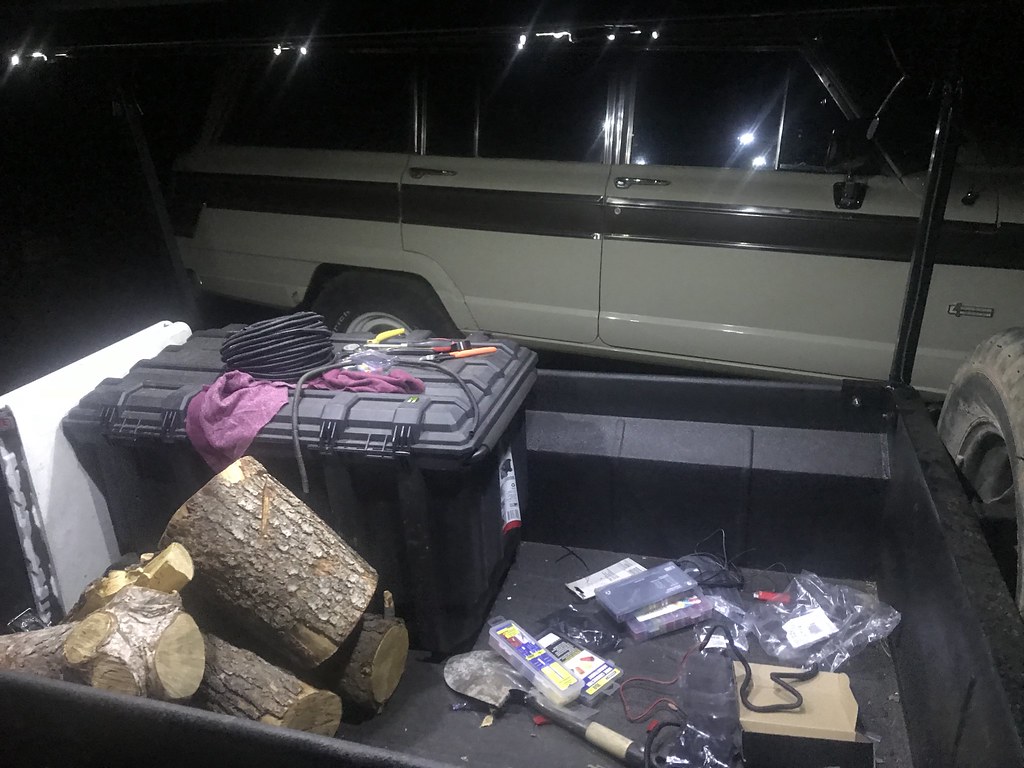 Untitled
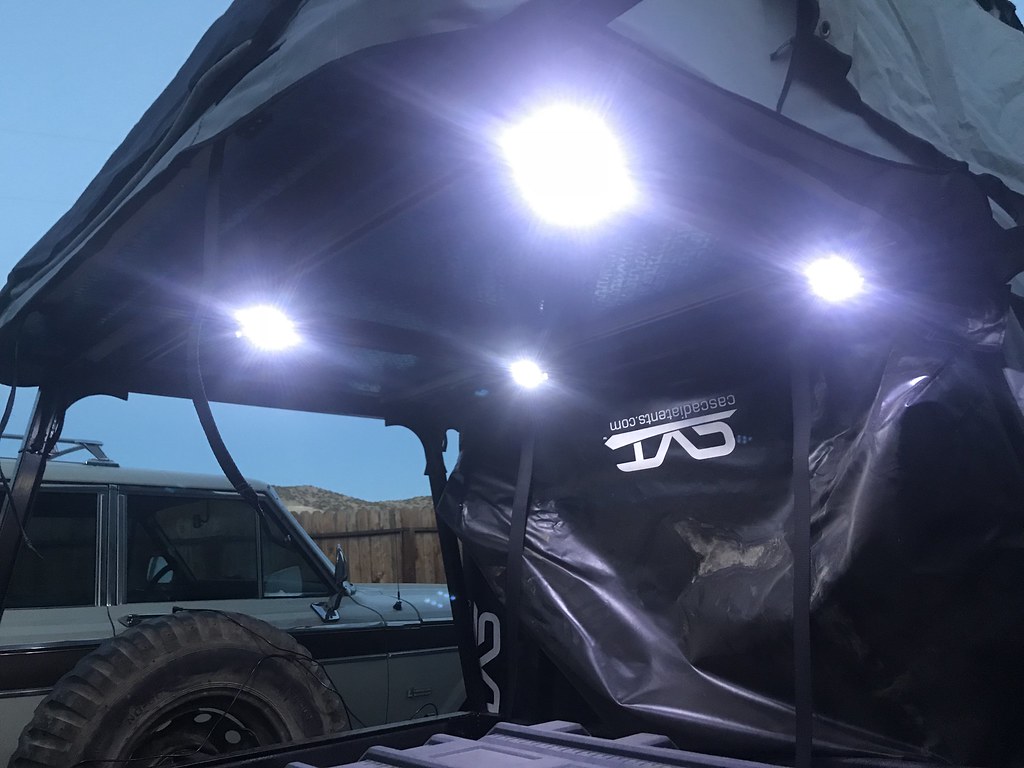 Untitled
 Untitled
 Untitled
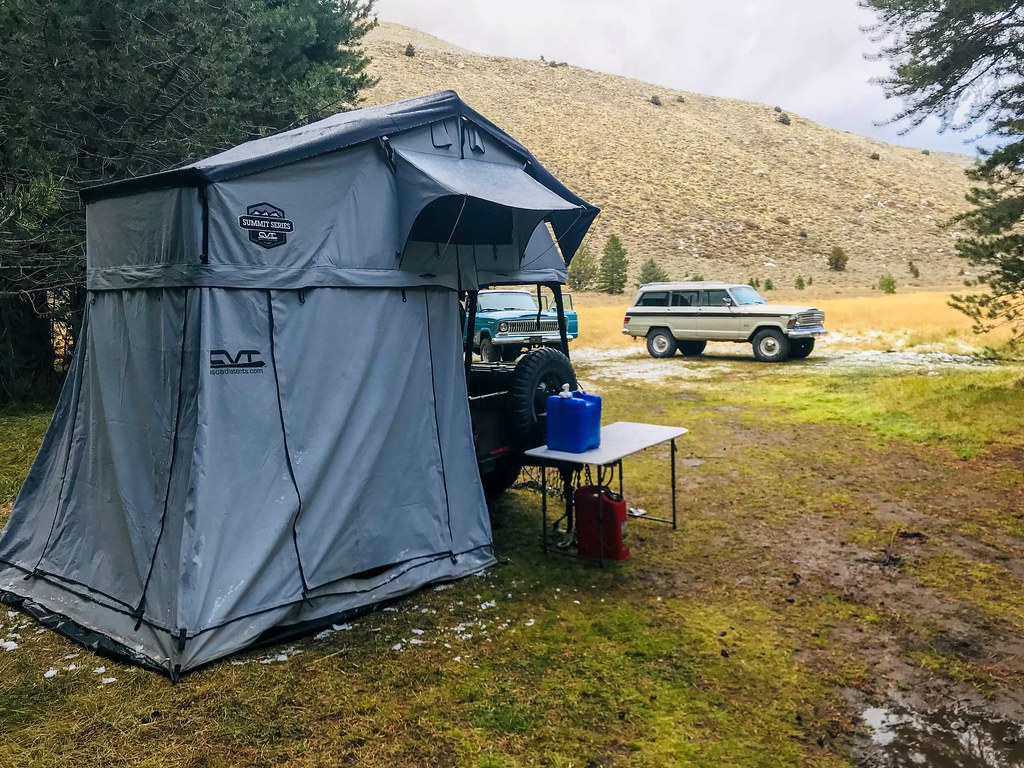 Untitled
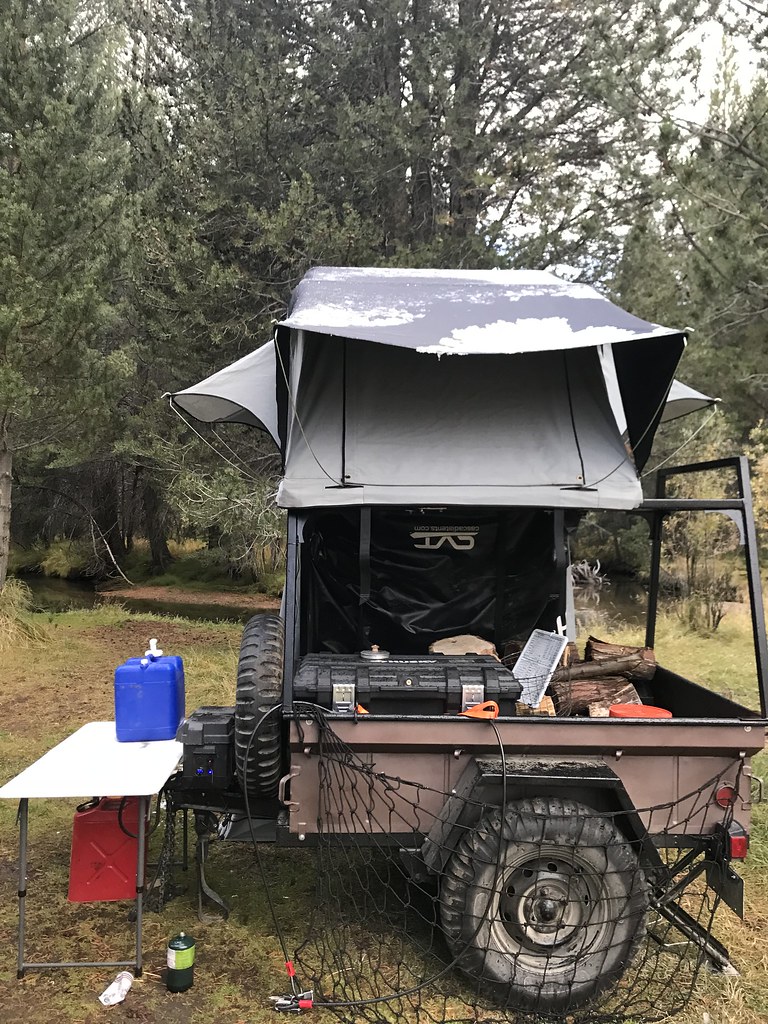 Untitled
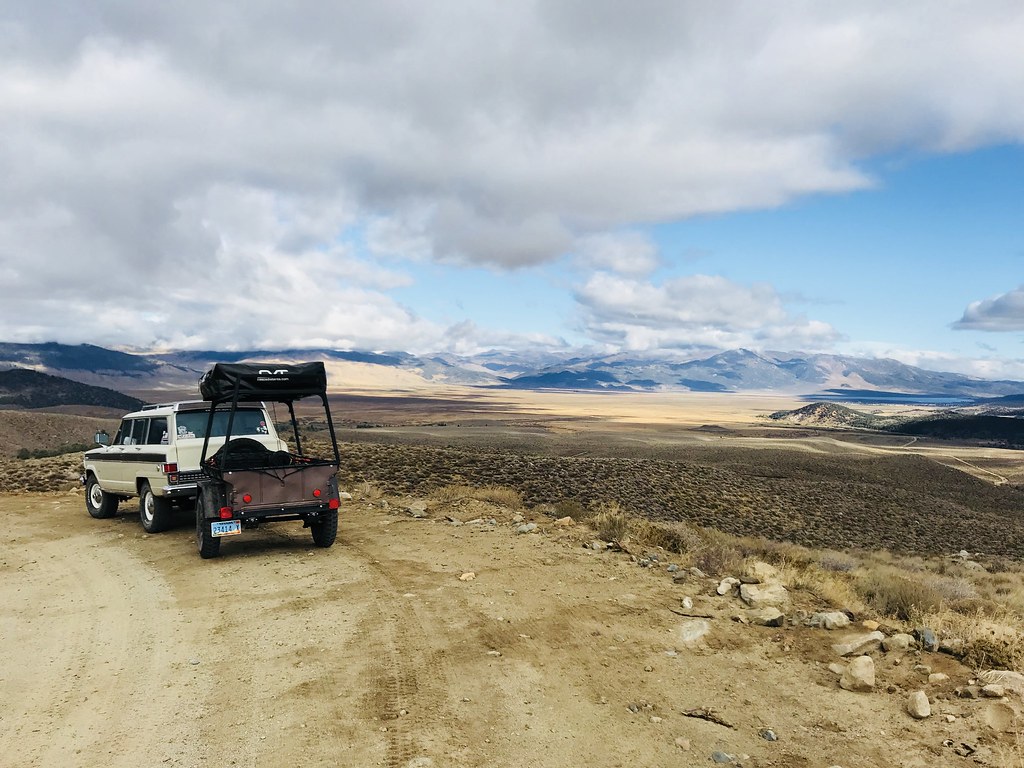 Untitled
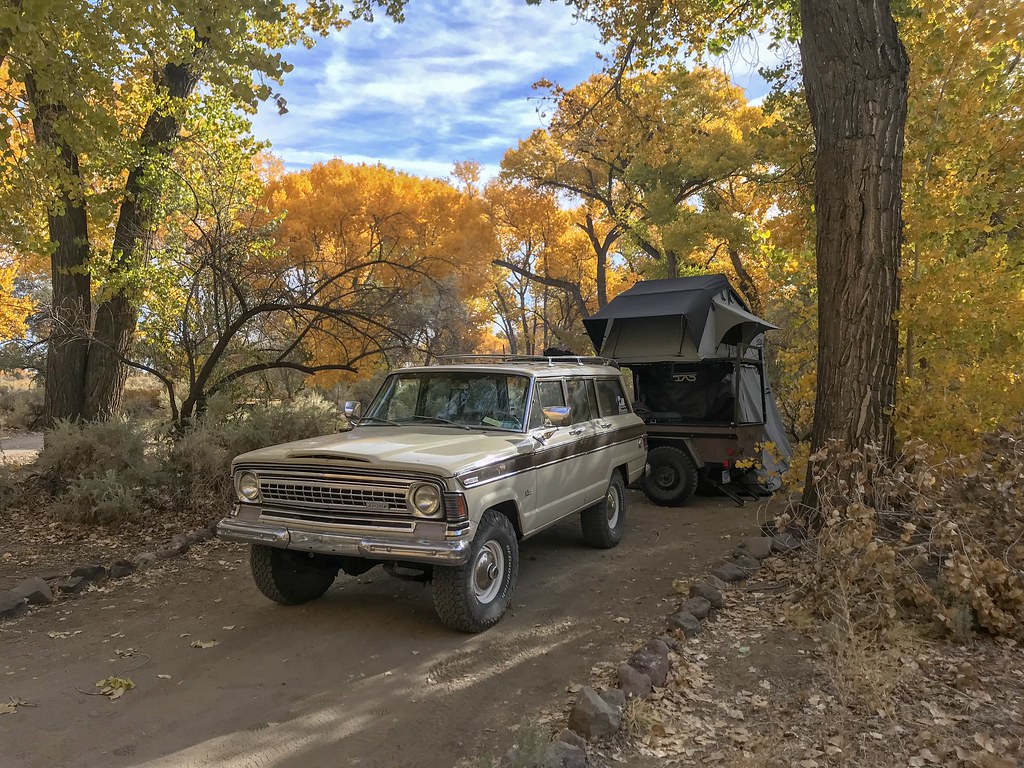 Untitled
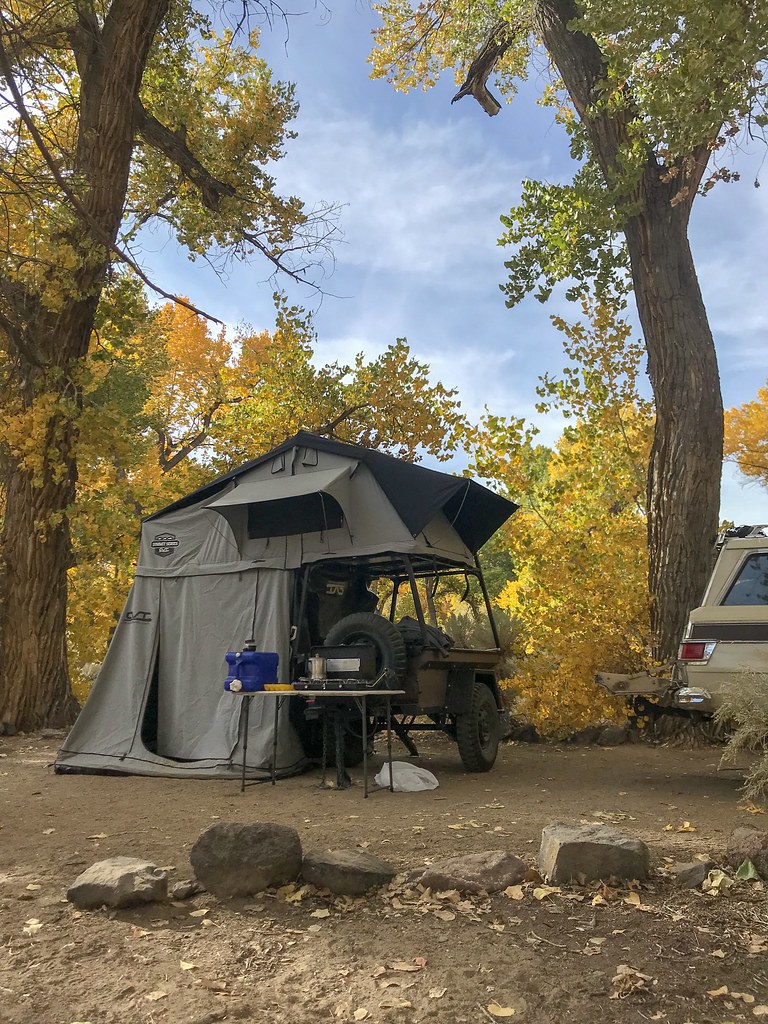 Untitled
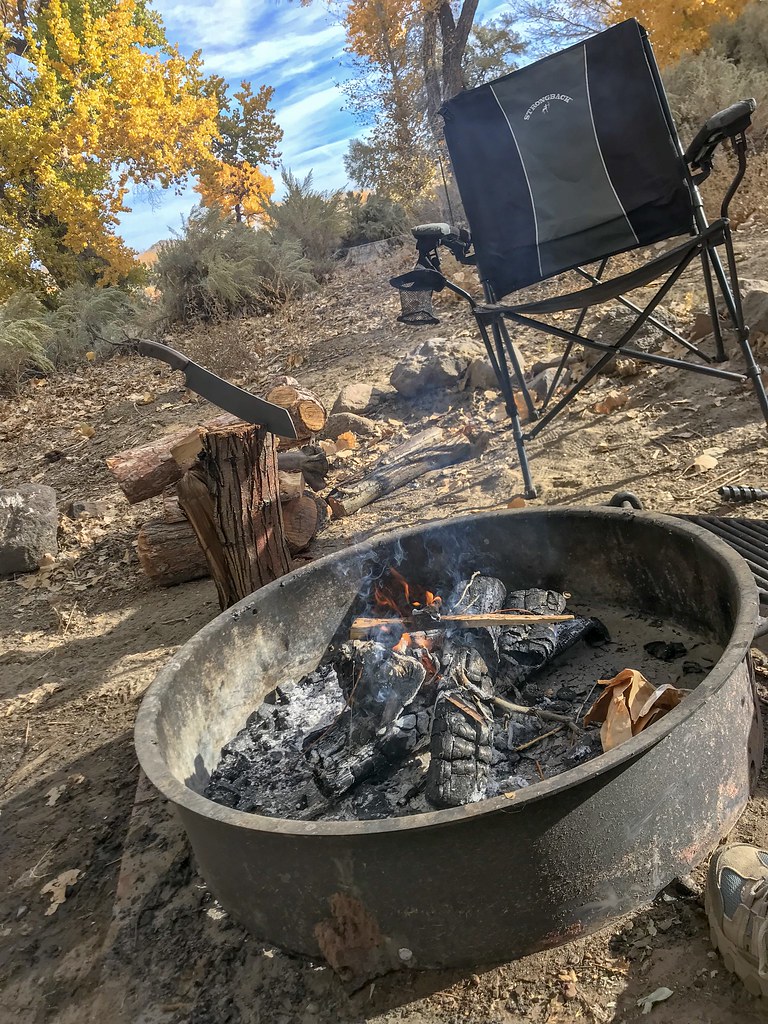 Untitled
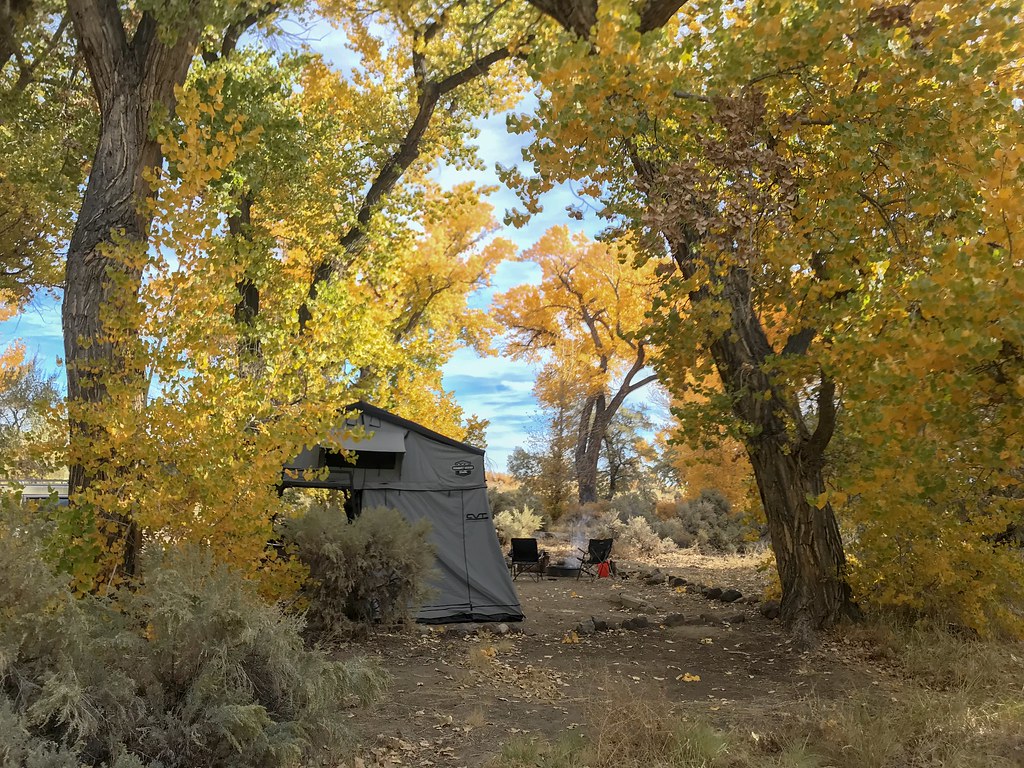 Untitled
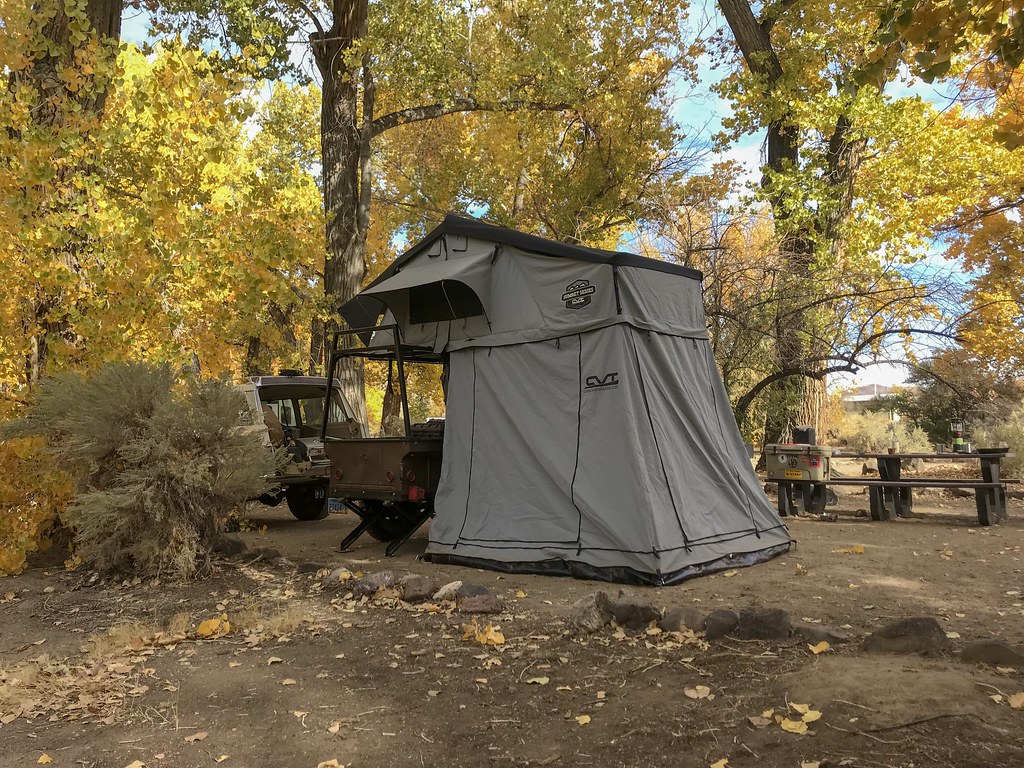 Untitled
 Untitled
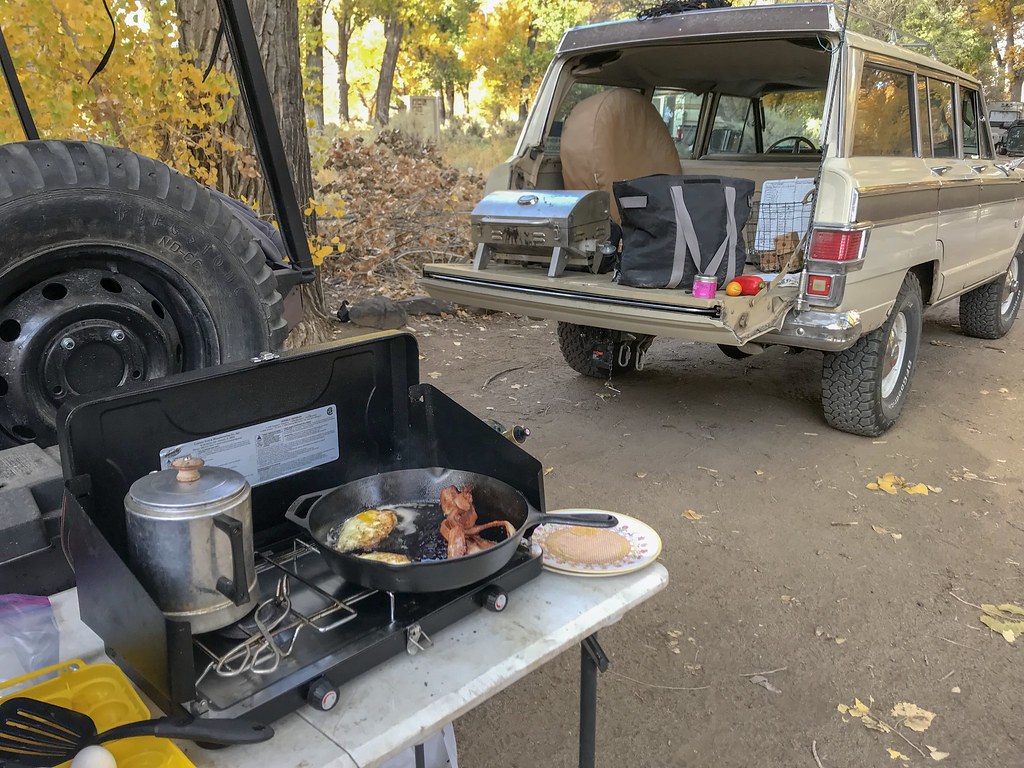 Untitled
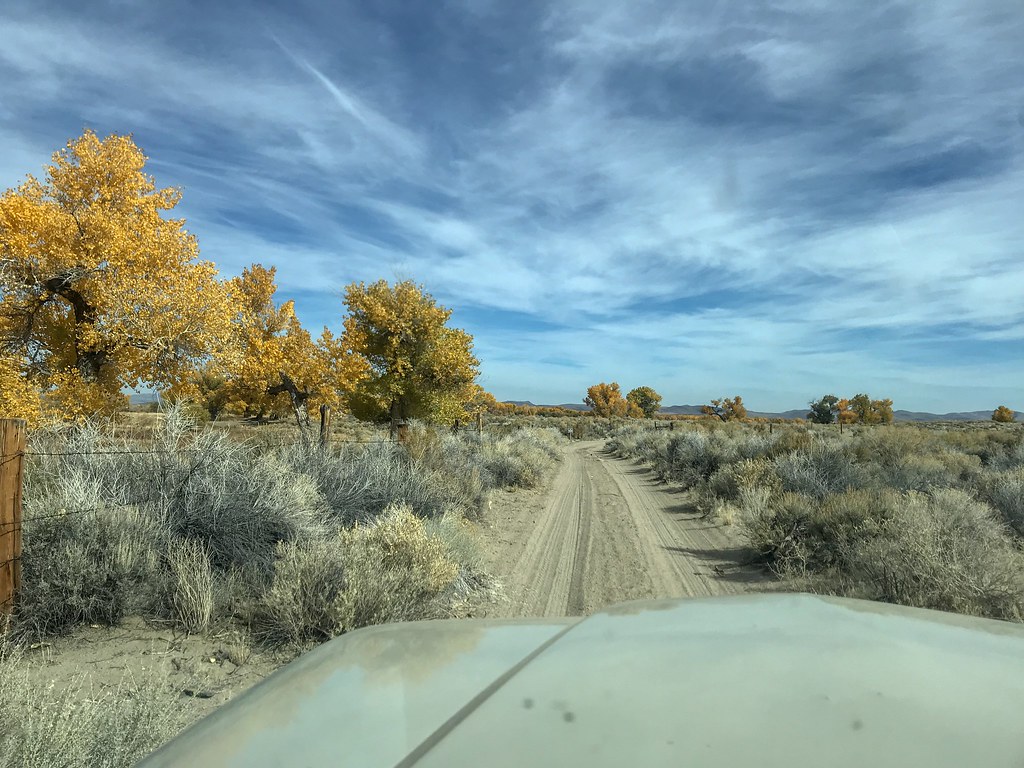 Untitled
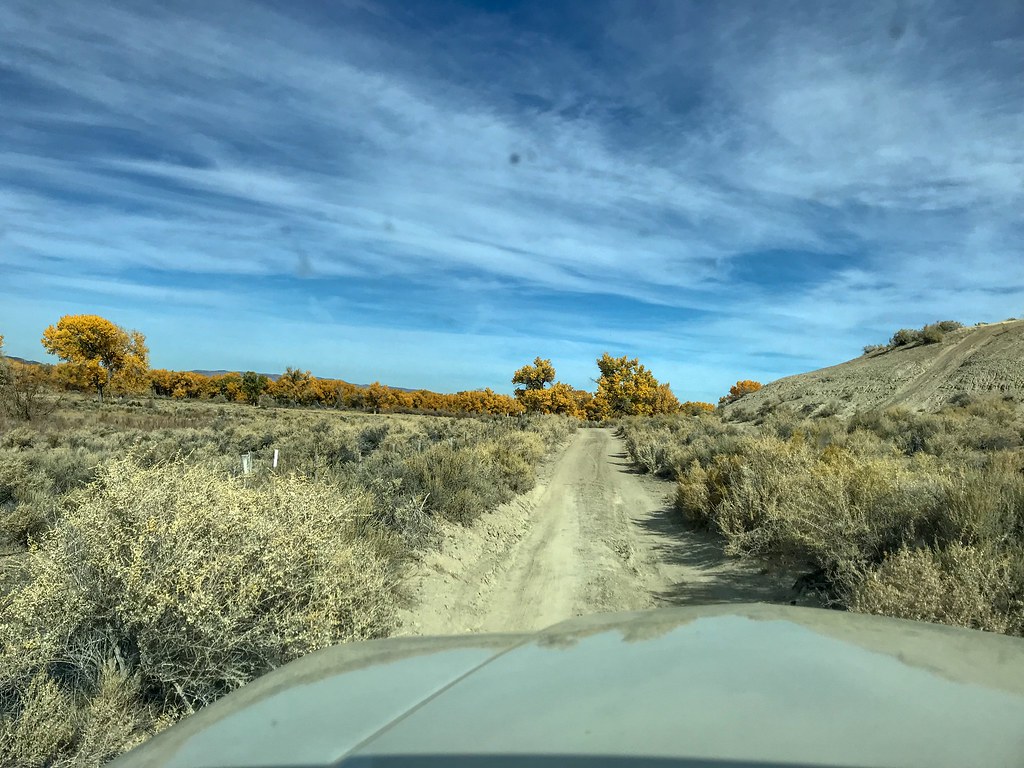 Untitled
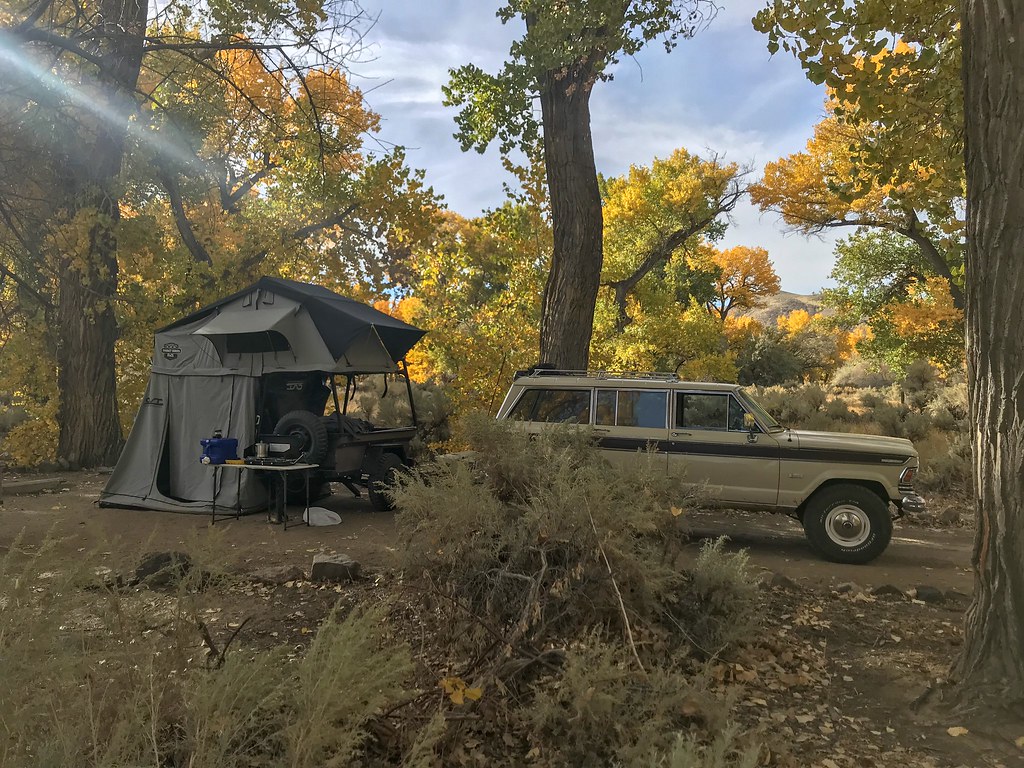 Untitled
 Untitled
 Untitled
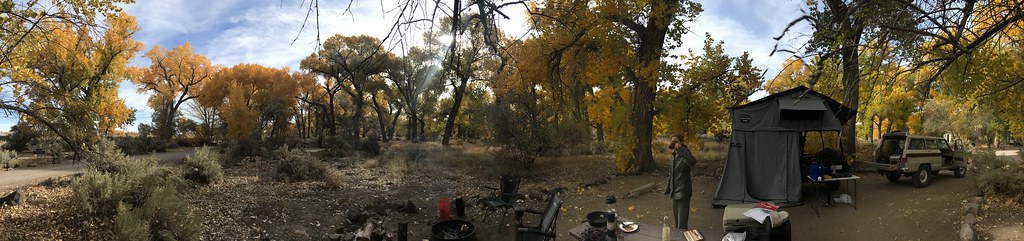 Untitled
 Untitled
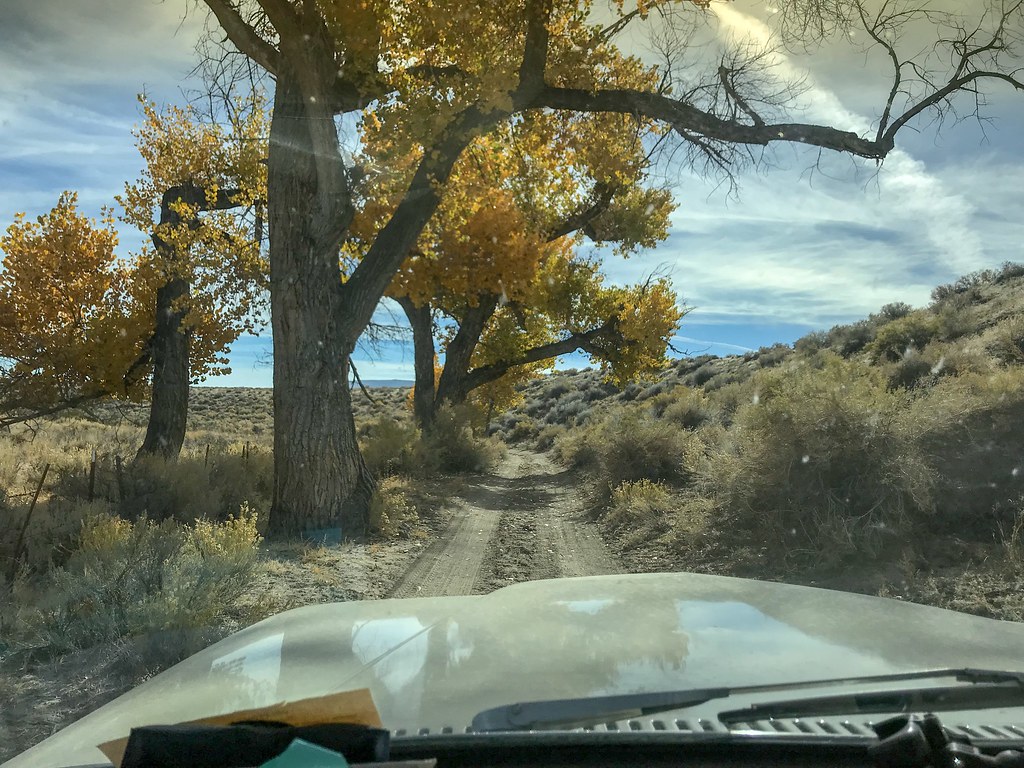 Untitled
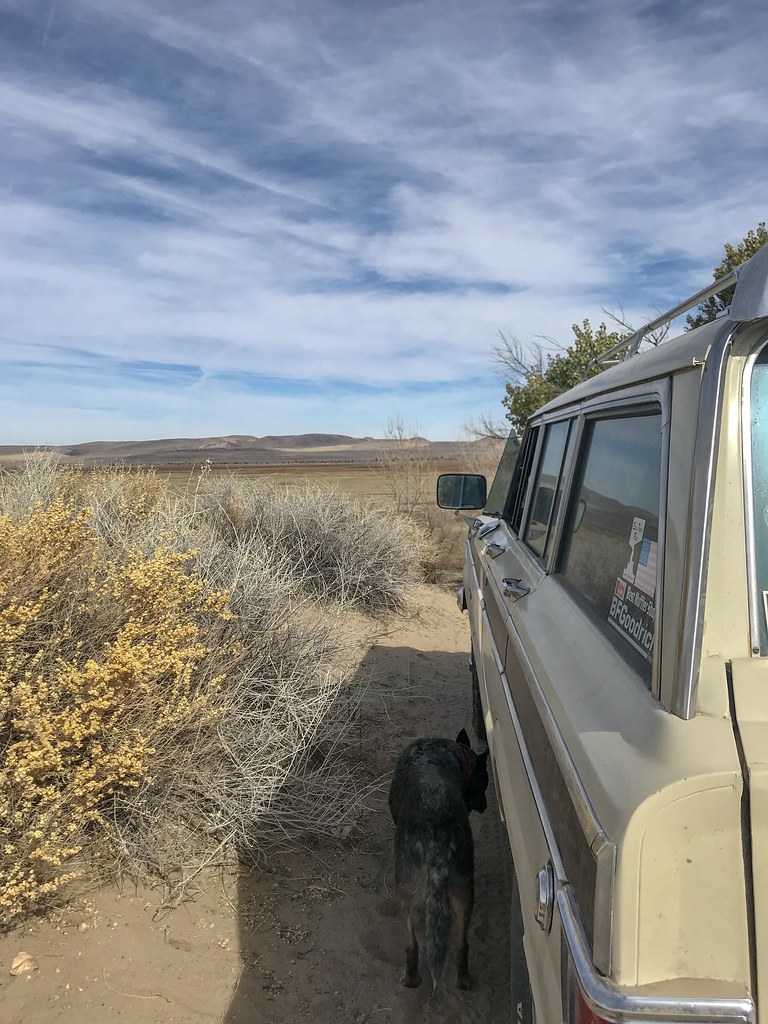 Untitled
 Untitled