Meet the Trot'n Turtle - Unimog U1300L Build

Hodakaguy

Adventurer
Very nice. They look just like they belong there!

Are you planning on having any communications gear in there? You might need those antenna holes to mount new ones.

Not planning any communications gear at this time. I might add a mount to the rack though for future expansion before powder coat.

Hodakaguy
 

Hodakaguy

Adventurer
Not sure if you mentioned it in a previous post, (i think you might of, though i can't recall), but what colour scheme are you going?

Black fittings and ??????

Not 100% positive yet on the body color. All the bolt on bits will be a satin black in a slightly textured finish, I'm leaning towards a grayish/blue color for the body right now, it would be so much easier to just re-paint it red but I really don't like the red color all that much.

Hodakaguy
 

thebigblue

Adventurer
Hmmm, I remember that you kept the fire-bed-box and bought a new flatbed to build your camper on. So wont it look at bit odd in another color than red with the firebox on? ;)
 

Hodakaguy

Adventurer
Hmmm, I remember that you kept the fire-bed-box and bought a new flatbed to build your camper on. So wont it look at bit odd in another color than red with the firebox on? ;)


The fire box is up for sale and won't be going back on the truck. Anyone need a awesome service truck box?

Hodakaguy
 

patoz

Expedition Leader
The fire box is up for sale and won't be going back on the truck. Anyone need a awesome service truck box?

Hodakaguy


Any idea how much it weighs?

I'm still trying to justify buying that thing, but just getting it here to Pensacola, FL would be a feat in itself. :(
 

Hodakaguy

Adventurer
I'm guessing around 2000lbs. As far as shipping goes you could try U-ship, I've had good luck using them.

You need this box :bike_rider:

Hodakaguy.
 

patoz

Expedition Leader
I'm guessing around 2000lbs. As far as shipping goes you could try U-ship, I've had good luck using them.

You need this box :bike_rider:

Hodakaguy.


That's just it, I don't need it...I just WANT it! :coffeedrink:

What I need is a new house with a big shop like you have, so I'll have a place to work on projects like that. Living in a tiny subdivision house in a 50 year old neighborhood just doesn't cut it.
 

Sitec

Adventurer
Road trip!!!!!!!! :) That's the kinda thing I'd do!! Drove across Australia to collect a trailer I bought 2 yrs ago.. Drove across Australia last year to drive the Truck home!!!
 

thebigblue

Adventurer
Road trip!!!!!!!! :) That's the kinda thing I'd do!! Drove across Australia to collect a trailer I bought 2 yrs ago.. Drove across Australia last year to drive the Truck home!!!

Exactly! I did cheat though, took an airliner to the southern regions of Germany to drive my G400 back north to Denmark, nothing compared to crossing AUS though ;)
 

thebigblue

Adventurer
I actually remember seeing pictures of an MB 1017AF DOKA with a firebox converted to an expedition truck. Can´t seem to find it lately. They expanded the hight of the box some 50 cm. kept the shutters from the firebox to hide up all the windows - pretty stealth! If anybody can lead my back to the forum where I saw it I will be grateful (Might be a Spanish forum..). Sorry about the highjacking... :/
 

Hodakaguy

Adventurer
Not a ton of progress this weekend but slowly chipping away at it.

When the troop bed arrived to us the front of the bed had been bent slightly forward, we straightened it when we installed the bed on the truck but there was some damage on the passenger side gate that still needed attention. The passenger side gate is very tight and you have to hammer it into place and use a pry bar to remove it from the bed, not going to work once it's painted so we needed to fix this issue. After looking at the problem a bit the center pivot was hanging slightly and after a couple minutes with a air grinder and blending pad the gate is removable again by hand :). We then used a torch and a few pry bars/hammers to work the dents out of the metal where people had used hammers in the past to install the gate, will look great again once painted.

P3050369.jpg


Disassembled the battery box and removed it from the truck along with the steps on both sides, these will all be re-done in a satin black. The battery box is in really good cond, just some slight surface rust in spots.

P3050380.jpg


P3050004.jpg


All removed hardware goes into marked Zip Lock bags for easy identification later during re-assembly.

P3050382.jpg


With parts removed for paint we decided to switch gears a bit and rotate the tires, I'm starting to notice some slight cupping on the front tires so it's time (also need to chalk the tires with the RW1 box removed and figure out proper air pressure). The 22 Ton air jacks are to short to reach the axles even with the tallest supplied adapters installed so we had to use some wooden blocks to crib up the jack. My father is picking up some round stock this week that we will machine into taller adapters so the jacks can be used on the MOG without the blocks.

P3050005.jpg


More to come...

Hodakaguy
 

Hodakaguy

Adventurer
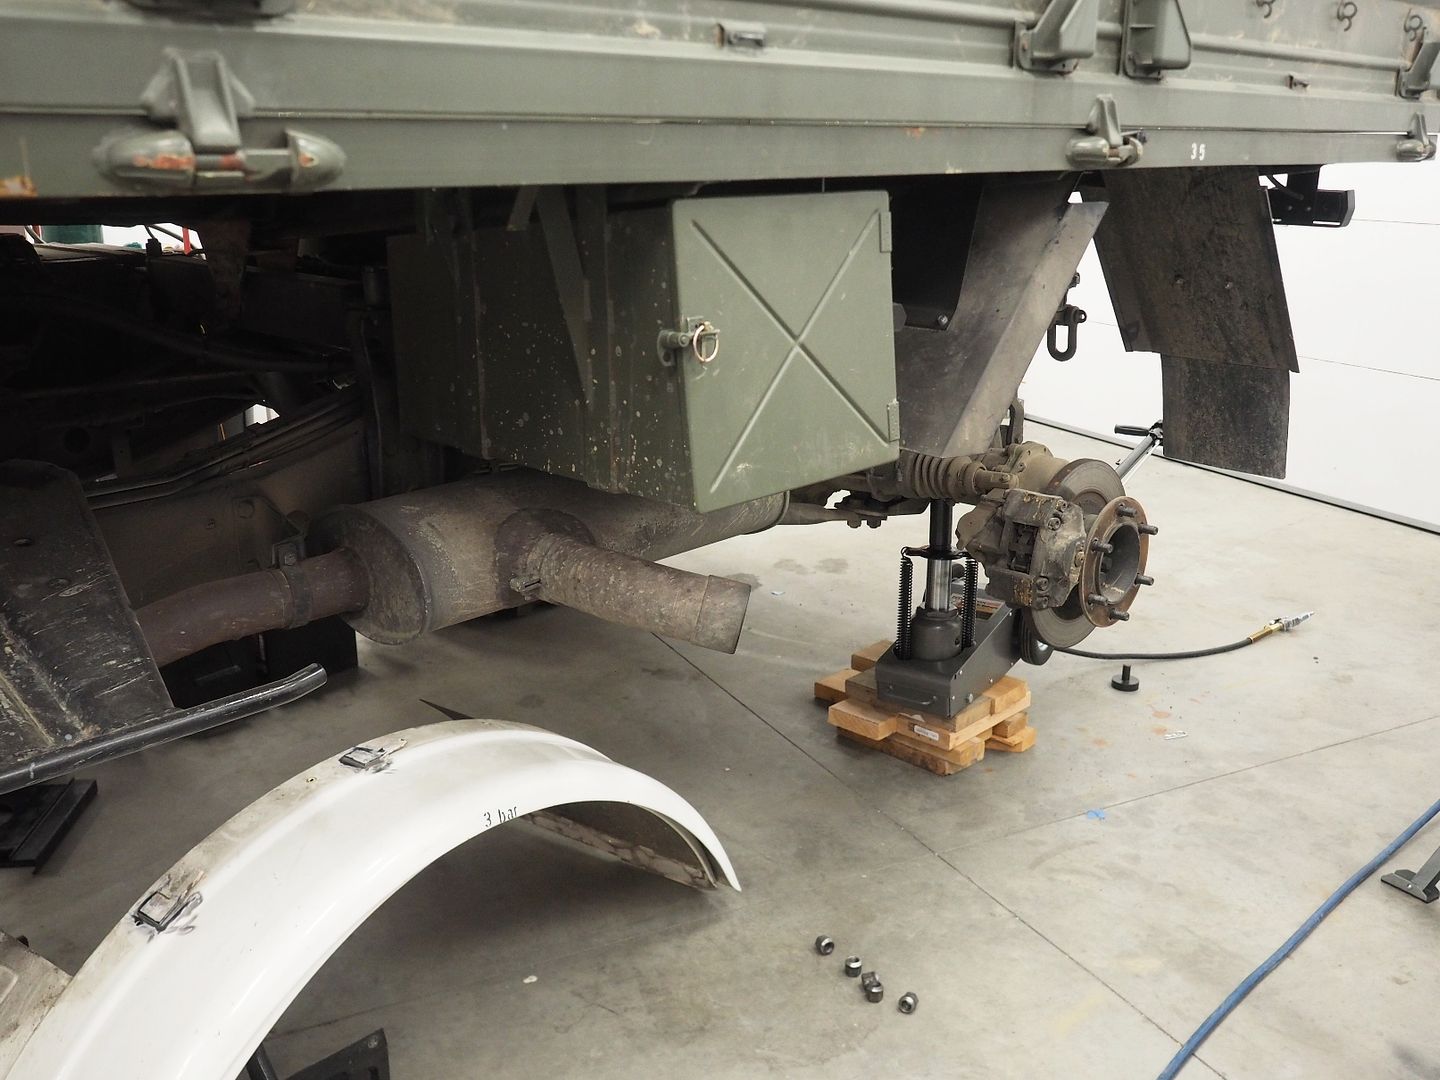
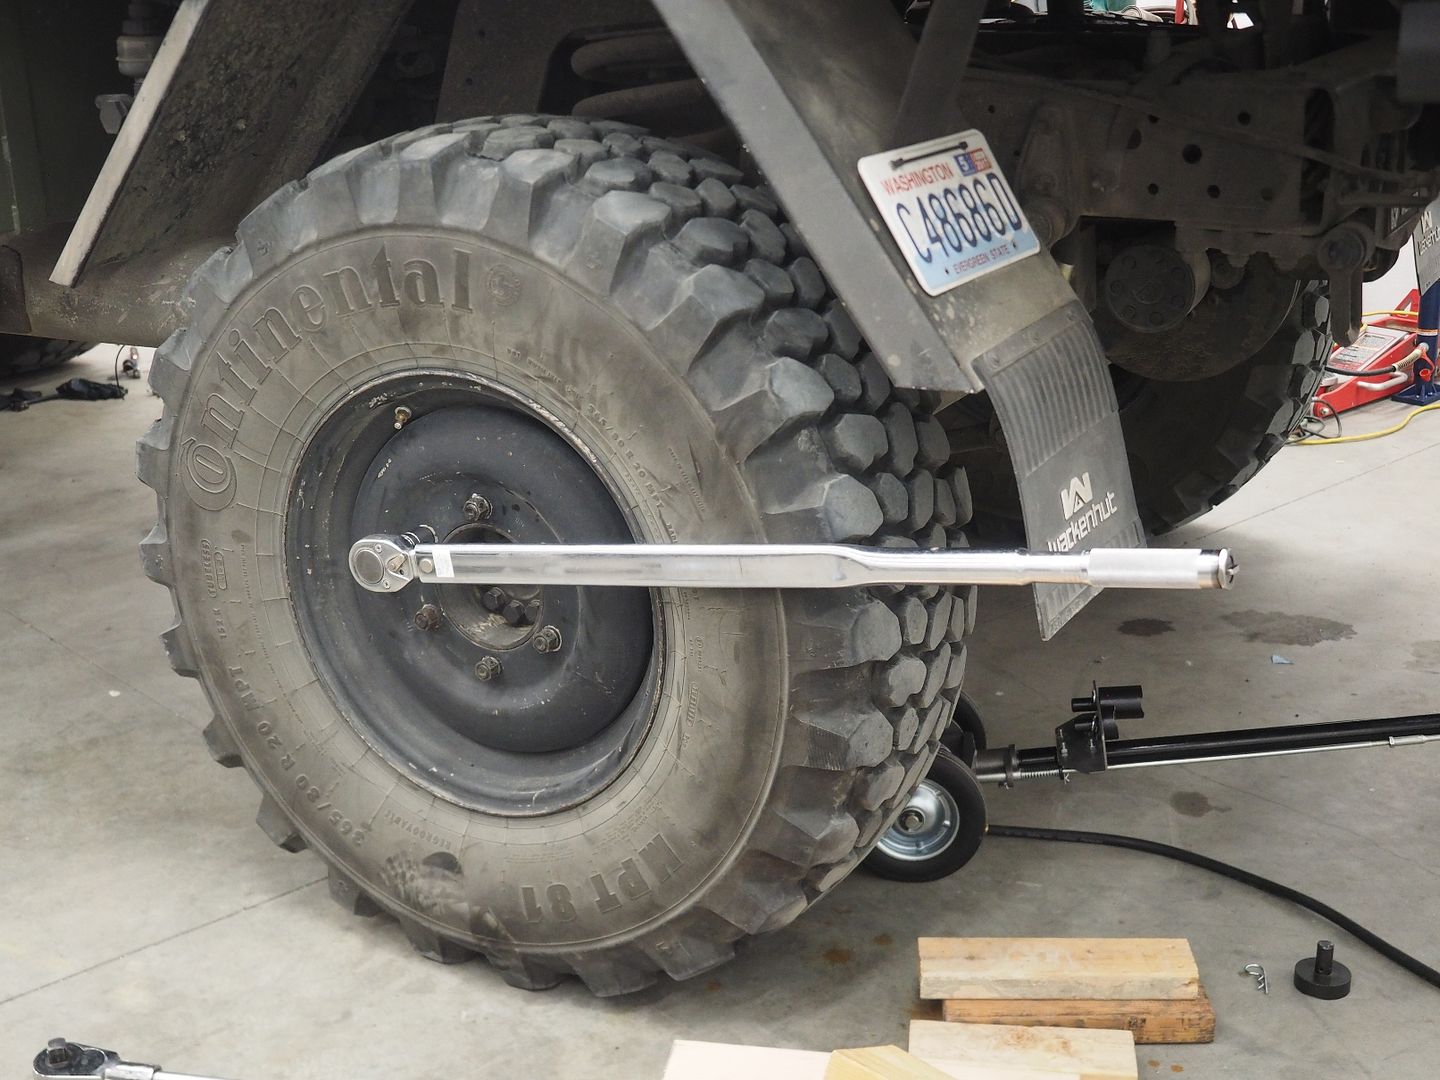
Finished rotating the tires and torqued the wheels down this morning.

P3100002.jpg


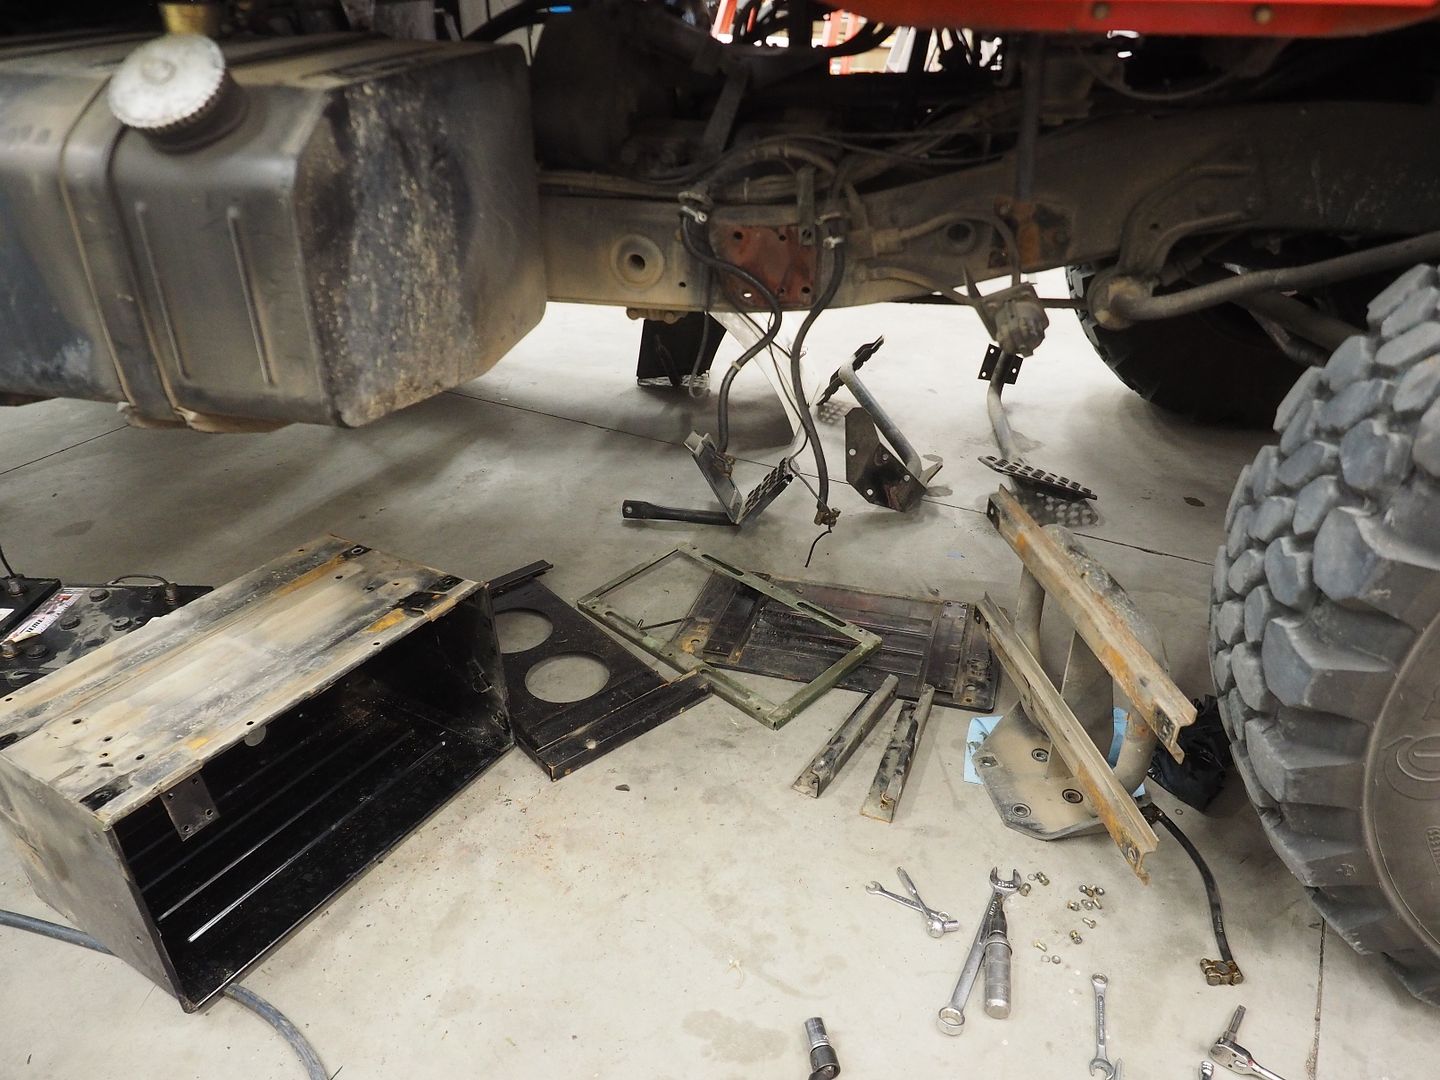
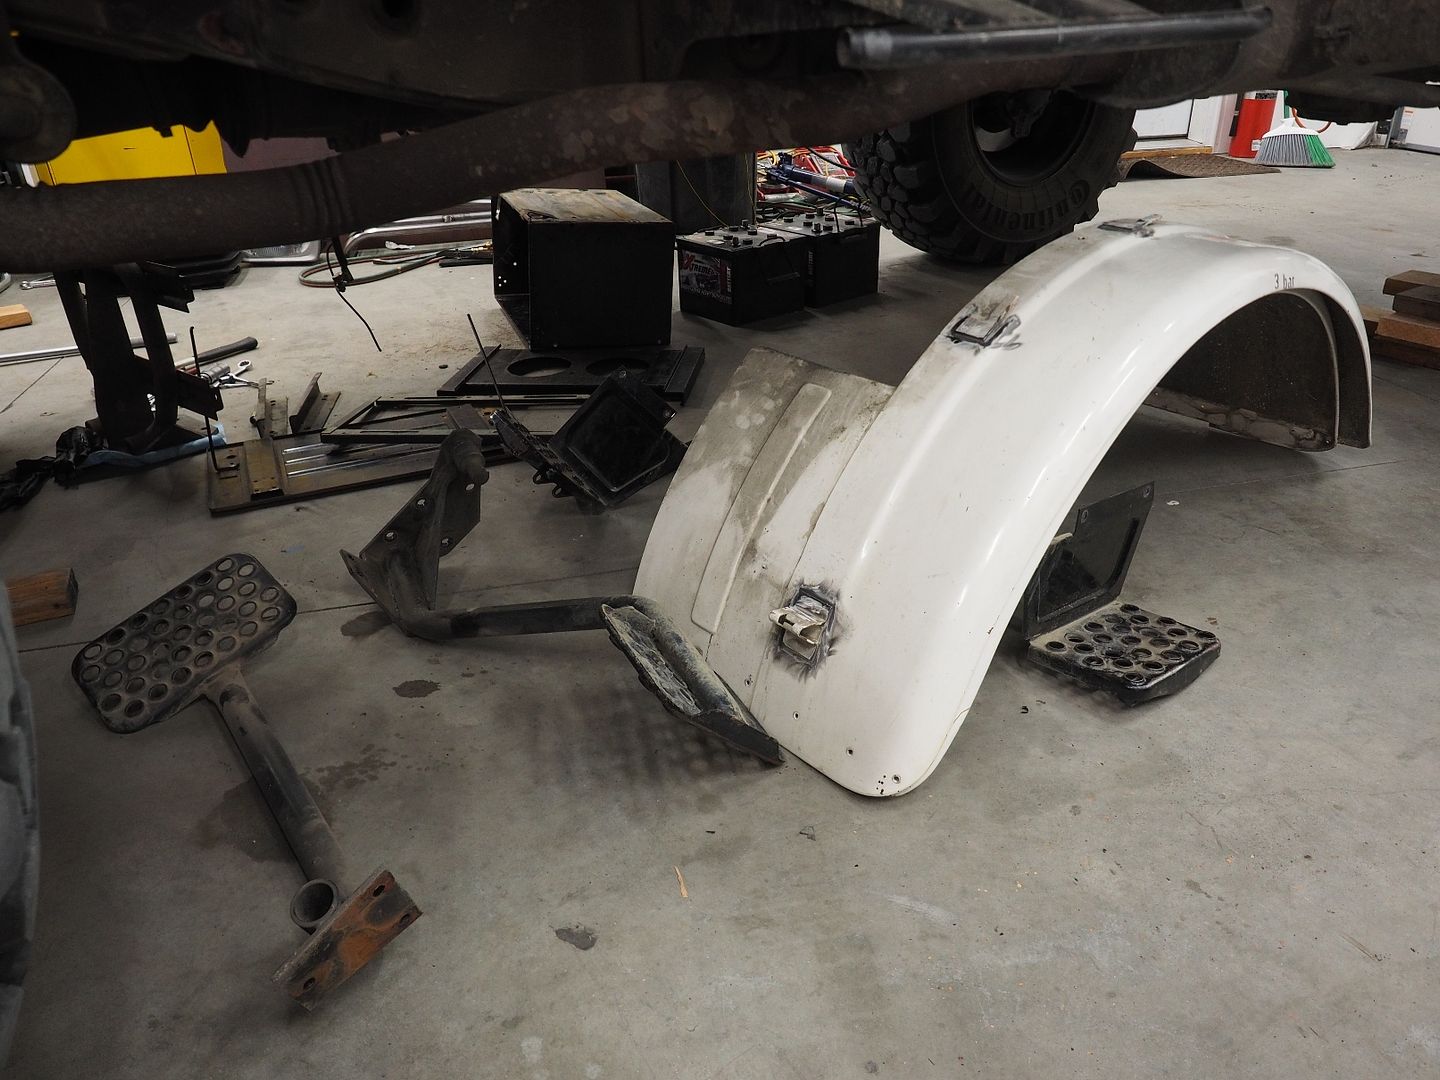
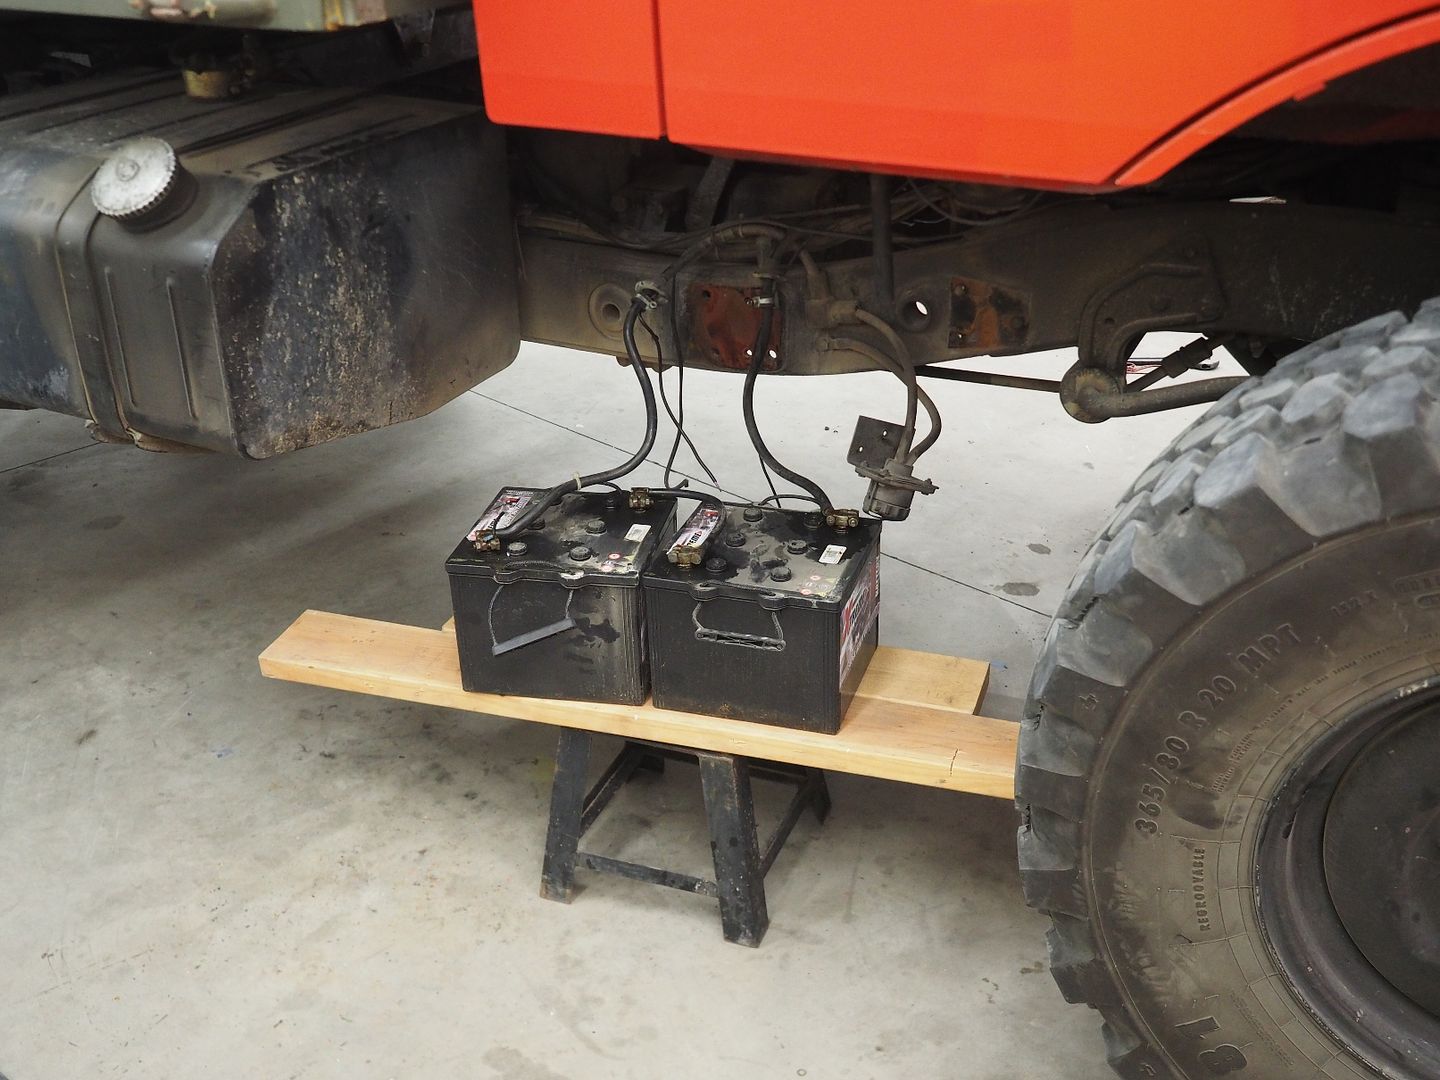
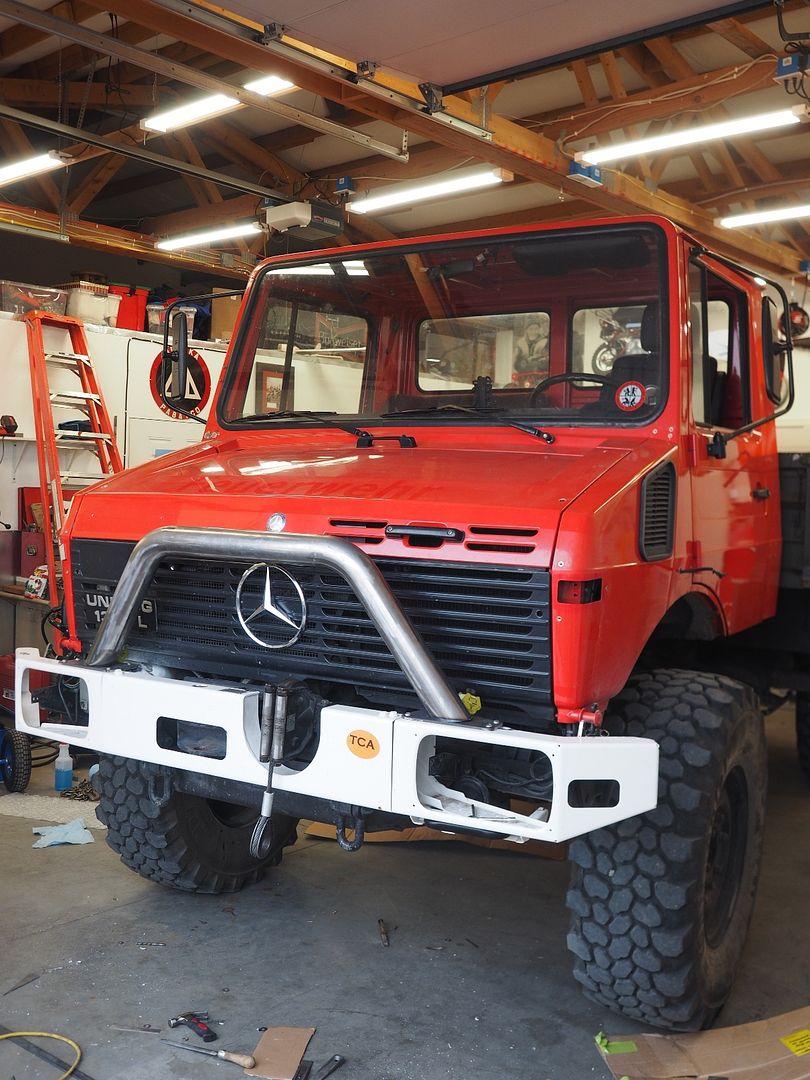
Time to start on the front push bar build. I needed to turn the truck around in the garage so I had to get some temporary power to the truck to start it since I removed the battery box.

P3100004.jpg


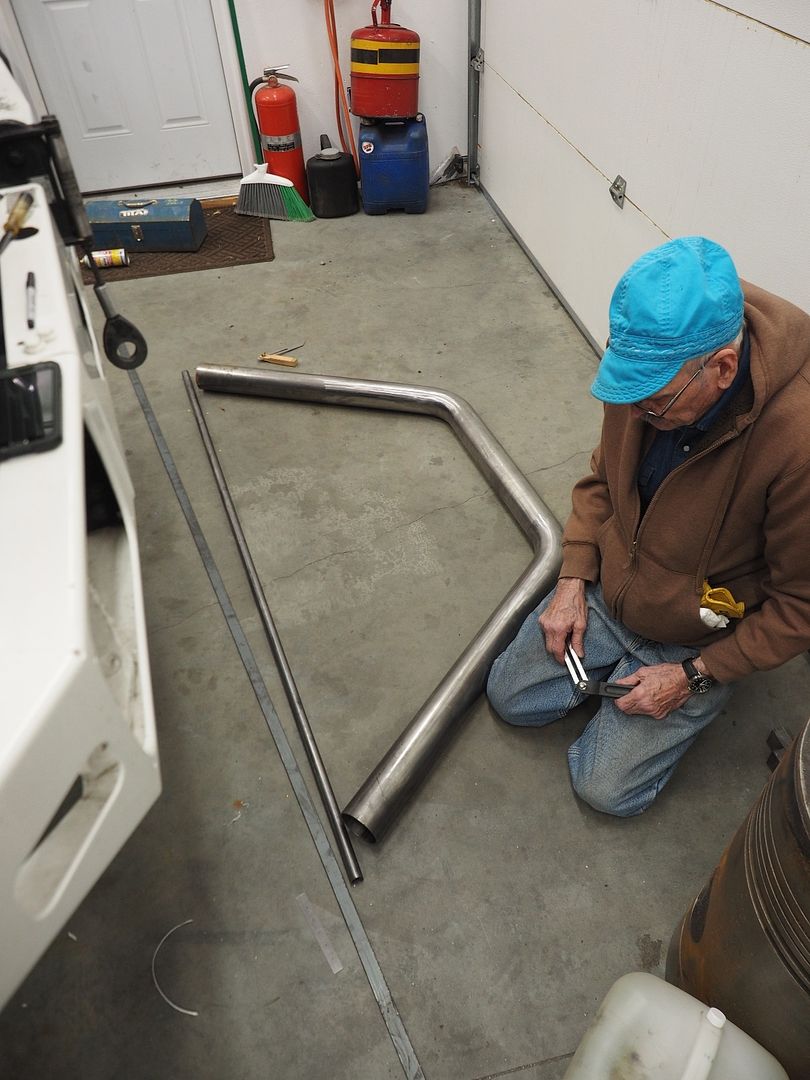
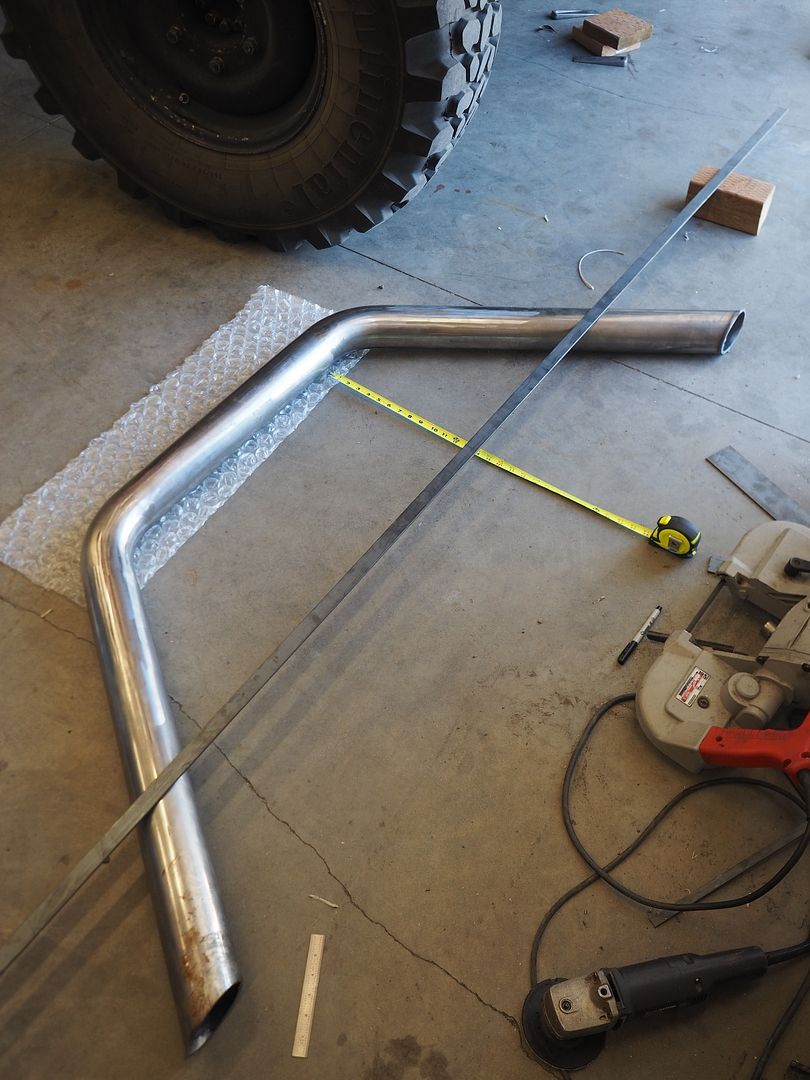
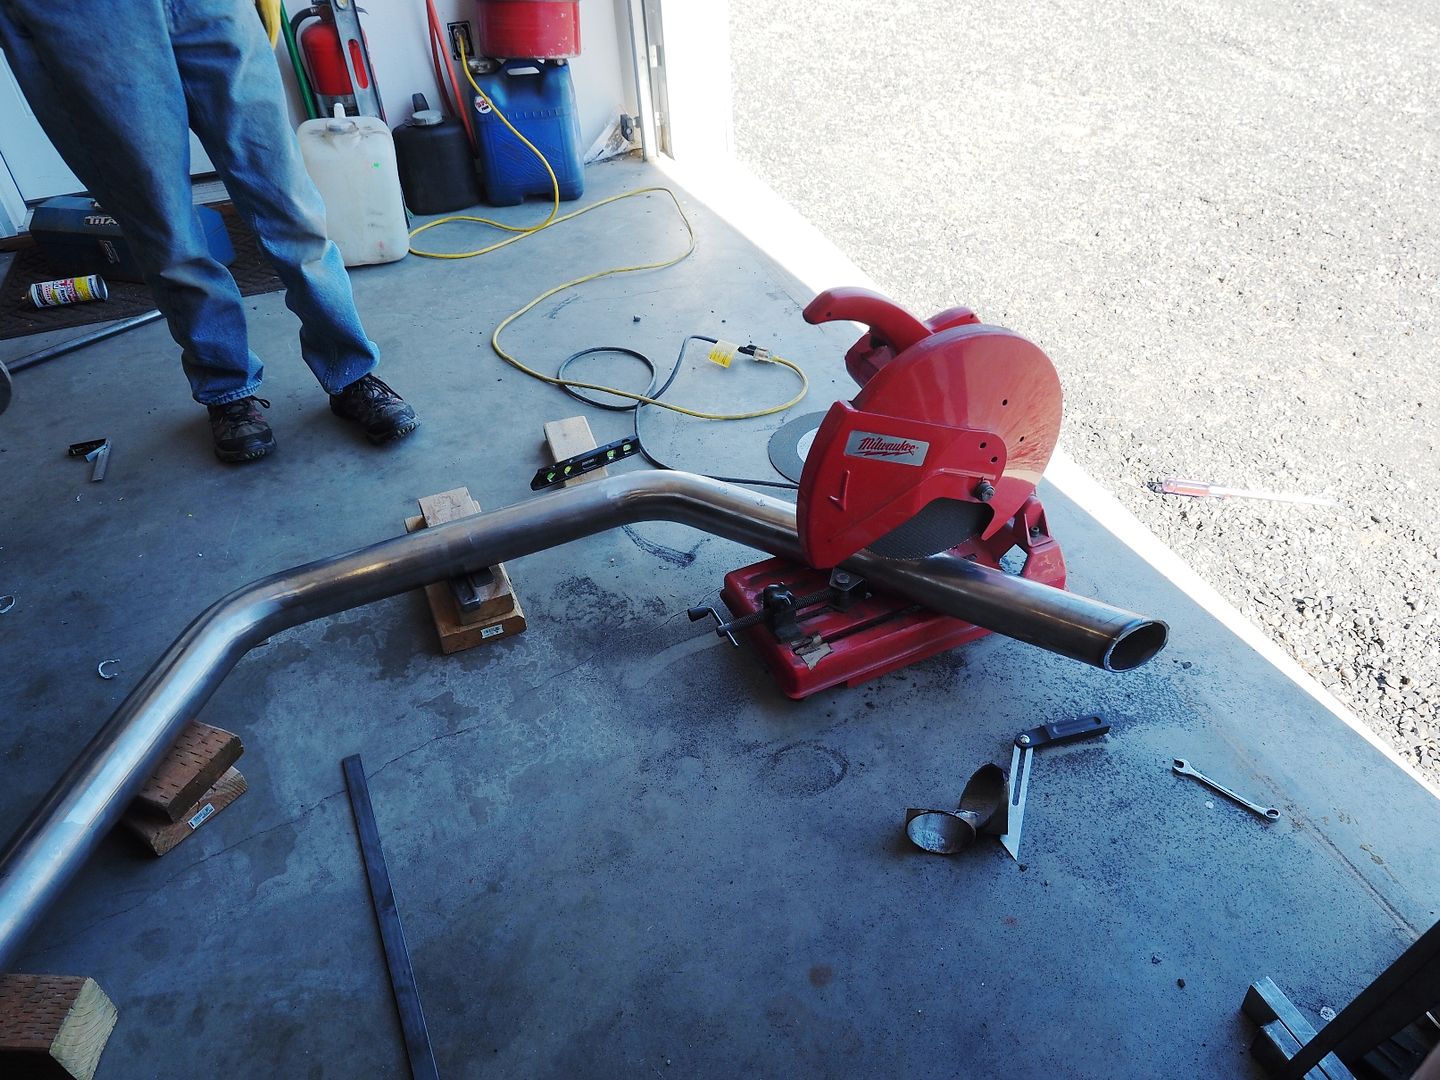
Here's the push bar, it's built from 3.5" tubing (We thought this size fit proportionally with the size of the truck). Here we are getting ready to mark/cut the proper angle on the bottom of the tubing, we performed a test cut at the bottom of the tubing to verify the angle was correct.

P3100009.jpg


Test cuts were right on the money so here we're marking out the final cuts.

P3100015.jpg


P3100018.jpg


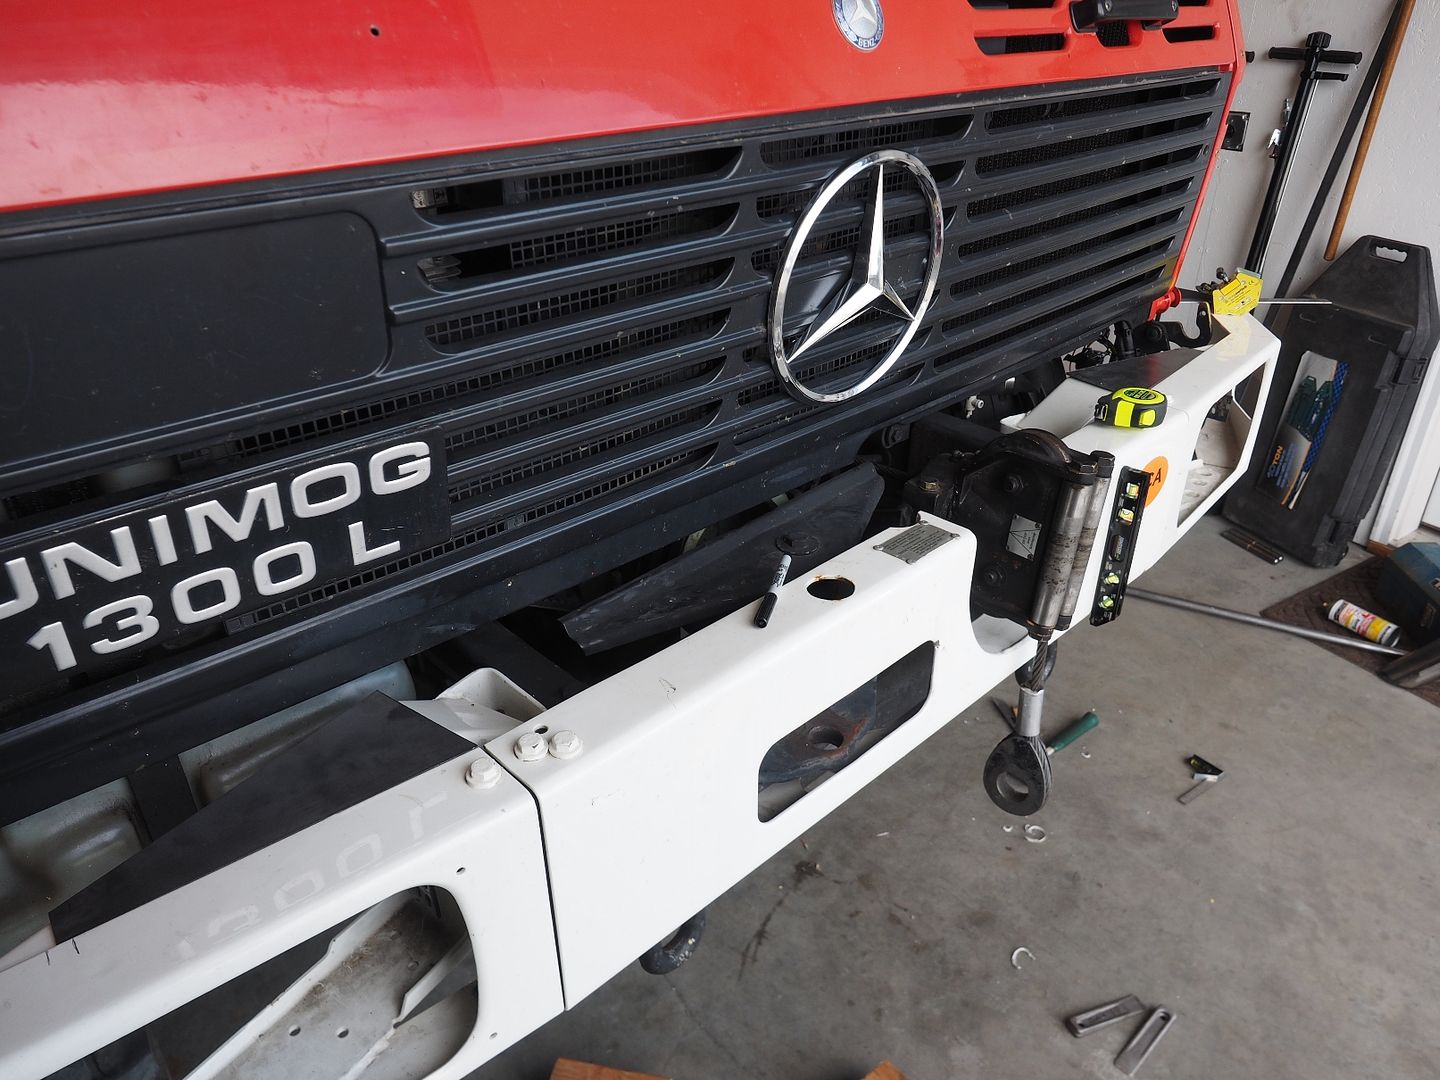
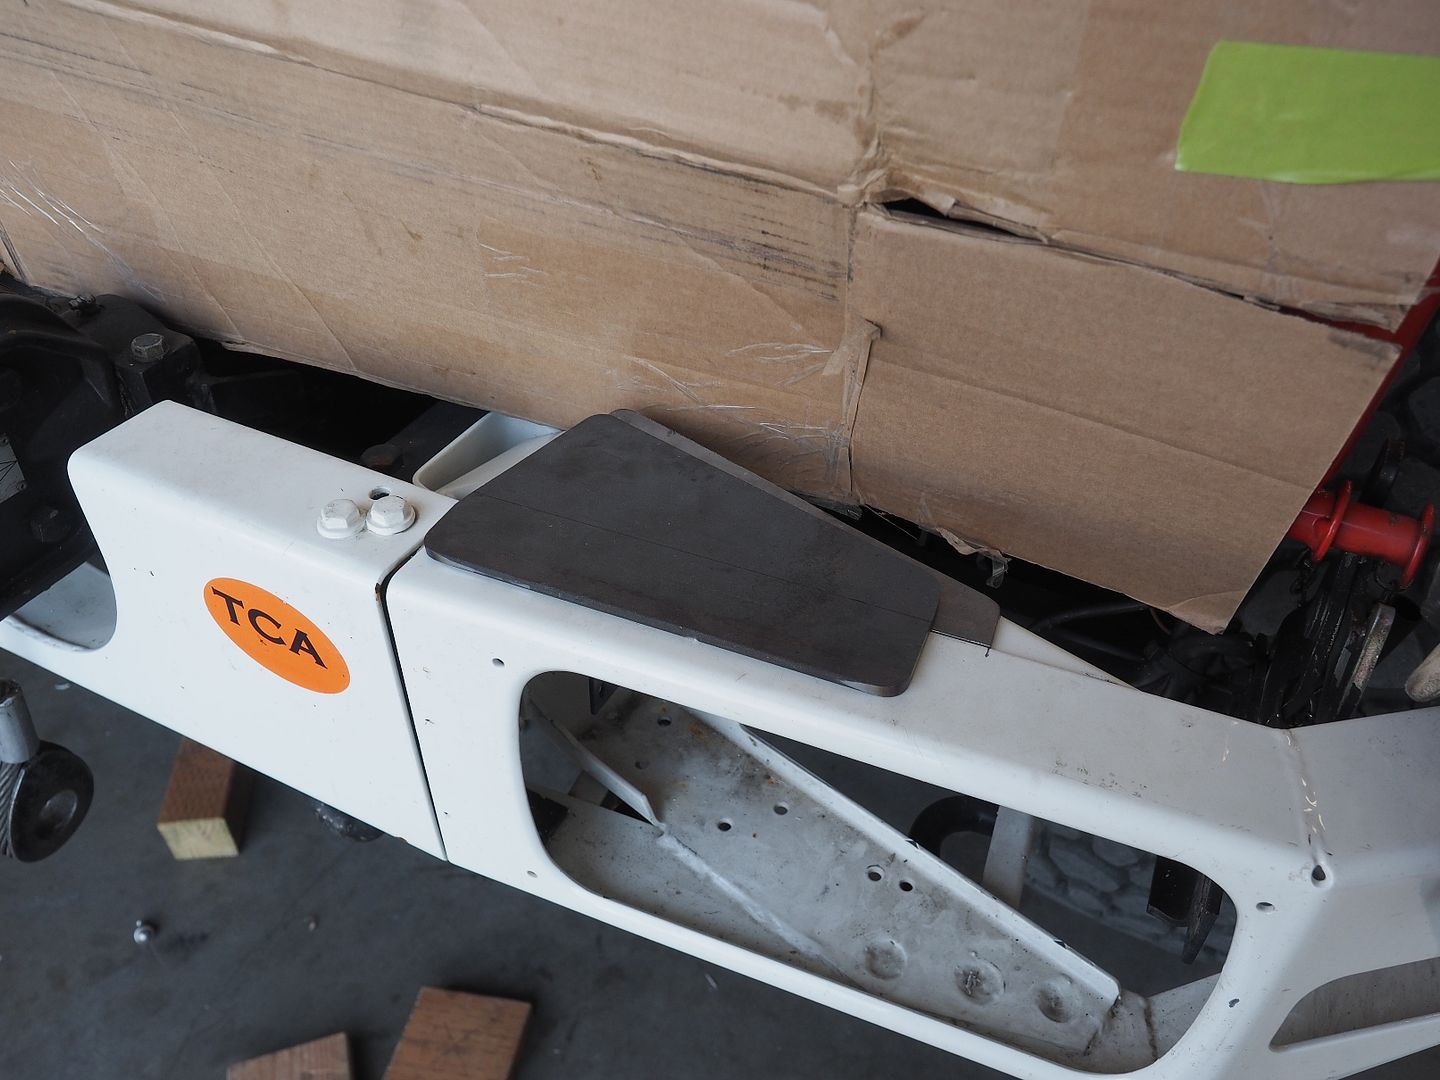
We will be making the push bar easily removable for maintenance purposes etc. To bolt the push bar to the factory bumper we need to fill the step in the top of the bumper so the push bar base plates sit at an even height. Here we cut two pieces of steel to fill the step.

P3100023.jpg


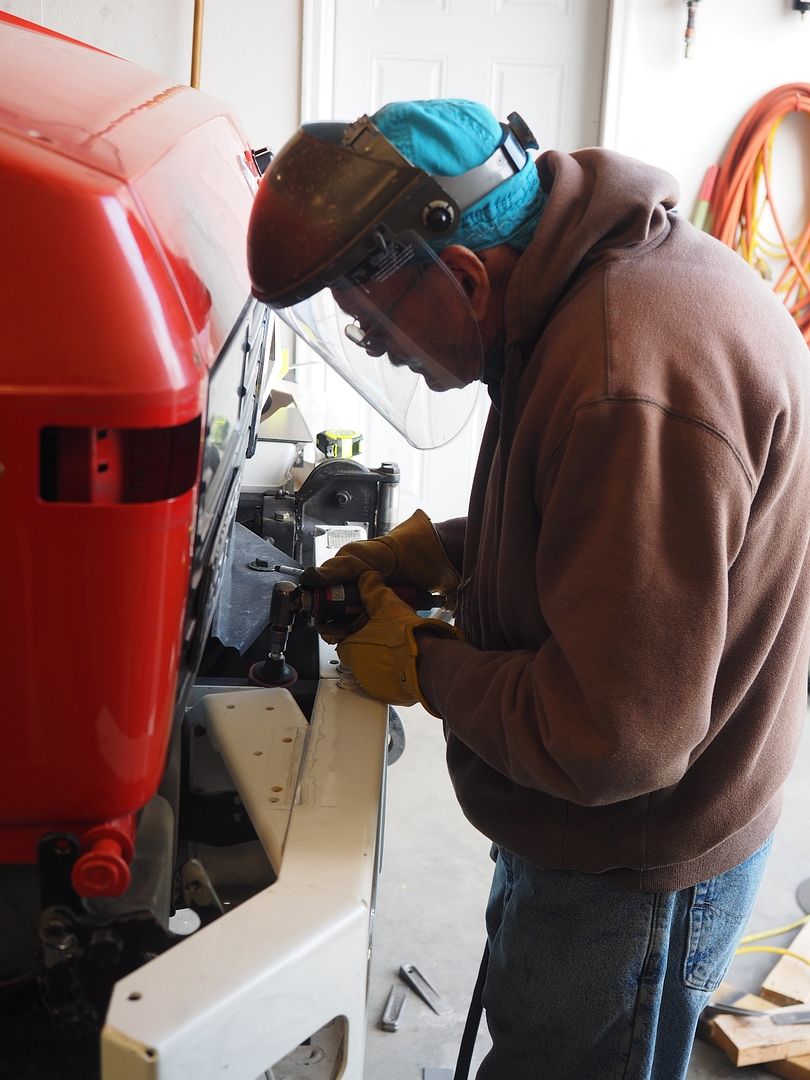
Here my father is removing paint from the bumper so we can weld on the plates (we changed our mind on this process as our plan evolved, more below).

P3100028.jpg


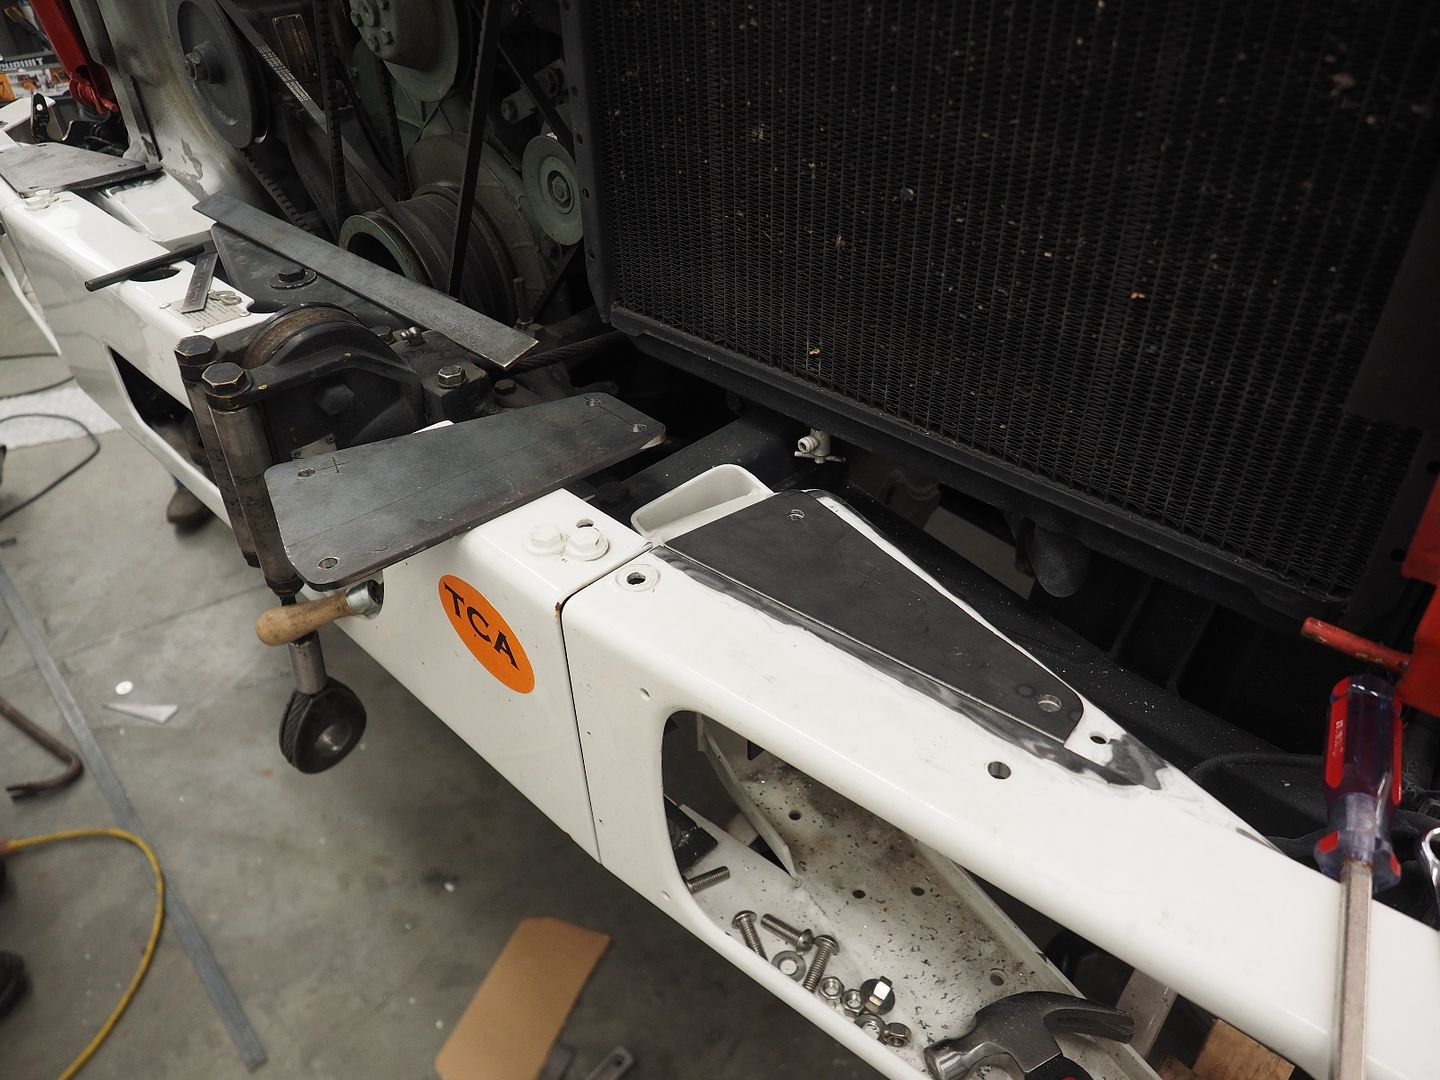
Here the base plates are cut and you can see how the bottom spacer plate is needed to let the base plates sit flush. The push bar will be welded to the top base plate.

P3100032.jpg


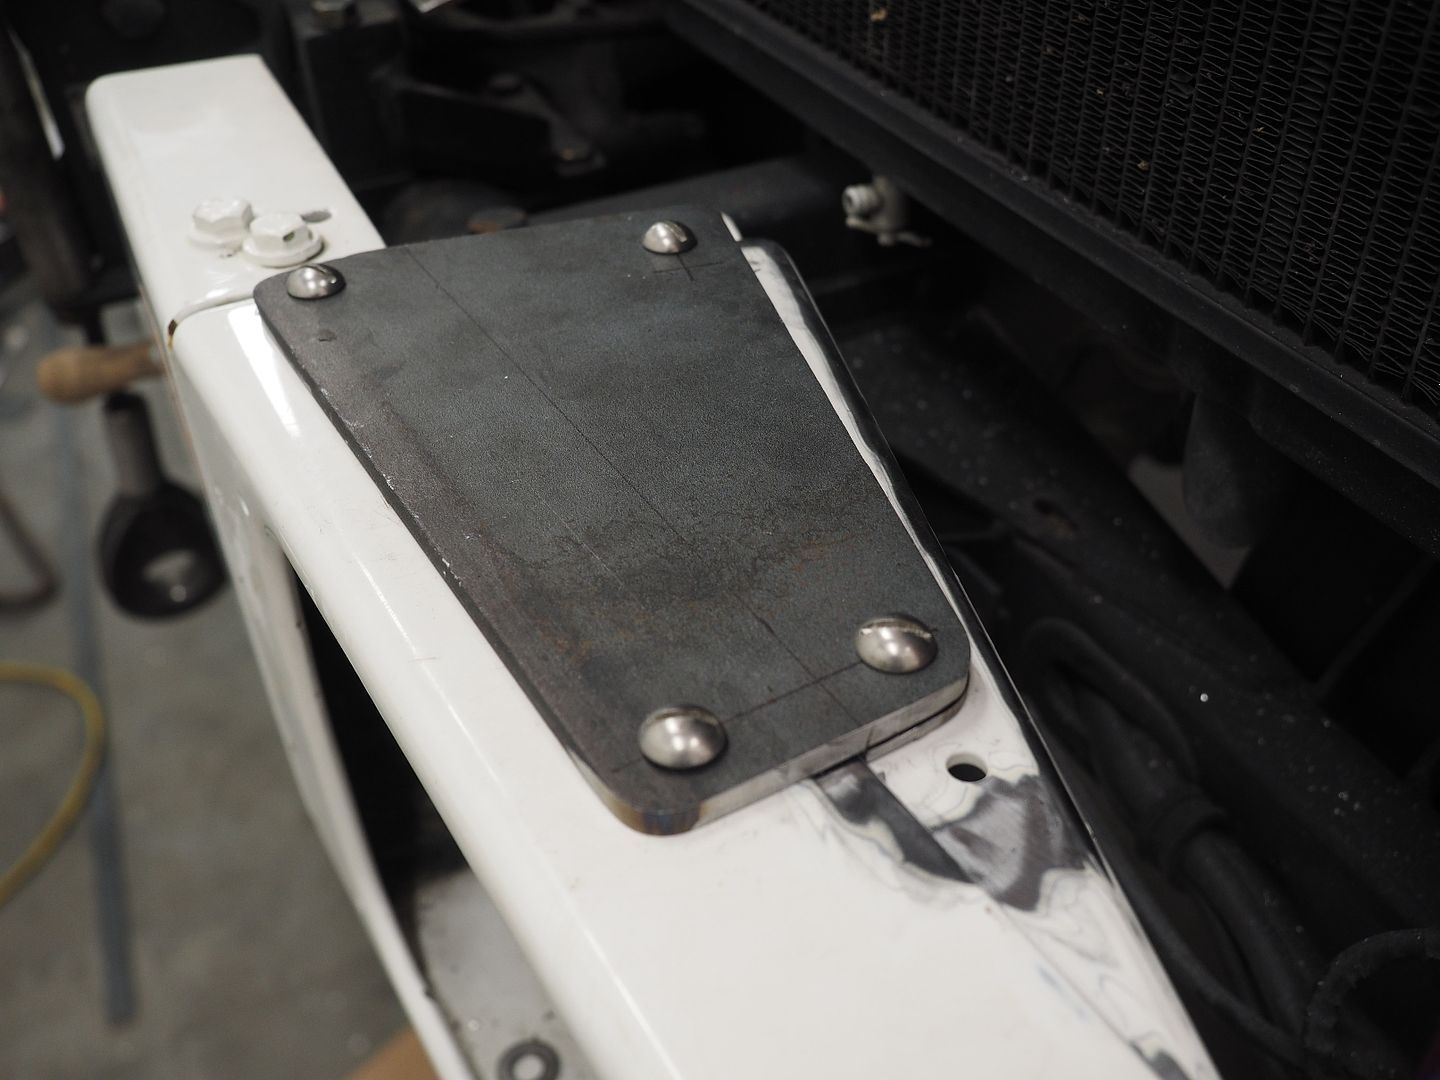
Drilling the bolt holes. At this point we changed our plan and decided to keep the bottom spacer plate a bolt on unit as well. This will allow us to powder coat all the parts top and bottom and will prevent any rust between the plates.

P3100039.jpg


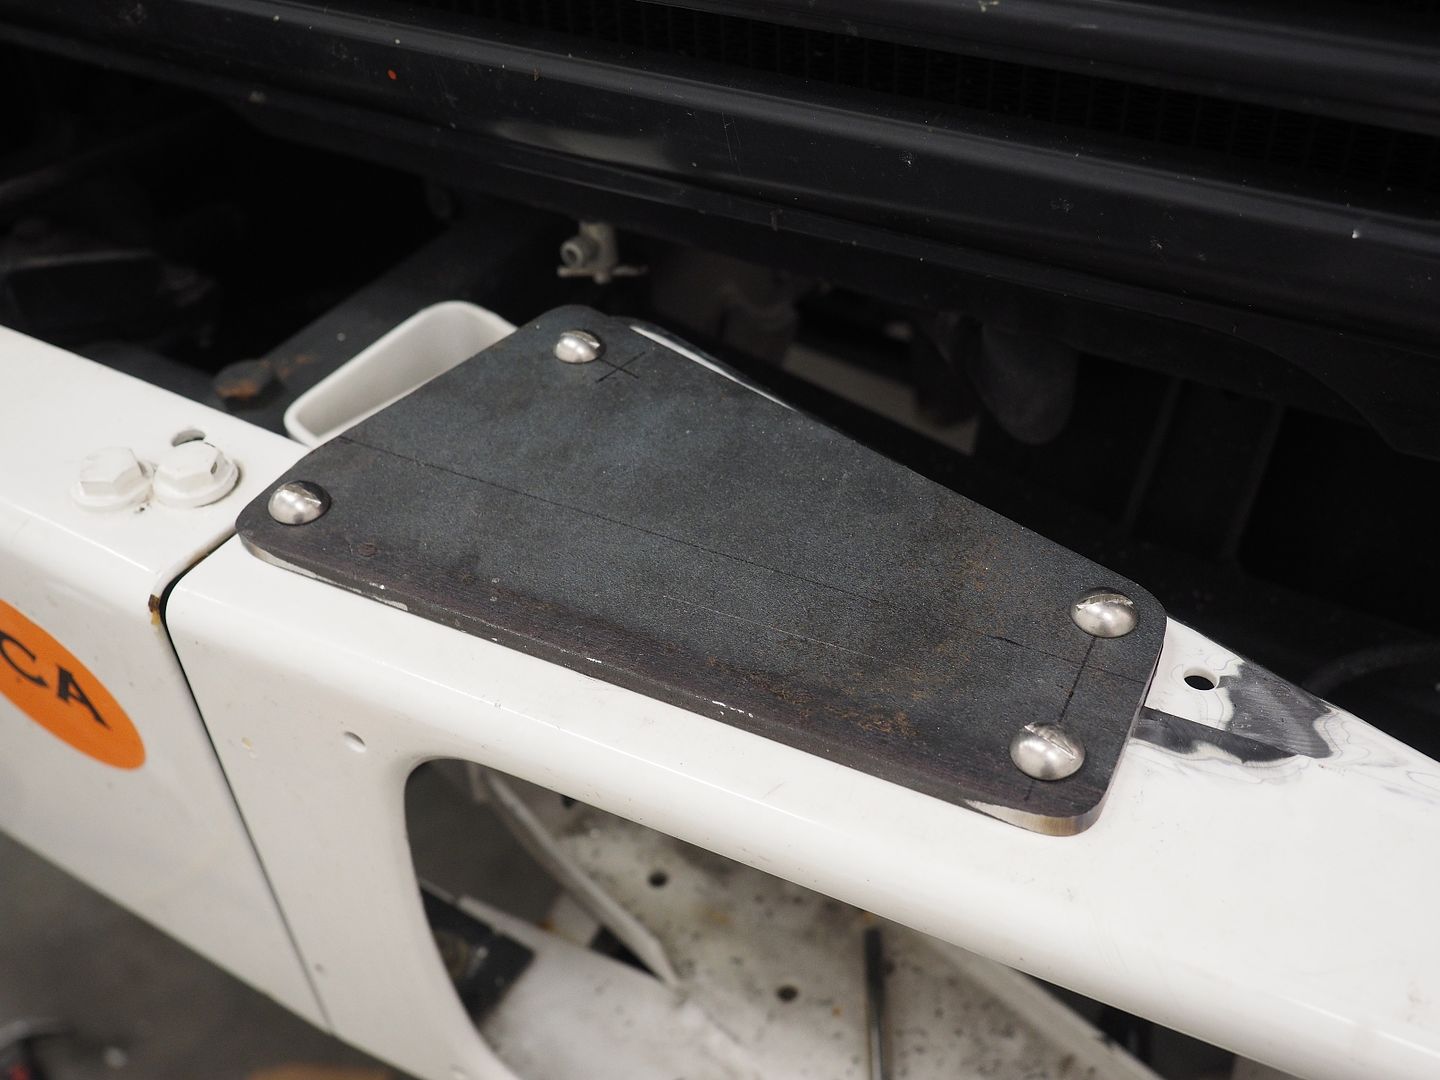
Here the bottom plate has been trimmed to the same size/shape of the top plate, looks better this way.

P3100041.jpg


P3100060.jpg


P3100062.jpg


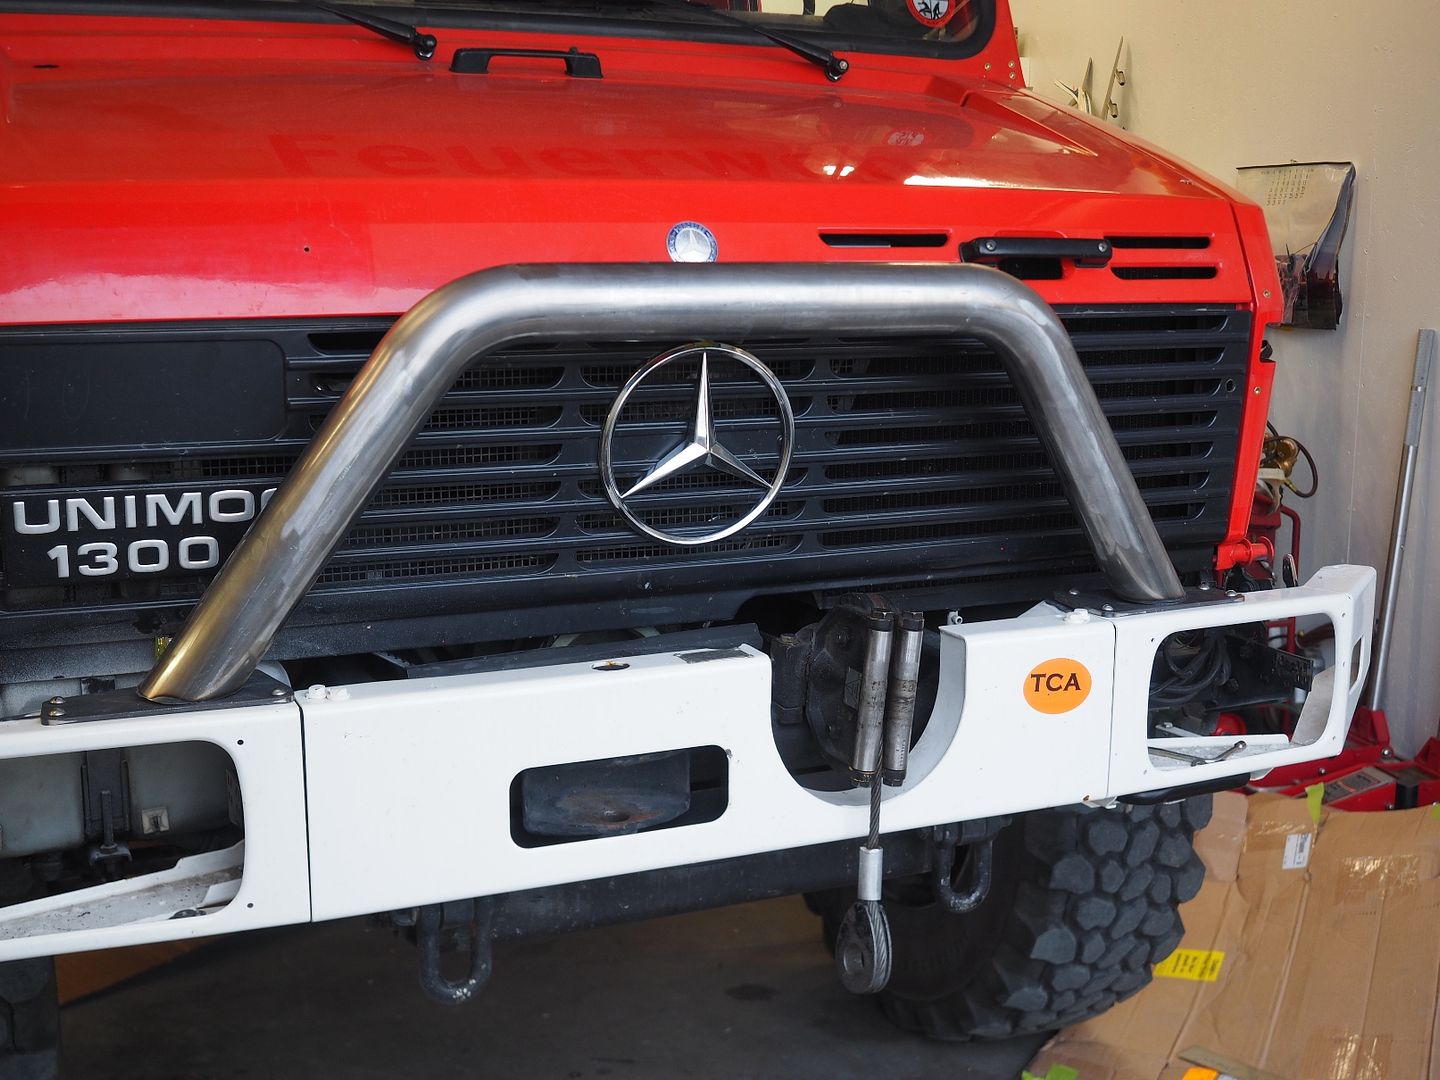
And the push bar sitting in place for a preview. The bar still needs to be trimmed slightly for level and angled (The bar will slant out slightly away from the grill). Still have to fab mounts for the 20" light bar as well. Hopefully weld the bar to the base plates tomorrow.

P3100047.jpg


P3100054.jpg


Hodakaguy
 

Wyuna

Observer
Are you still going to leave it bolted to be removed or will you be using bigger bolts to bolt it down.

That pipe size is perfect, is the light bar going under or on top?

Its going to look great with all the rest of the newly power coated goodies get reattached.
 

Hodakaguy

Adventurer
Are you still going to leave it bolted to be removed or will you be using bigger bolts to bolt it down.

That pipe size is perfect, is the light bar going under or on top?

Its going to look great with all the rest of the newly power coated goodies get reattached.


Thanks, the bolts are actually the same size as the factory bolts that hold the bumper to the truck...they just have smaller round heads. Light bar went on the bottom of the tubing....pics below :)
 

Forum statistics

Threads
185,842
Messages
2,878,770
Members
225,393
Latest member
jgrillz94
Top