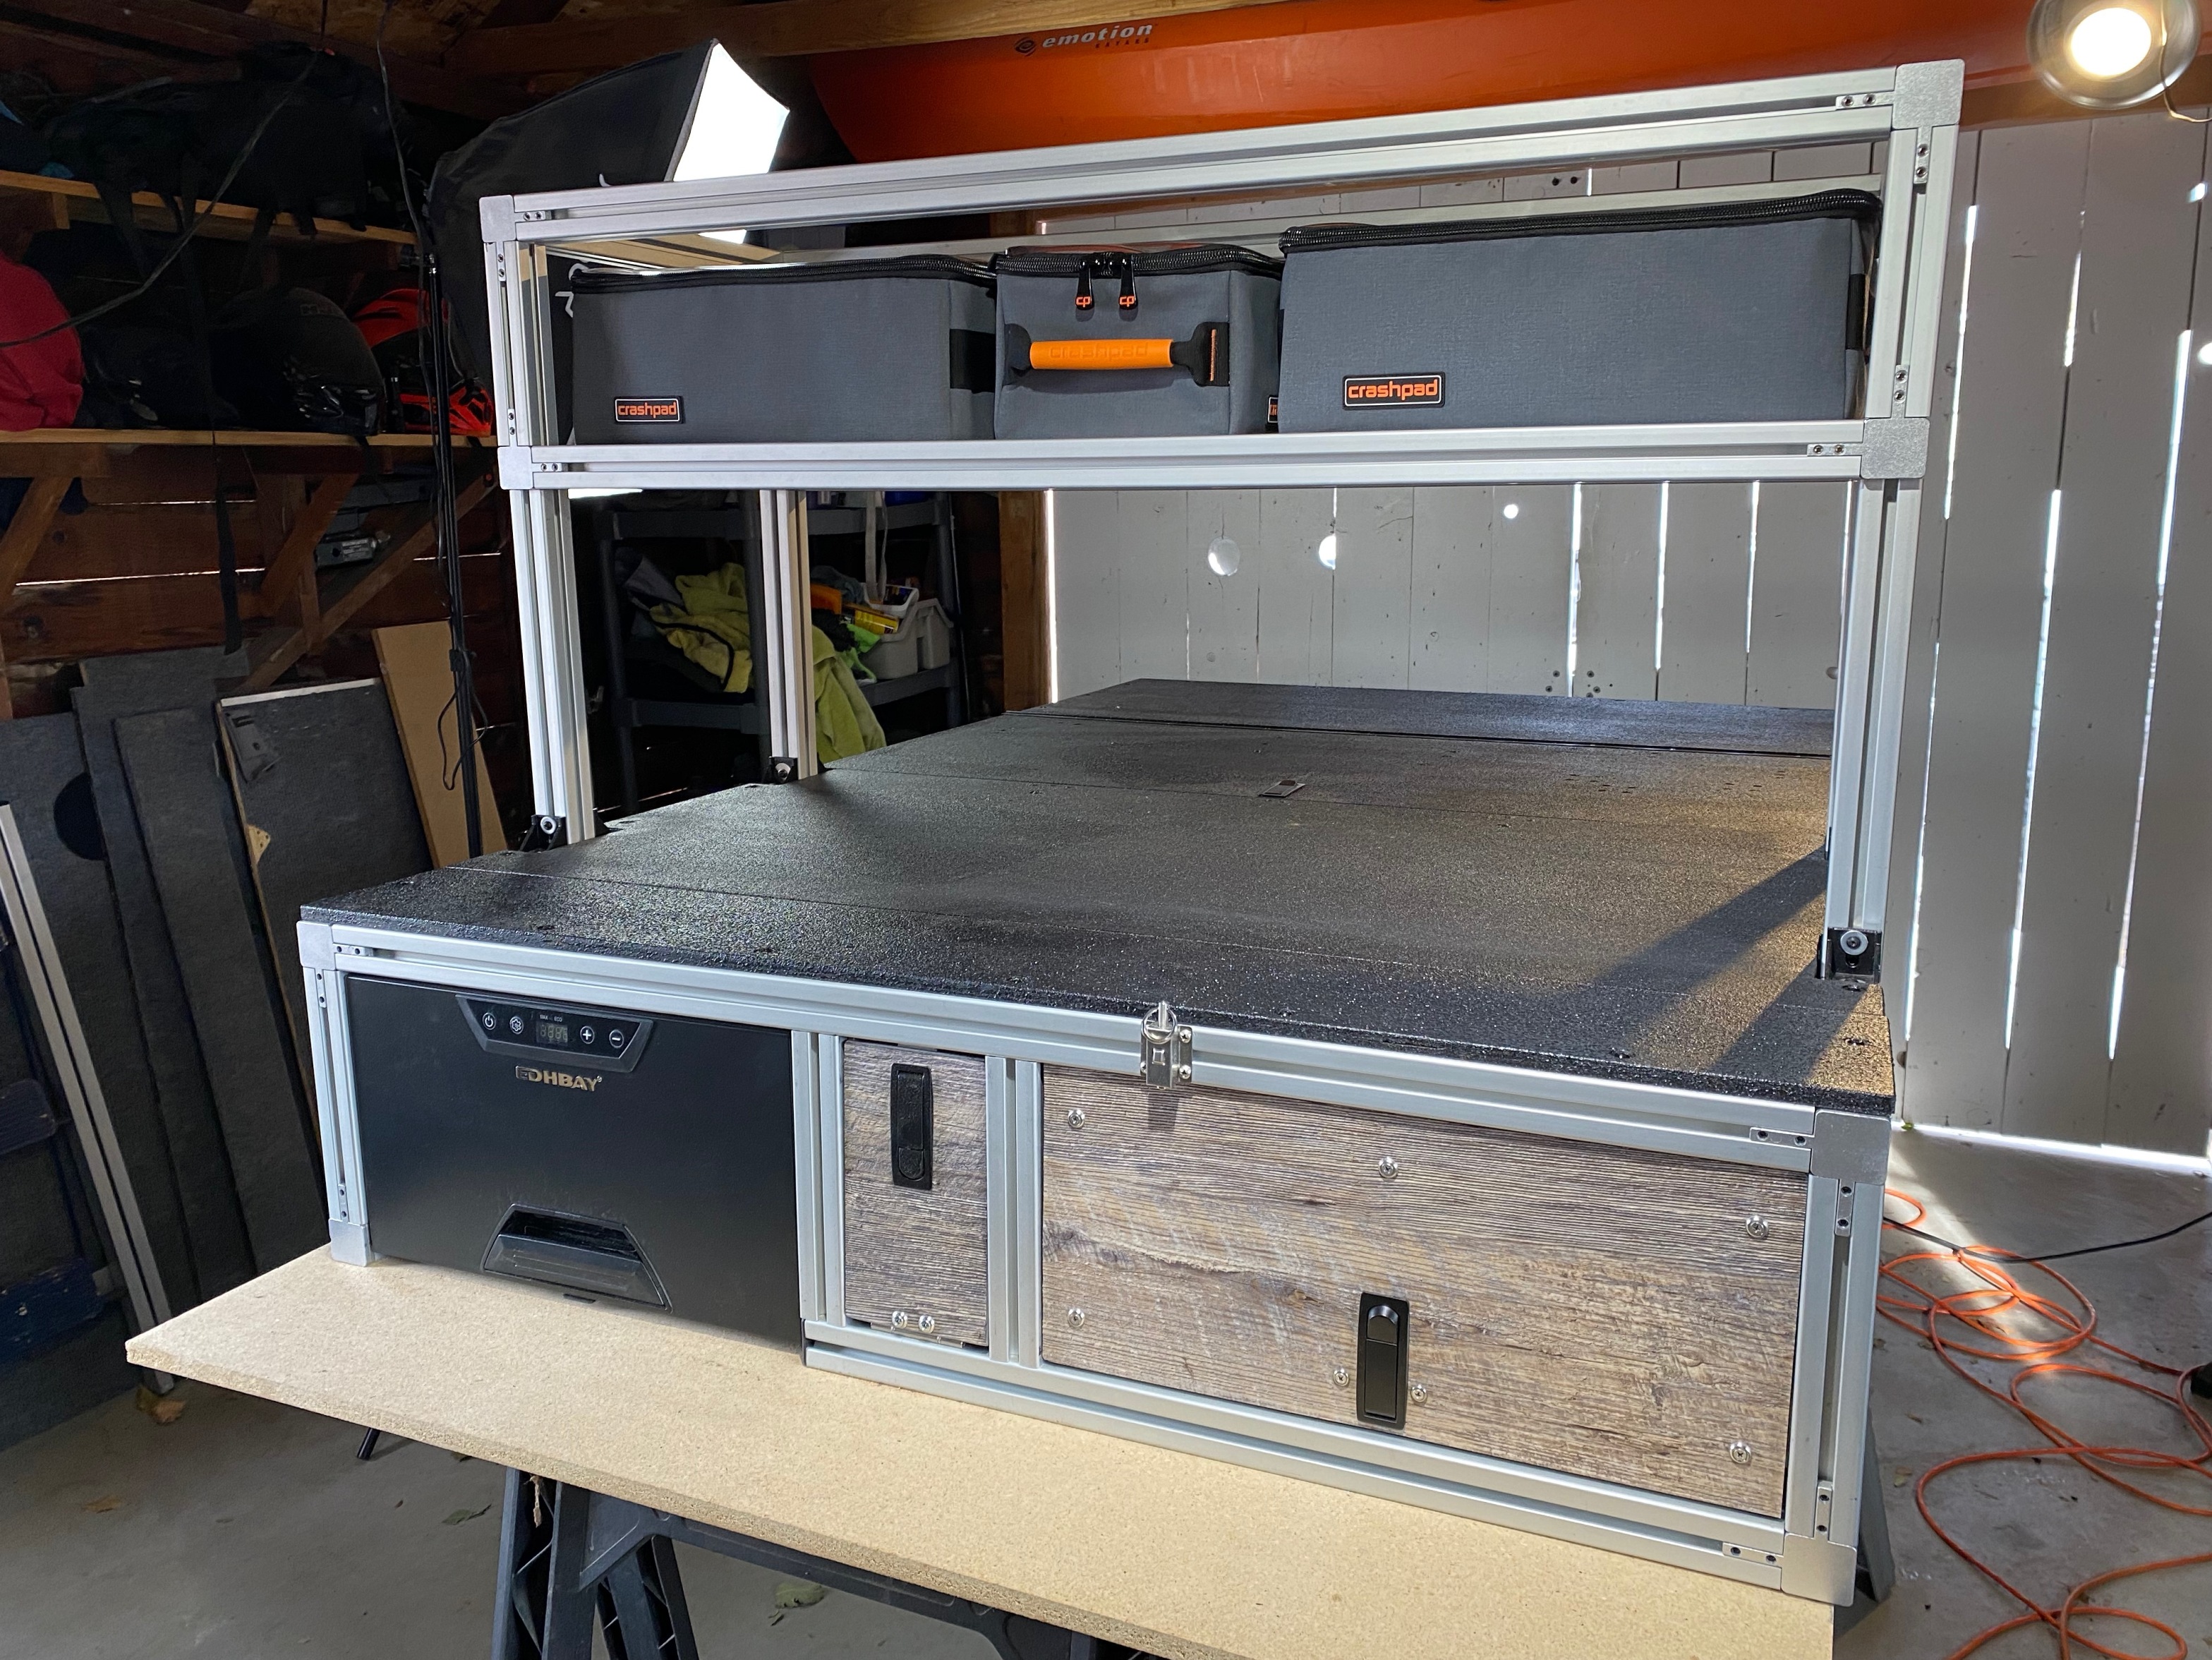
Post up your drawer/storage system

HitchFire

Supporting Sponsor / Approved Vendor
We recently partnered with Roam Adventure Co. to expand the utility of our Ledge Platform. Introducing the Adventure Bundle! We've bundled our Ledge Platform with a Roam 52L Rugged case and secured it with our new Cam Straps to secure your belongings outside of your vehicle. When you get to camp, the ledge doubles as a stable and durable surface for cooking, eating, or working. Check it out at HITCHFIRE.COM Web-4749.jpgWeb-4806.jpgWeb-4706.jpg
 

Greenbean

B.S. Goodwrench
- The cargo attic holds soft stuff like jackets and such. I'm using a 48" Metra food shelving that spans both sides of the cargo area.


-There is a slide out (more like, rotate out) tray under the fridge that is used to temp hold food during loading/unloading the fridge. You can see a hose in the same area and it is connected to the water bladder for dishwashing. The tray also holds clean dishes during dishwashing.

- A handwashing station is always ready with a soap dispenser on the door, next to the fridge, along with a towel. So nice to wash hands at a moment's notice before making a samich.

- An utensil holding system made out of thick canvas is attached to the left side of the kitchen. Each utensil has its own compartment, which eliminates any rattling and also promotes quick access for roadside lunch action. Knives and a medium size cutting board live here as well. My daughter is amazing with a sewing machine!


Let me know if you have any questions.


View attachment 709752 View attachment 709754 View attachment 709756

View attachment 709757 View attachment 709758View attachment 709871View attachment 709872View attachment 709873
View attachment 709874View attachment 709875


Brother your kid is amazing with a sewing machine! That looks great!

Did you do the rotating hand washing shelf yourself?

I’d love to have something like that on my 100, great idea!

Also props to your Metra shelf, I have one and use one of their hanging bins also.

3C618036-53BD-4FAD-8E1F-AFEF22EE128E.jpeg
18139AD4-623B-4C9E-A11F-9DDE1DB73371.jpeg
 

alia176

Explorer
Cheers,
Peter
OKA196 motorhome
Brother your kid is amazing with a sewing machine! That looks great!

Did you do the rotating hand washing shelf yourself?

I’d love to have something like that on my 100, great idea!

Also props to your Metra shelf, I have one and use one of their hanging bins also.

View attachment 755338
View attachment 755339

Yup, that rotating shelf idea is mine and it's a super handy feature, if I do say so myself.

Nice job on the METRA shelf and the hanging bin, they're uber handy. I installed a second one in the 4runner and made the mistake of removing the top bar that (closest to you) run across the unit for ease of access. The roof line in the 4runner is different than the 80. However removing that one cross bar really weakened the shelf as it now moves up/down during driving and makes the entire thing a tad noisy. So, I'm going to get another METRA shelf and not muck with it! Lesson learned.
 

dstefan

Well-known member
Just curious about weights savings so pardon the newb question! I'm noticing some builds here that are using either ALUM extrusions or ALUM square tubing then "skinning" with plywood material. Obviously the drawers need all sides but is it necessary to skin the sides too, other than purely for aesthetics? I'm trying to save on weight and was tossing around the idea of not skinning the sides or the bottom if I go with ALUM or 16g steel (angle or square tubing).

You can make very durable drawers that weigh next to nothing out of coroplast (plastic corrugated cardboard, essentially).

Here’s how it worked for my build:
Well, if weight is a top concern, you could consider make the drawers out of Coroplast with some added reinforcement. They don’t need runners if you have a flat bottom in the casing for them to slide on. Extremely tough material, but has some flex. you can load them up if well built.
View attachment 727457

View attachment 727456
This drawer has about 25lbs of crap in it. 25”x18”x7”

View attachment 727458

I wrote up a short how-to elsewhere:


They are way easier to make than wood drawers and easy to repeat with a layout template for several same sized ones.
 

dstefan

Well-known member
For some reason the “how to“ section didnt show…
Coroplast will give you rigidity along the flute/chanel lines, but can be flexible. If you anchor the walls on the side it would be pretty impact forgiving. It's just much easier, cheaper and quicker to work with. No sawing, dust, sealing, finishing, etc. I'm using 4mm but there is a stronger, still light 6mm available, but not at Home Depot.


Just to be clear, the drawers are actually completely made of coroplast, but with some corner and edge reinforcement which actually can be optional. There's no inside frame. The strength comes from the folding. Don't have construction process pictures, but I was garage cleaning this morning and found my cardboard drawer template so I marked it up quickly:
View attachment 700414

Here's a quick how to:

1) Layout and cut the drawer blank (I like a quick cardboard mock-up to verify it's gonna fit first)
2) Slit the top layer ONLY of the two fold lines that go in the direction of the channels/flutes
3) Lightly score with a utility knife the other two fold lines that go across the flutes. (I also run a rotary pizza cutter along the line using a straight edge to break down the little walls). ALL the cuts/scores of the fold lines are done inside the box only. Gives you smooth bottom edges and corners.
4) Fold it up and tape the corners.
You could stop here for a really light duty box if you use good tape. I've made boxes with 2" Gaffer tape that have held up for years. Read on for a more durable one . . .
5) Clean the inside corners with isopropyl alcohol and lightly scuff with ~120 grit sand paper (using the VHB primer as well is even stronger)
6) Apply VHB tape to the corners (dashed lines in the picture) and roll it or press for a good adhesion
7) Fit 4 corner braces of hardware store 3/4' alum angle that you've cut to the box height in the corners and roll/press again. Oh, first clean and scuff the alum angle too. No need for primer on it.
8) If you want real side rigidity, you can buy some hardware store/Home Depot 1/4"aluminum plywood trim channel for edging. You can just press fit this. It will be held by the alum corner braces plus the coroplast

No need for a frame otherwise. The bottom fold lines on each side give rigidity. The drawer I made for my back seat platform is holding 20lbs of stuff and I take it out to store in the house, so I VHB'd another full piece of coroplast on the inside bottom of the drawer for a little more bottom support as its quite long.

I made the drawer in the camper exactly as described and its quite rigid.

If you're gonna work much with coroplast, get one of these:

Makes it real easy to cut either 1 or both layers along the flutes. You can also use it to make coroplast hinges, and you can make corner reinforcements with it.
 

Imnosaint

Adventurer
WRōV Drawer System 2.0 and Onboard Air

Ready for installation. Details in my build thread.

img_7162.jpg
 

Ozarker

Pontoon Admiral
1671818857856.png

This type is going in my cargo trailer build.


1671819297344.png

E Track now on the walls
1671819231176.png
With several of these, hooks and rings.

1671819466555.png

Coleman camp kitchen, to use inside the trailer or out.

Quick, easy, light weight build.
 

HiPERnx

Member
Here's the setup I'll run for this year. Previously only used boxes (Front Runner Wolf Pack & Cub Pack and some Peli 1510/1600 boxes) and it worked great for years, could never motivate the size and weight of a full drawer setup and i want access to my spare wheel (aux battery, electronics and storage for some rarely used things like spares). But i still wanted easier access to some things without digging out all my boxes. The setup is a 6U 19" rack cabinet for music equipment or servers with two 3U drawers. This have been working great so far, no rattles (although some modification was needed). The 6U 19" rack happened to be exactly the same height as a Front Runner Wolf Pack with the high lid, so tucked in behind the cabinet is a Wolf Pack wit the high lid for rarely used things or things i don't need quick access too. The left (driver side) has 2 or 3 Front Runner Cub Pack boxes, behind (forward in the car) is the sleeping bag. This is fully packed except clothing.

photo_2023-05-07_22-39-09.jpg

The base plate is the stock wheel well cover with a extra 12mm plywood sheet and some mounting rails. All bolted with 8 bolts to the uni-body of the Jeep.

photo_2023-05-07_22-39-14.jpg
 

Mappo

New member
Hey everyone! Here is my storage setup for my Discovery 2. Just built it this weekend. Opted for a single cubby build for simplicity and weight. Pelican cooler is on a ironman4x4 fridge slide. The insert is 5/8” ply glued and brad nailed together. The single shelf is aluminum sheet. Entire unit Held down with roller cam straps bolted to the insert. The simple brown and blue bags pictured are made by me, another reason I went away from drawers was my planned use of other storage organizers like my bags and sidiocrates.

Thanks to everyone here for the inspiration!
 

Attachments

  • F835226F-0816-4C4E-9284-6D1F46AB92EB.jpeg
    F835226F-0816-4C4E-9284-6D1F46AB92EB.jpeg
    3.2 MB · Views: 73
  • 1D4ACA29-CA6F-4E12-89B3-B7AD0B9E3362.jpeg
    1D4ACA29-CA6F-4E12-89B3-B7AD0B9E3362.jpeg
    3.1 MB · Views: 68
  • D14D888F-B7B7-41AD-A6AA-0C5C2C1BB1AF.jpeg
    D14D888F-B7B7-41AD-A6AA-0C5C2C1BB1AF.jpeg
    1.8 MB · Views: 66
  • 37B5AD0B-973C-44B5-BFAF-6DA8C7B7F991.jpeg
    37B5AD0B-973C-44B5-BFAF-6DA8C7B7F991.jpeg
    3.5 MB · Views: 67
  • 6714D10A-37C2-4624-994A-9EEEDA39BE4D.jpeg
    6714D10A-37C2-4624-994A-9EEEDA39BE4D.jpeg
    3.2 MB · Views: 71

Greenbean

B.S. Goodwrench
What are you using to attach the shelf to the grab handle mounts?

This man right here made the mounts.


Antwon412

Active member
Here's the setup I'll run for this year. Previously only used boxes (Front Runner Wolf Pack & Cub Pack and some Peli 1510/1600 boxes) and it worked great for years, could never motivate the size and weight of a full drawer setup and i want access to my spare wheel (aux battery, electronics and storage for some rarely used things like spares). But i still wanted easier access to some things without digging out all my boxes. The setup is a 6U 19" rack cabinet for music equipment or servers with two 3U drawers. This have been working great so far, no rattles (although some modification was needed). The 6U 19" rack happened to be exactly the same height as a Front Runner Wolf Pack with the high lid, so tucked in behind the cabinet is a Wolf Pack wit the high lid for rarely used things or things i don't need quick access too. The left (driver side) has 2 or 3 Front Runner Cub Pack boxes, behind (forward in the car) is the sleeping bag. This is fully packed except clothing.


The base plate is the stock wheel well cover with a extra 12mm plywood sheet and some mounting rails. All bolted with 8 bolts to the uni-body of the Jeep.

I’ve been looking for simple labels like you “kitchen” and “food” ones. Amazon special?
 

Forum statistics

Threads
185,815
Messages
2,878,497
Members
225,378
Latest member
norcalmaier
Top