Project Flift, a 1986 Four Wheel Campers Fleet shortening documentation thread!

Atl-atl

Adventurer
Hi Atl-atl
I think earlier post indicates using propane the pilot may or may not stay lit while driving. Can't say for sure we never had the pilot go out while driving, but didn't seem to be be a problem for us. As for being level, do not think they go hand in hand with driving with the propane pilot lit. Also I do not think the manufacturer recommended driving while having the pilot lit.

You will understand better when you start using your refrigerator bud.

Russ

Russ, thank you. Im starting to wrap my head around it thanks to you and the other guys info in this thread. So much to learn!
 

Atl-atl

Adventurer
Well the one thing Ive been waiting on finally got done yesterday. Welding! I had the welder repair a few factory welds that had failed, add to some key spots that were only one sided(from the factory) add support, frame in the new windows and burn the front wall into its new home after removing 20" from the front of the camper.

44048447200_0b087f49f0_b.jpg


Also had him weld up these brackets for the new front lifting mechanism Im building.

45866265761_328c1f0c3c_b.jpg


Also got to work on Imho the coolest change Im making to the camper. A ski pocket that will have an access door on the outside so I dont have to get in and out of the camper! Fits one pair and the storage is under the couch bottom. Ill also be able to lift the bottom cushion and get the skis in/out that way. Or in the summer I can store other stuff in that spot. Ill probably have to build a custom access door because it needs to be 7" wide and 15" tall so I can also have access to the little storage cubby below it.

30925923077_24406be208_b.jpg


44039585310_4c9e5afdea_b.jpg


45806903642_d27e203603_b.jpg


The last two nights when I was too tired to do anything else I worked on removing butyl tape from all the trim, doors, windows etc. Then I umm "massaged" all of it back to flat and straight the way it should be. And then began sanding and painting it all. Not quite done but holy crap what a task that has become.

44054314520_4e224208ca_b.jpg


30916965417_a175dc2a33_b.jpg


44039571740_be5e755689_b.jpg


31985145368_0af70c7541_b.jpg


As if that wasn't enough for two days, I also started to fab up my new front lift mech. I installed a piece of 1x4 backing to add support for the mounting brackets and also to help hold the bed subfloor in place/add rigidity.

44956518465_47301160f2_b.jpg


Bending conduit is much harder than I thought.

44956516145_56afa2f1a5_b.jpg


44053910470_afa54a7a76_b.jpg


Feeling pretty good about being able to finish. Ive got 7 days!

45870649031_85edfe319c_b.jpg


30931492507_0bbaca1e1e_b.jpg
 

Atl-atl

Adventurer
Today I hit a major milestone, test fit the camper in the truck.

...IT FITS!!!

I had been joking with some friends about doing the "maths" correctly. No matter how many times you measure something, you just never know if its going to fit until you actually try. Now that the frame is welded back together I was able to temporarily reinstall the jacks and get the camper into the truck.

44970942455_0844cb49ca_b.jpg


I finally cut off the deck that was the leftover floor from the front of the camper before shortening it. This was a great feeling. I also removed the 2x4" spacer the PO had used to make the camper clear the bedsides on his full size truck. This left the camper 2" low so I started to fab up a new thinner spacer but it got dark so I called it a night and didnt get any pictures. I also removed the little bit of metal siding on the lower bumpouts of the camper, patched in a few pieces of rotted plywood and gave all the lowers (that are hidden when the camper is in the truck) a fresh coat of good old fashioned Kilz oil based primer.

44067635510_10d1ab15fe_b.jpg


32012986528_b21befc649_b.jpg


With the camper pushed all the way forward to the "square" piece at the front of the bed there are 2 inches from the back of the camper to the tailgate when shut. There is one inch to the exhaust port for the heater. My entry door has flush mounted hardware which is a blessing for sure. This should give me enough room to run some kind of buffer in front of the camper to space it just off the front of the bed and still leave a little room for movement at the tailgate.

45884182631_d6cbf568aa_b.jpg


45884182691_f759b86b9e_b.jpg


45834568162_2f3c418f45_b.jpg


44067635470_66c1a6527c_b.jpg


45834566452_15fa637d9e_b.jpg


You can probably see in that last picture that Ive done some more interior work, more on that later. Time for some golden hour shots thanks to air pollution and the always beautiful Arizona sunset. A friend of mine pointed out that it looks like the camper is "barfing" onto the top of the truck...

44970946205_df0900821f_b.jpg


44970943415_0acc4581b7_b.jpg


45160008774_f53901a077_b.jpg
 

Atl-atl

Adventurer
Got a good chunk more done today. Cut and installed all the new insulation. Cut and mounted the front exterior panel and dual slider window. Butyl tape is a real pain in the ass! One thing I forgot to do before installing the window was remove the protective plastic thats stuck to the black panel. Which means theres a thin layer of plastic between the panel and the butyl. Im going to remove it tomorrow which will actually make it easier to get rid of the excess butyl that squeezed out when I tightened the window down. Ill try to rework the butyl so it seals correctly but Im still worried about the plastic being there. Also I started to cut the passenger side panel but it got dark and the jigsaw was really loud so I decided to be nice to the neighbors and call it quits at 730 tonight hah. I did spend some serious time drawing the passenger window cutout, being as careful as possible. Its really difficult to get it exactly perfect. With only 7 days until my trip I don't have the time to screw up and start over.

32025620308_0c62a6dc5b_b.jpg


45172738384_3fd2ae46e2_b.jpg


30957750017_d06bf62b7e_b.jpg


45846978232_d355264a69_b.jpg


45177224044_d931e6421e_b.jpg


44989373515_165ba1da41_b.jpg
 

Atl-atl

Adventurer
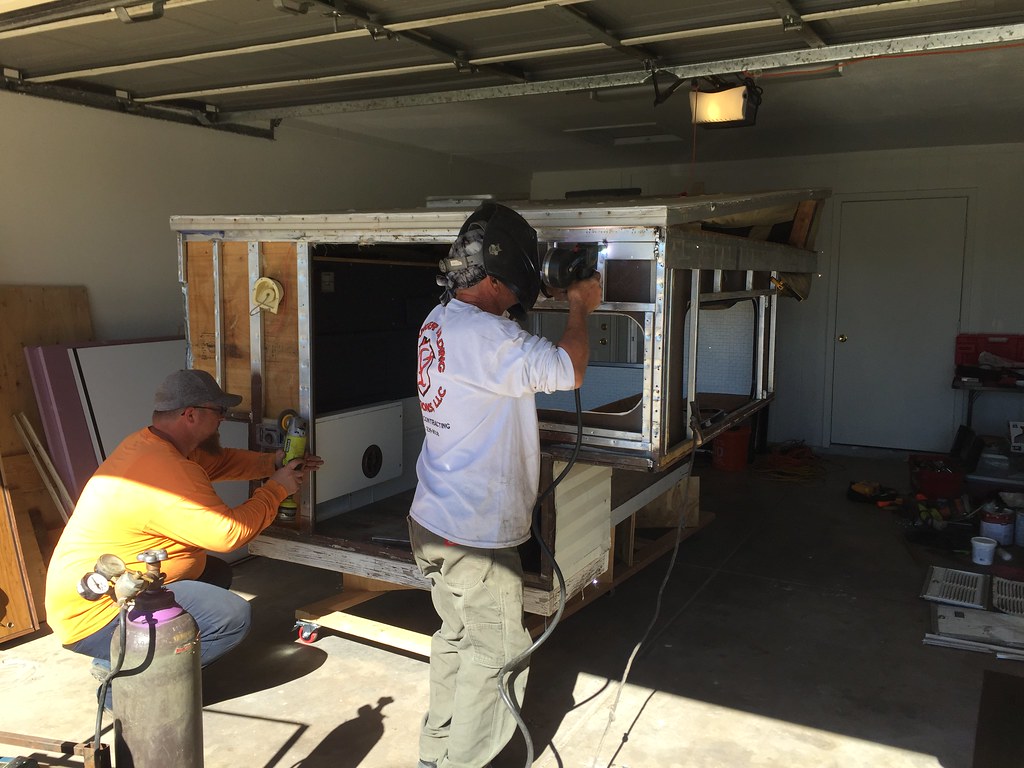
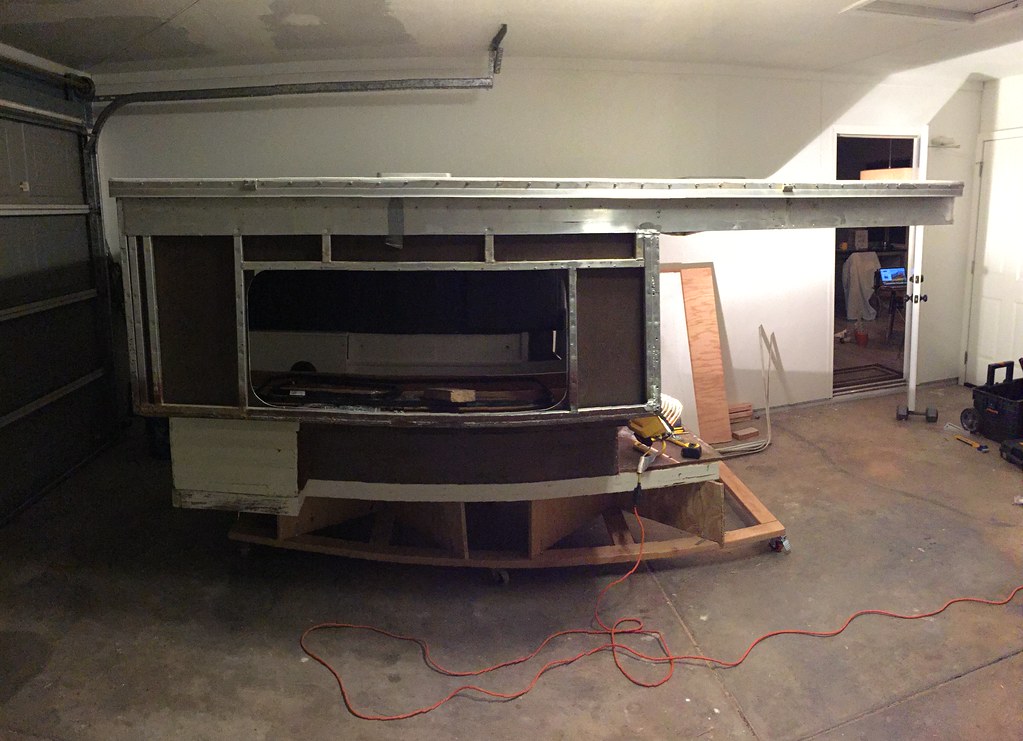
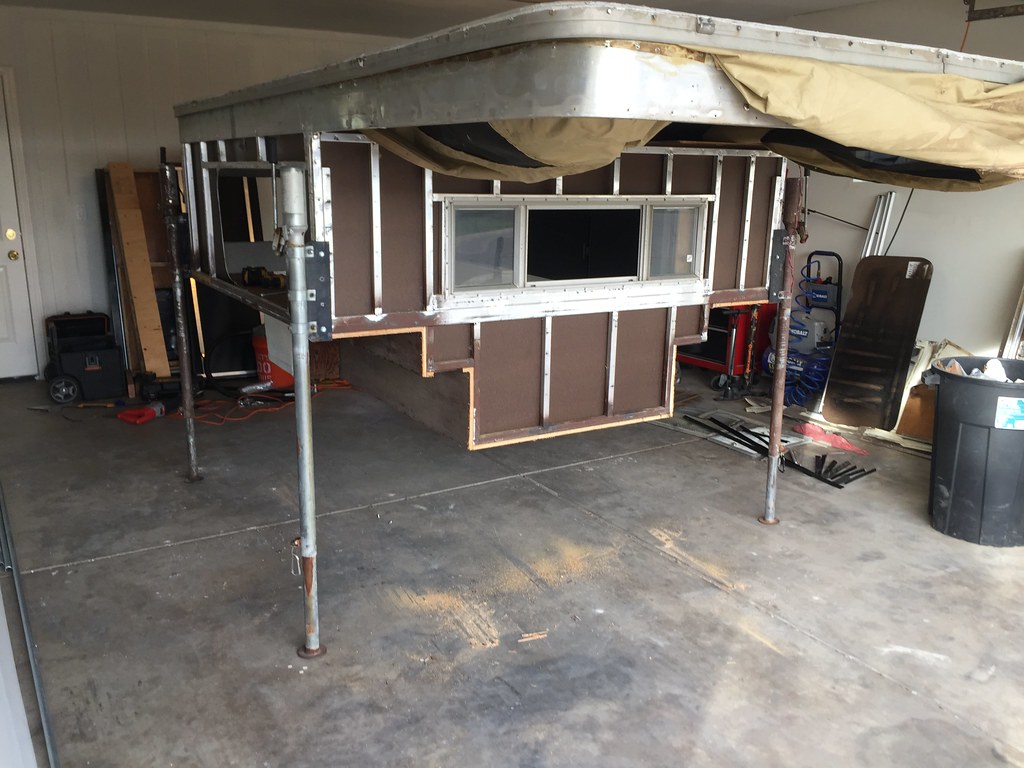
Well, I havent been updating because Ive been so busy working on the camper! Im really riding a rollercoaster of emotion when it comes to finishing this thing by Black Friday. One minute my confidence is high, the next its in the dumps. Either way Ive gotten a ton of work done in short order.

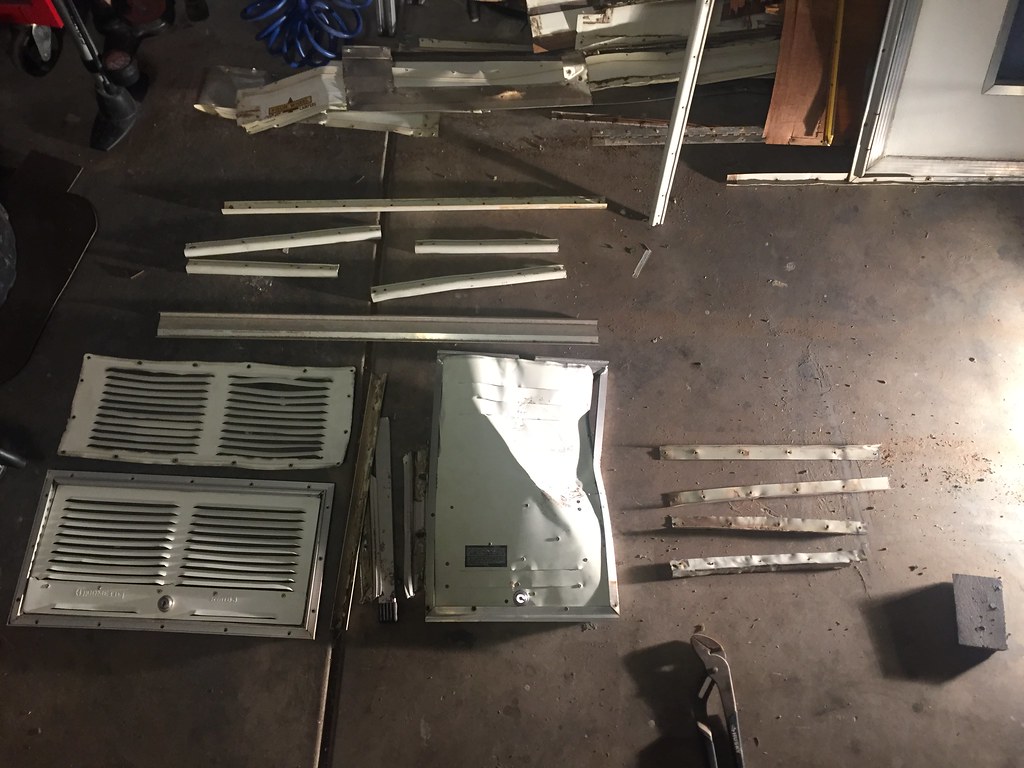
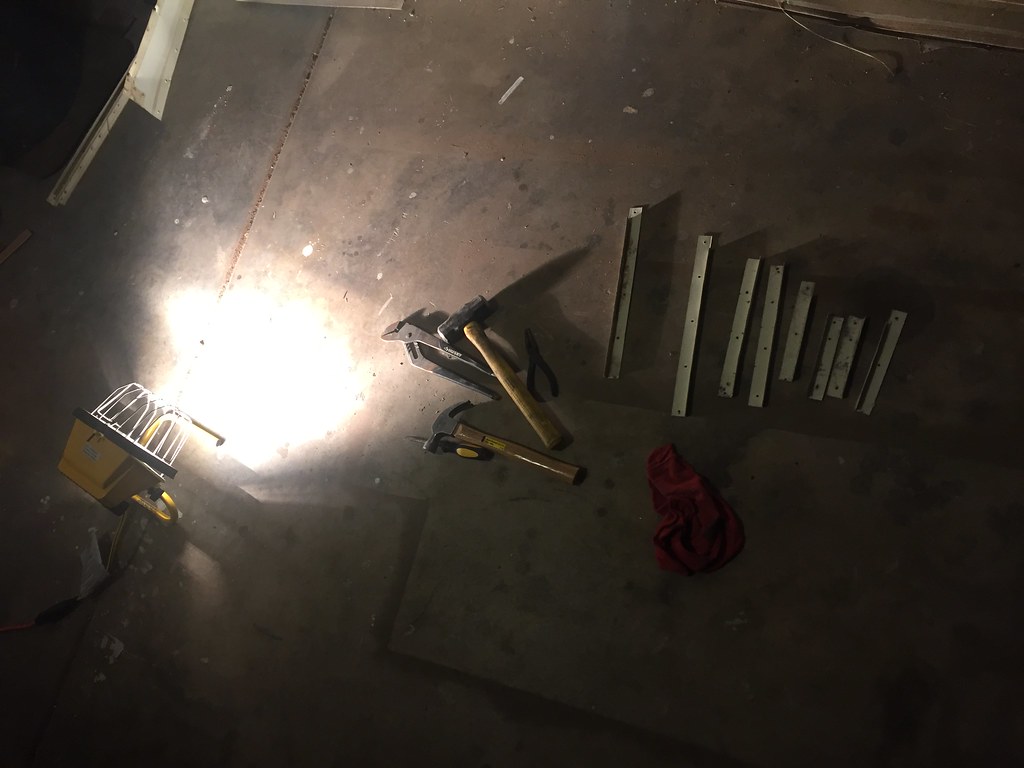
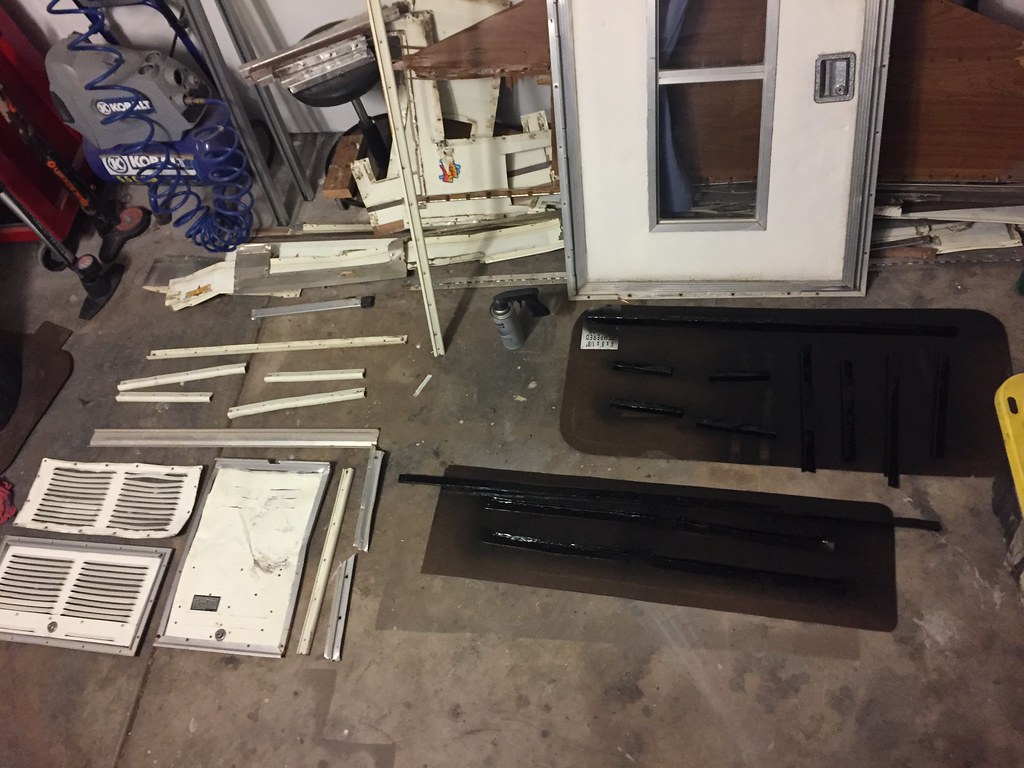
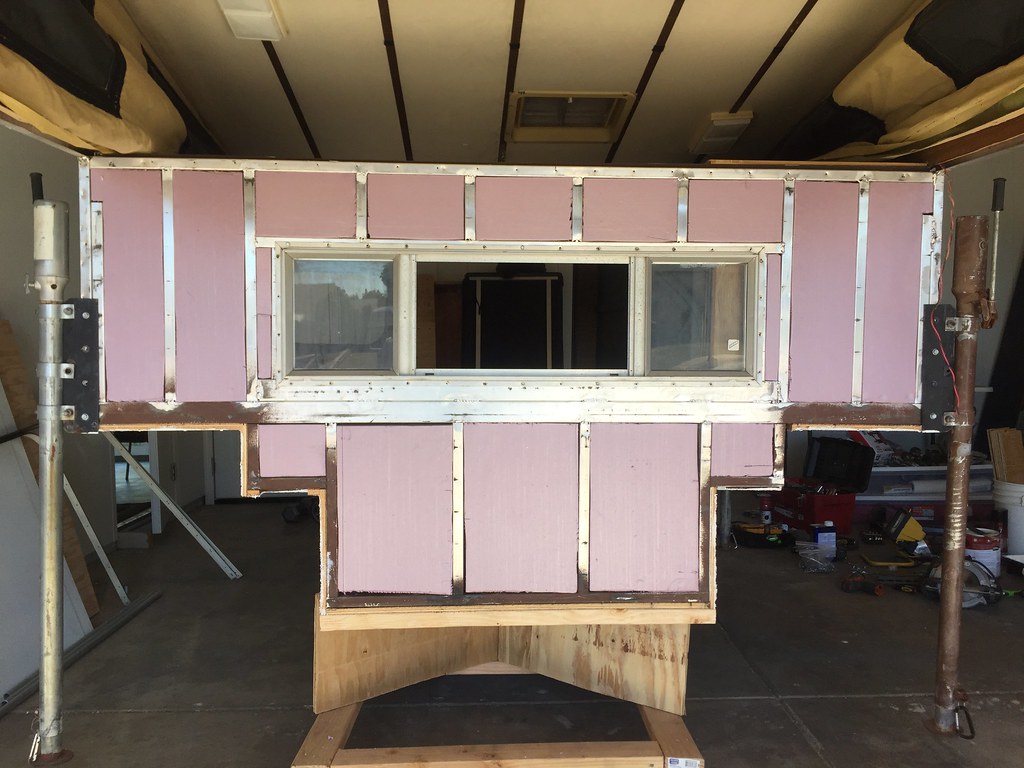
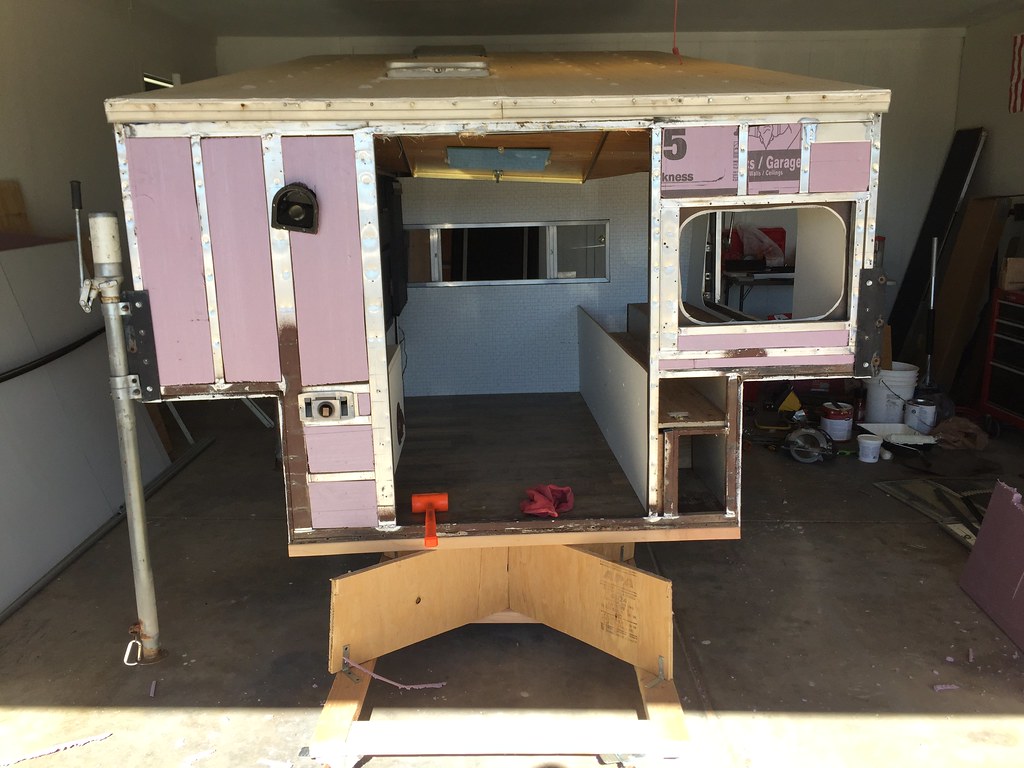
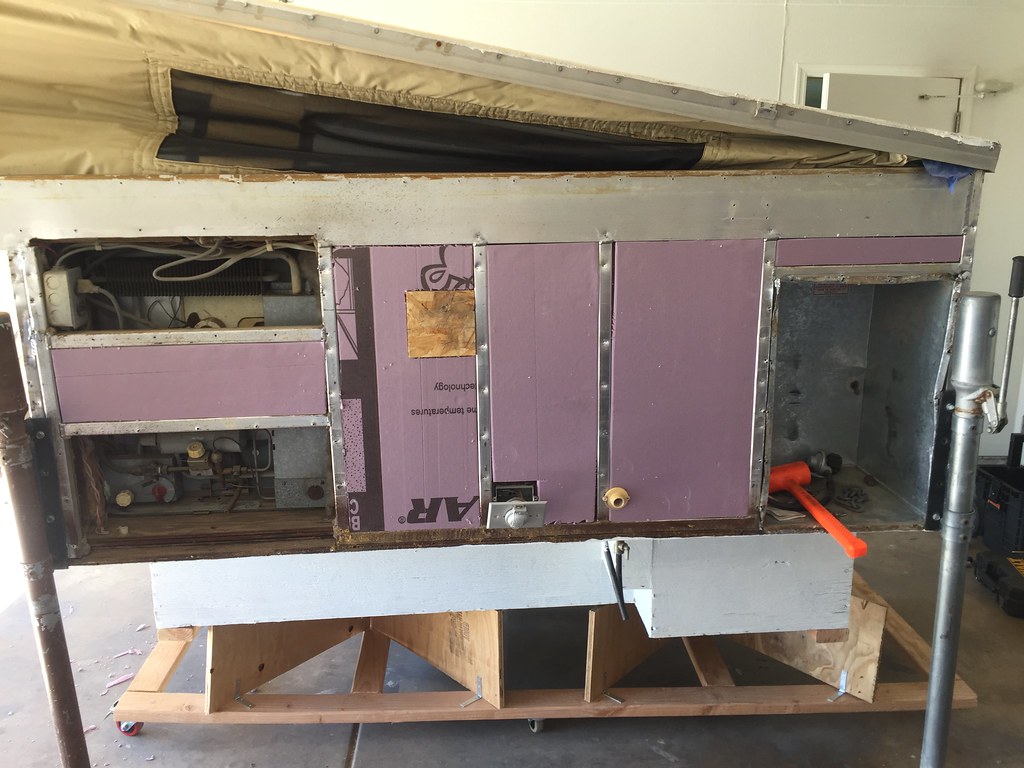
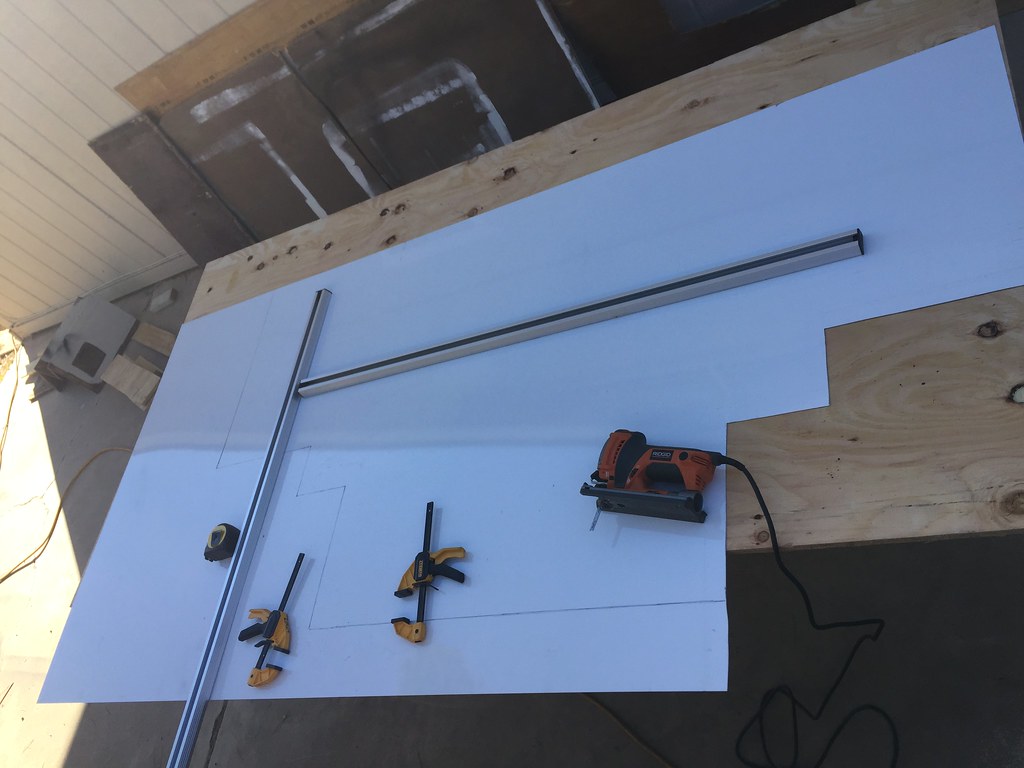
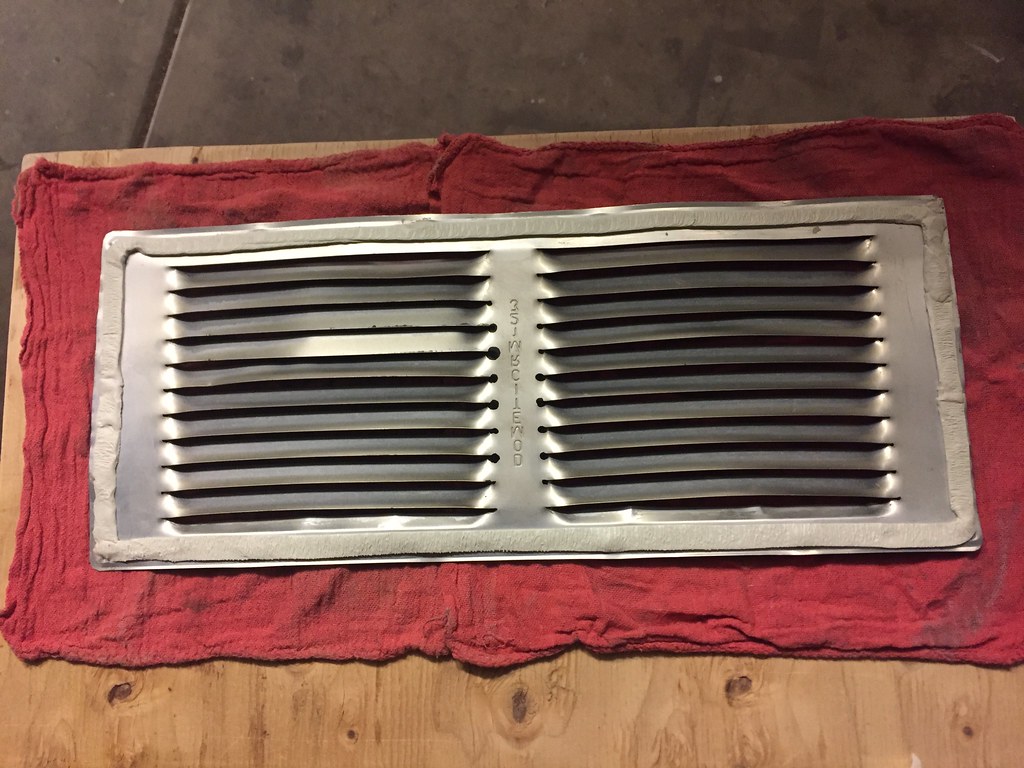
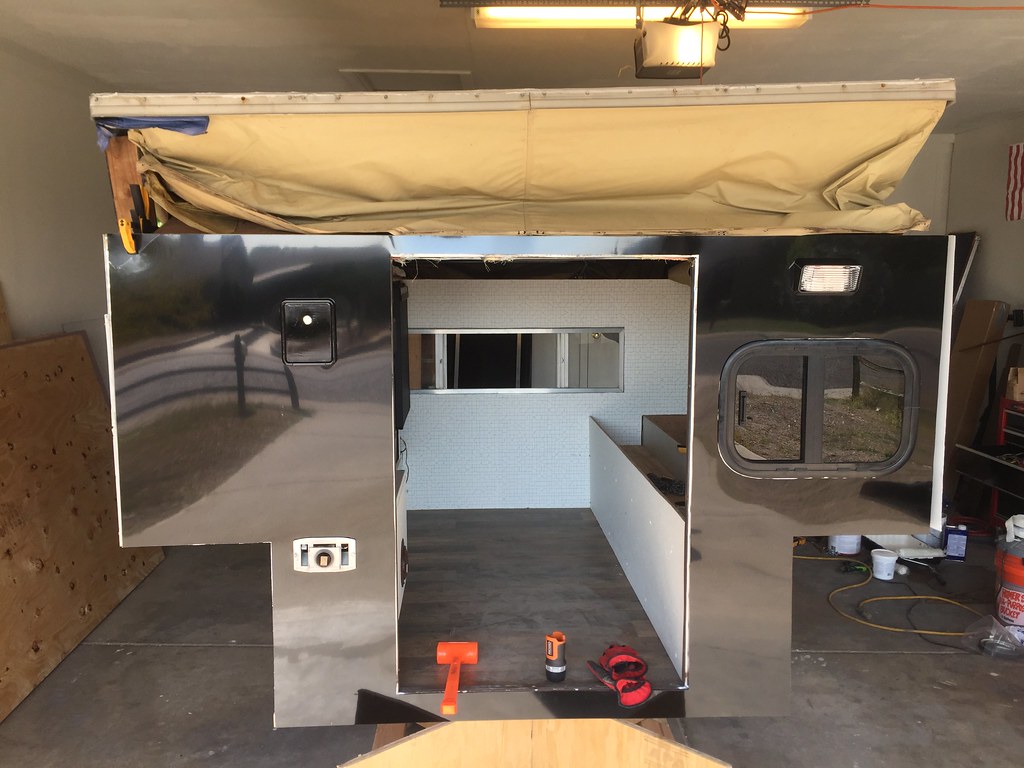
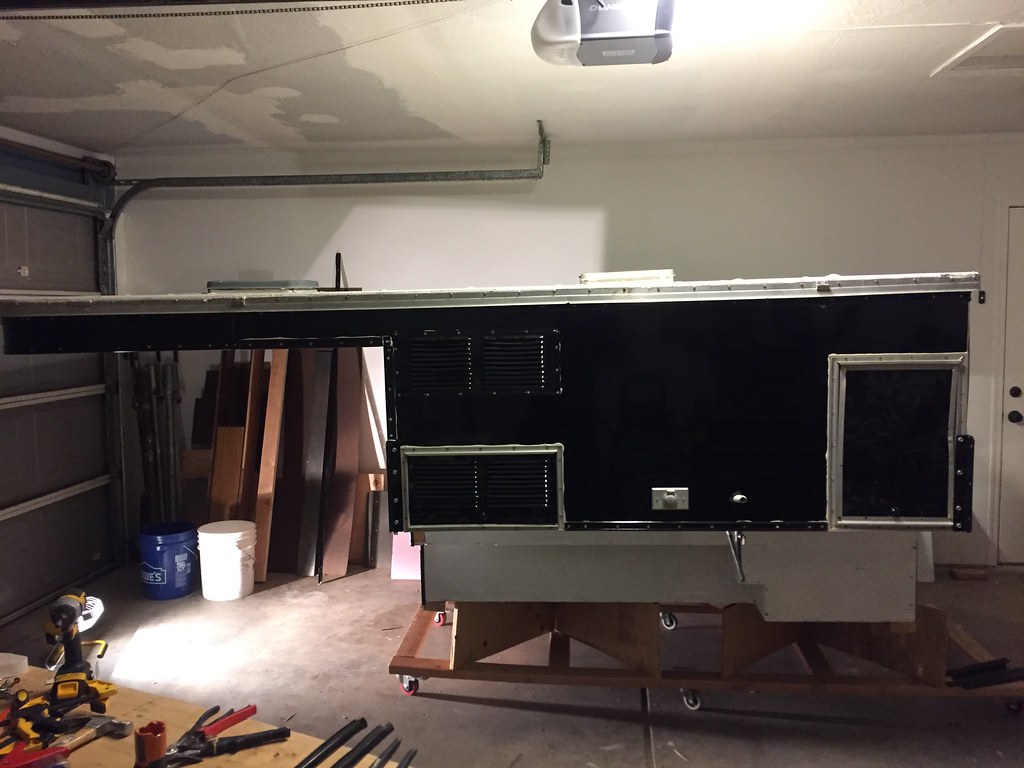
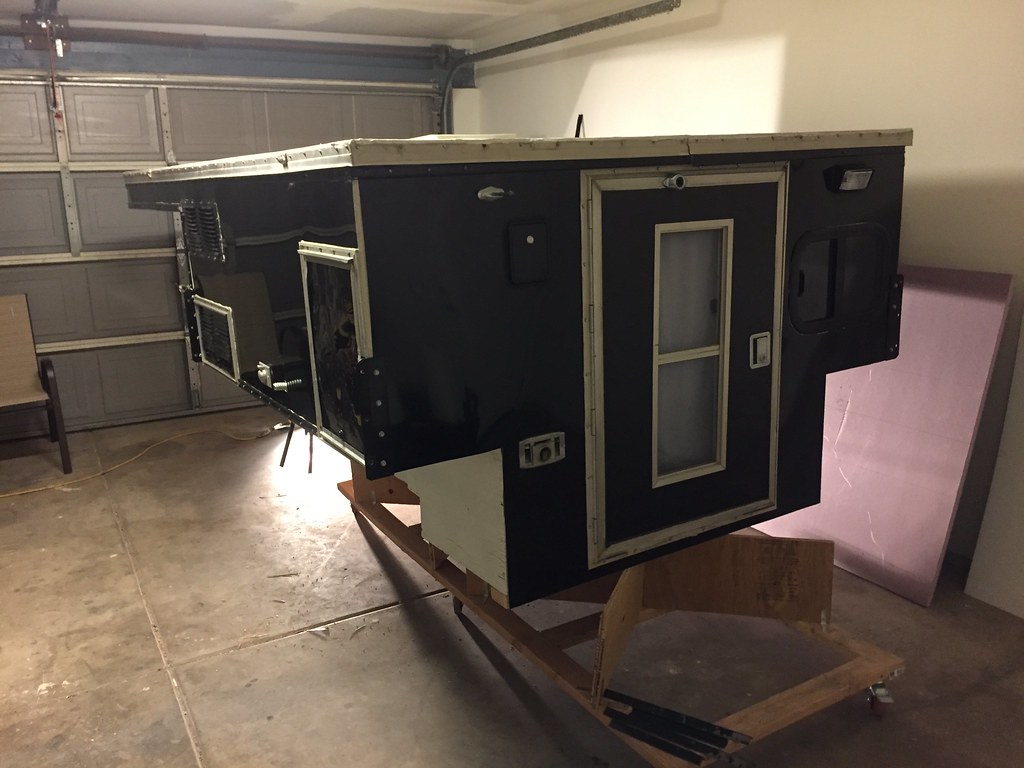
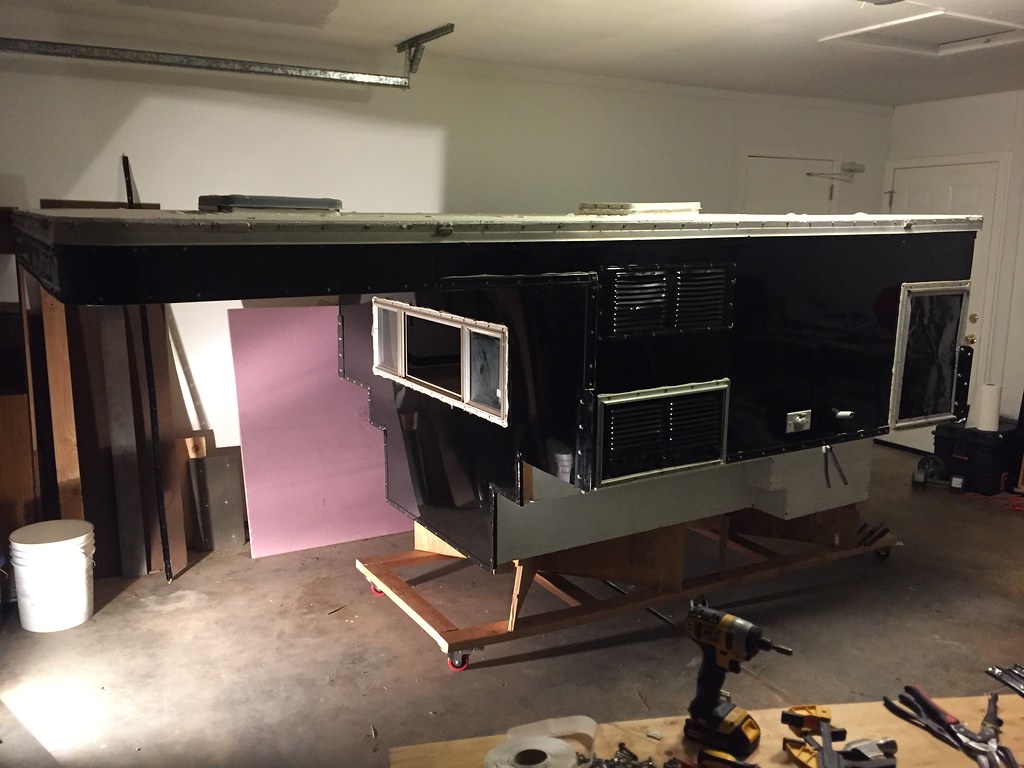
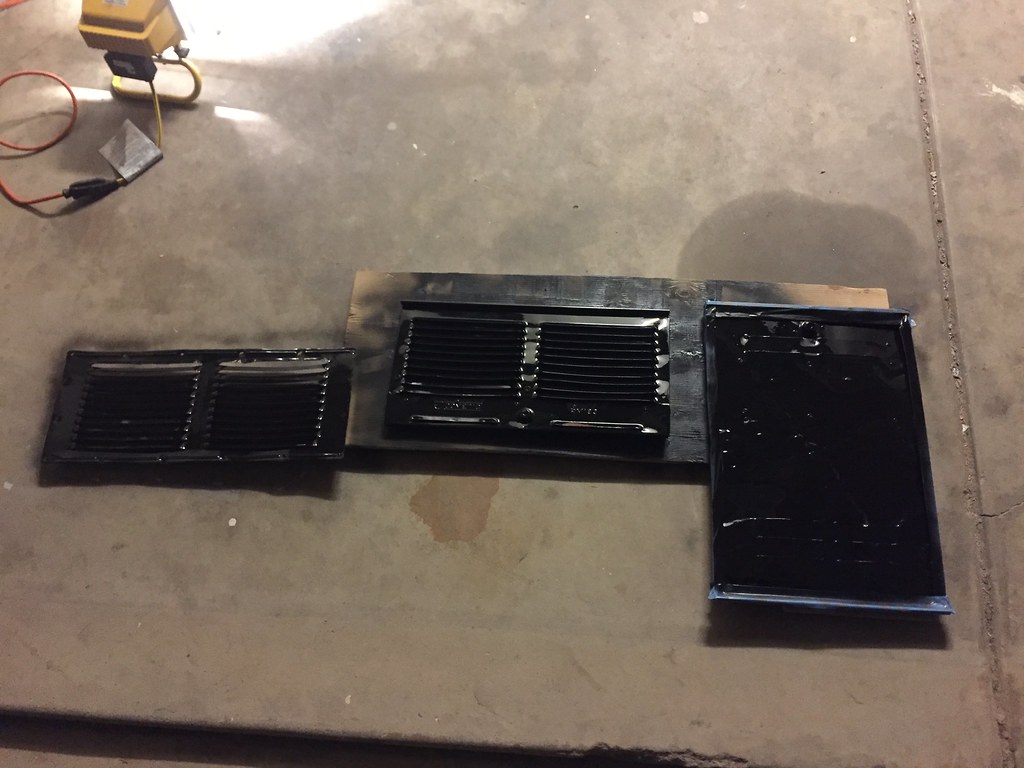
When you're working with 4x8 sheets of aluminum and cutting out all of the shapes with a jig saw on a plywood table, its insanely time consuming. Im pretty sure my neighbors hate me. Hang-measure-cut, hang-measure-cut, into the evening every day for the last week, seemingly ad infinitum. Sure would be nice to have a factory supplied exterior panel to bolt right up! The driver side panel was the second most time consuming with its fridge vent, fridge access panel, shore power outlet, sink drain outlet, propane access door which needed complete reconstruction (along with the entire rear corner) after a "mishap" the PO had where one of the jacks failed while driving. The rear panel was by far the most time consuming with the door, porch light, water inlet, heater exhaust, window and door stop. All of which were documented with pictures, removed, cleaned, rebuilt, sanded and/or painted, test fit, butyl taped...holy crap. Every time I check something off the list it adds two things. Reminds me of my days in Anthropology, finding a new specimen only creates two new gaps instead of filling one! I digress.

45193157364_86edf62a7a_b.jpg


45004867285_c48a171184_b.jpg


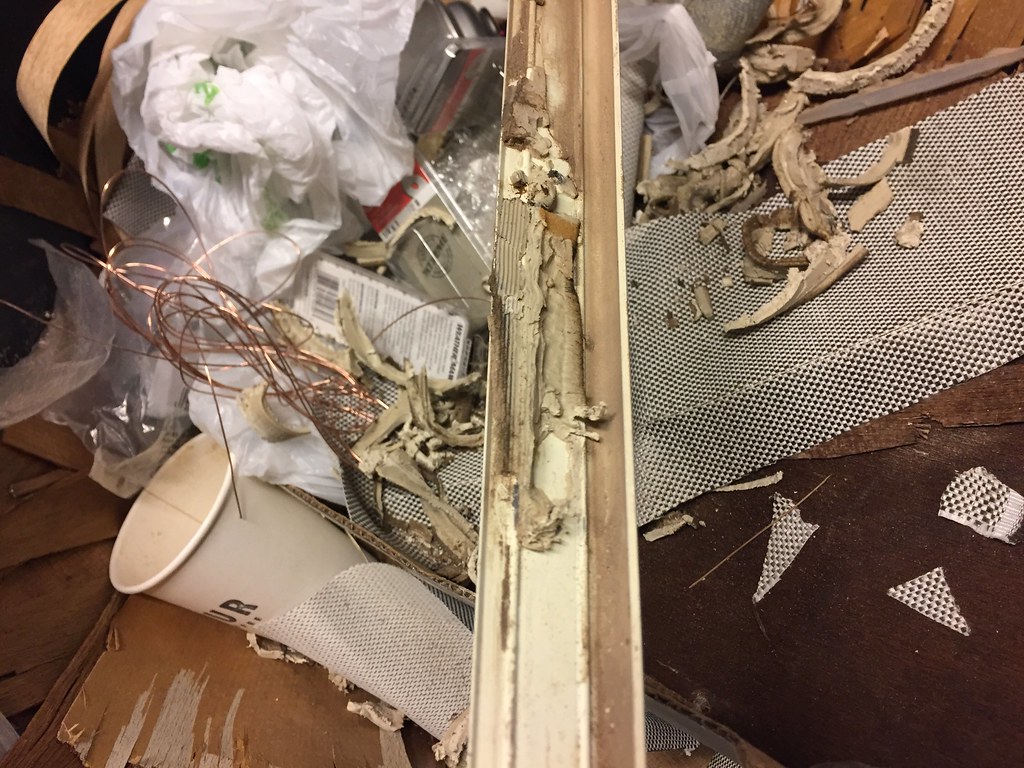
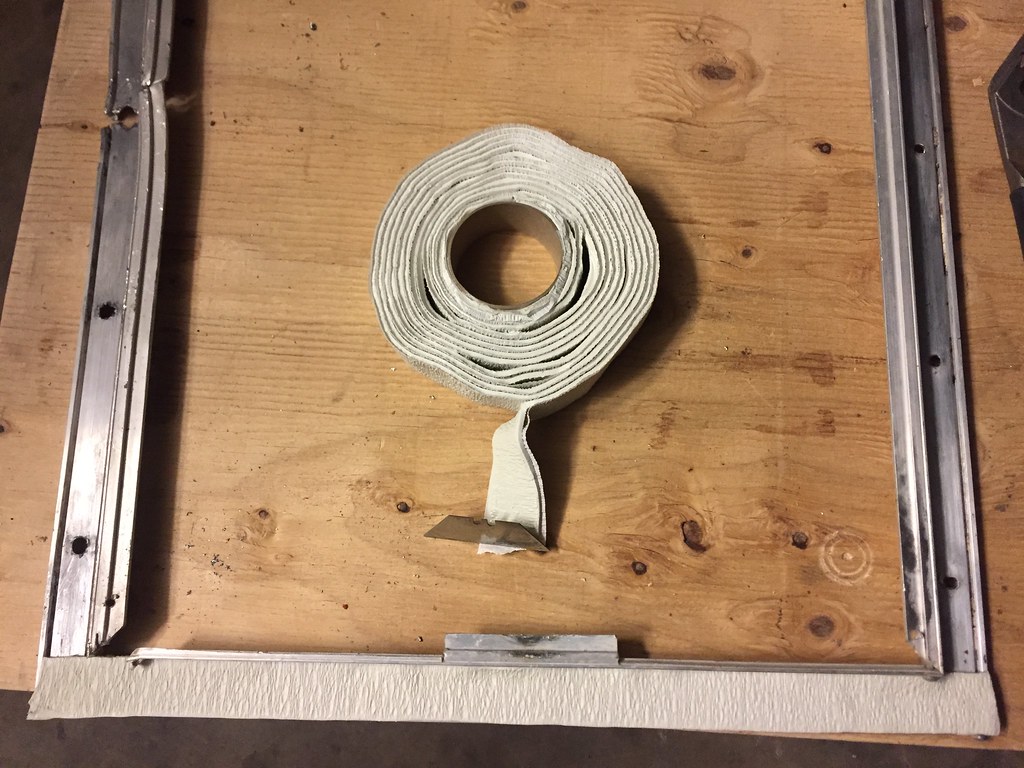
Real love-hate relationship with butyl tape right now.
45917084691_d7b891c949_b.jpg


45004871935_177acf63fa_b.jpg


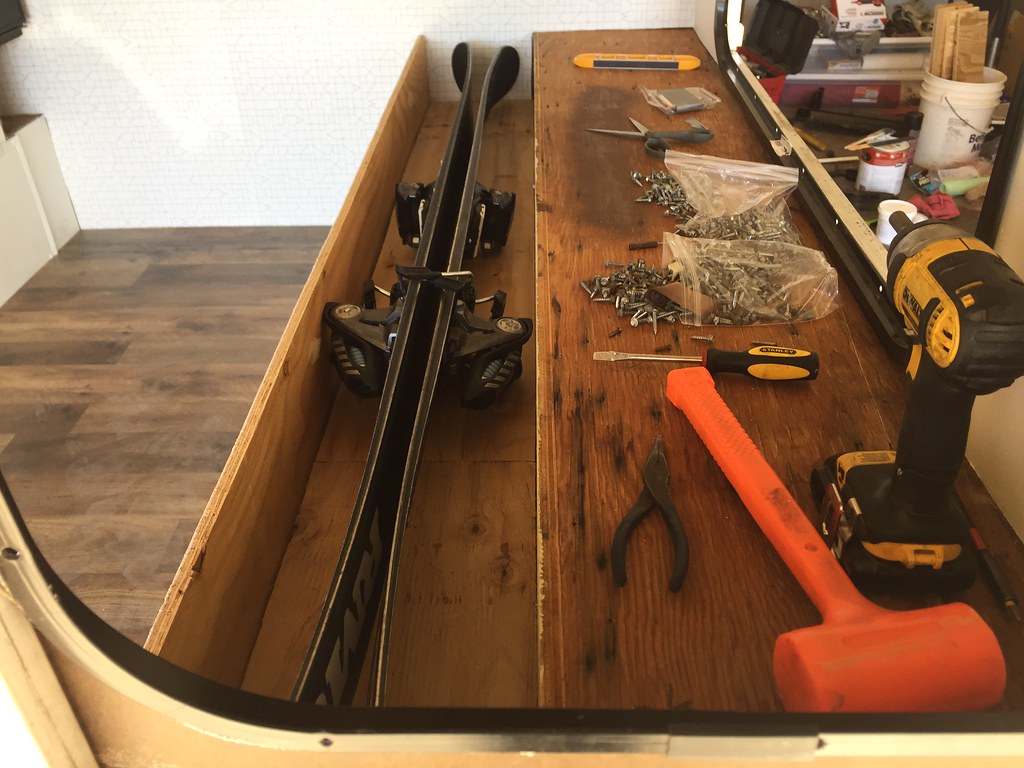
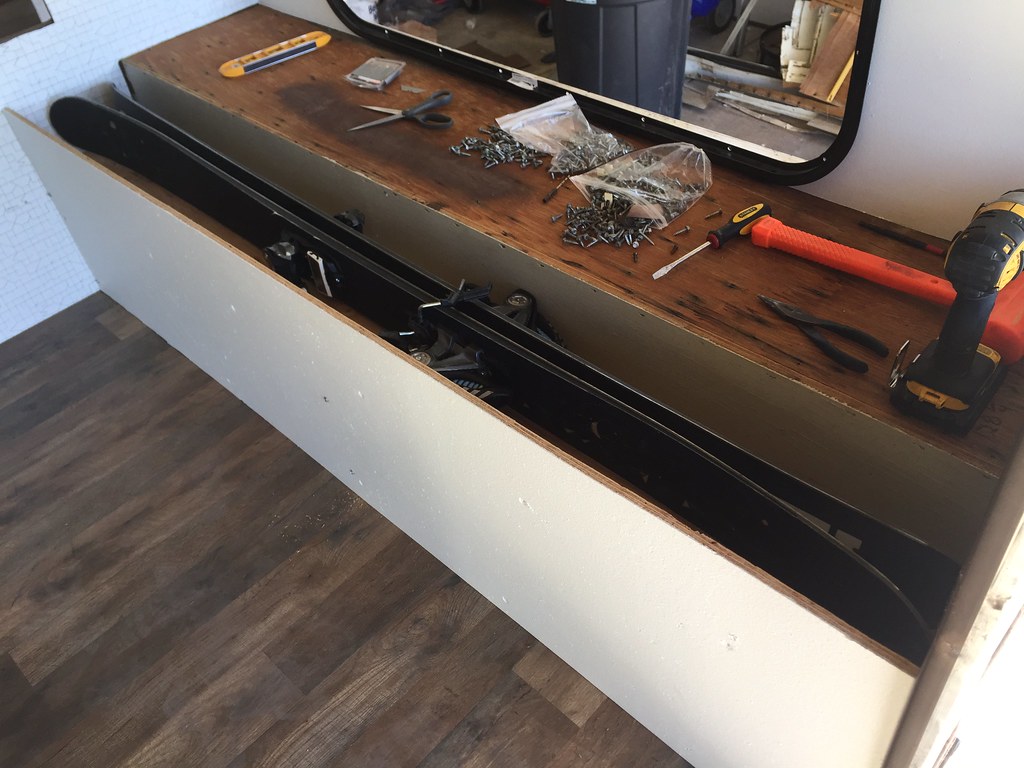
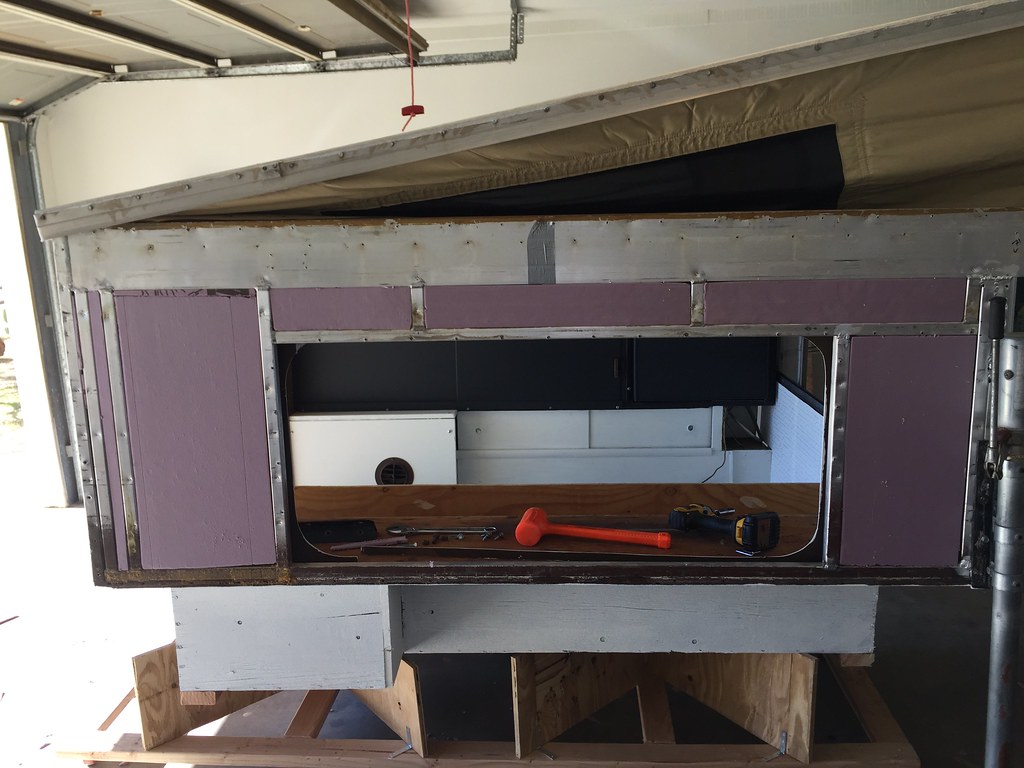
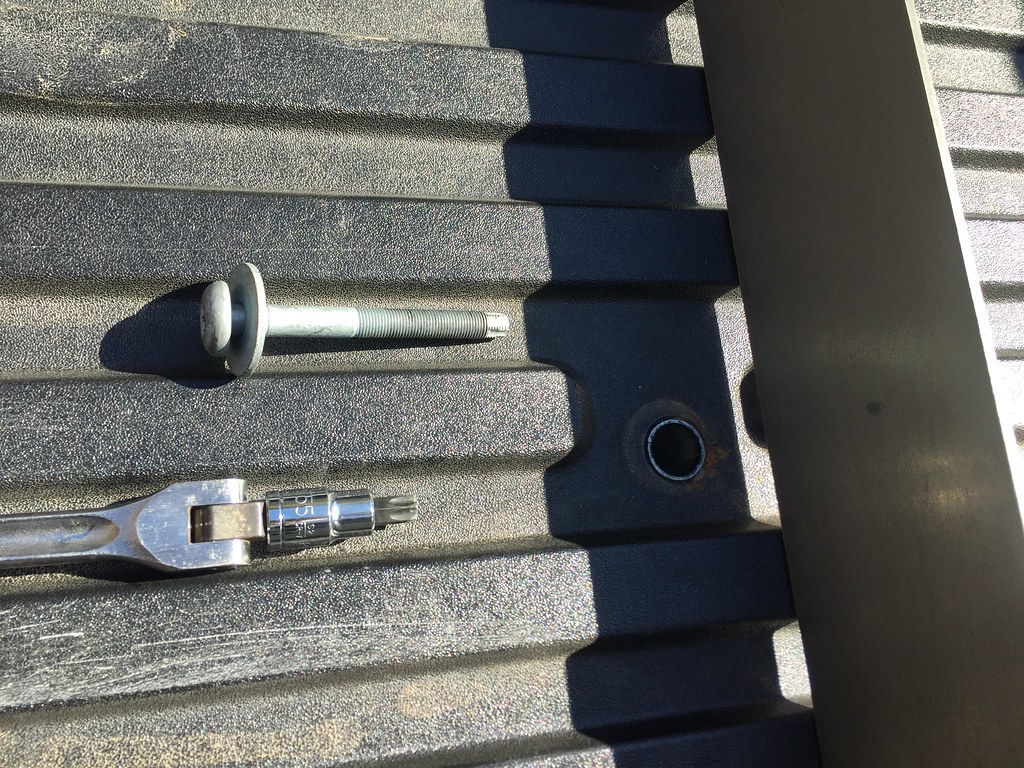
Easiest way to make sure you put it back together the way it came apart, take a picture.
44101369670_fc78da0493_b.jpg


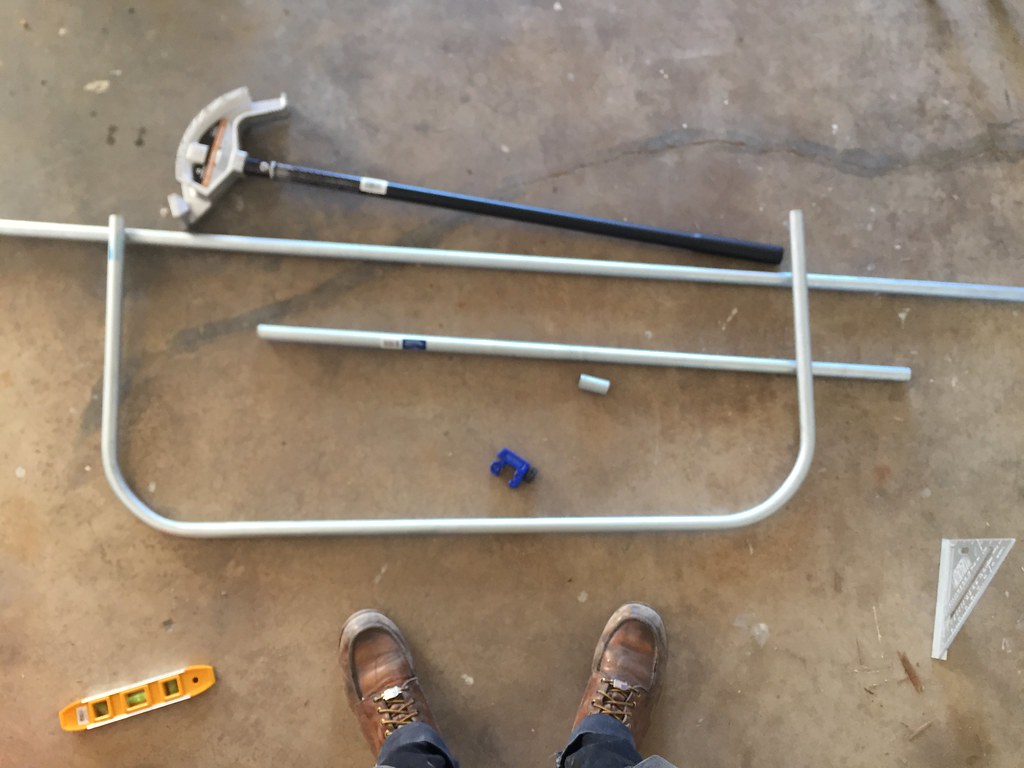
I cant tell you how many times Ive done and undone these clamps. Making progress though.
45883381822_c1019dd63a_b.jpg


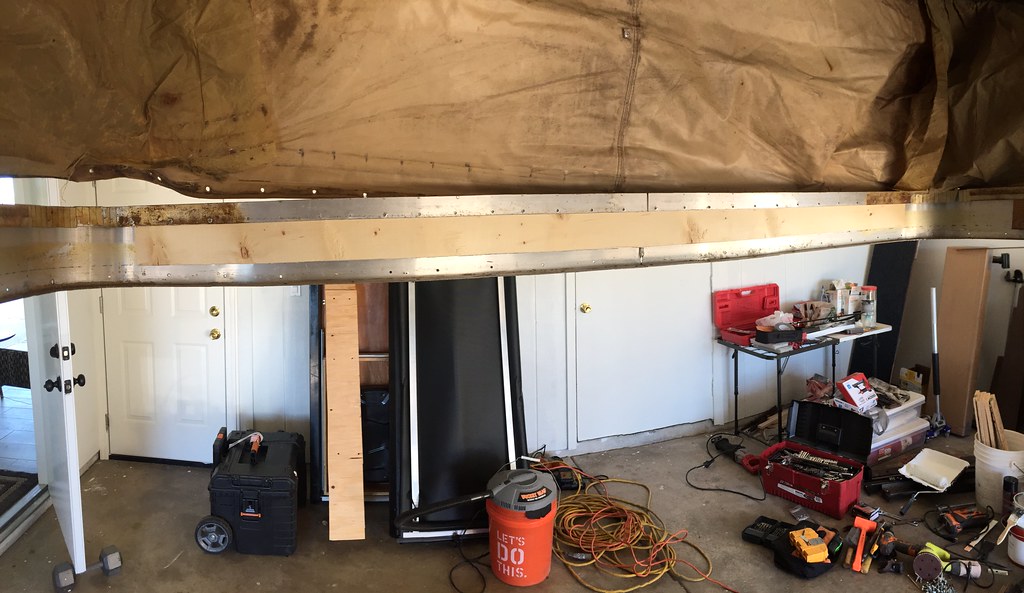
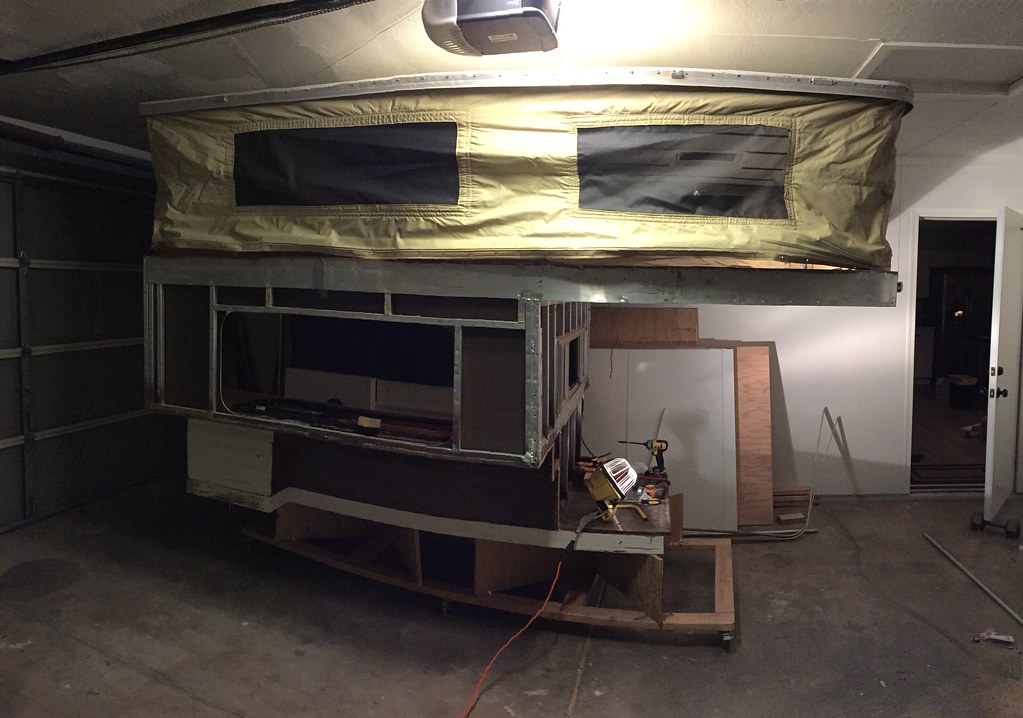
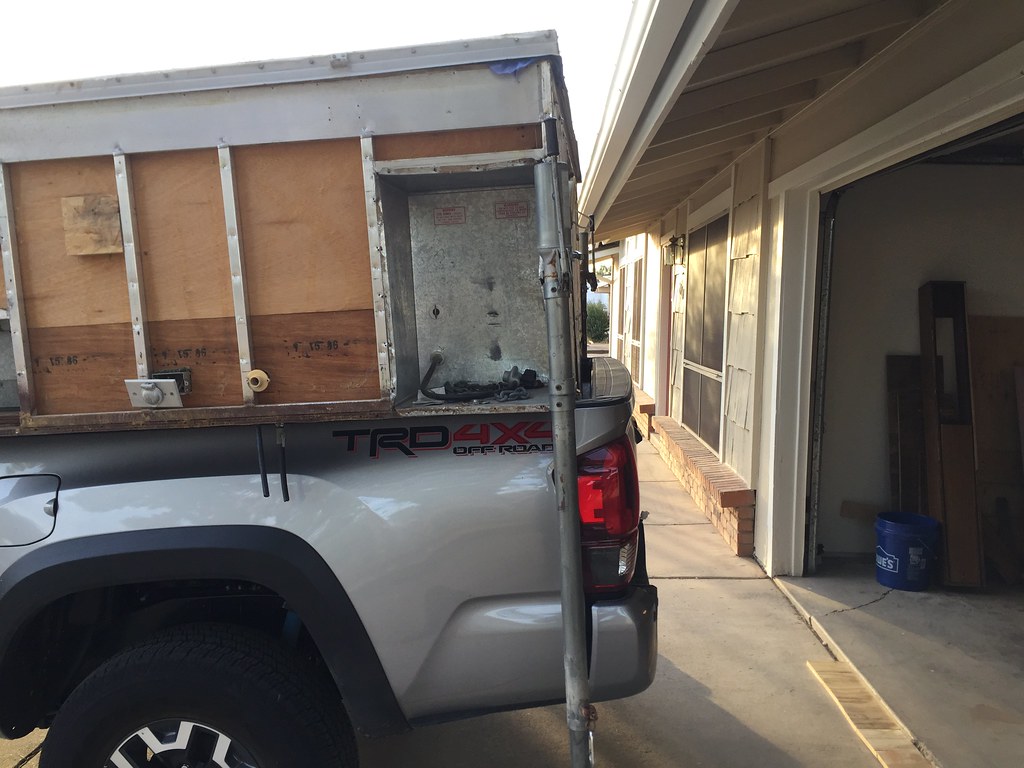
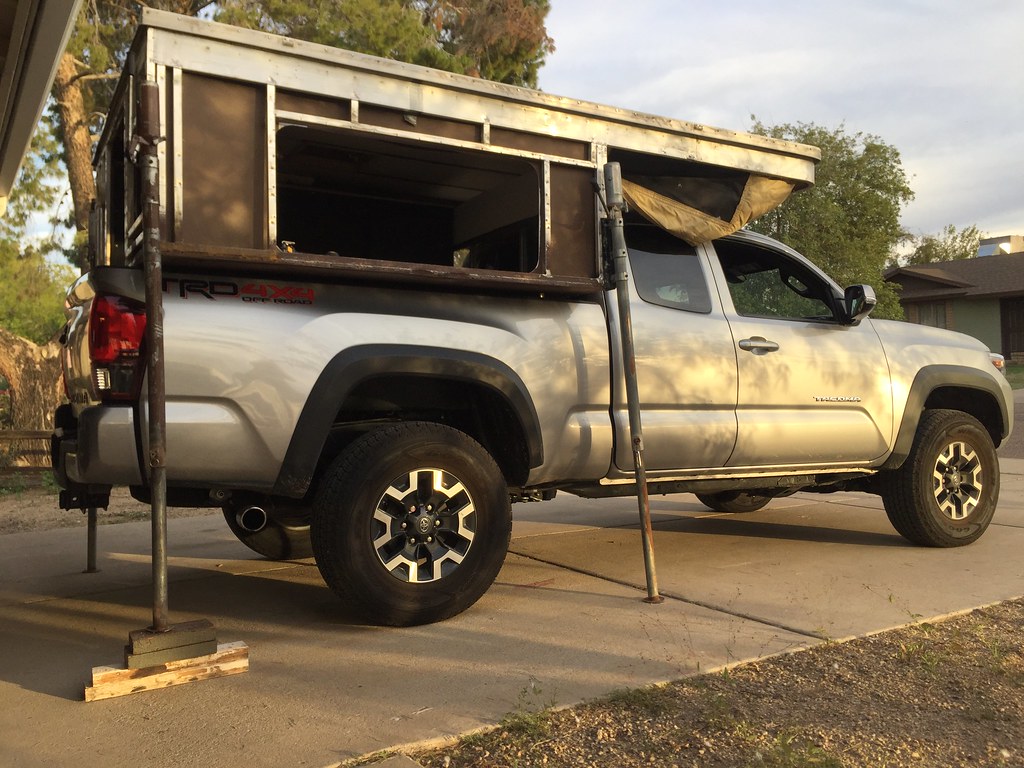
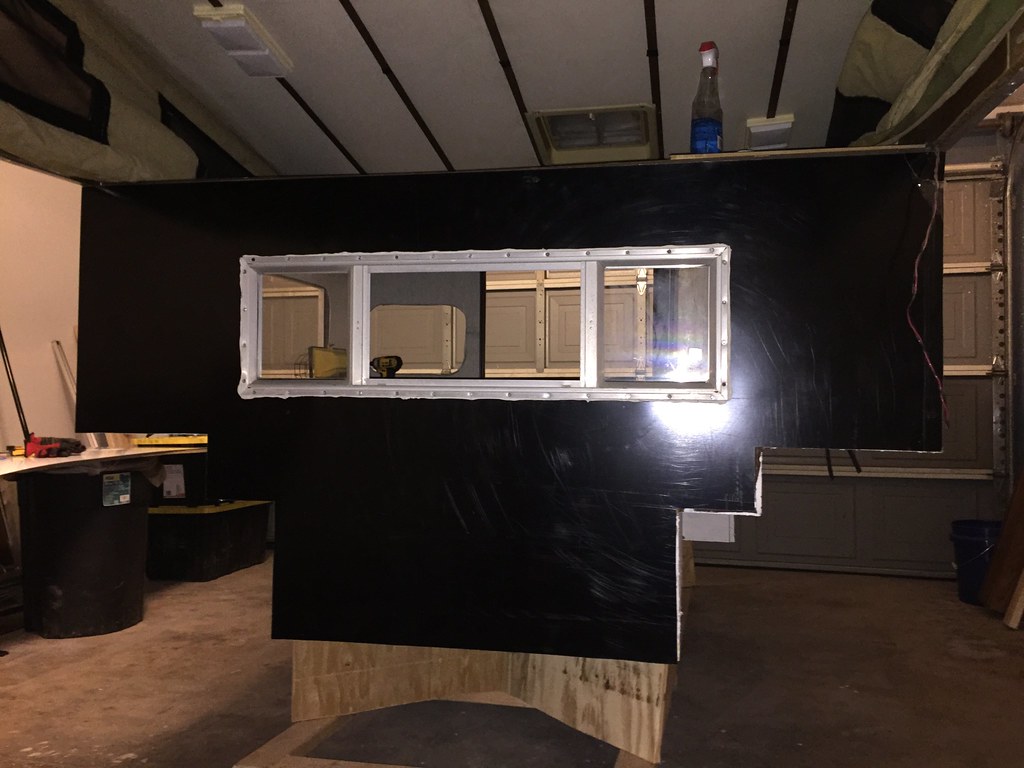
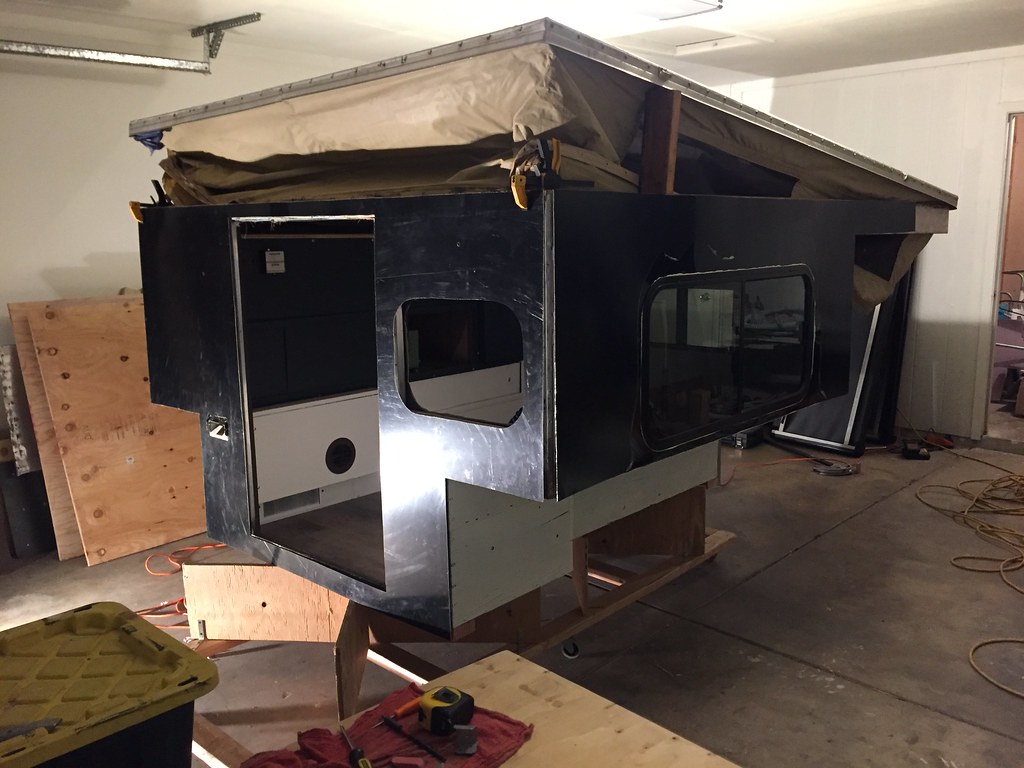
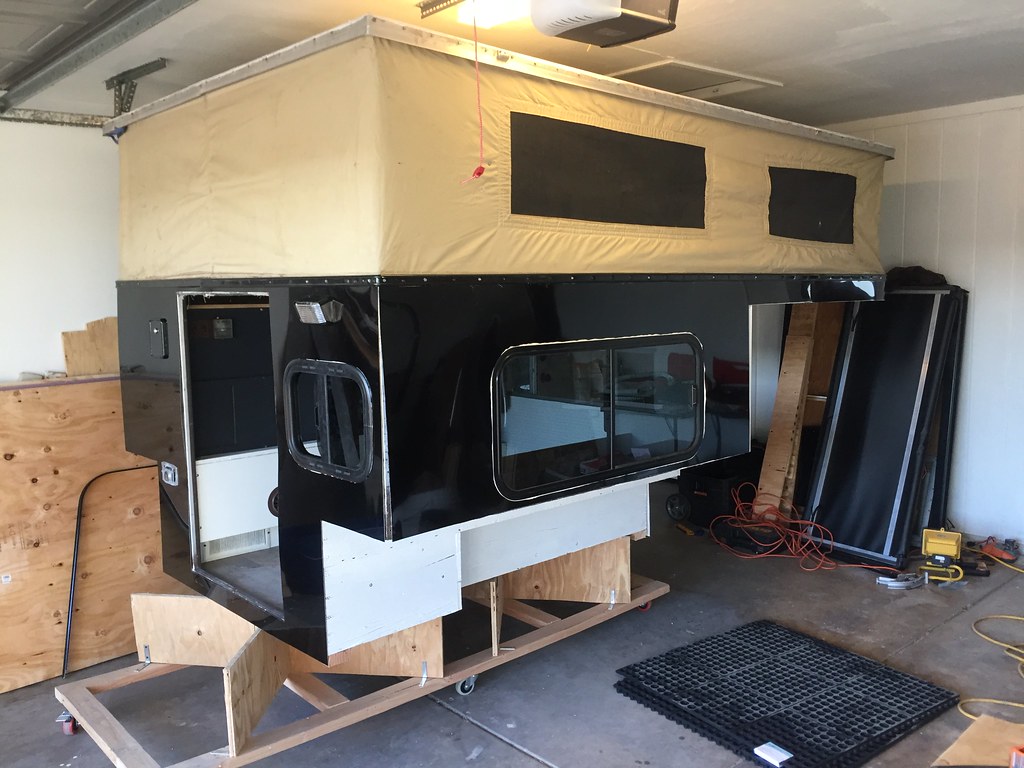
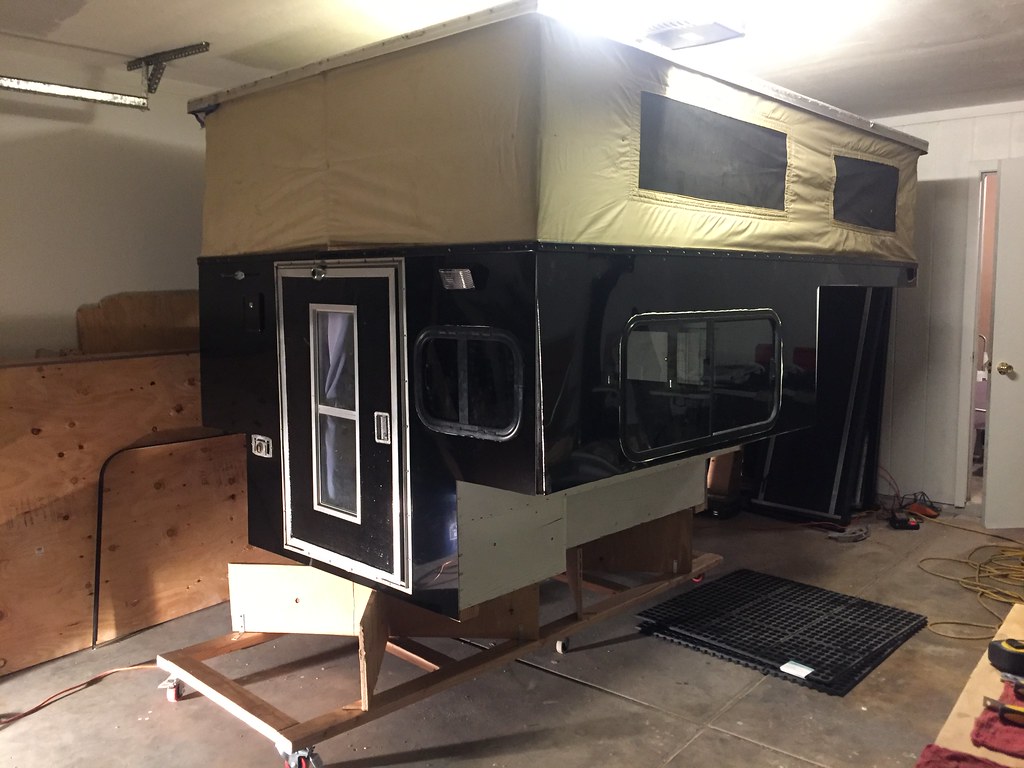
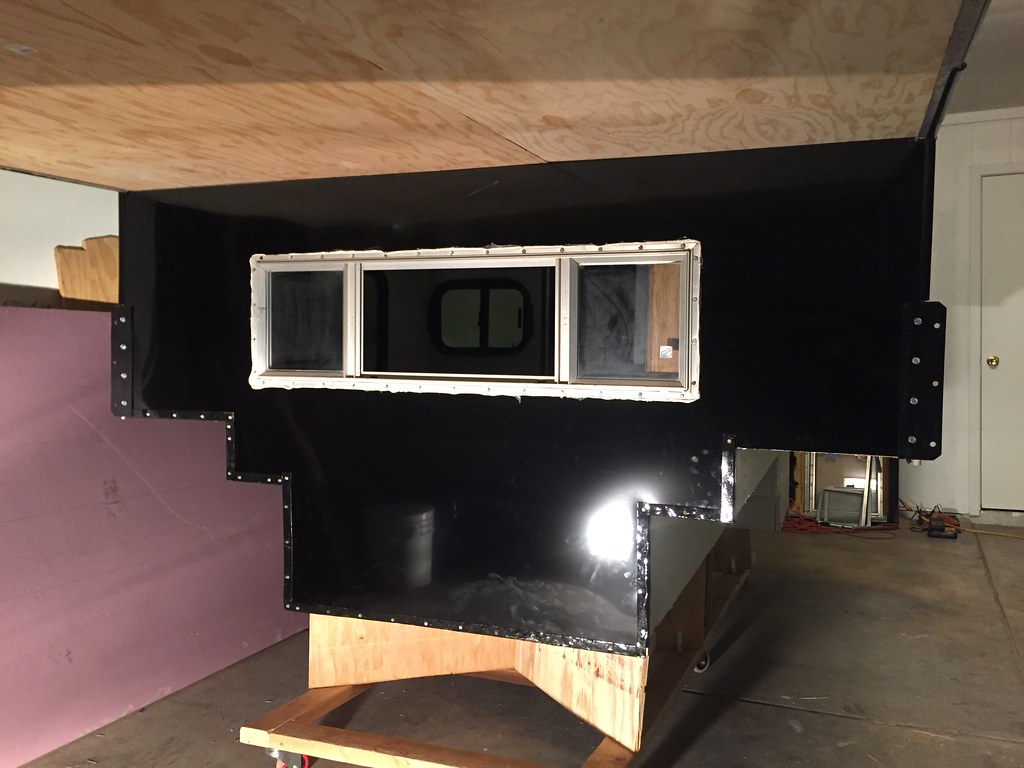
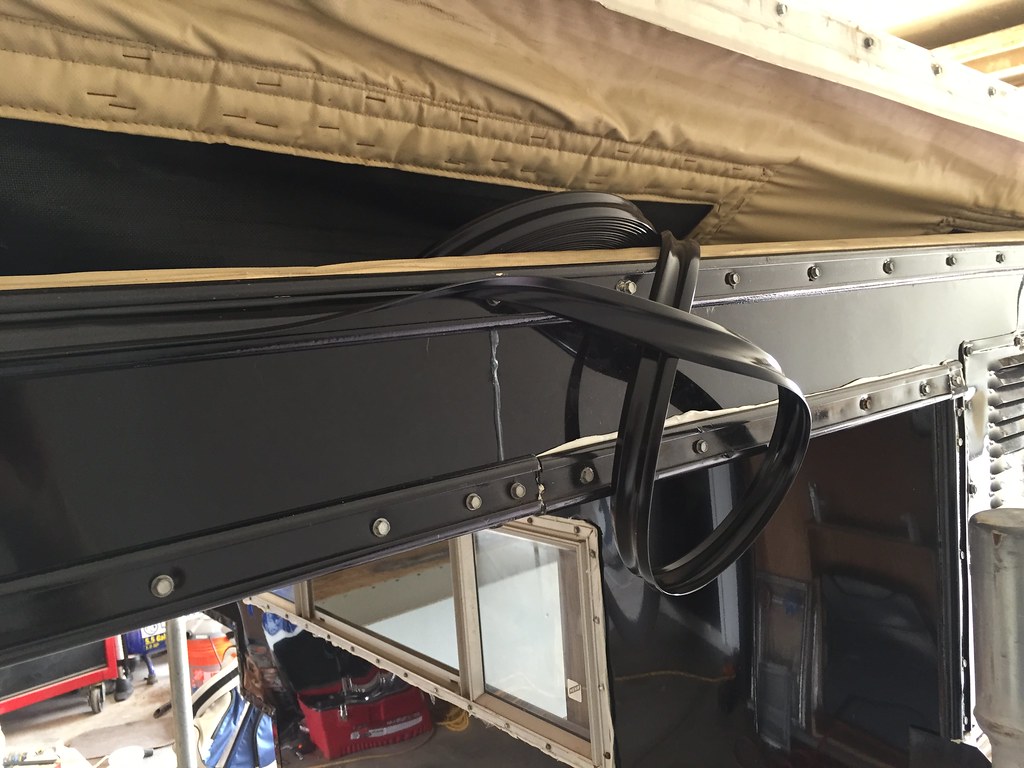
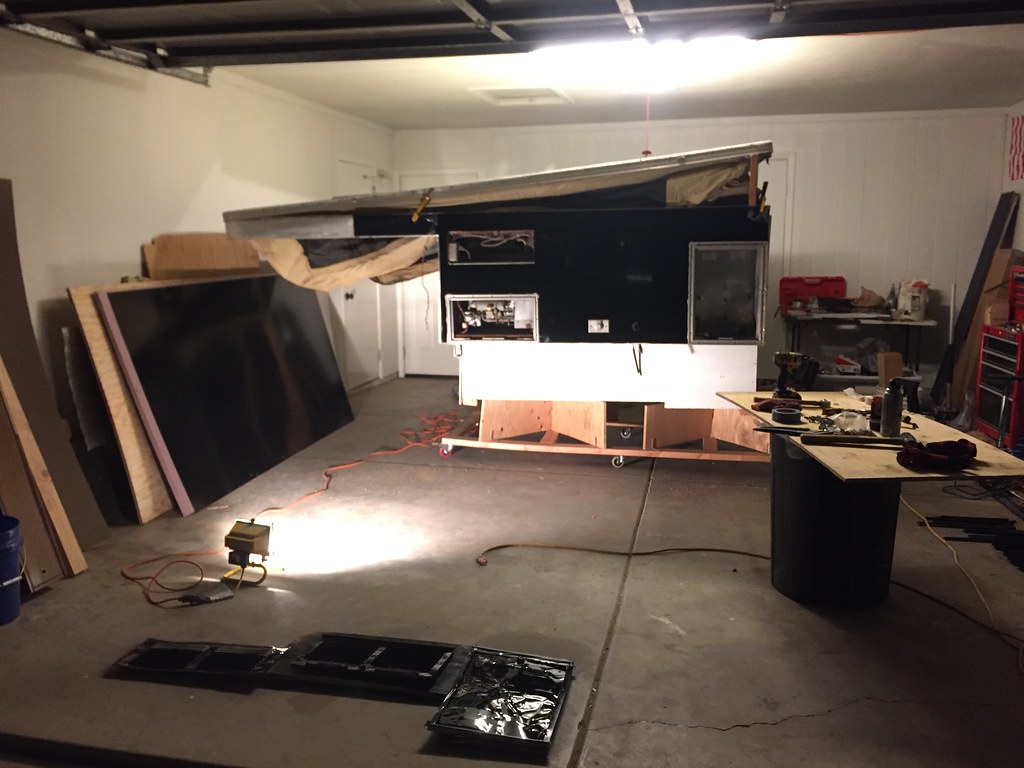
The single most painstaking thing about this whole project was reinstalling the vinyl sides. Crusty old dried up and shrunken 1986 FWC soft sides are not fun to work with. Pull too hard and they tear, dont pull enough and the holes dont line up. Took me four hours to get it reinstalled in a satisfactory manner. My arms were completely pumped like I had been lifting weights. Its still difficult to type this. I genuinely wish I could have installed new canvas instead of the old stuff but ATC had a 3 week lead time which didnt work for me. Phase 2 it will be.

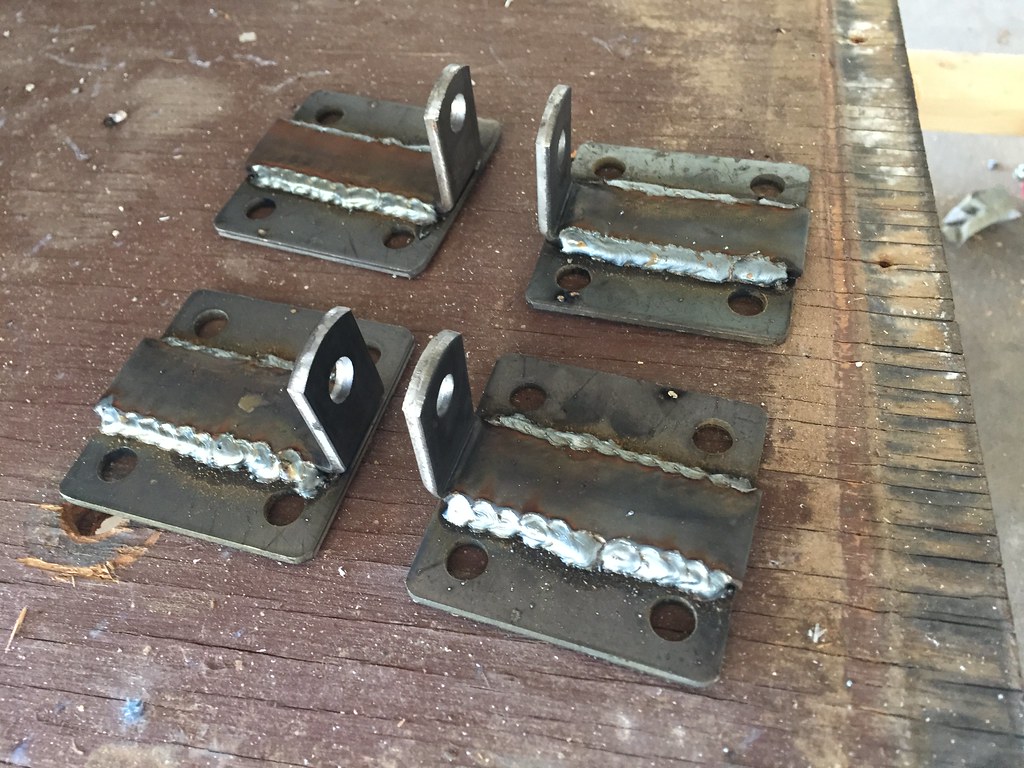
The keen observer will see the front is not as taught as the rear in this picture. I need to adjust my newly made lift mechanisms up front but I just dont have the time.
45947139561_4a60da2072_b.jpg


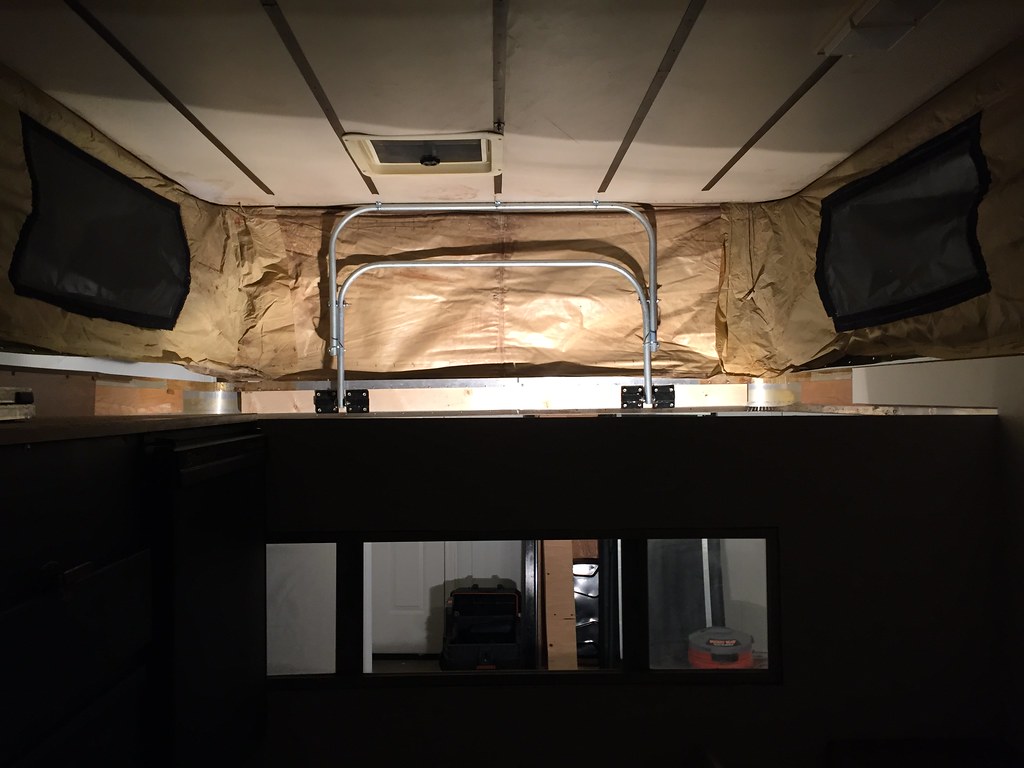
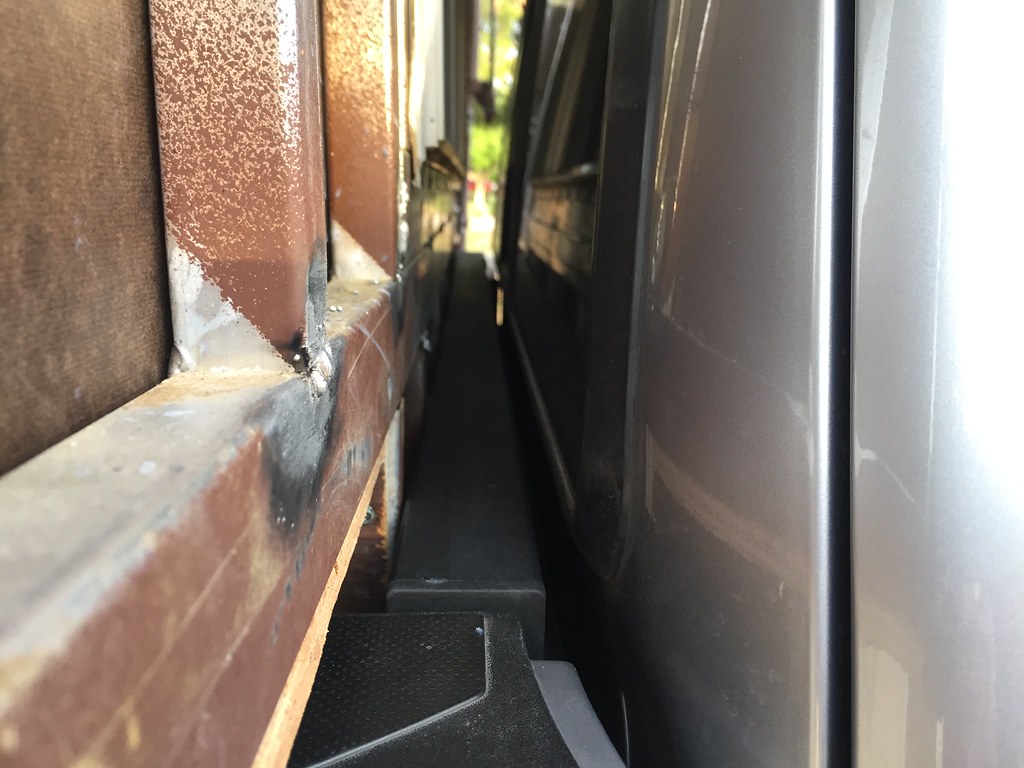
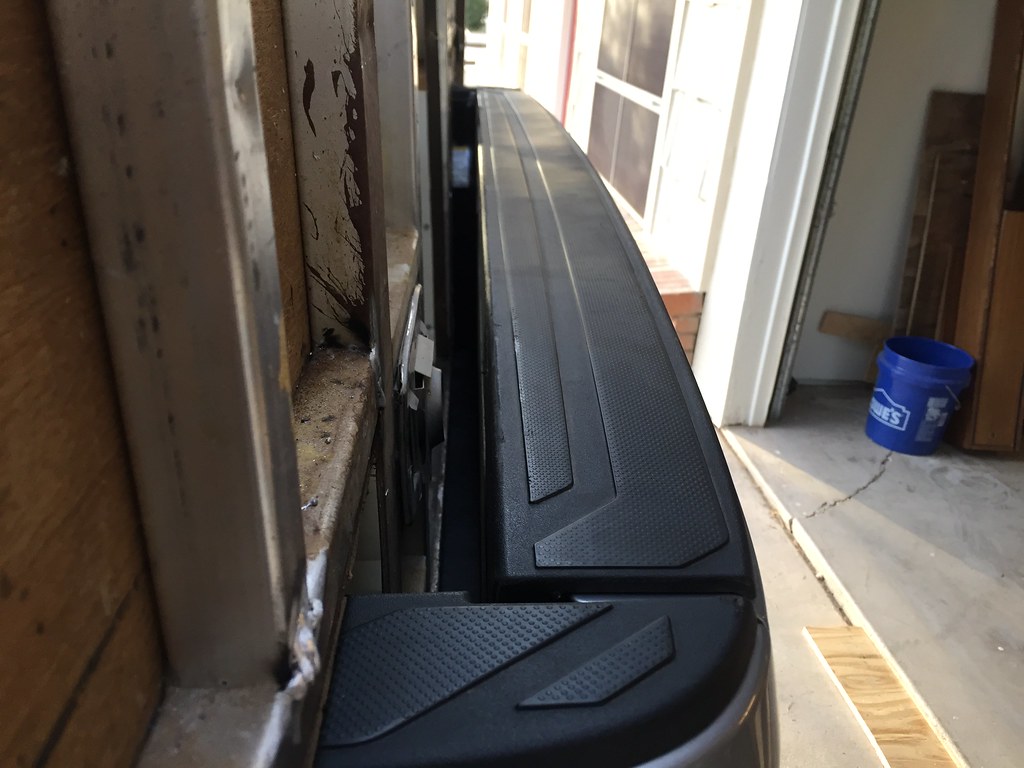
These gloss black panels are like mirrors!
45947139571_7a960b15be_b.jpg


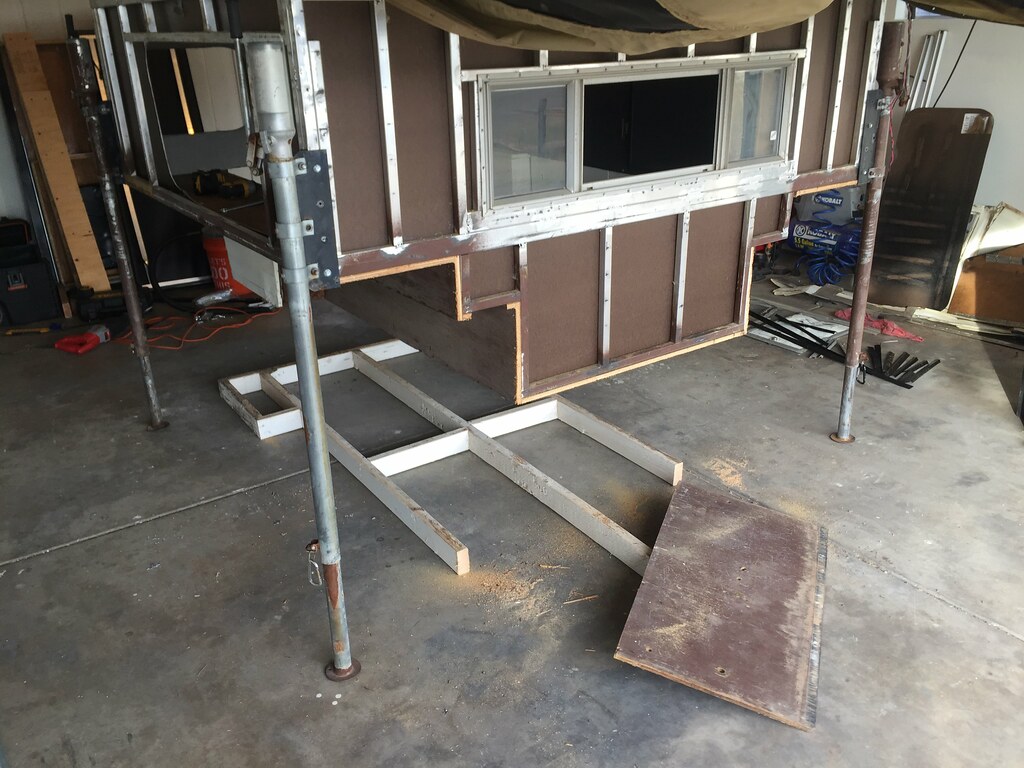
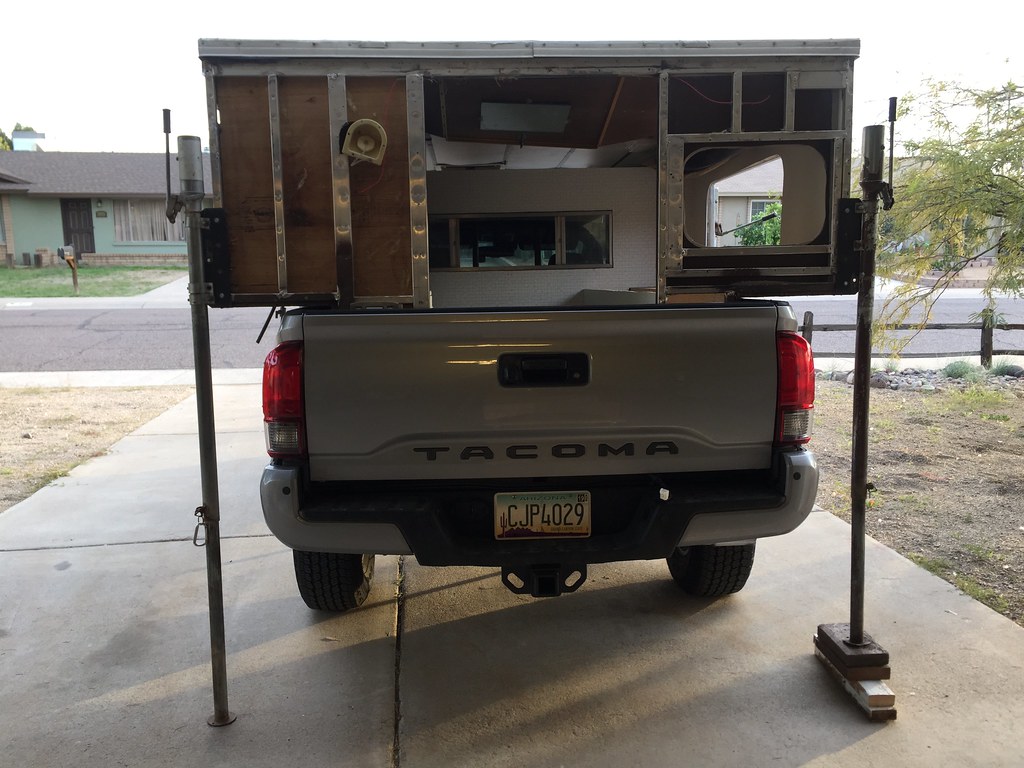
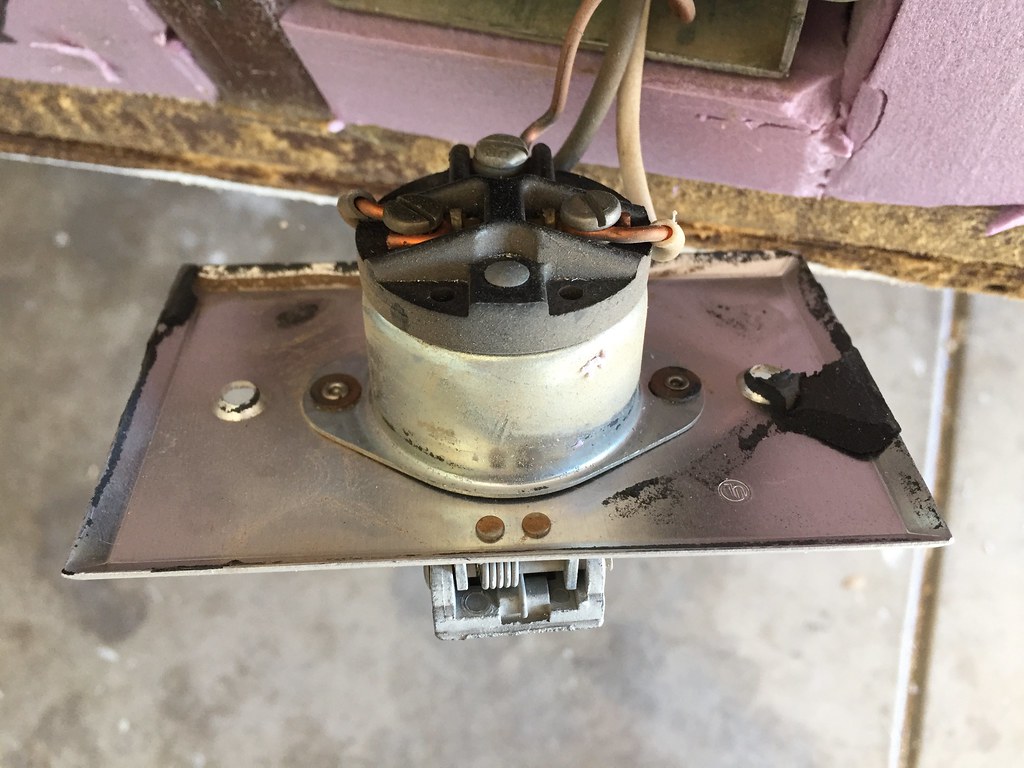
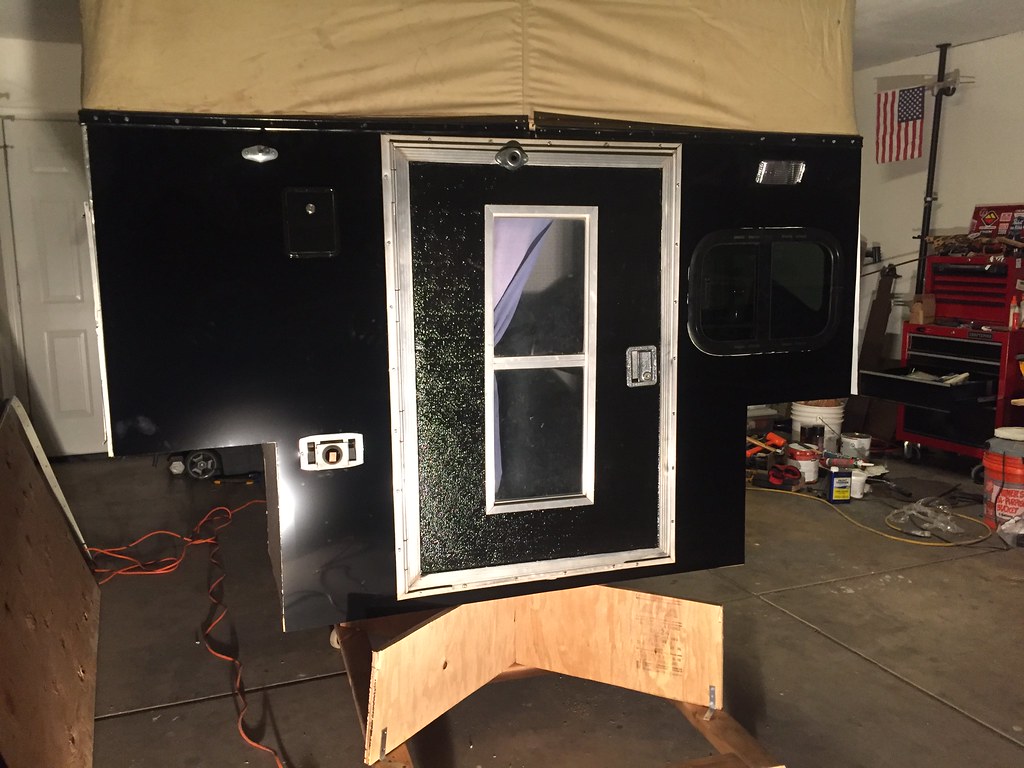
Entry door cleaned, painted, butyl'd and re-installed. I still need to assess the strike. The original aluminum frame failed and the door no longer keeps itself shut. I had to tie it closed when I drove it home. I also disassembled the latch, cleaned and lubed it and reassembled it and it works like new! Gotta love old school parts made entirely out of metal. Except for the door frame/strike hah. I would have liked to reframe the door and installed a newre black, rounded frame door but they are insanely expensive for what you get so I passed for now. I still might paint the frame black for a full darth camper look.
32076171628_46aa3ec7e0_b.jpg


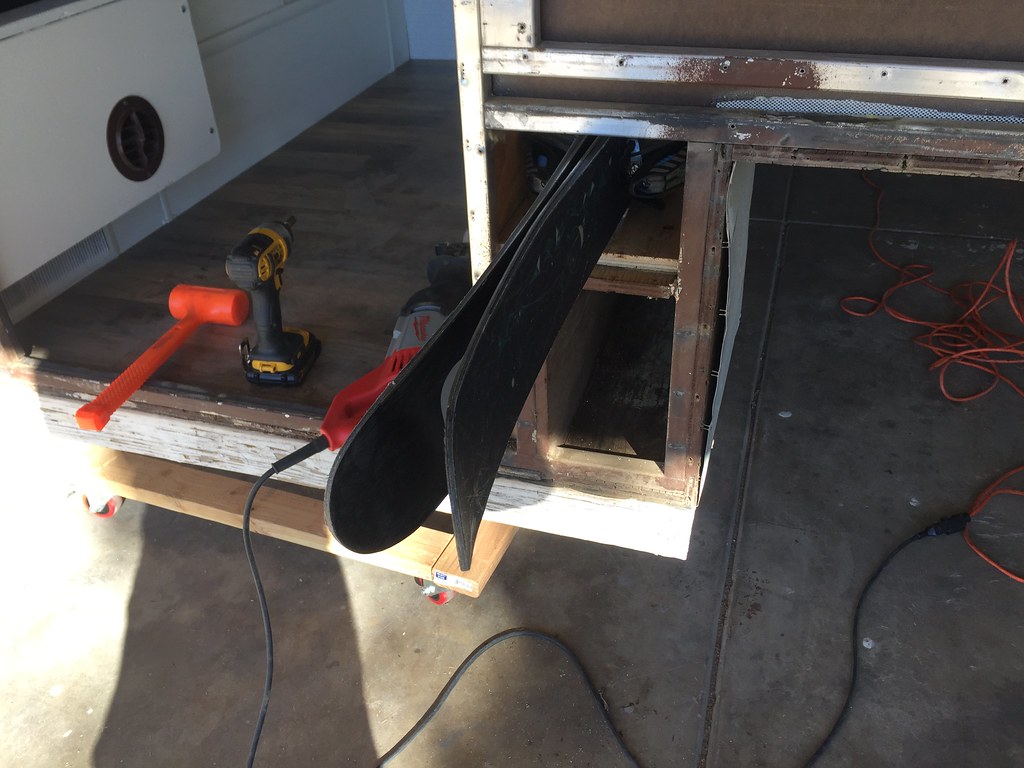
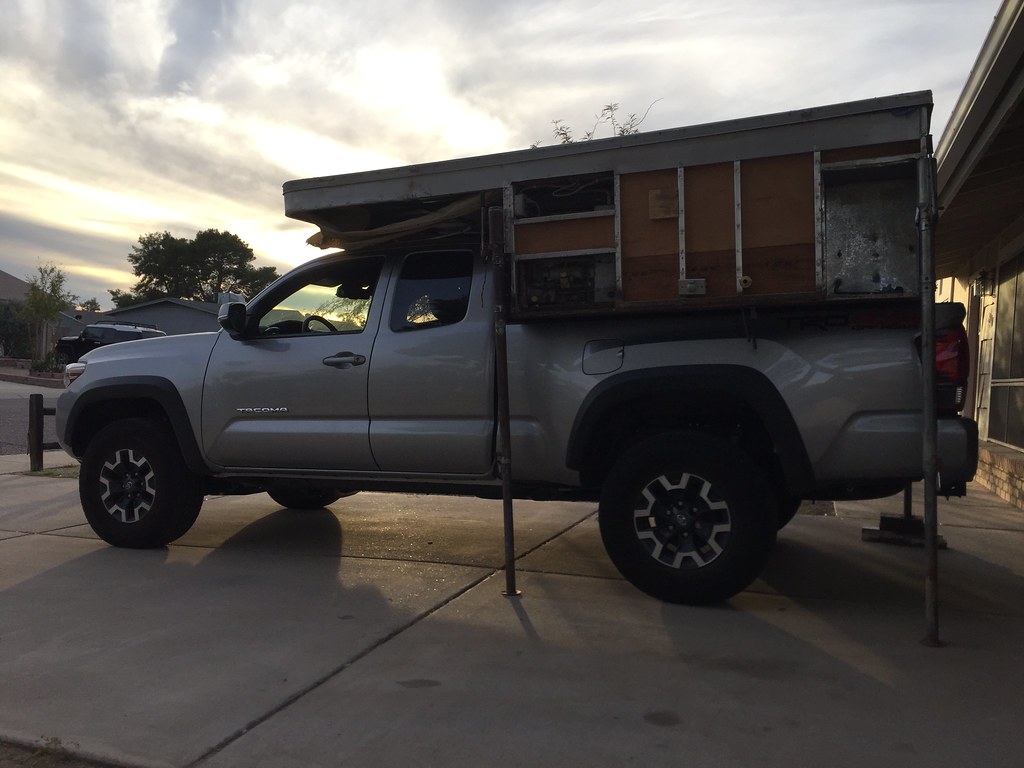
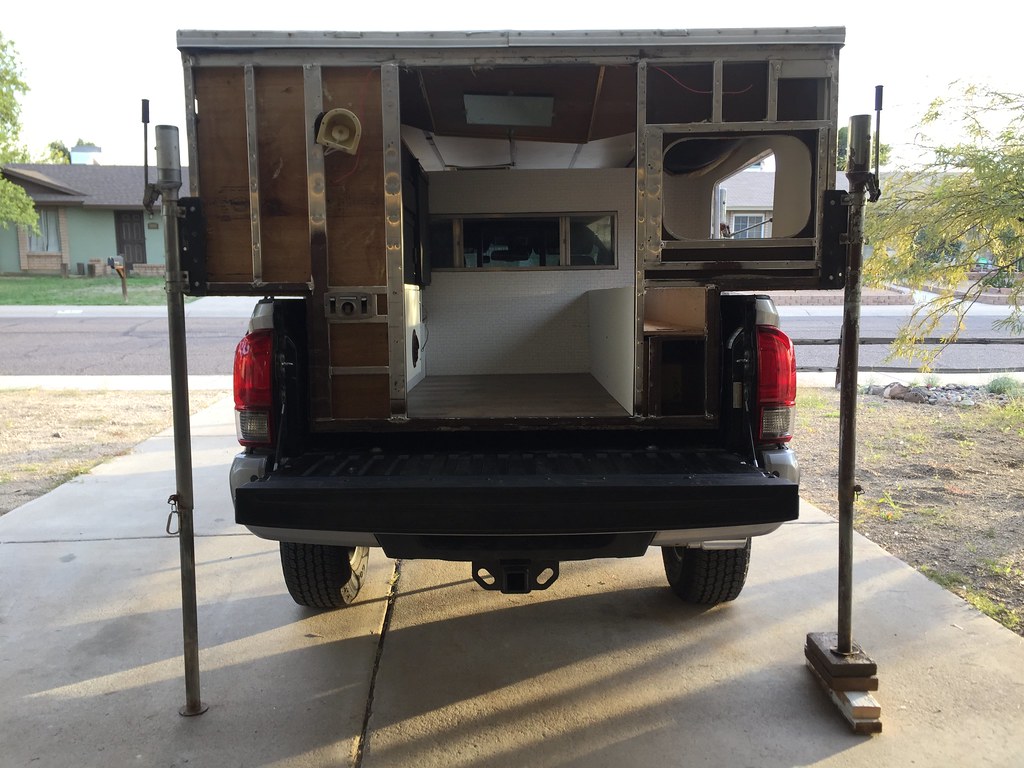
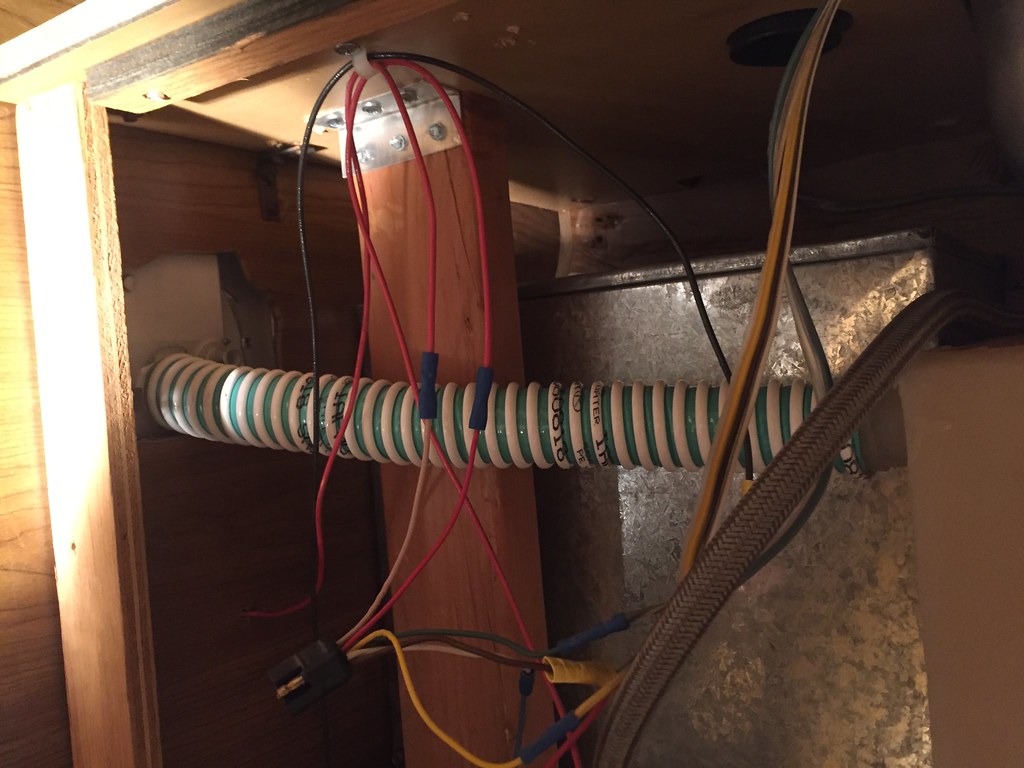
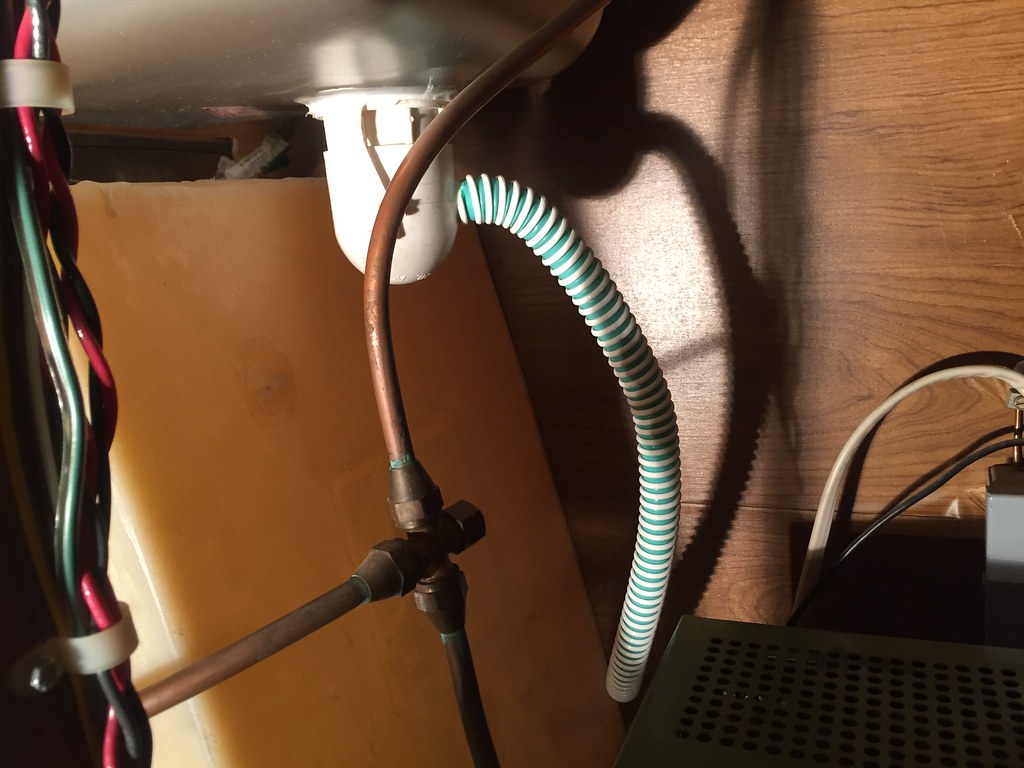
This is essentially where I left off save for redoing some bad spots in the ceiling light wiring and trying+failing to remove the water tank for cleaning because the propane lines are in the way. It smells fine and I removed/replaced all the hoses so I guess a little vinegar or a flush from the RV store will have to do for now.
32076171458_1d7140d593_b.jpg
 
Last edited:

kerry

Expedition Leader
It does look great. Is it spray painted black or is that just the aluminum looking black? I ask because it seems black might be warm in the winter but super hot in summer. Our back door on our Northstar TS1000 has a standard brass striker plate screwed into the frame.
 

Atl-atl

Adventurer
It does look great. Is it spray painted black or is that just the aluminum looking black? I ask because it seems black might be warm in the winter but super hot in summer. Our back door on our Northstar TS1000 has a standard brass striker plate screwed into the frame.

The aluminum panels are factory painted black. The trim etc. I repainted black. I live in Phoenix, I dont camp here in the summer so Im not worried about it being hot. I find myself camping more in the winter and colder weather/locations. Hence the ski slot that I built in. The roof is still white anyway and thats what would get most of the sun.
 

eblau

Adventurer
Nice work! I love the lift mechanism, not sure why FWC just didn't use something like that all along rather than the wood panels.
 

Atl-atl

Adventurer
Nice work! I love the lift mechanism, not sure why FWC just didn't use something like that all along rather than the wood panels.

Thank you!

Having built these I can think of a few reasons. They are ugly, however they could easily have panels installed to cover them/make them nicer looking. They dont offer any assistance, the panels do, with spring loaded hinges. (the advent of lift struts kind of negates this though) They need an elegant solution to keep them from flipping the other way when they reach the up position. The panels stop themselves as an inherent part of their design.
 

Atl-atl

Adventurer
Well, Ive been busting ass like crazy on this thing trying to get it ready for Friday.

Monday and Tuesday I spent finishing the exterior. What an incredible amount of work this has been. I kept finding more and more trim pieces I had forgotten to sand/paint. I had two huge bags full of screws that are almost entirely gone now. Figuring out where all the misc. trim pieces go and cutting/installing the pieces that needed to change because of the shortening took three entire days and I had only scheduled one day for it. Having my parents come to town for the holiday didn't speed things up either! I finally got it all finished last night. I also spent a decent amount of time cleaning things up, removing excess butyl, filling every hole and crack I could find with silicone, finishing the cabover subfloor, installing the vinyl trim insert, installing the roof clamps, installing/sanding/painting the jack mounts, installing new water fill and drain lines, removing and cleaning the sink, drain, stove and counter and ten other things Im forgetting to mention.

45916113712_55b7c6ae13_b.jpg


31026308237_0630cdd082_b.jpg


45916113832_08050bc69f_b.jpg


31026312117_1a4b0c60a7_b.jpg


45916114782_640a0a561d_b.jpg


31048441447_04e84b4525_b.jpg


32116367788_e816a54e40_b.jpg


44171182520_409dc810fe_b.jpg


45263016744_a55a8176a4_b.jpg
 
Last edited:

Atl-atl

Adventurer
Yesterday I fabbed up the mounts. I knocked off the FWC mounts that Ive seen pictures of. Went to the local steel shop and got some 1/4"x4" wide steel plate. I contemplated going up to 3/8" but the 1/4" seem plenty thick. I guess Ill find out. Luckily I found a remnant that was 106" wide which is exactly twice the width of the bed. I used the turnbuckles the PO gave me and sprayed the plates black. $20 total for the mounts and $50 for the fancy rubber anti-fatigue mats. If I had time I probably could have found some rubber mats cheaper on craigslist.

The bed attachment bolts use a T55 torx bit. They thread into the frame, or I should say all the way through the frame and stick out a solid 3 inches. More than enough extra thread to mount these plates.
45994407401_47f8afa751_b.jpg


Titanium step bit made surprisingly quick work of this steel. <a data-flickr-embed="true"
44178663970_8fb8fc3fff_b.jpg


Test fit
45082870725_1de510d0fa_b.jpg


45082870665_2e654b3588_b.jpg


44178664760_4c7d9fb1c0_b.jpg


45082875415_5bc22d61a1_b.jpg
 

kerry

Expedition Leader
Looking great Where did you buy the vinyl trim insert strips? I could stand to replace some on my NOrthstar TS1000.
 

Atl-atl

Adventurer
Looking great Where did you buy the vinyl trim insert strips? I could stand to replace some on my NOrthstar TS1000.

Im in Phoenix so there are RV places on every street corner. I got it from a place called State Trailer, RV and outdoor supply. Statetrailer.com. Pro tip, let it sit in the sun or somewhere warm before trying to install it.
 

Forum statistics

Threads
185,783
Messages
2,878,182
Members
225,329
Latest member
FranklinDufresne

Members online

Top