I've been thinking brakes would be a good idea since getting the Compact.
Having a loaded trailer pushing my tow rig down some steep, winding, gravel/mud/snow cover trail isn't my idea of a good time. Same with hauling the whole rig down from highway speeds in any kind of hurry.
So.... Earlier in the week I talked to a local steel/fabrication shop about building me an axle with 3500lb spindles and electric brakes. "No problem, just bring us the original axle so there's no guesswork on the dimensions."
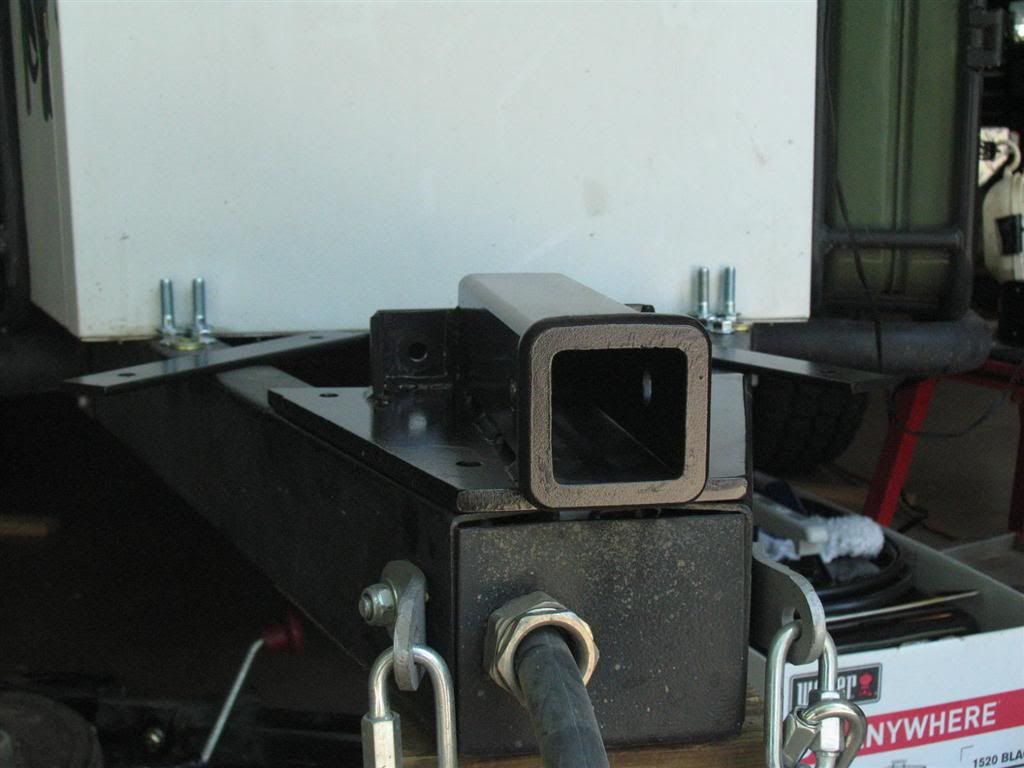
That evening, I yanked the original axle in about 20 minutes using air tools:
The next day, it was off to the fabricator to drop it off.
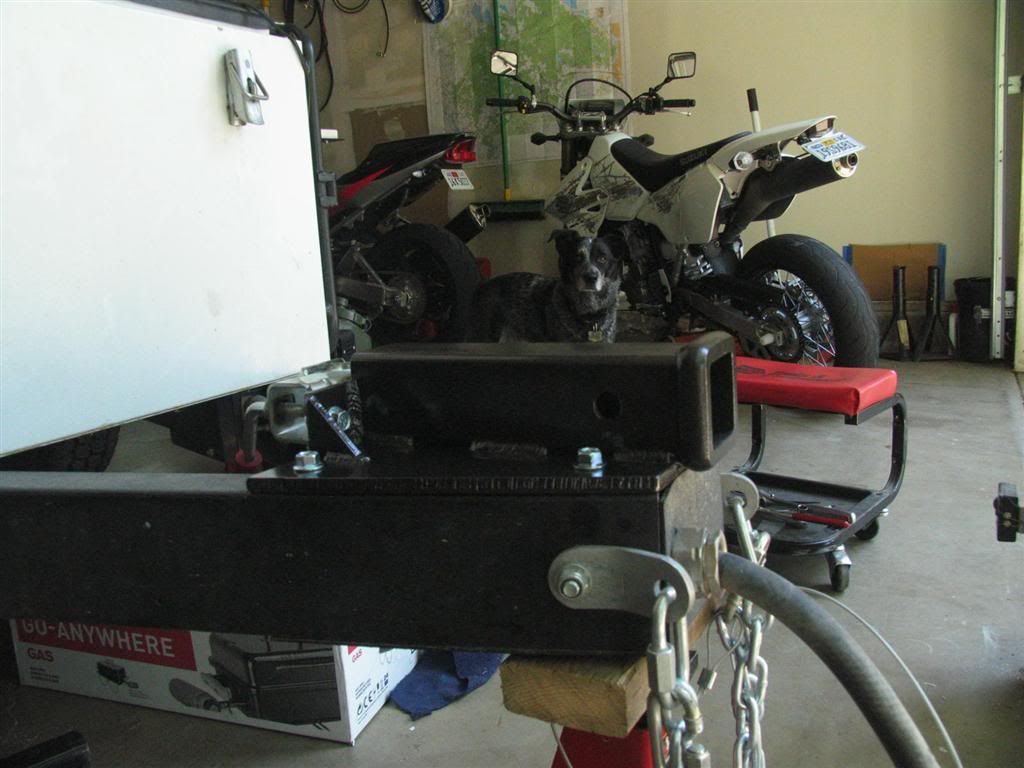
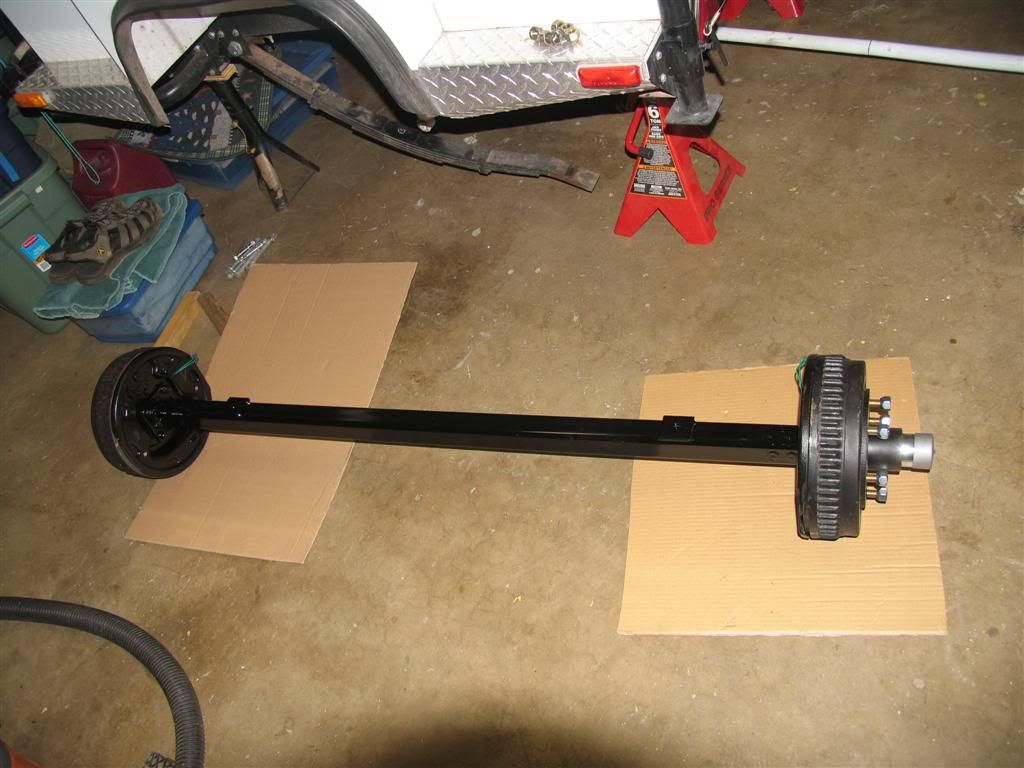
24hrs later, I returned with the new, braked axle and gave it a couple coats of Krylon:
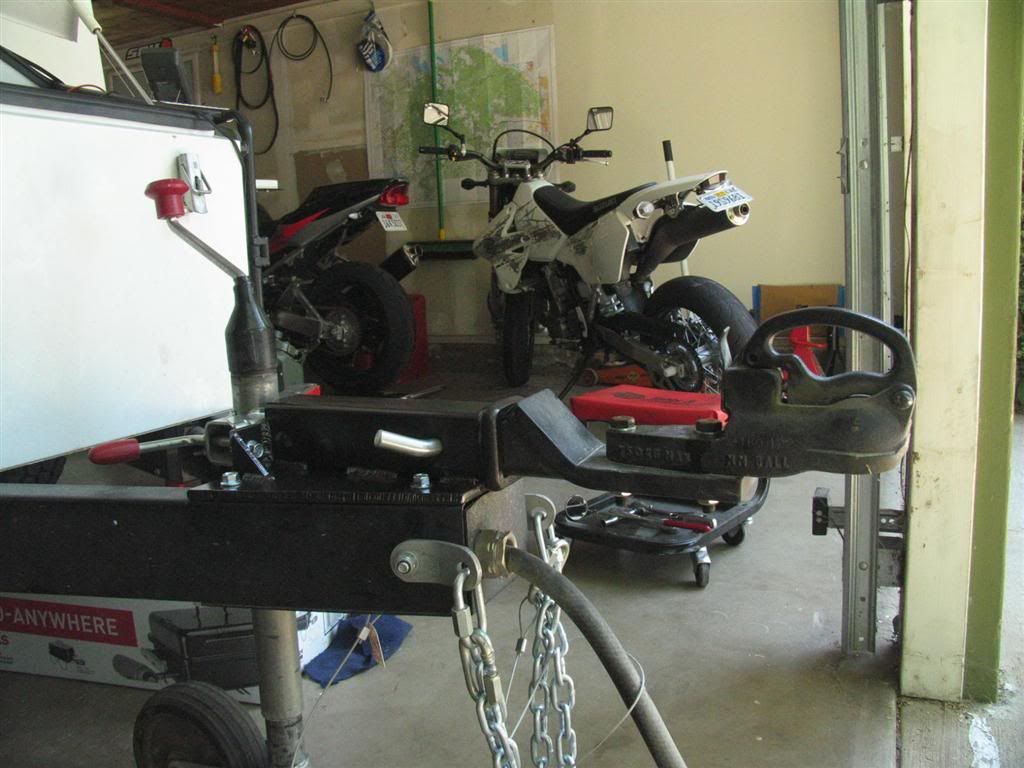
Another 30 minutes of wrench time:
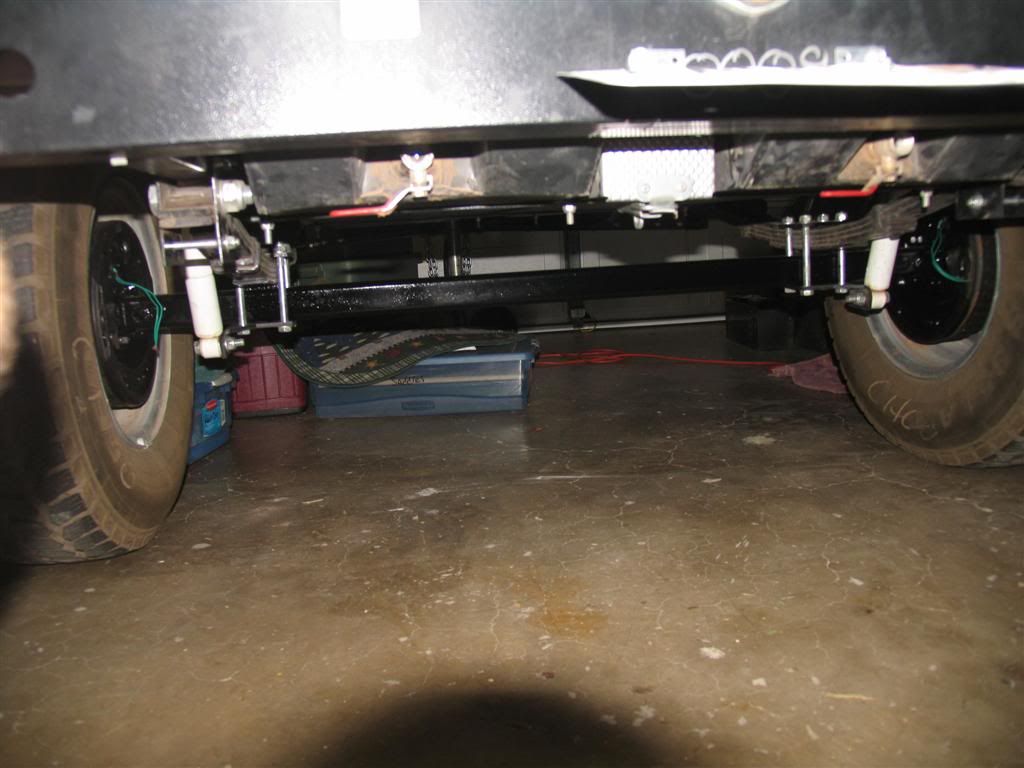
And back out of dry dock:
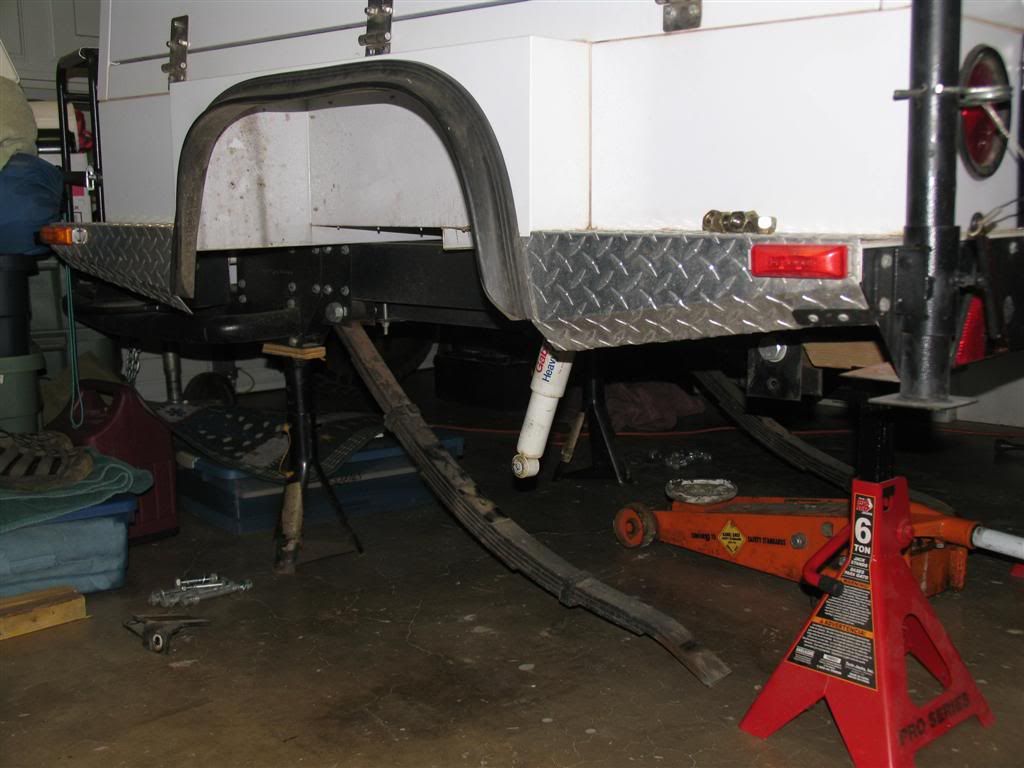
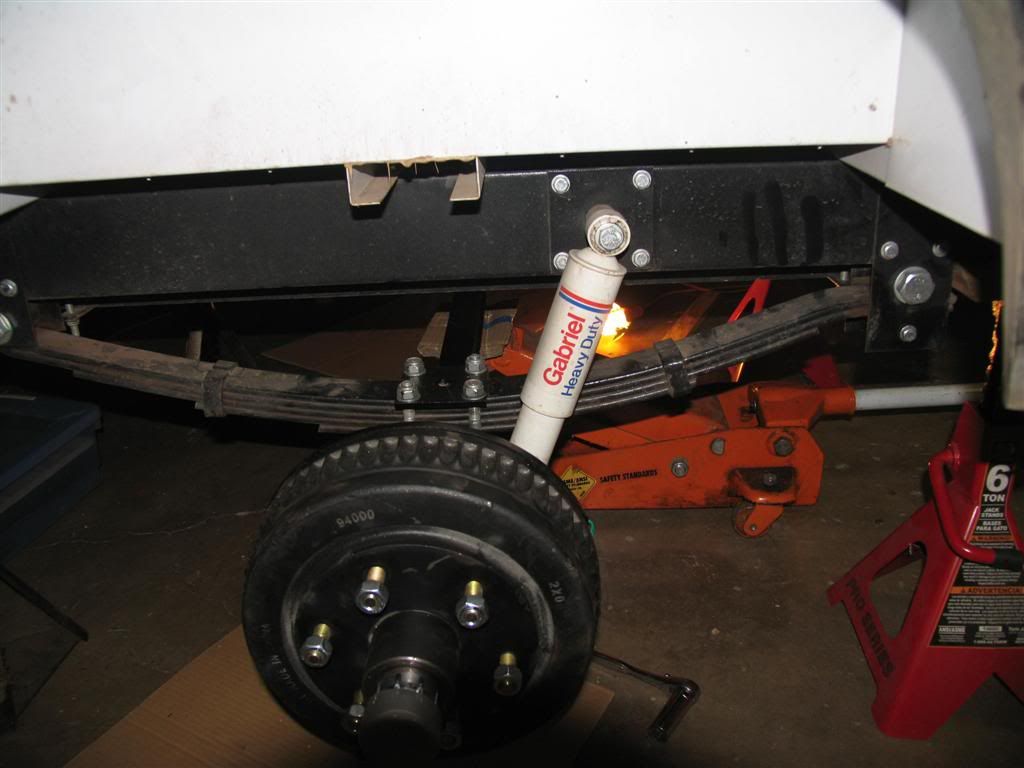
Something to note: the 'guide plates' for the rear of the leaf springs are what I'd call a wear item and somewhat on the thin side. On my trailer, they were clamped down pretty tight on the tail of the leaf spring causing some binding. There is obvious wear on the plates at the contact points as well, so I'll be replacing these with new parts made of heavier gauge steel at some point.
Tomorrow I'll be installing the brake controller and wiring, a charging circuit and relay for the trailer battery and wiring up the backup lights on the trailer.
:safari-rig:
Oh, and we bought a fridge the previous weekend:
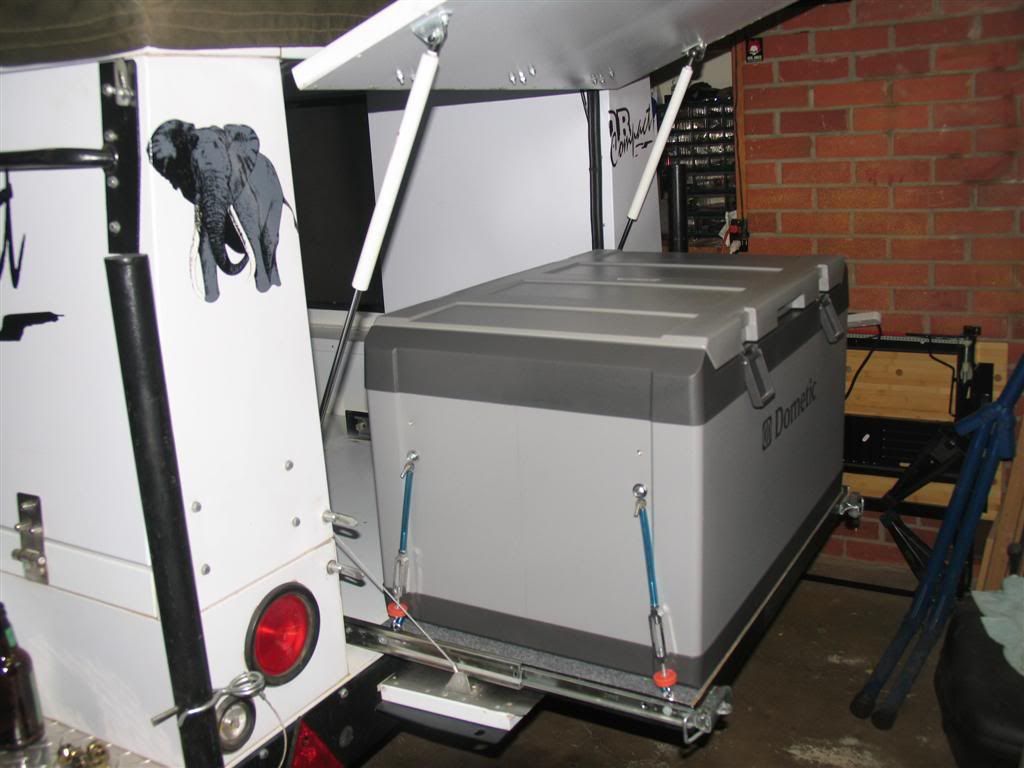
Dometic CF-80AC from Camping World in Rocklin, CA (88 miles away). They were in fact the ONLY shop I could find that stocked ANY portable fridges within reasonable driving distance of Chico.
Local shops could order it, but wanted to charge significant freight and a significant restock fee if I didn't take it for any reason (Didn't fit for example, though I was 99% sure it would).
Why This particular fridge? I liked the features, needed the large size, Dometic/Waeco are an established brand, and store within driving distance had it in stock so I could put my hands on it and verify the fit before handing over the hard earned loot.
I also called Dometic and asked them a crapload of questions three different times and they were very friendly and helpful each time.
I did have to modify the fridge slide a bit by making a plywood 'floor' for it so the fridge would sit flush with the top of the slide (the fridge base is about 10mm deeper front-back than the slide). Width is perfect. I glued indoor/outdoor carpet to the floor for traction.
I also made up some hold-downs using 1/4" turnbuckles and battery "J" bolt kits. along with some goofy washers that look like little snowmen that I found at a local hardware store. bolted four of these to the fridge using the handle mount points. I then bolted two to the rear (back of trailer) of the slide by replacing the original flat washer on the slide mounting bold. I had to drill two holes in the forward vertical part of the slide tray to install a couple of 1/4" eye bolts as tie-down points at the front.
The fridge is totally secure with the turnbuckles just finger tight. I did put a jamb nut on each one and used the rubber washer in the hold-down kits as bumpers in the event the fridge did manage to wiggle around at all.
And there it is.... what I did last week.... :coffeedrink:
Having a loaded trailer pushing my tow rig down some steep, winding, gravel/mud/snow cover trail isn't my idea of a good time. Same with hauling the whole rig down from highway speeds in any kind of hurry.
So.... Earlier in the week I talked to a local steel/fabrication shop about building me an axle with 3500lb spindles and electric brakes. "No problem, just bring us the original axle so there's no guesswork on the dimensions."
That evening, I yanked the original axle in about 20 minutes using air tools:
The next day, it was off to the fabricator to drop it off.
24hrs later, I returned with the new, braked axle and gave it a couple coats of Krylon:
Another 30 minutes of wrench time:
And back out of dry dock:
Something to note: the 'guide plates' for the rear of the leaf springs are what I'd call a wear item and somewhat on the thin side. On my trailer, they were clamped down pretty tight on the tail of the leaf spring causing some binding. There is obvious wear on the plates at the contact points as well, so I'll be replacing these with new parts made of heavier gauge steel at some point.
Tomorrow I'll be installing the brake controller and wiring, a charging circuit and relay for the trailer battery and wiring up the backup lights on the trailer.
:safari-rig:
Oh, and we bought a fridge the previous weekend:
Dometic CF-80AC from Camping World in Rocklin, CA (88 miles away). They were in fact the ONLY shop I could find that stocked ANY portable fridges within reasonable driving distance of Chico.
Local shops could order it, but wanted to charge significant freight and a significant restock fee if I didn't take it for any reason (Didn't fit for example, though I was 99% sure it would).
Why This particular fridge? I liked the features, needed the large size, Dometic/Waeco are an established brand, and store within driving distance had it in stock so I could put my hands on it and verify the fit before handing over the hard earned loot.
I also called Dometic and asked them a crapload of questions three different times and they were very friendly and helpful each time.
I did have to modify the fridge slide a bit by making a plywood 'floor' for it so the fridge would sit flush with the top of the slide (the fridge base is about 10mm deeper front-back than the slide). Width is perfect. I glued indoor/outdoor carpet to the floor for traction.
I also made up some hold-downs using 1/4" turnbuckles and battery "J" bolt kits. along with some goofy washers that look like little snowmen that I found at a local hardware store. bolted four of these to the fridge using the handle mount points. I then bolted two to the rear (back of trailer) of the slide by replacing the original flat washer on the slide mounting bold. I had to drill two holes in the forward vertical part of the slide tray to install a couple of 1/4" eye bolts as tie-down points at the front.
The fridge is totally secure with the turnbuckles just finger tight. I did put a jamb nut on each one and used the rubber washer in the hold-down kits as bumpers in the event the fridge did manage to wiggle around at all.
And there it is.... what I did last week.... :coffeedrink:
") curious how much the axle ended up costing ? I am seriously thinking going this route so I know I can get wheel bearing parts here on the mainland vs trying to get them from South Africa
curious how much the axle ended up costing ? I am seriously thinking going this route so I know I can get wheel bearing parts here on the mainland vs trying to get them from South Africa