Living out of the trailer was great! Two weeks of "Zombie Evasion" field readiness practice.... :xxrotflma
One of the high points being scooting across the Nevada desert on dirt roads @ 50mph. :sombrero:
I didn't set any records for set-up/take-down times I'm sure, but definitely got better at it. The hard part for me is setting up the awning if needed. That seems to take about 3x as long as anything else.
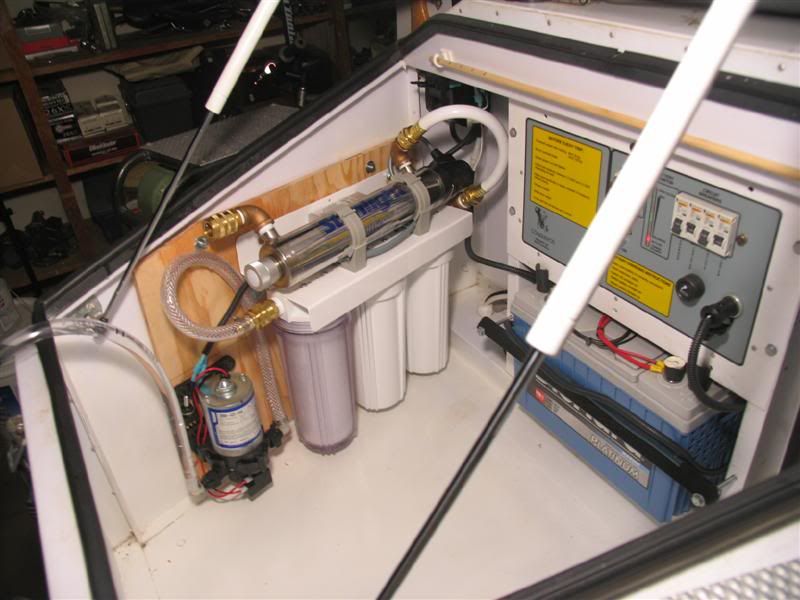
No mechanical problems, the trailer brakes worked great and I was REALLY glad to have them more that a couple of times. The new Dometic fridge worked awesome despite the 114 degree heat at some points. Having that made the trip much nicer! The trailer battery stayed charged without issue.
The only real downer was one of the door screens on the trailer somehow managing to get snagged on something (corner of a hinge plate I suspect) while deploying the tent and making a nice 2"x3" hole in the screen and a pencil sized hole in the canvas.
I wasn't overly pleased about that but managed a temporary field repair with a needle and some thread.
Sourcing some screening to make a better permanent repair is on my things to do list.
One of the high points being scooting across the Nevada desert on dirt roads @ 50mph. :sombrero:
I didn't set any records for set-up/take-down times I'm sure, but definitely got better at it. The hard part for me is setting up the awning if needed. That seems to take about 3x as long as anything else.
No mechanical problems, the trailer brakes worked great and I was REALLY glad to have them more that a couple of times. The new Dometic fridge worked awesome despite the 114 degree heat at some points. Having that made the trip much nicer! The trailer battery stayed charged without issue.
The only real downer was one of the door screens on the trailer somehow managing to get snagged on something (corner of a hinge plate I suspect) while deploying the tent and making a nice 2"x3" hole in the screen and a pencil sized hole in the canvas.
I wasn't overly pleased about that but managed a temporary field repair with a needle and some thread.
Sourcing some screening to make a better permanent repair is on my things to do list.