The official TRIARII build

TRIARII

Adventurer
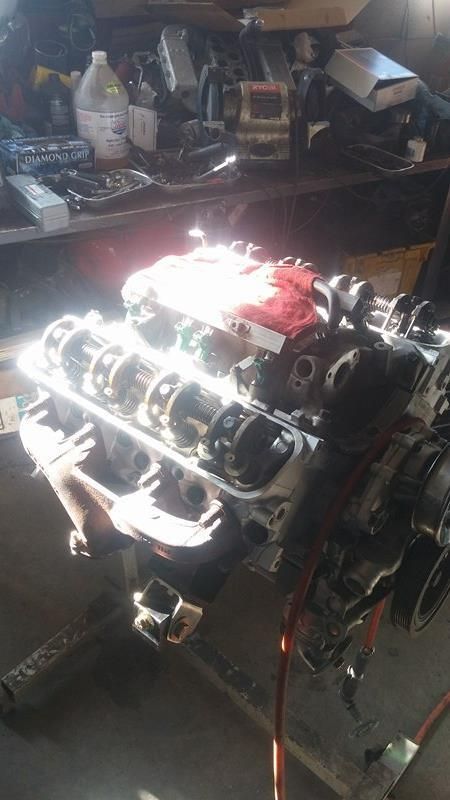
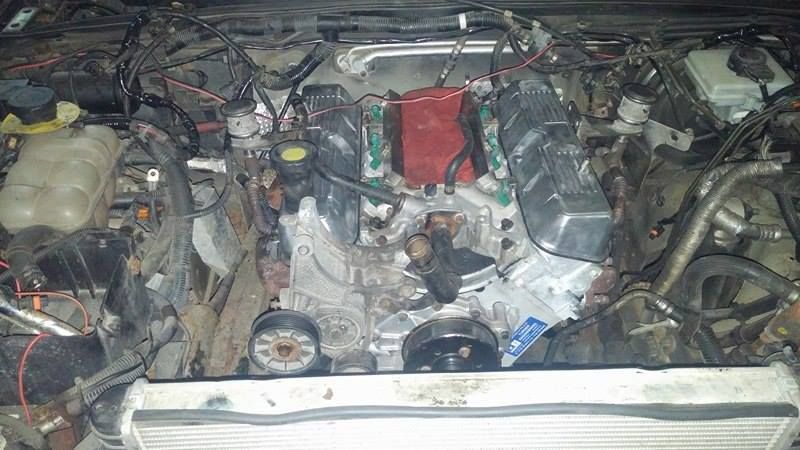
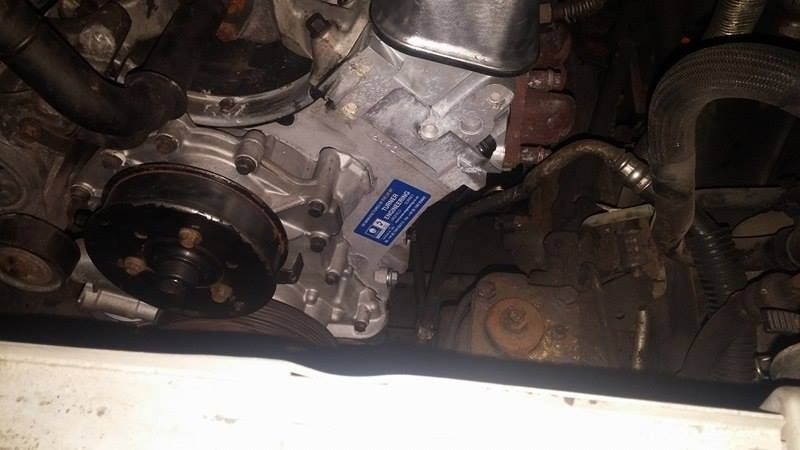
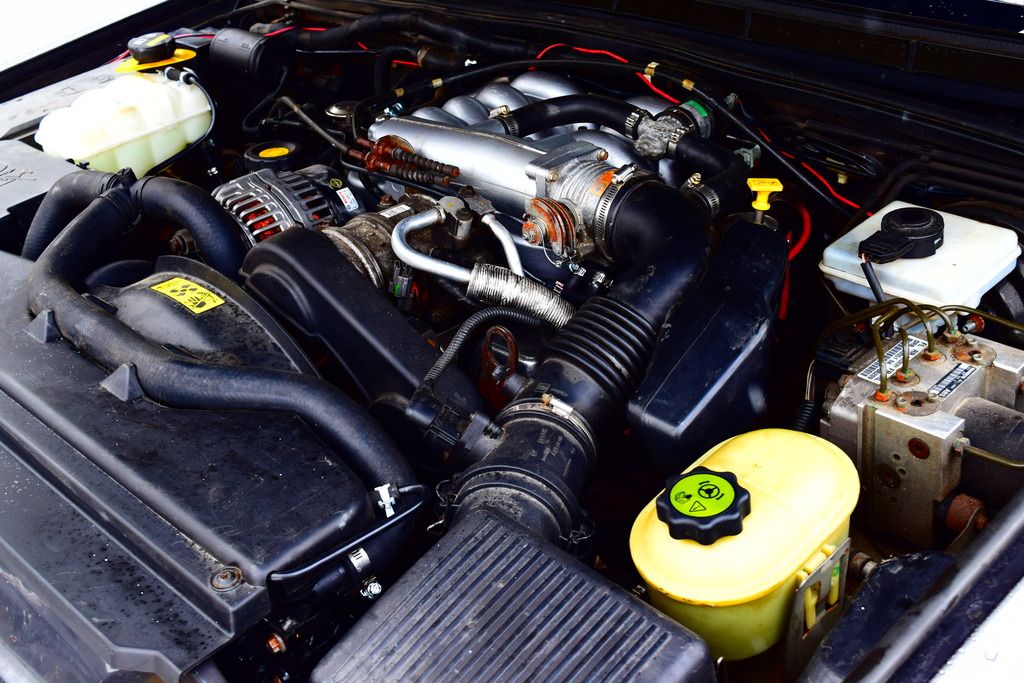
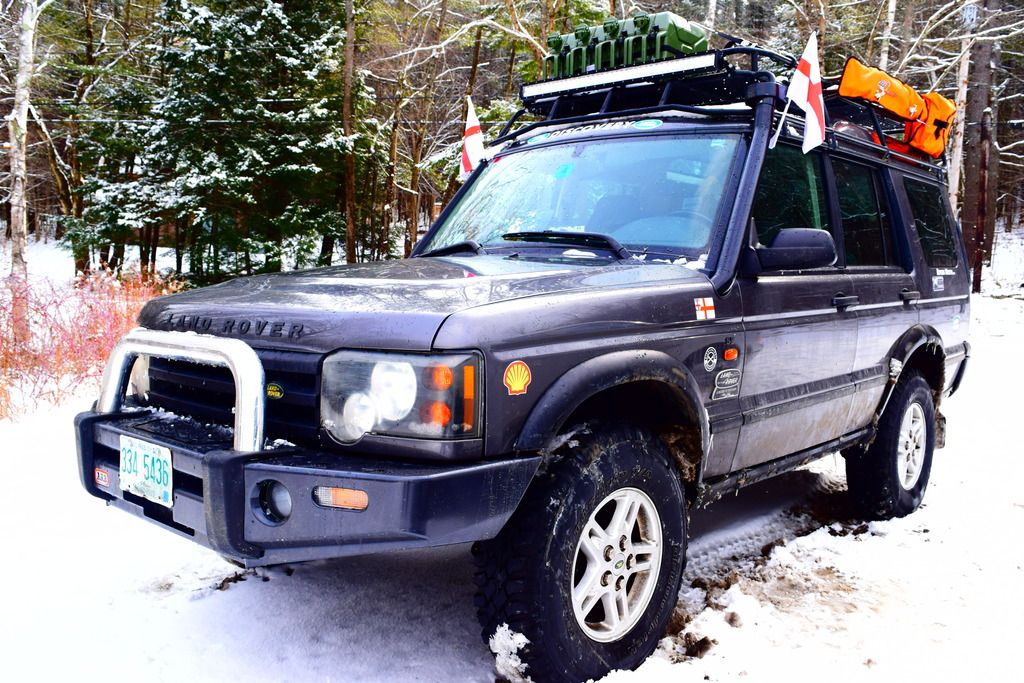
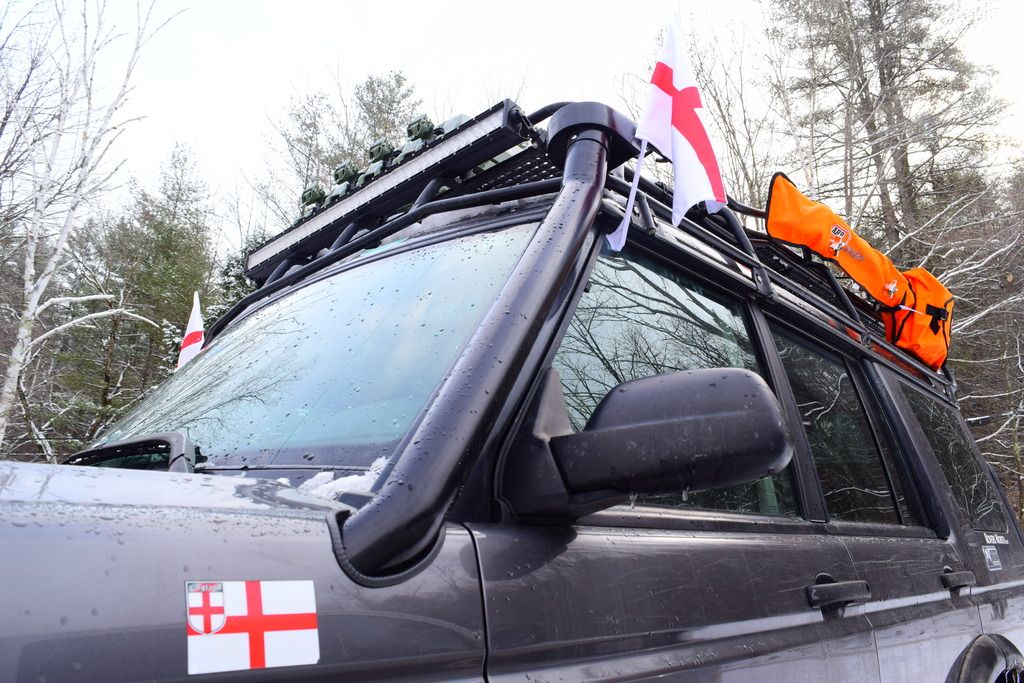
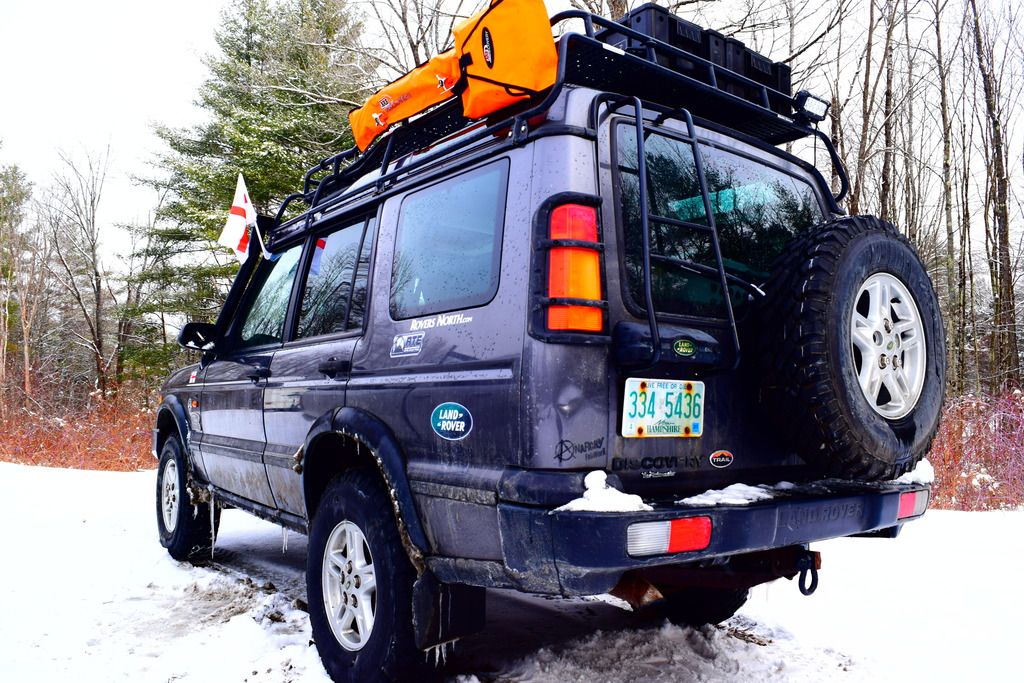
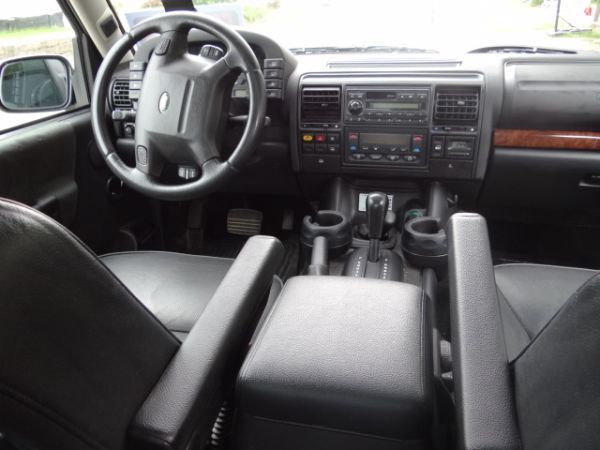
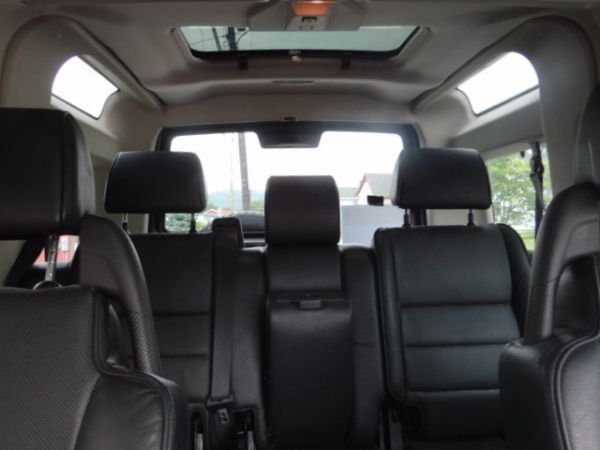
I've been absent from the forums for quit awhile now but my dedication to my Discovery II has endured and I'm proud to share this amazing build with the community. I hope to learn from fellow members as well as inspire others. My primary objective with this build is to create a reliable platform, and make only the necessary modifications and improvements needed for the overland by vehicle lifestyle I desire. My secondary objective is to retain the authentic Land Rover cosmetic cues and mechanical capabilities. In other words no extreme modifications that would ruin the original look and appeal of the vehicle or dramatically change the original function and capabilities of the vehicle. So no after market lockers, no axle swaps, no engine conversions, no extreme suspension kits, no racing seats etc. The only exception to this rule I will break is in regards to storage and any must have additions needed for overland travel - within reason of course.

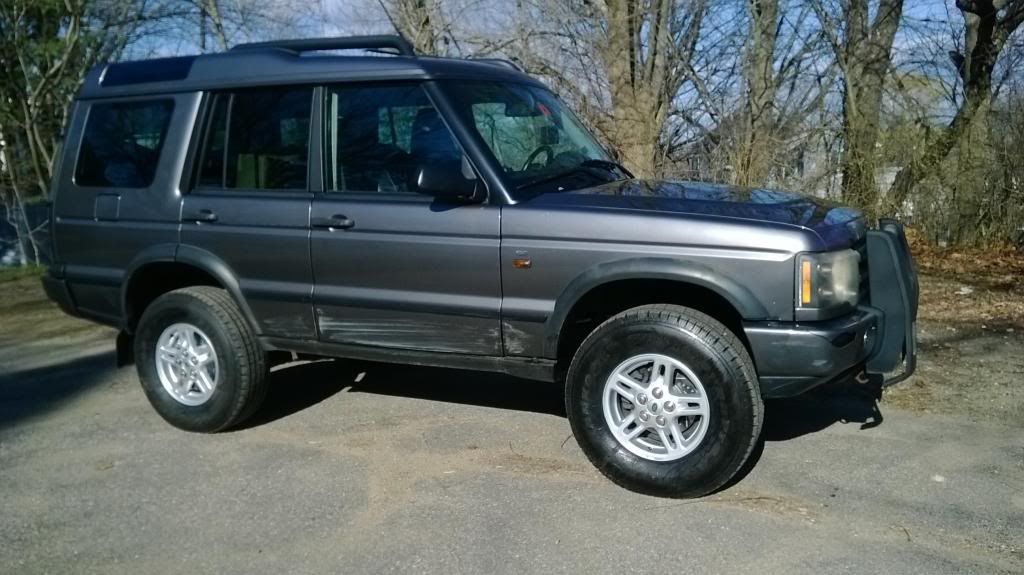
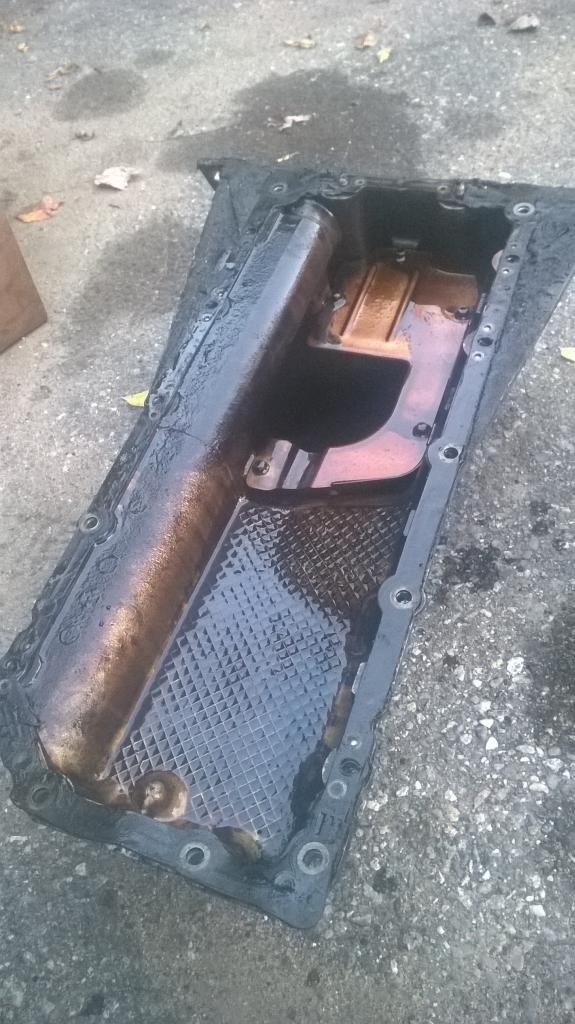
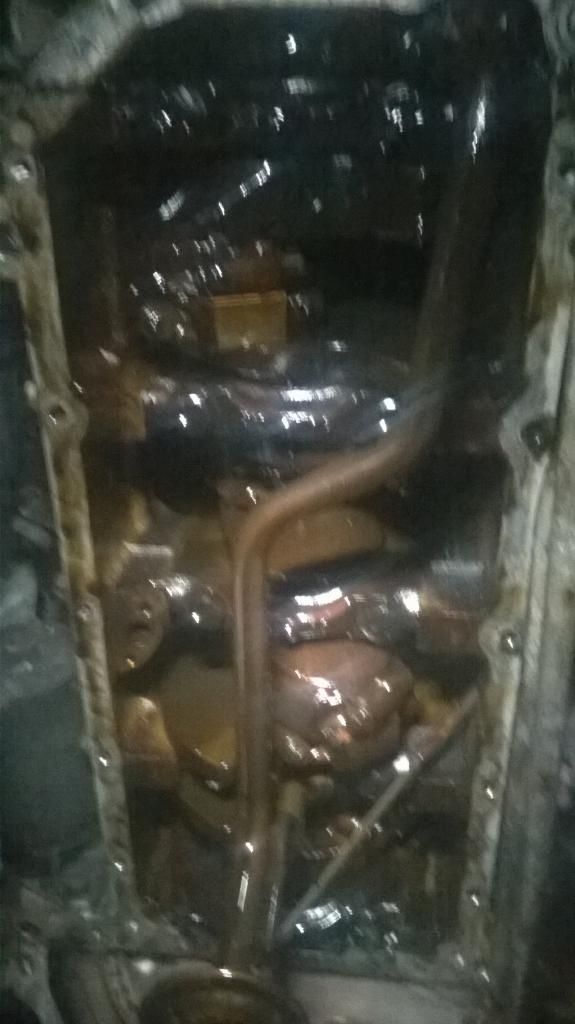
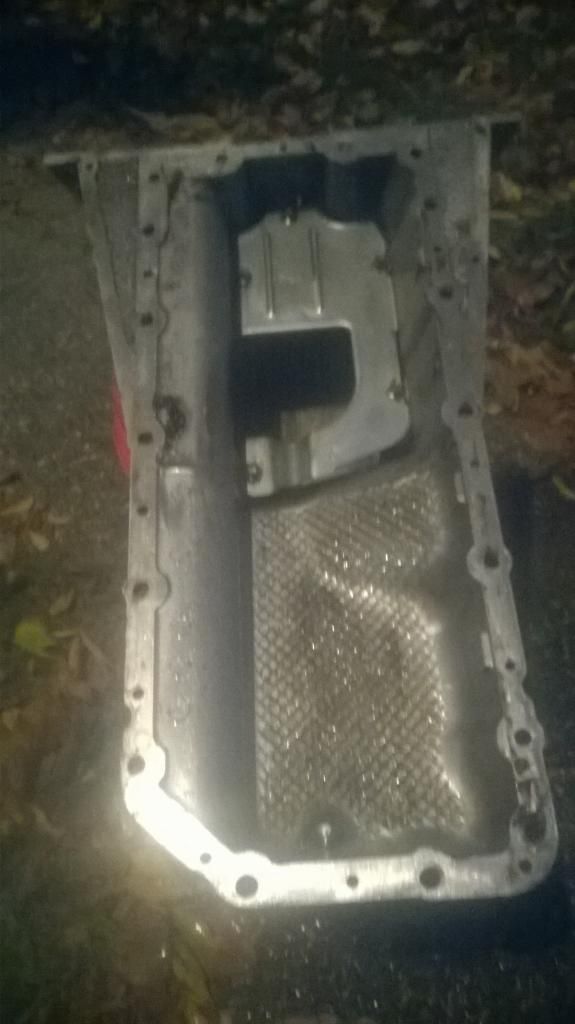
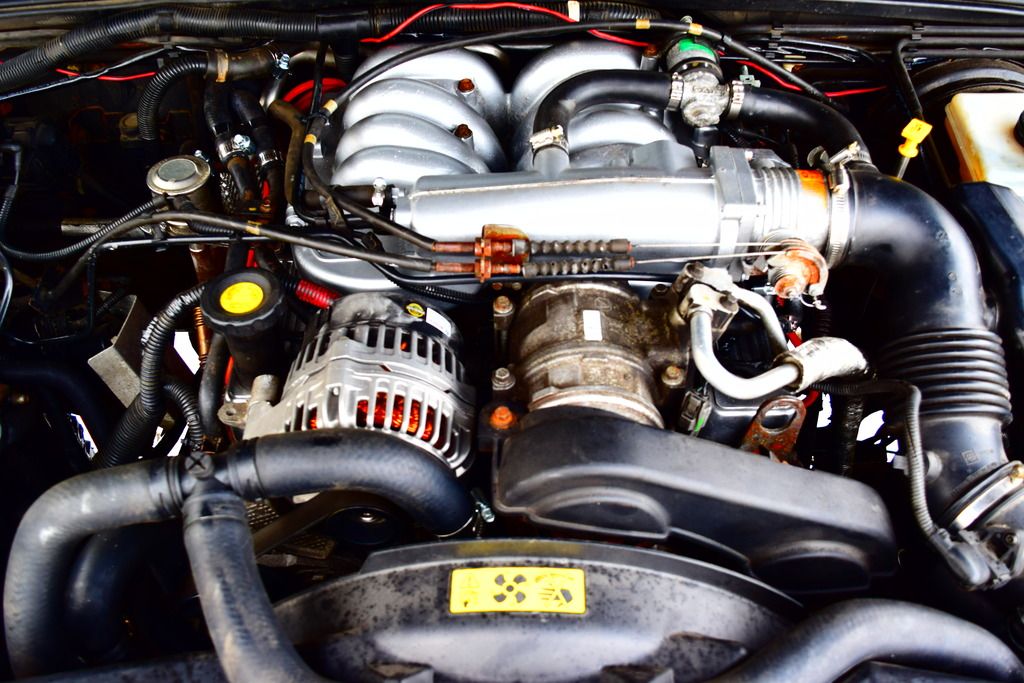
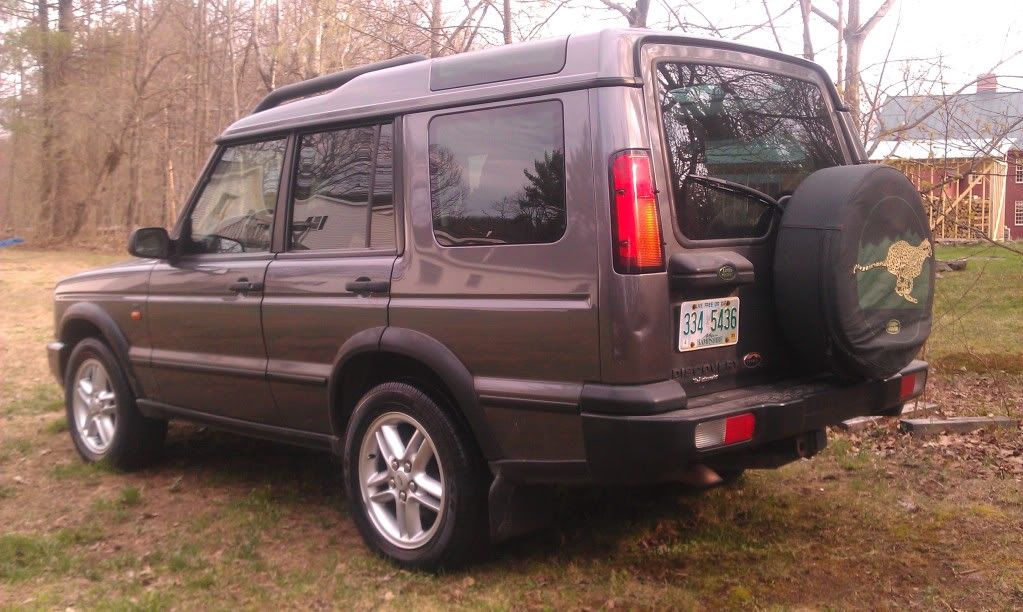
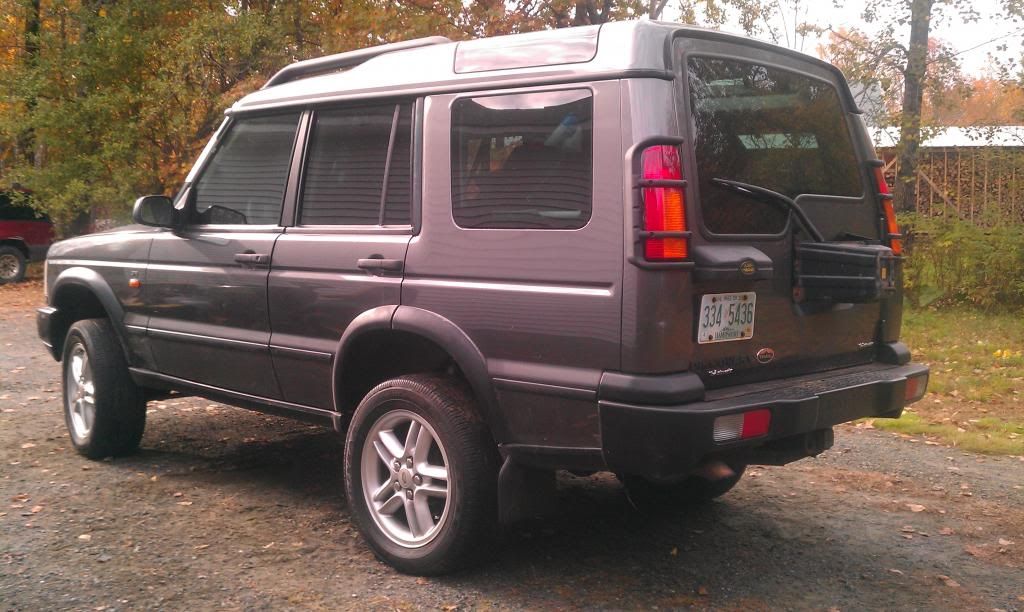
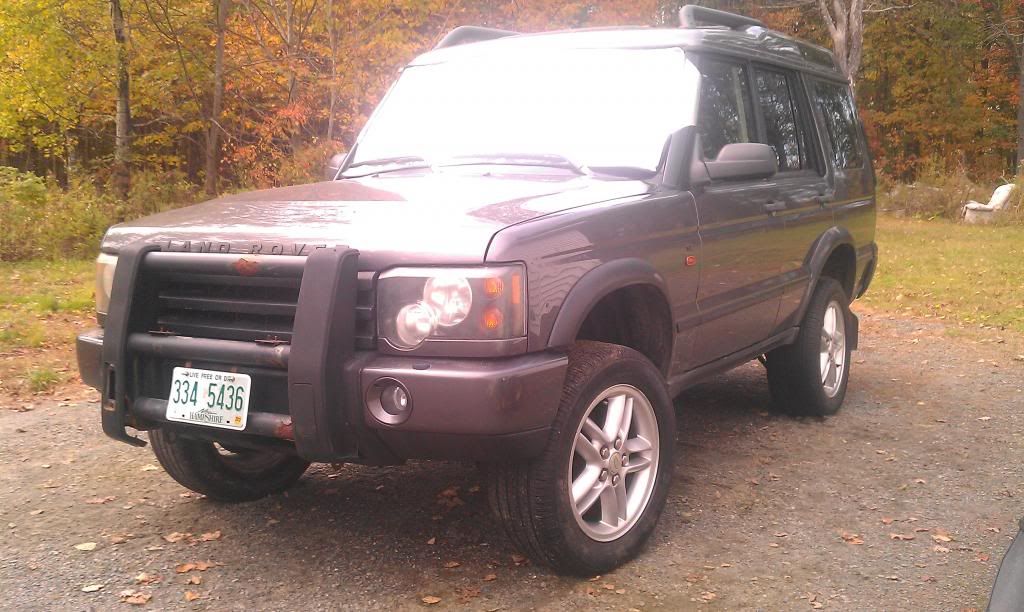
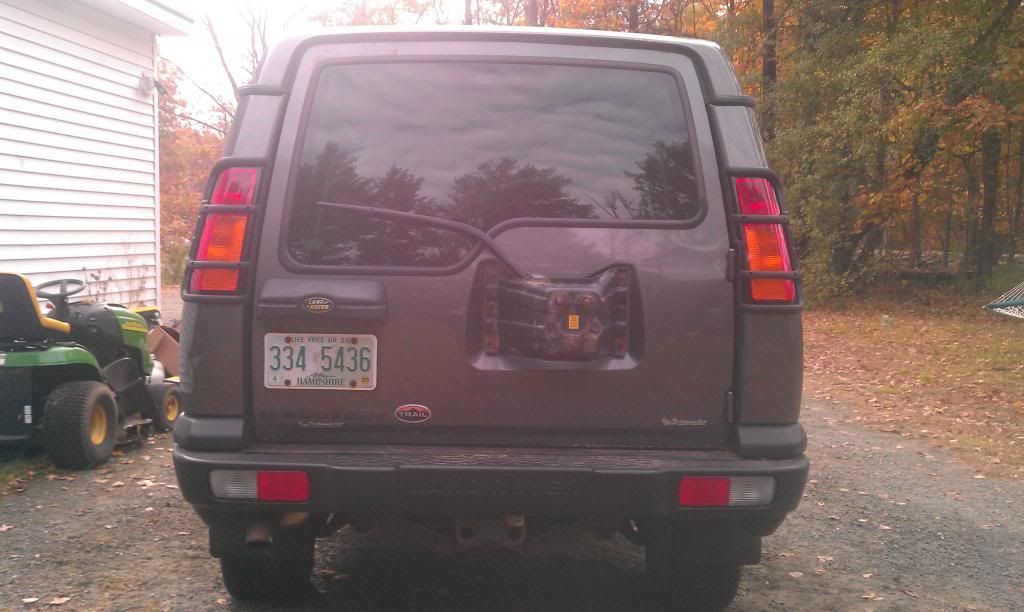
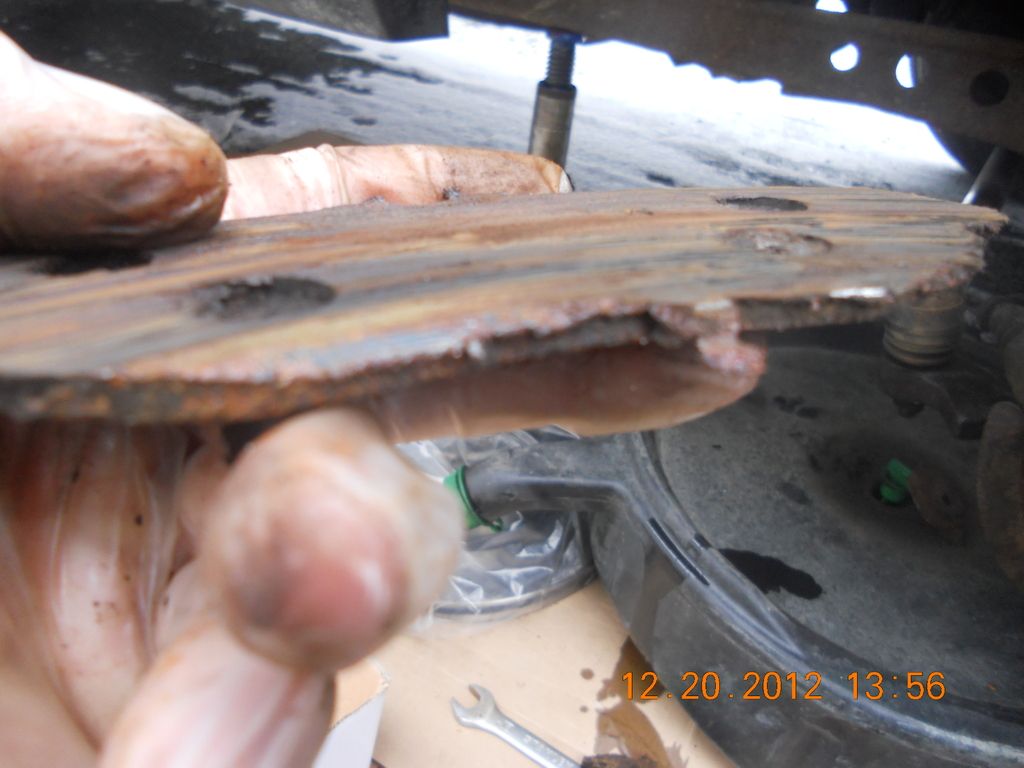
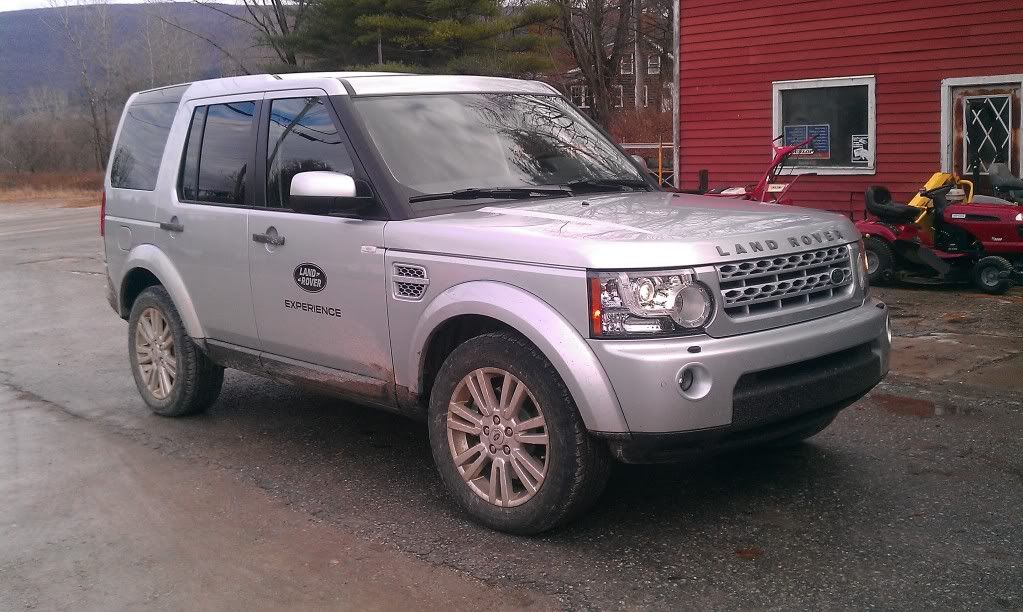
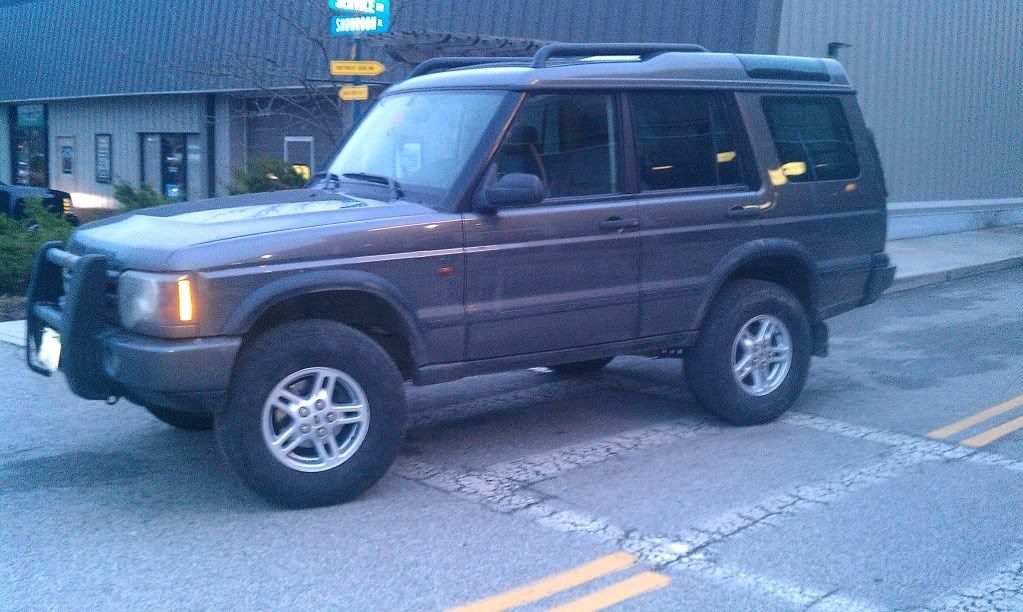
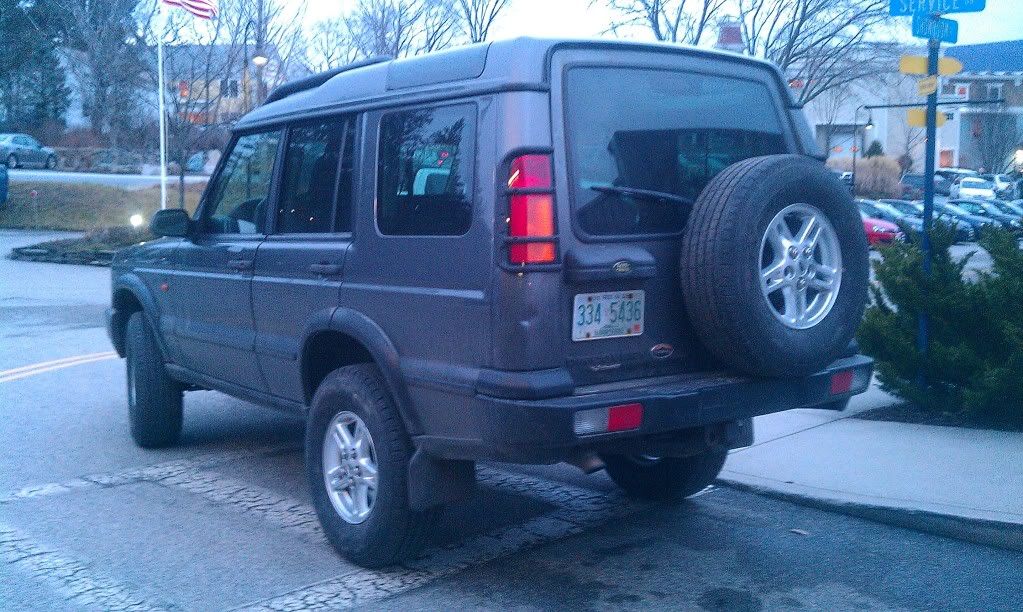
I found this Discovery II for sale on Craigslist. It had around 130,000 miles on the odometer and an occasional engine ticking. I purchased the truck for $5,500. Service records indicate the following work was done prior to my purchase in late 2012:

- Passport to service recommended servicing completed at Land Rover dealership up to the first 90,000 miles, everything thereafter was serviced by an independent shop.
- water pump replaced
- Ignition coil replaced
- Stop leak used in the cooling system

Humble beginnings:

IMAG0003_zps47113701.jpg


IMAG0009_zpsa983fb57.jpg


IMAG0004_zps22ec9a14.jpg


1372150563791_zpsf008448d.jpg


5Kc5Fe5Hf3Gf3I53F9c7s5c3d24f895991166-1.jpg


5N65Fc5M63F43L23mcc7sf06c1aa960241b50-1.jpg


5I65Ed5Jb3E23Ma3F2c7s8ac95597a5721b4b-1.jpg


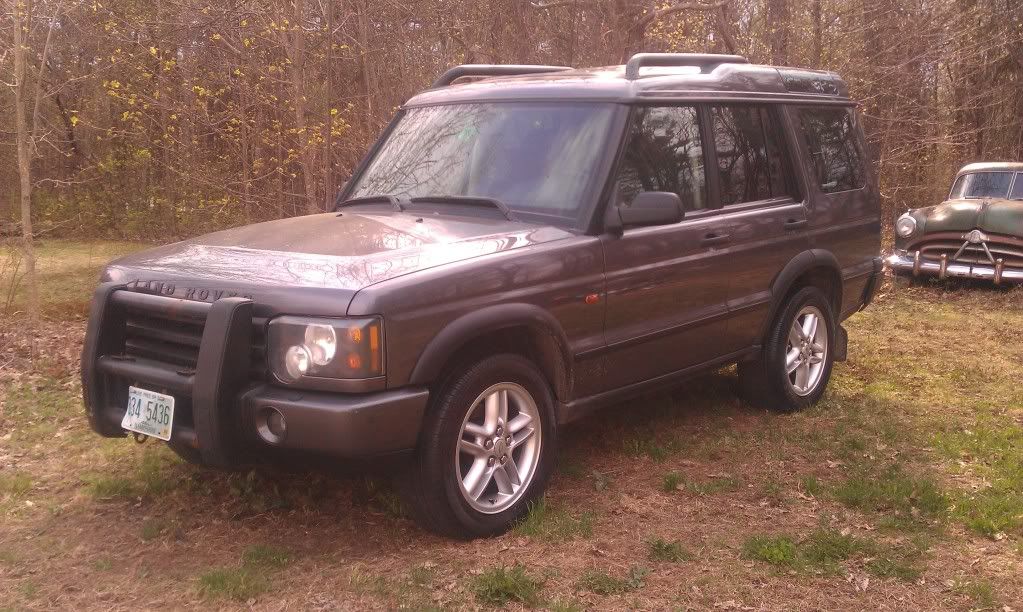
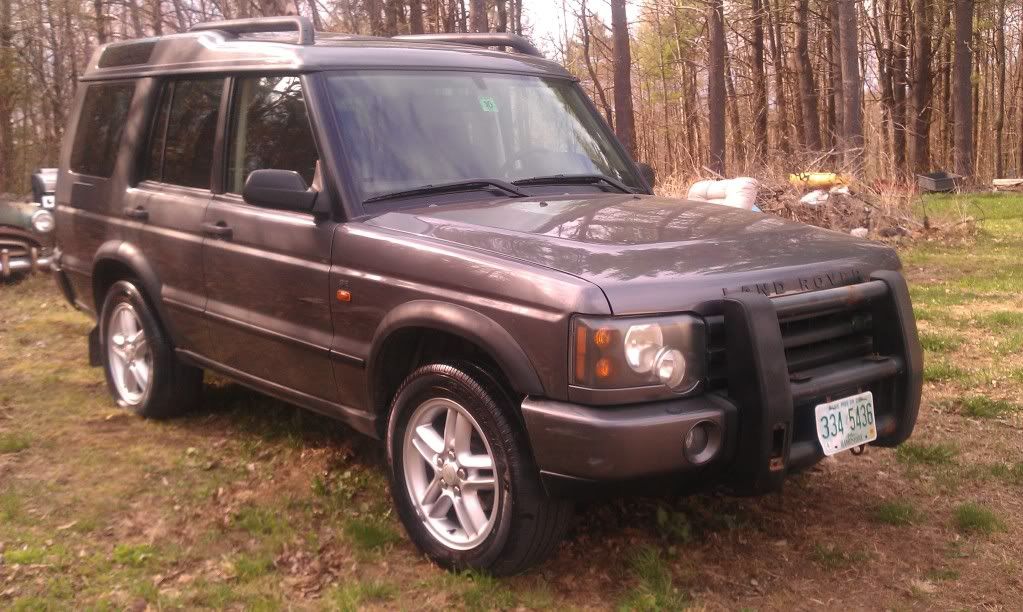
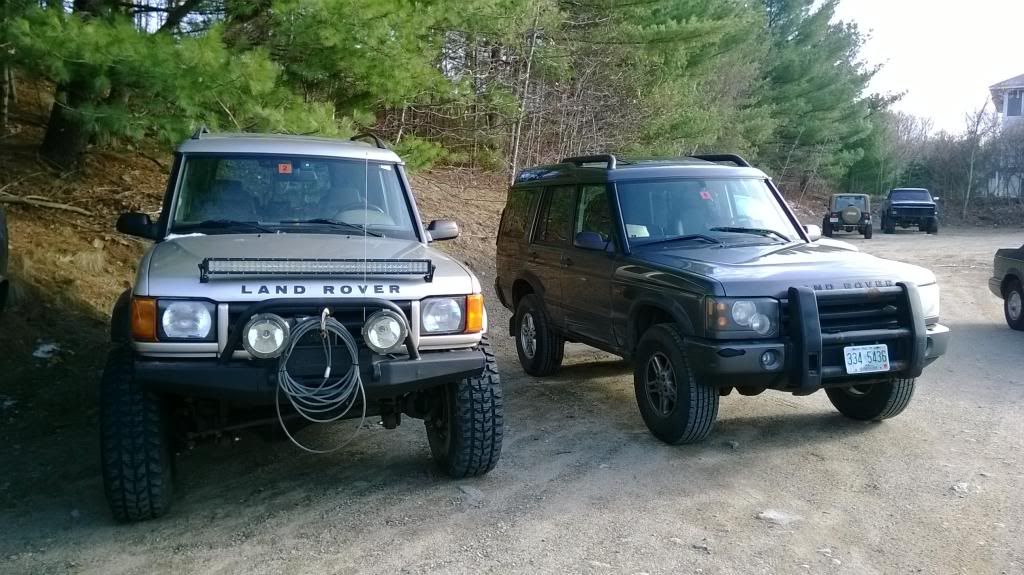
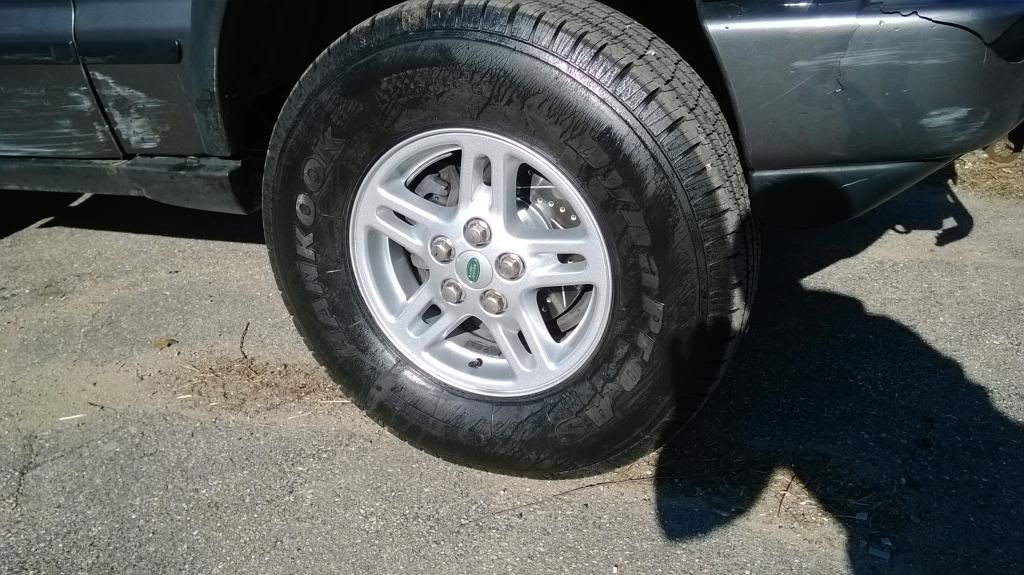
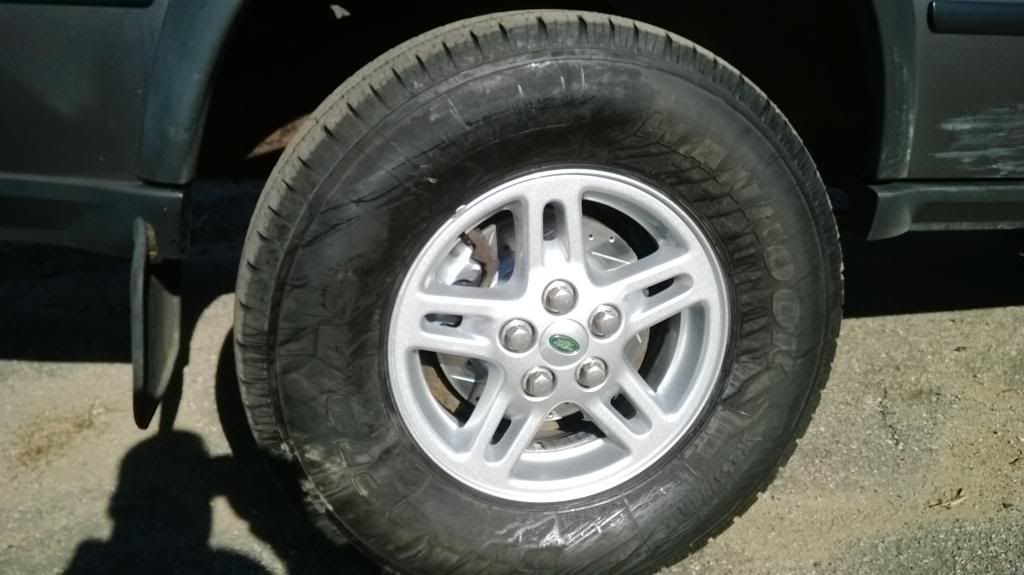
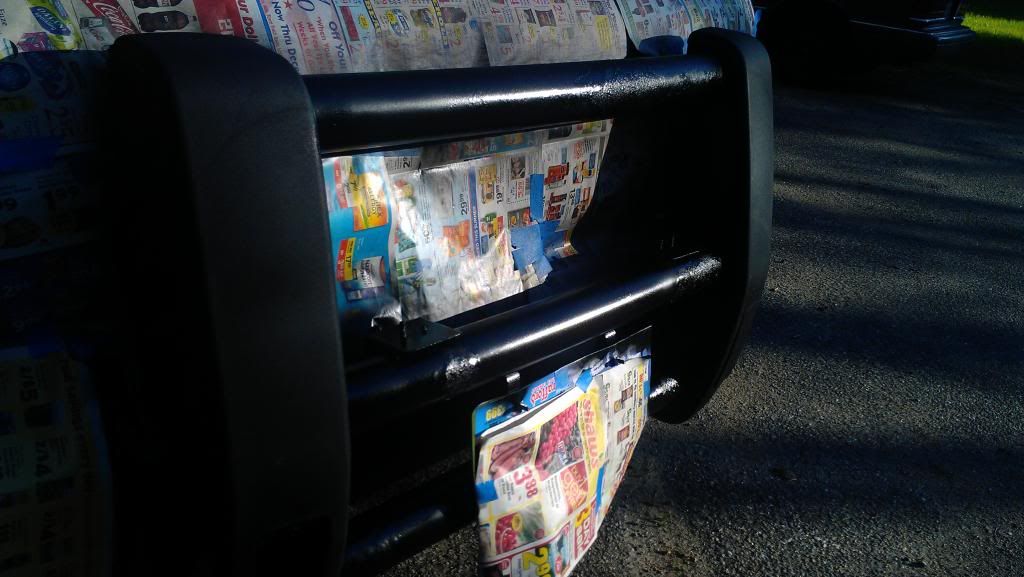
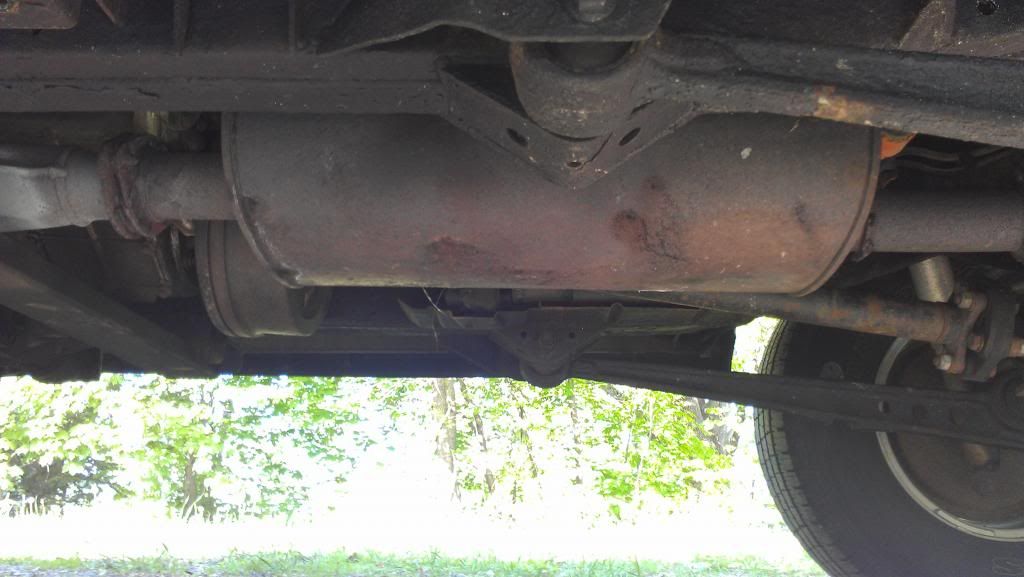
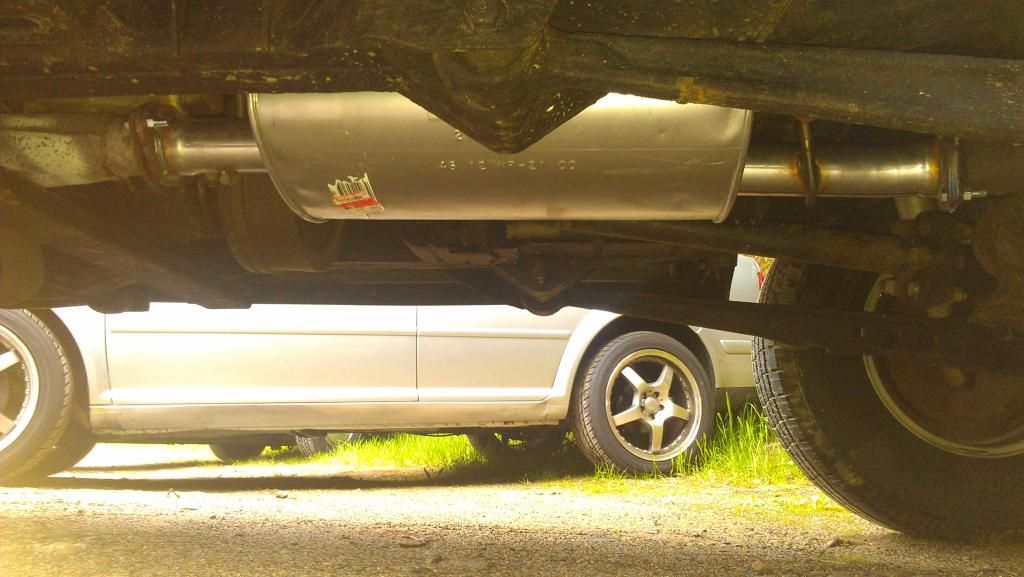
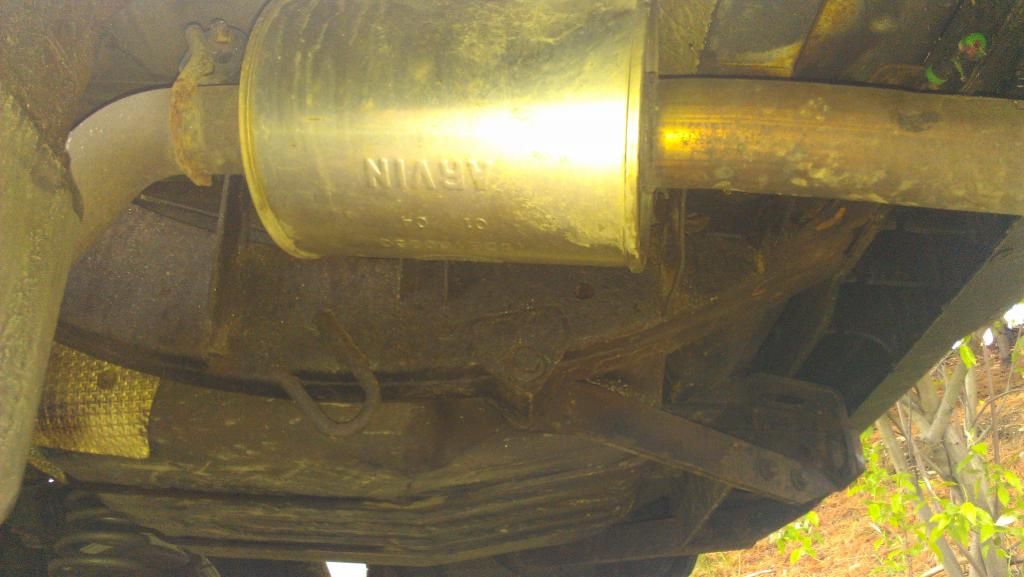
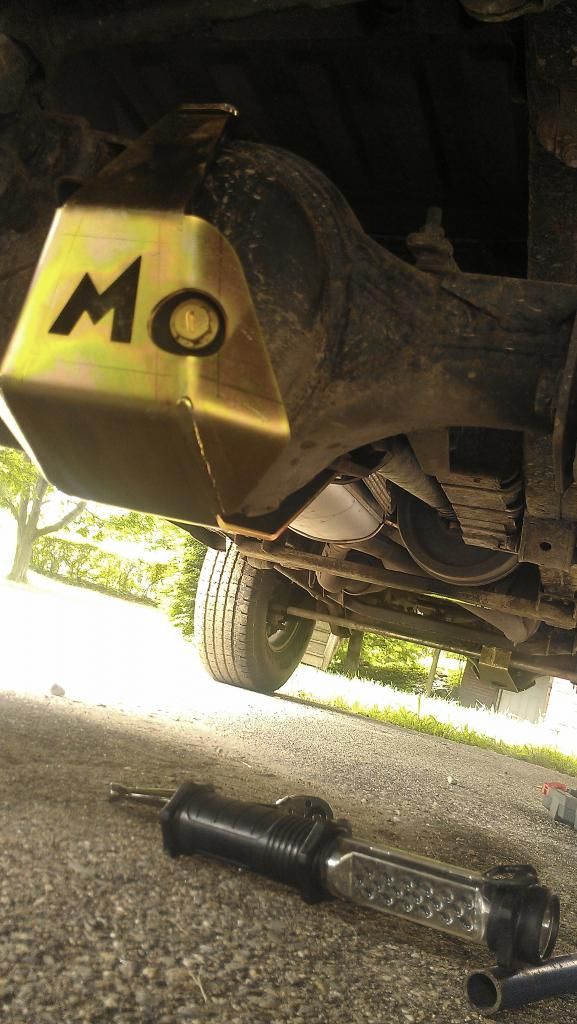
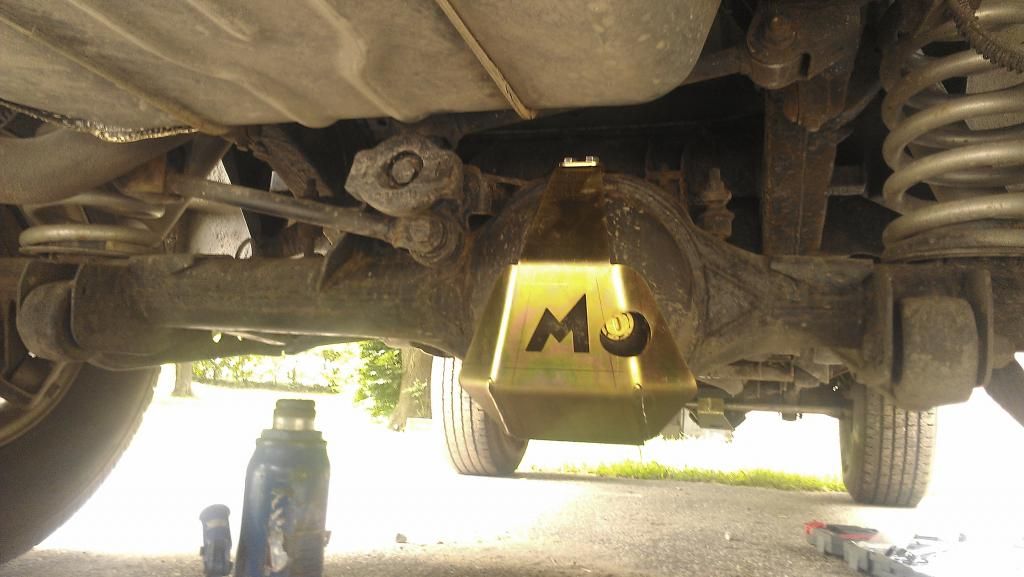
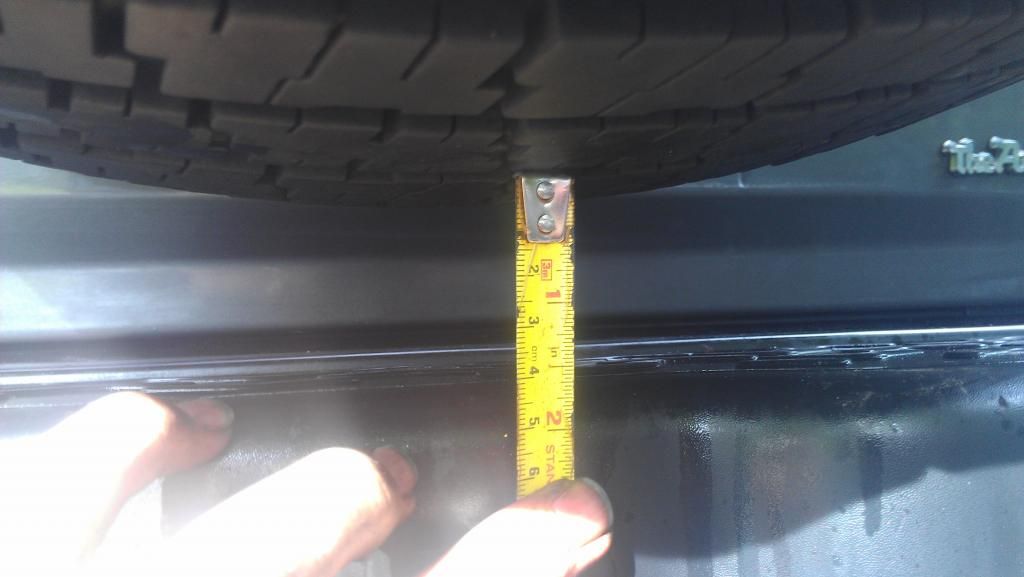
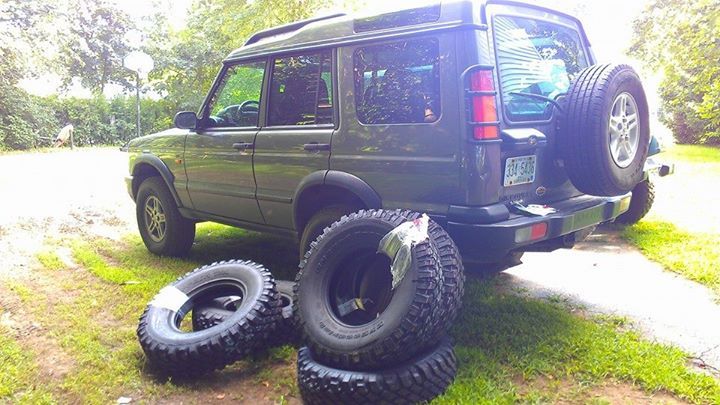
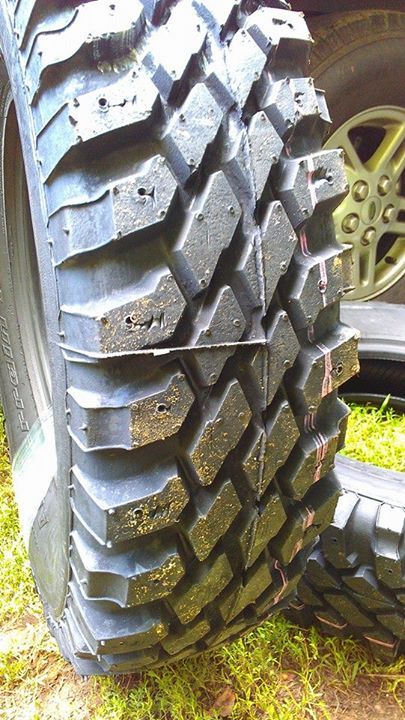
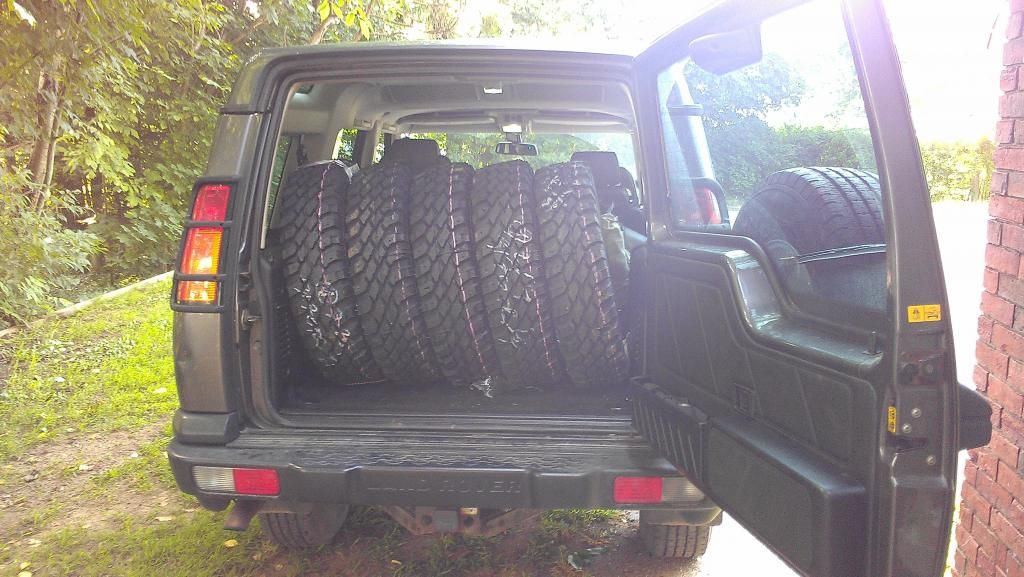
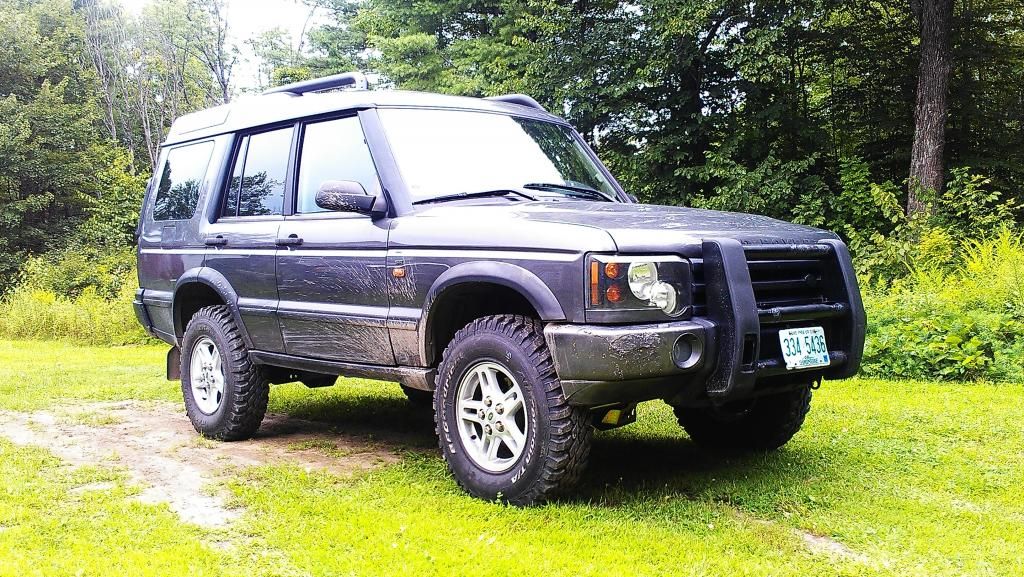
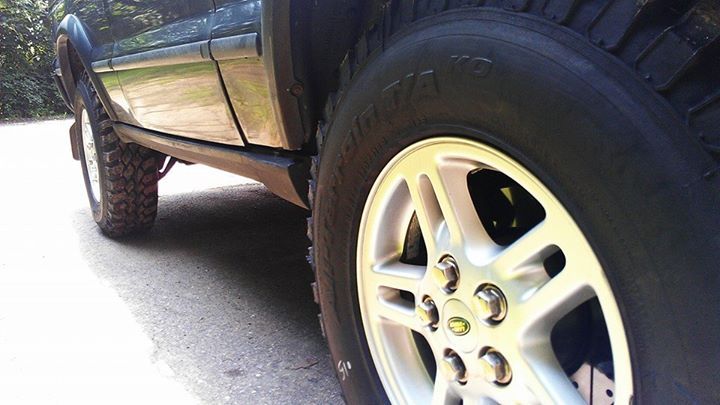
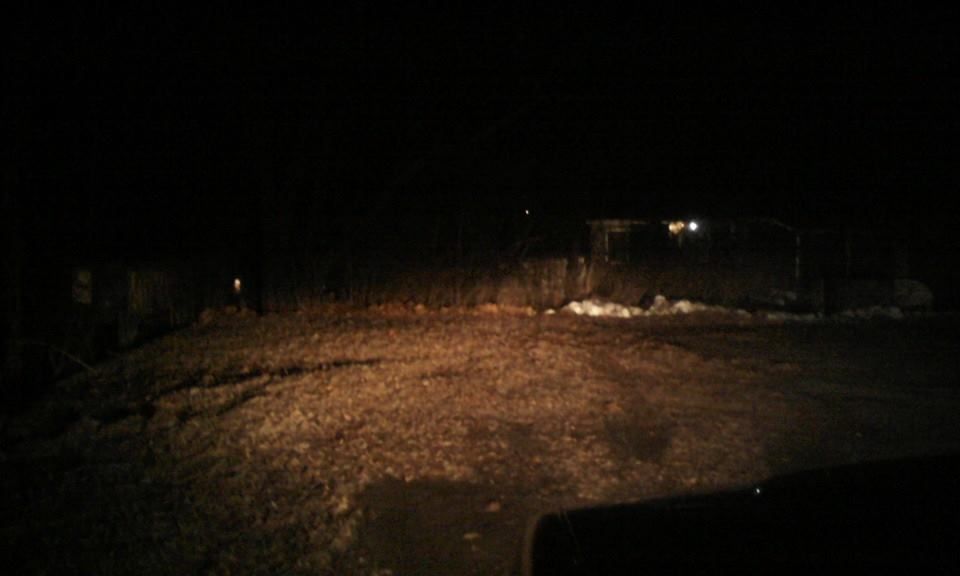
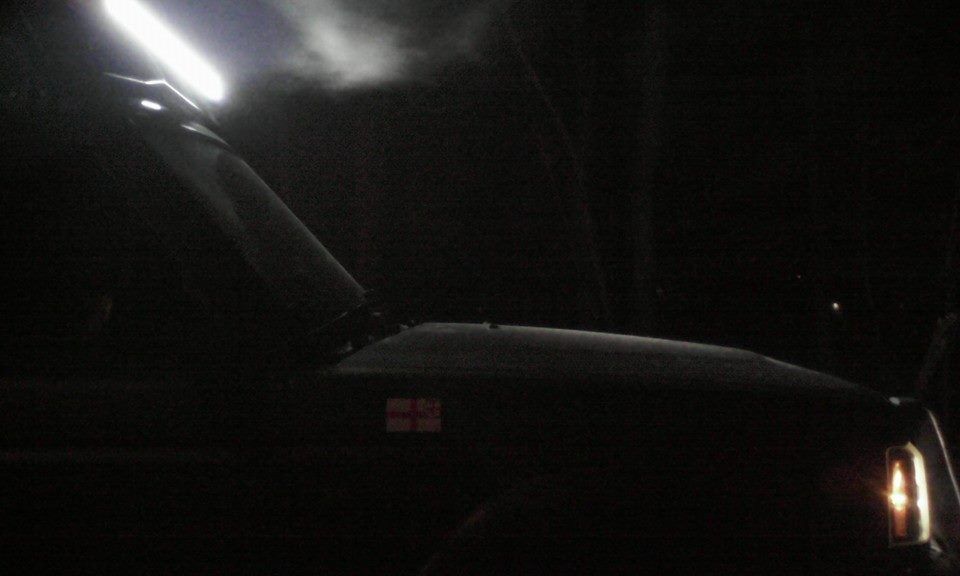
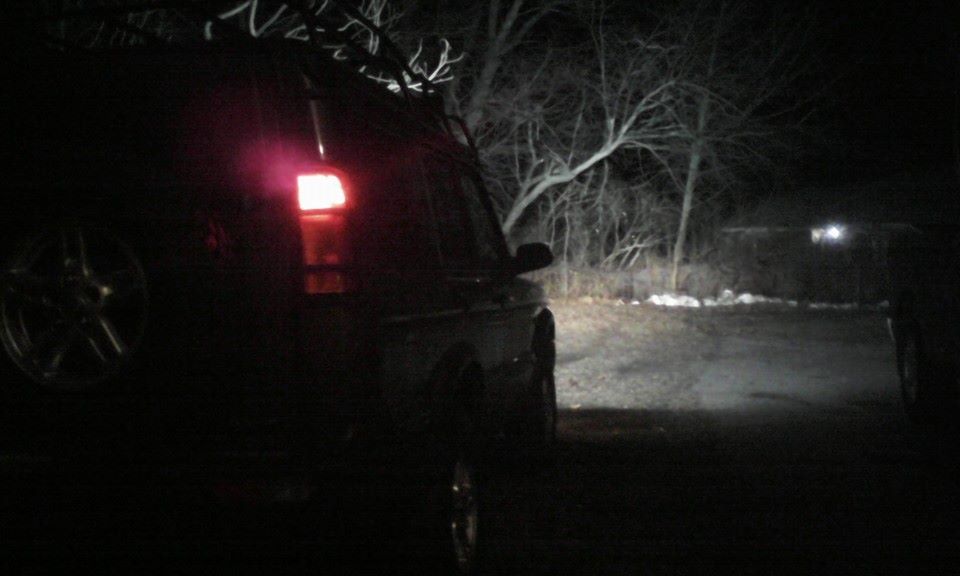
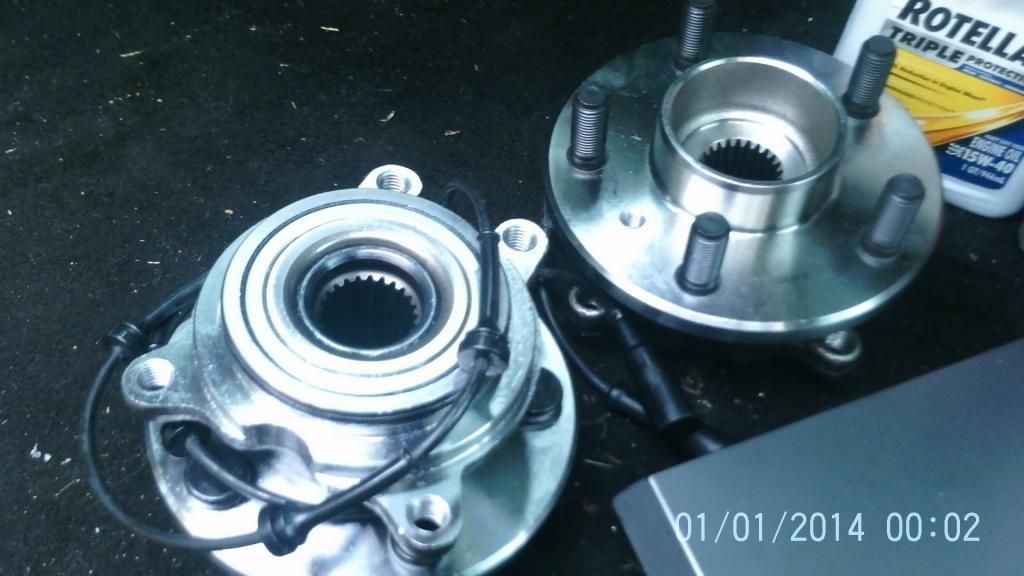
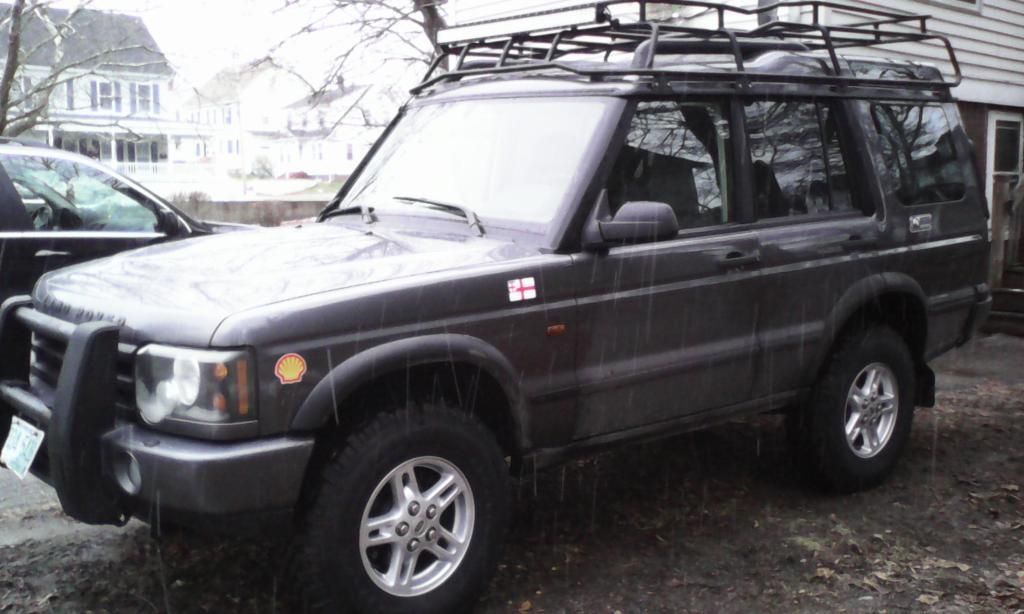
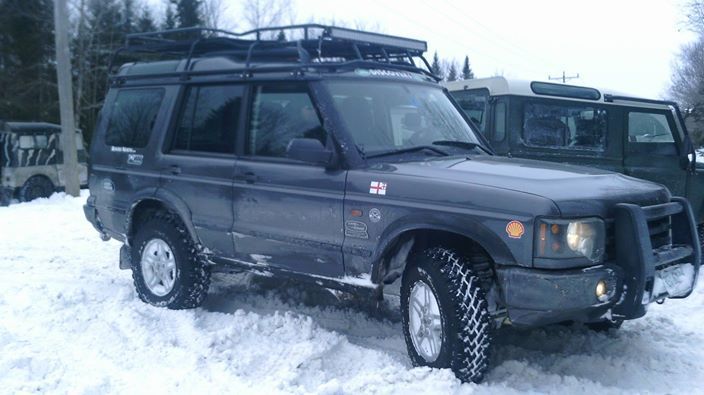
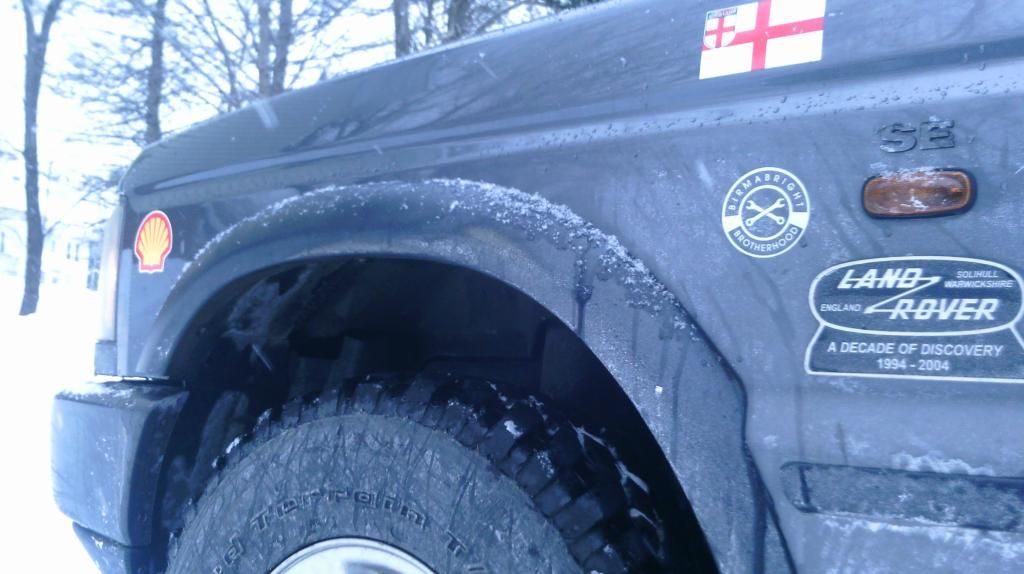
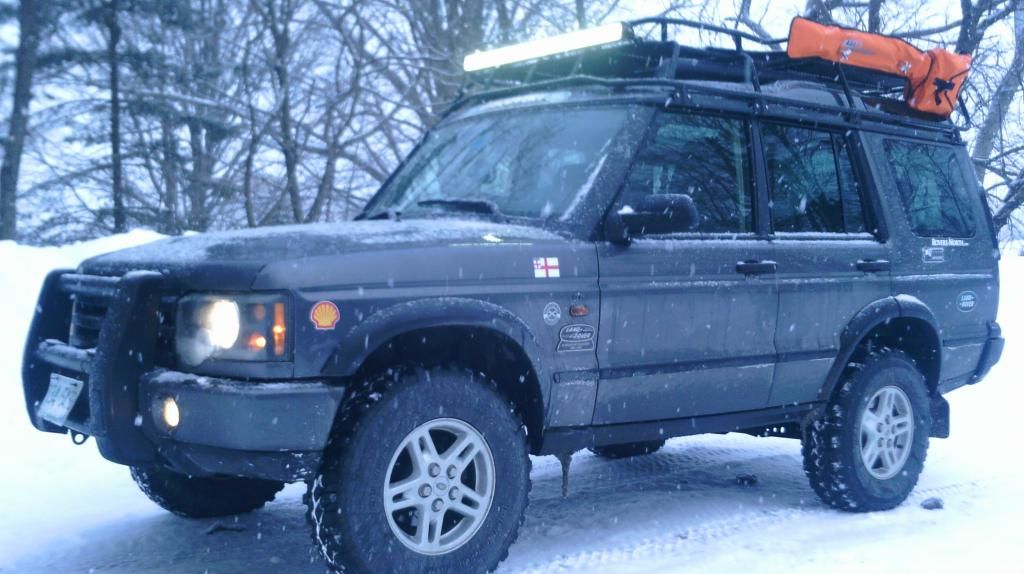
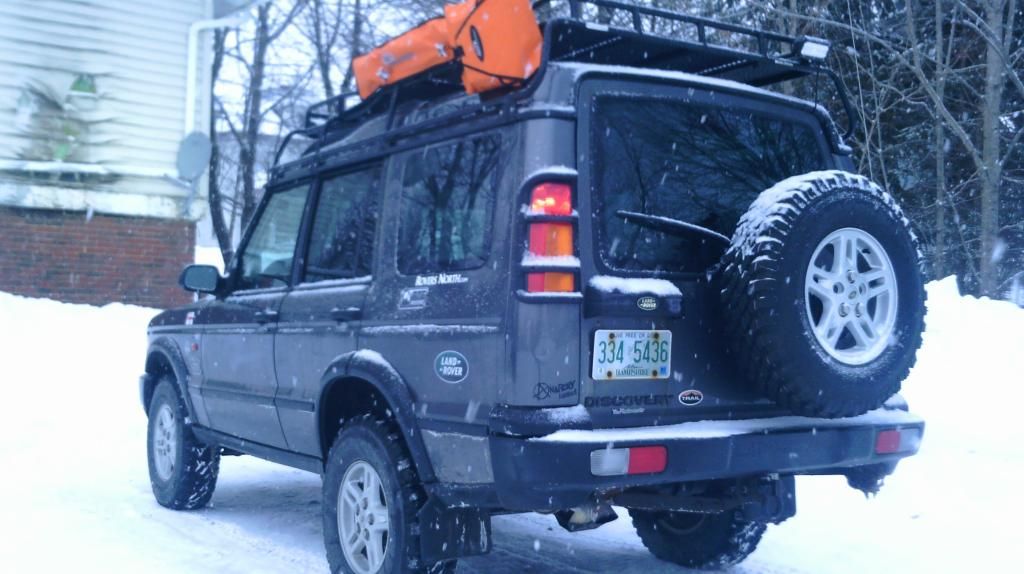
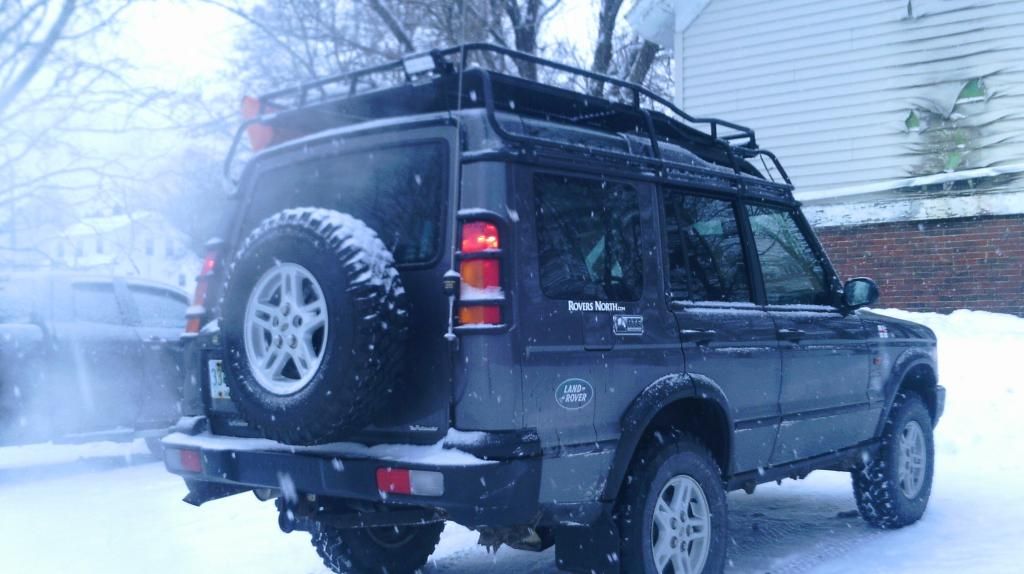
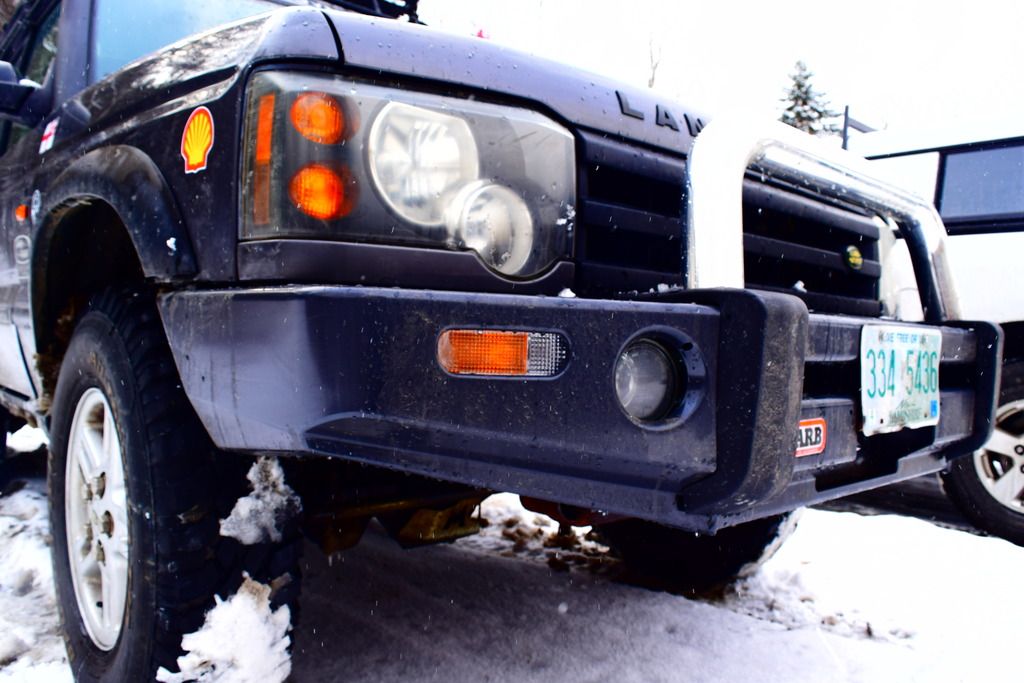
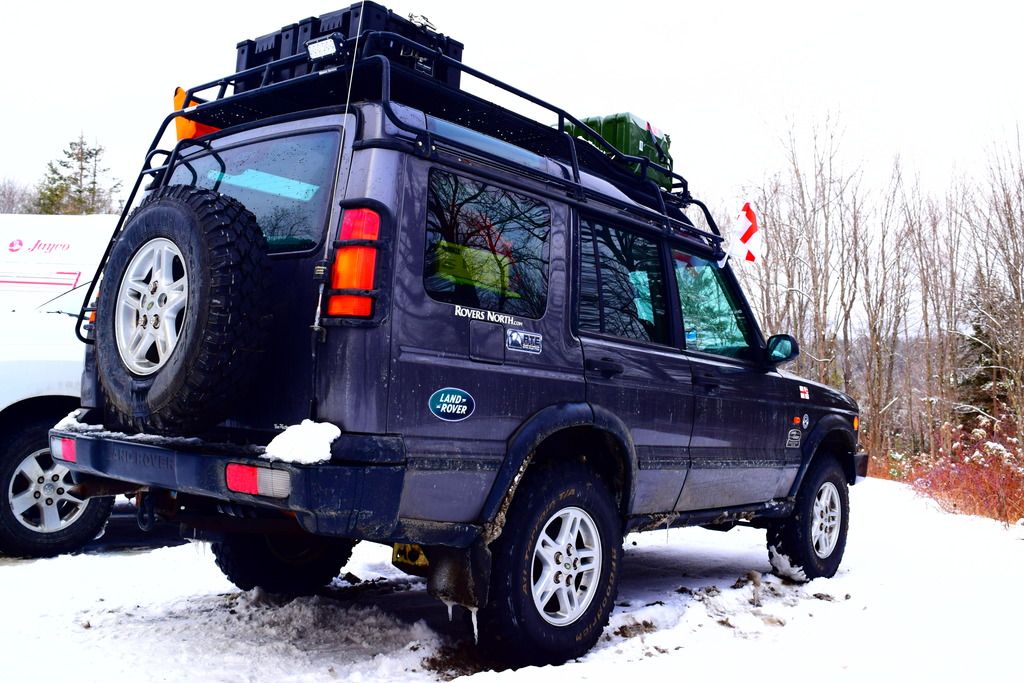
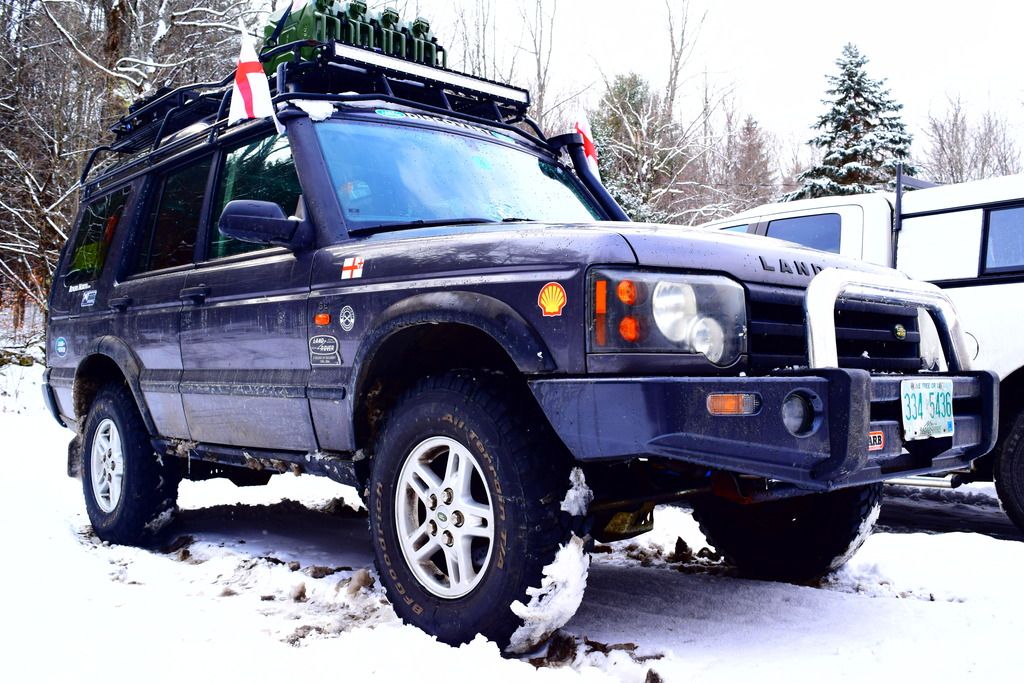
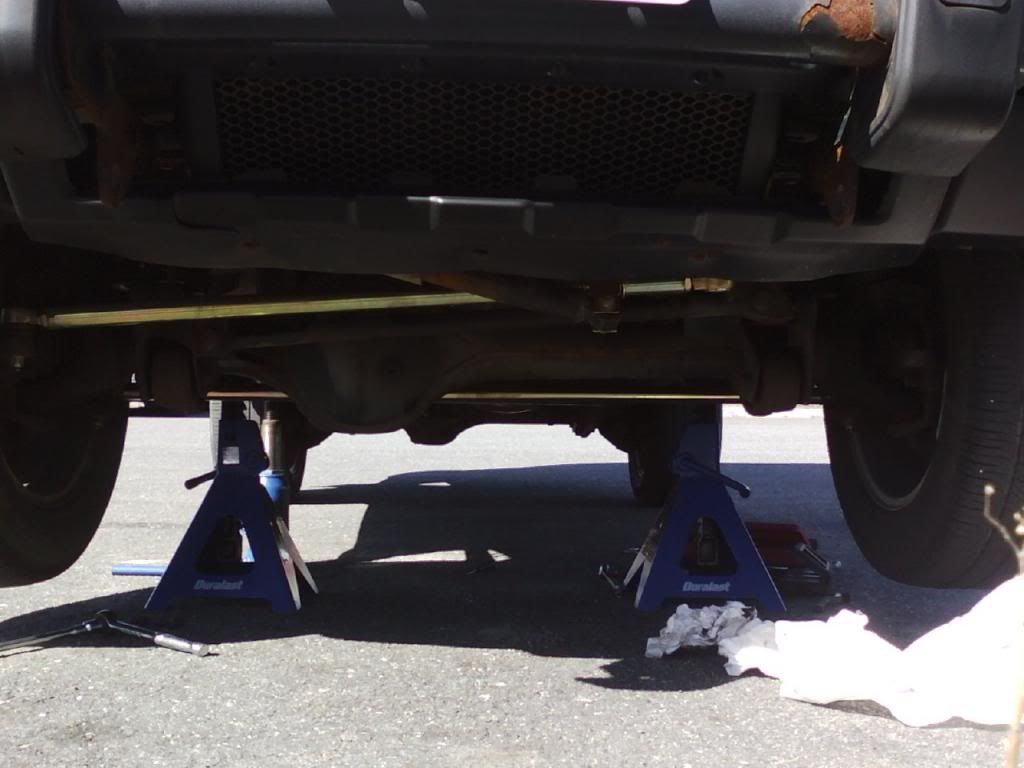
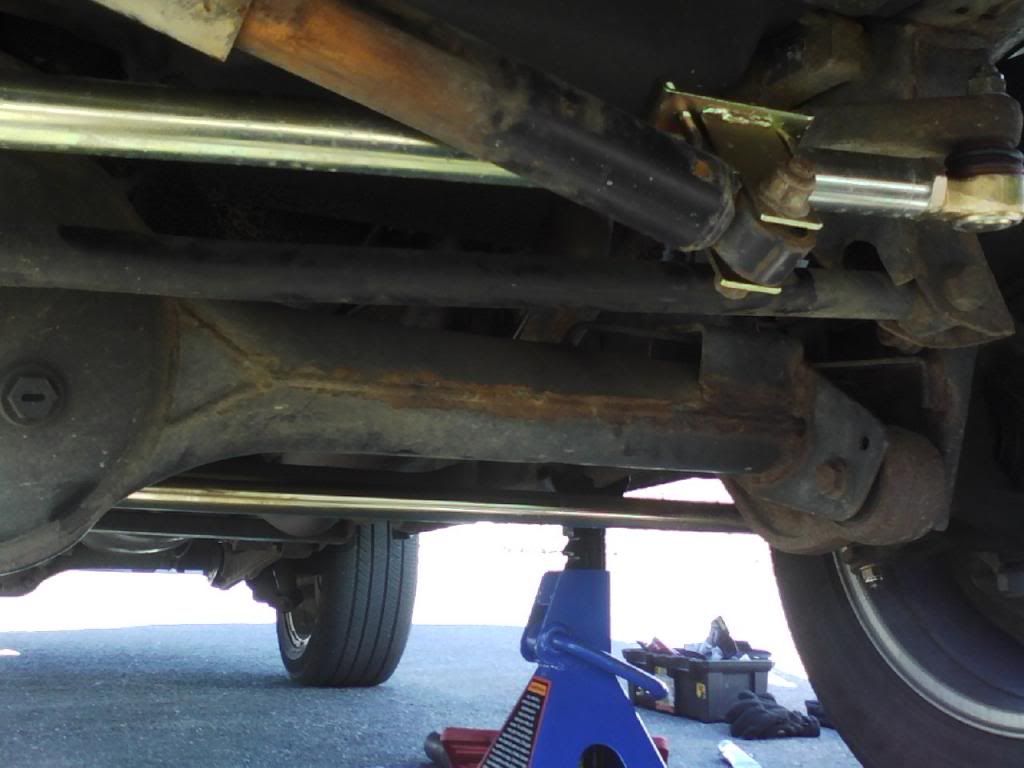
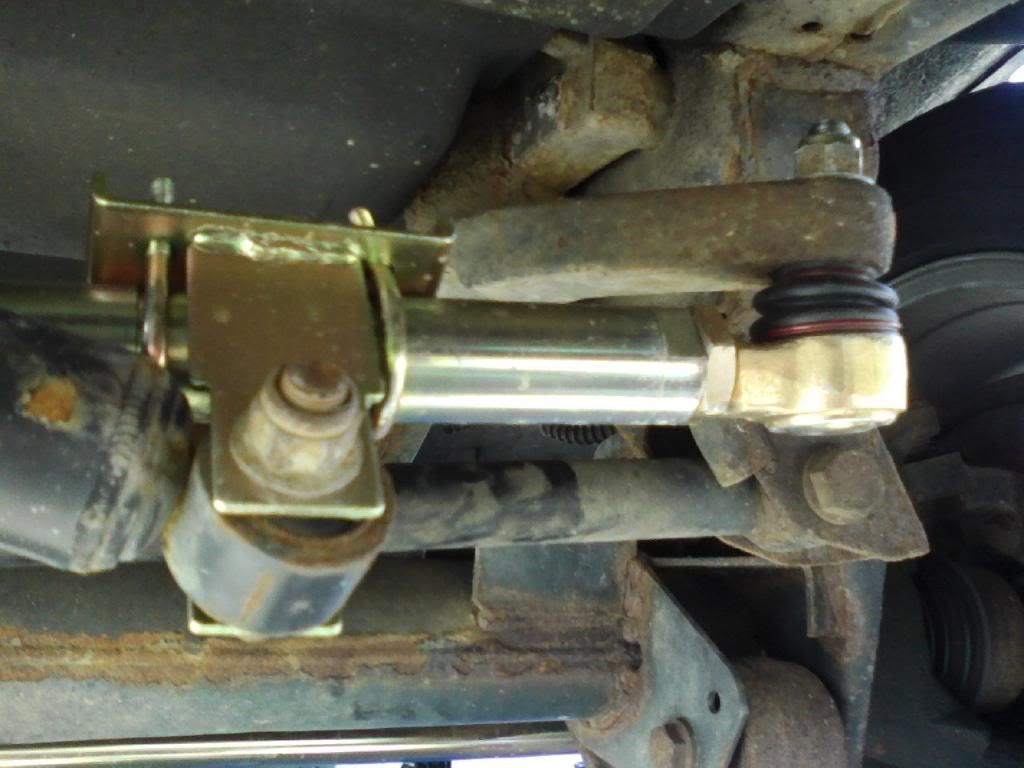
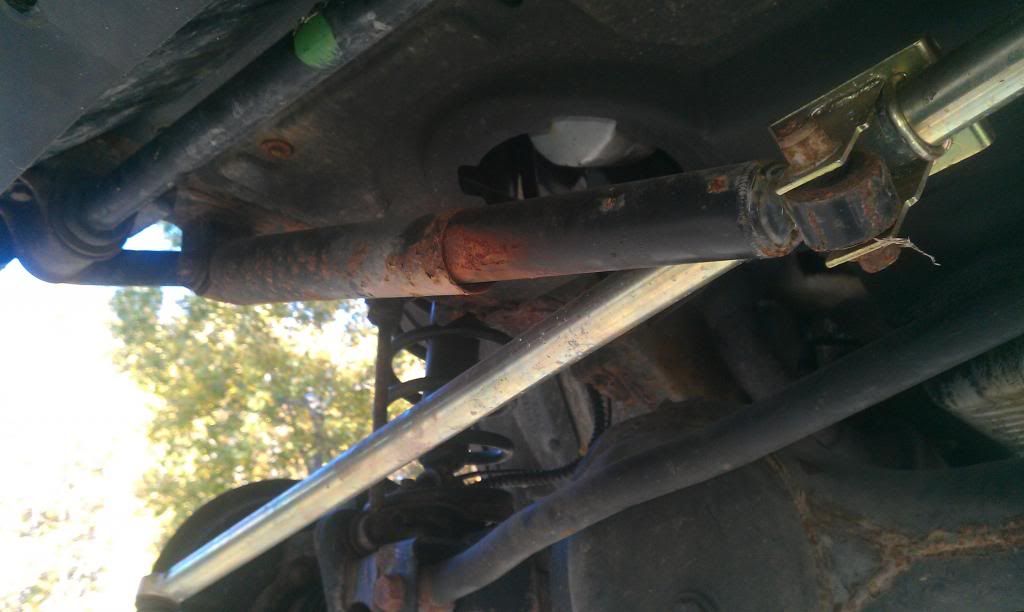
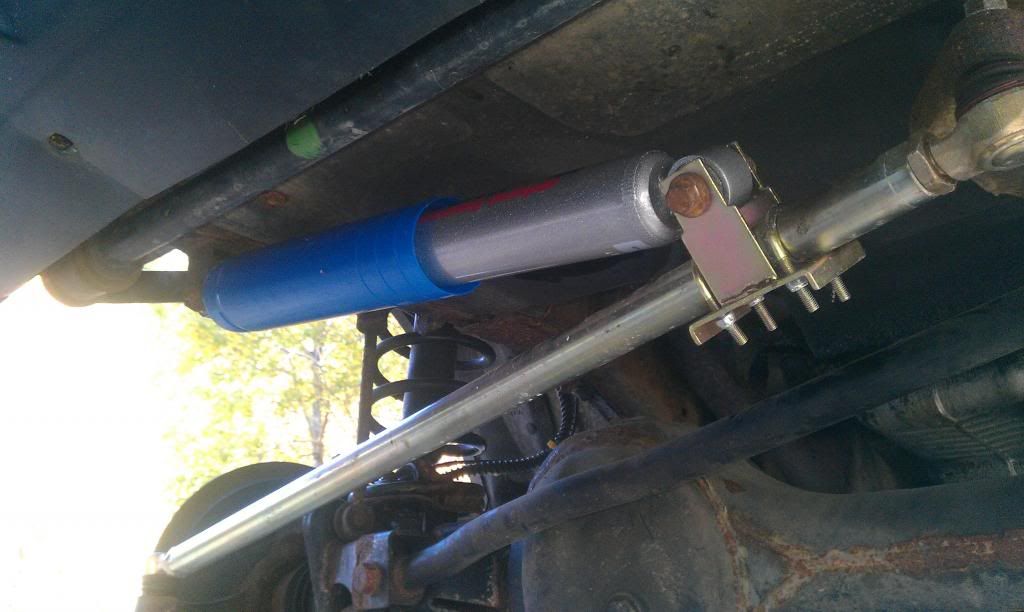
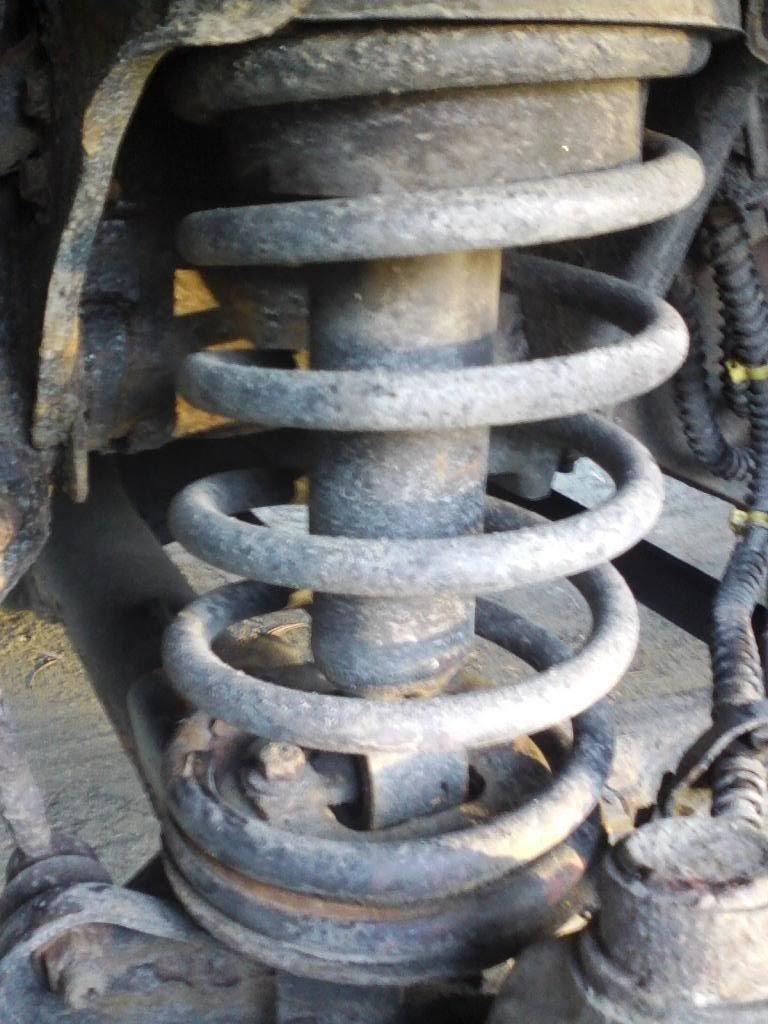
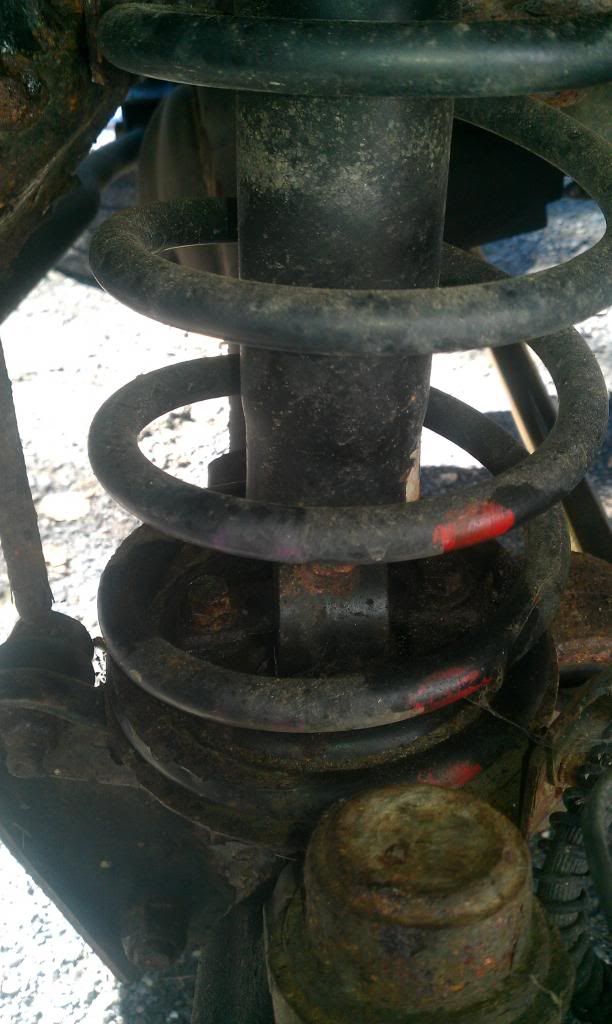
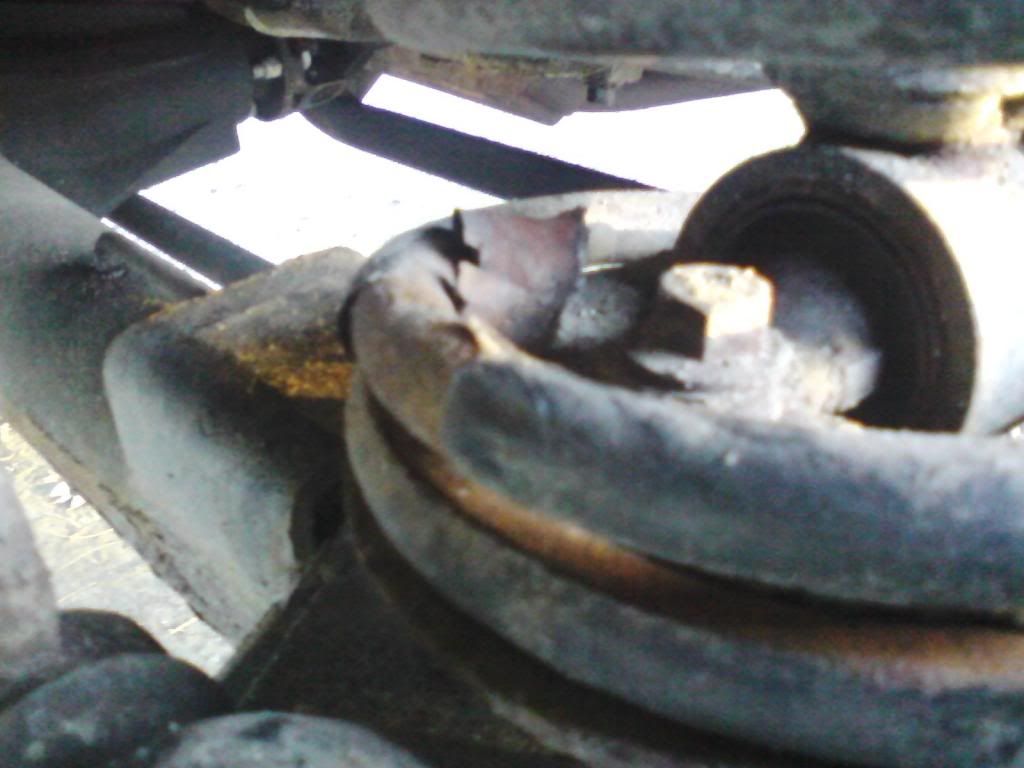
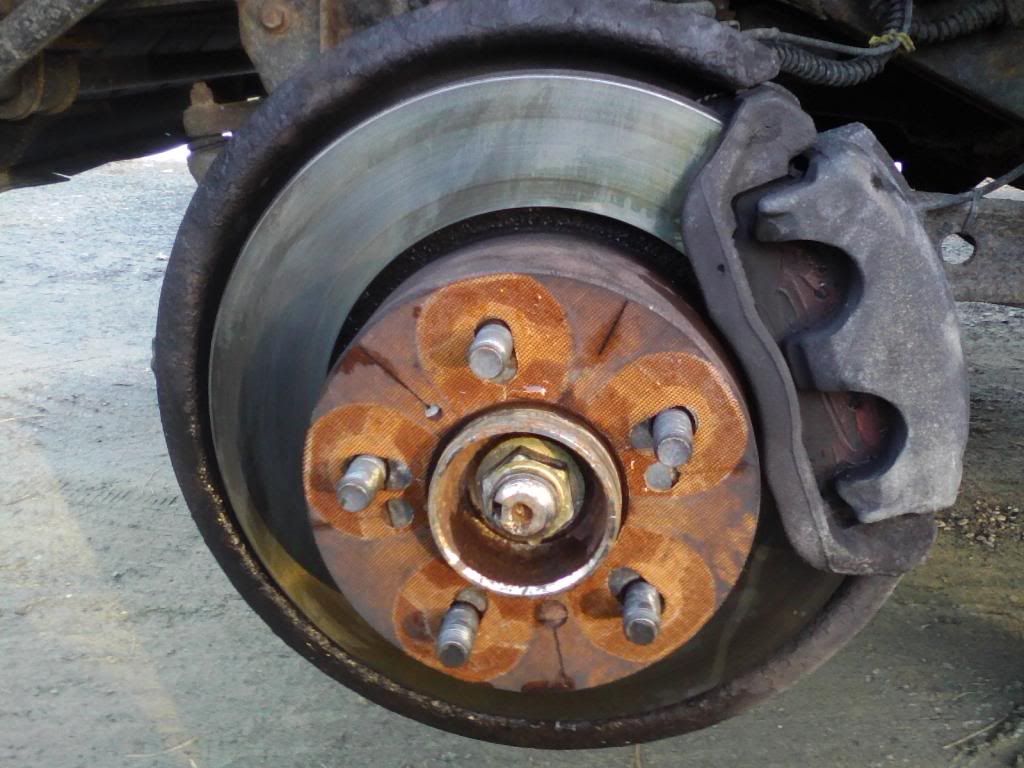
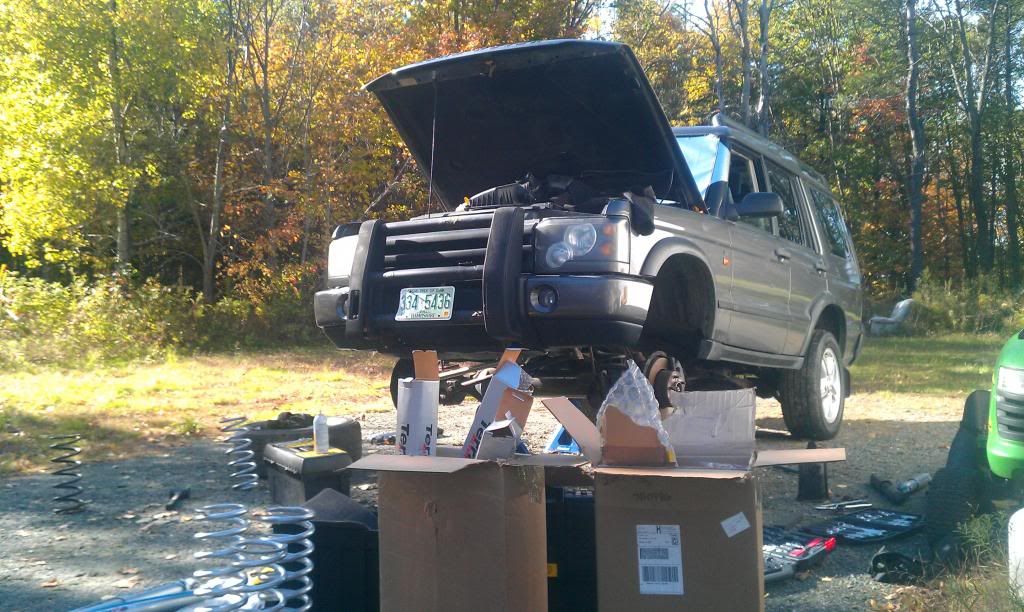
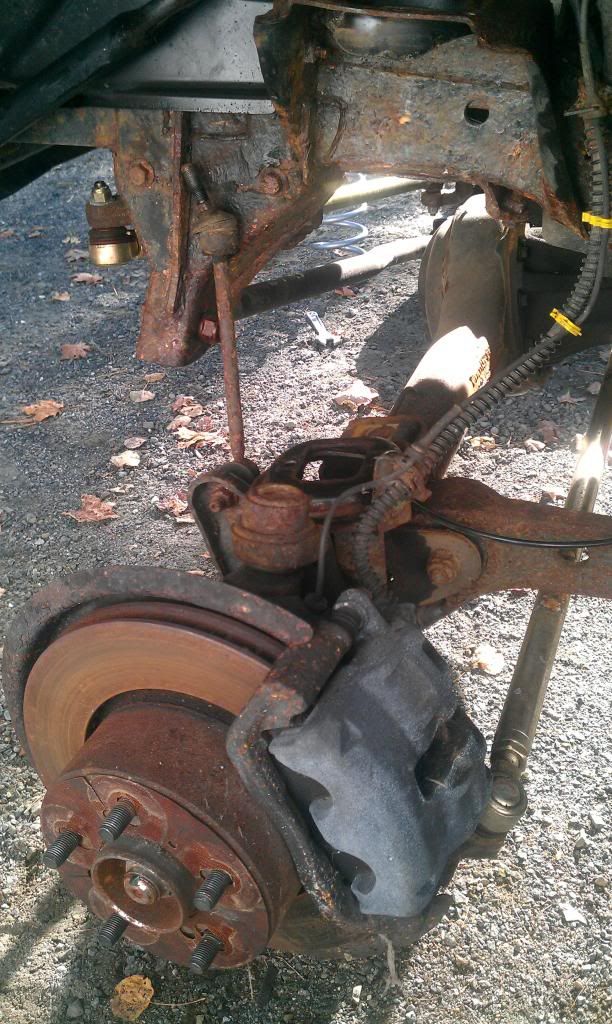
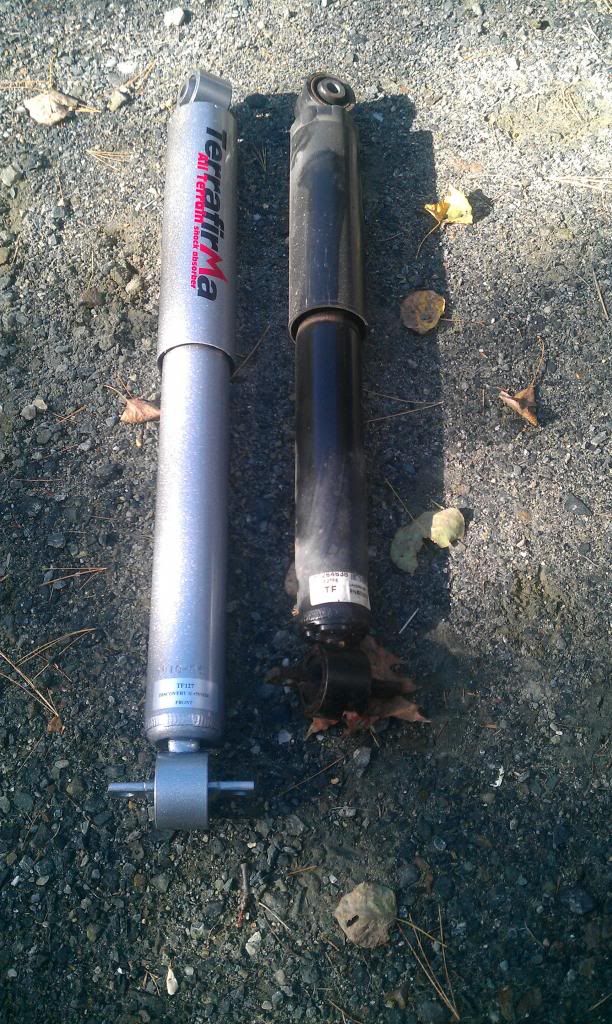
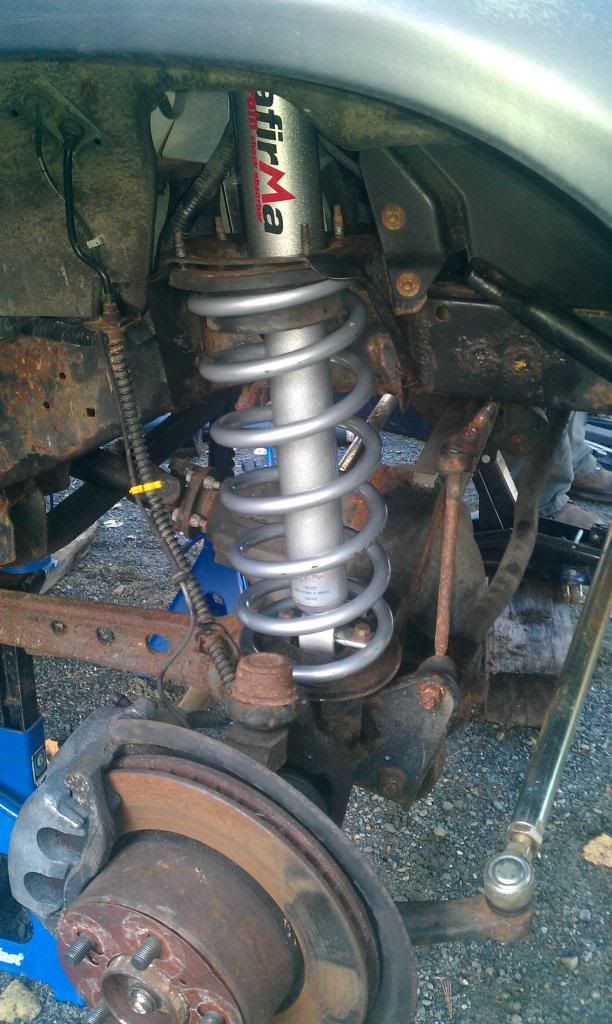
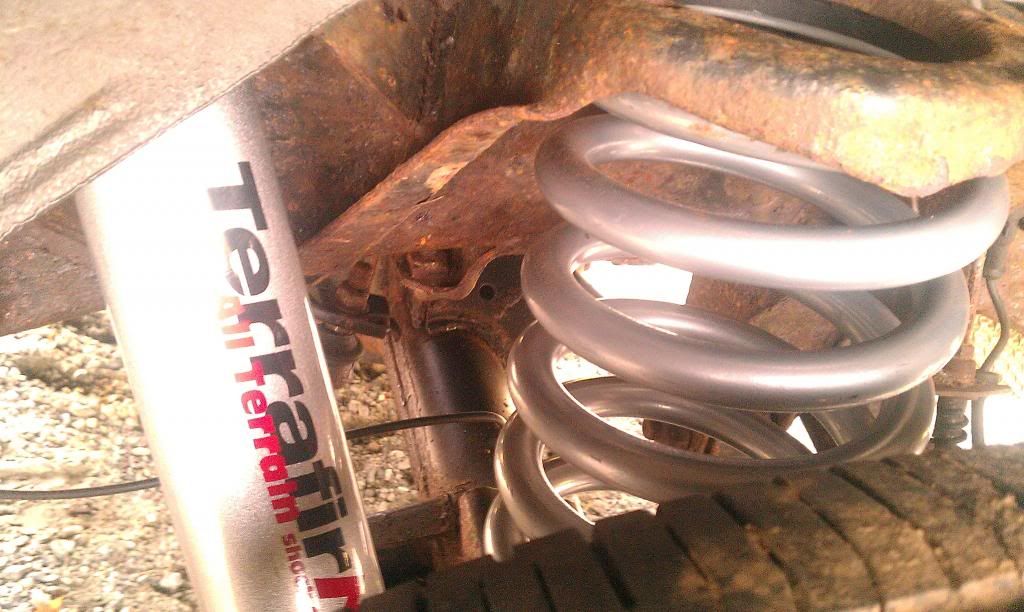
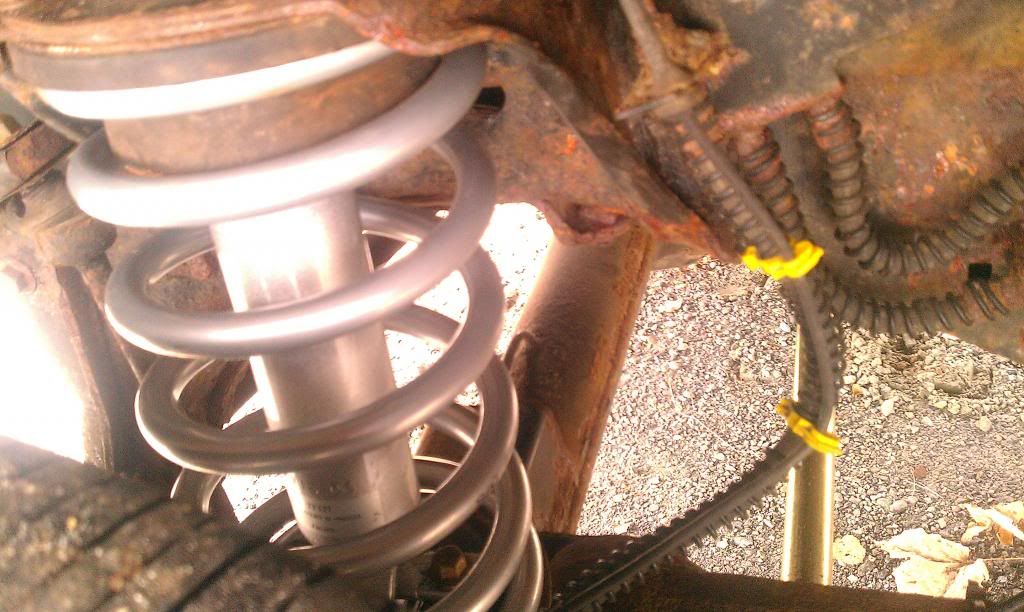
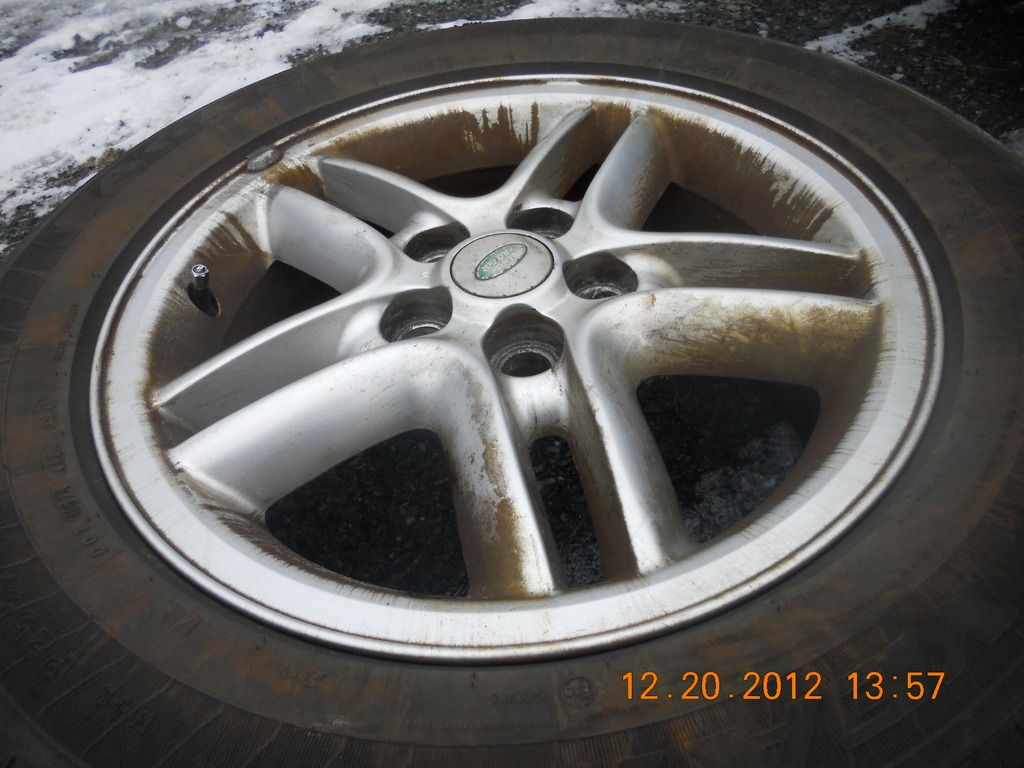
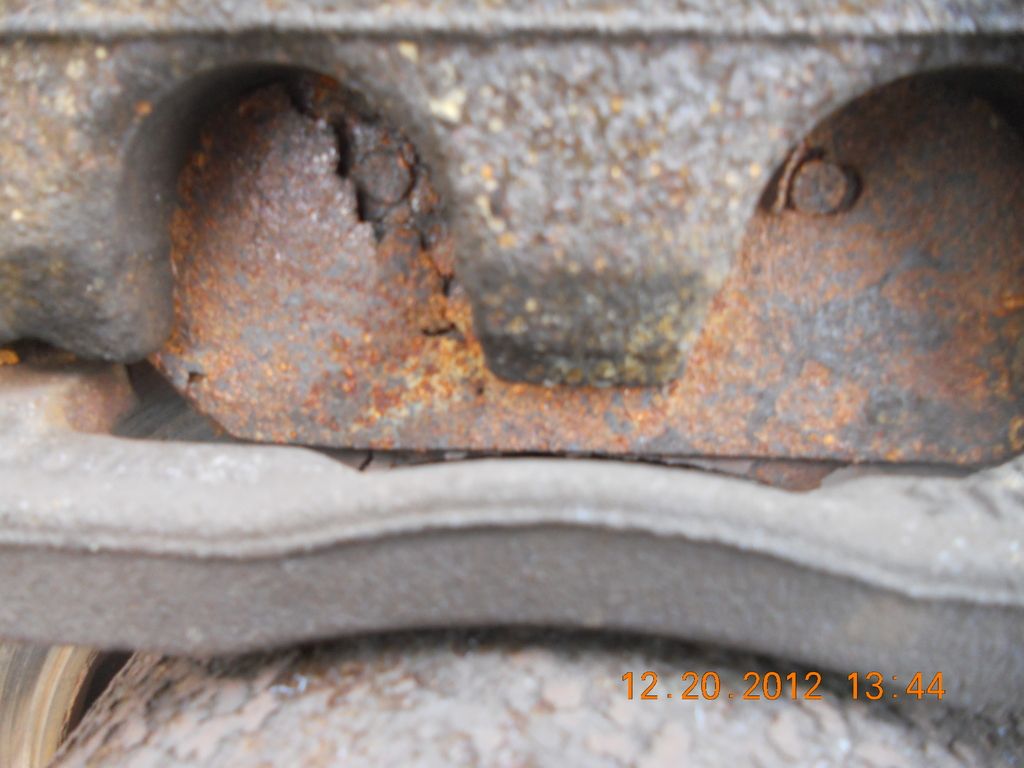
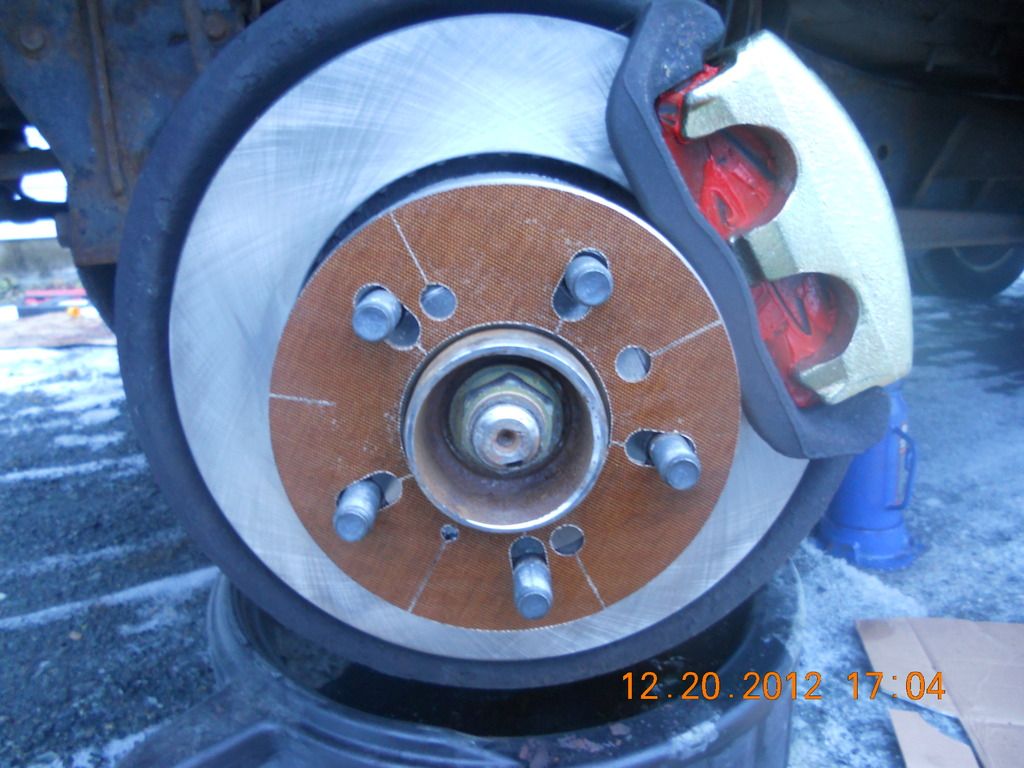
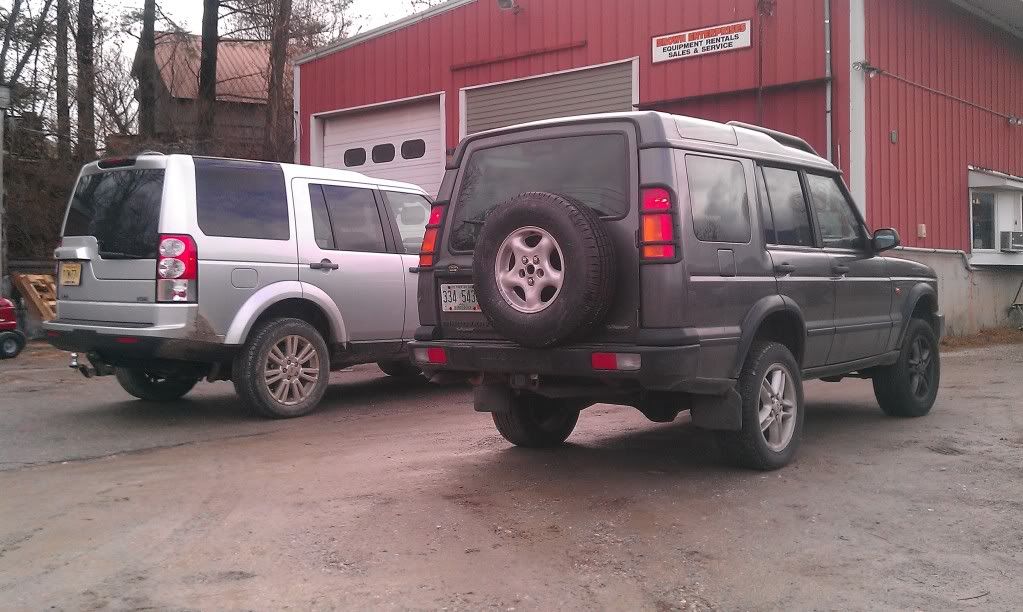
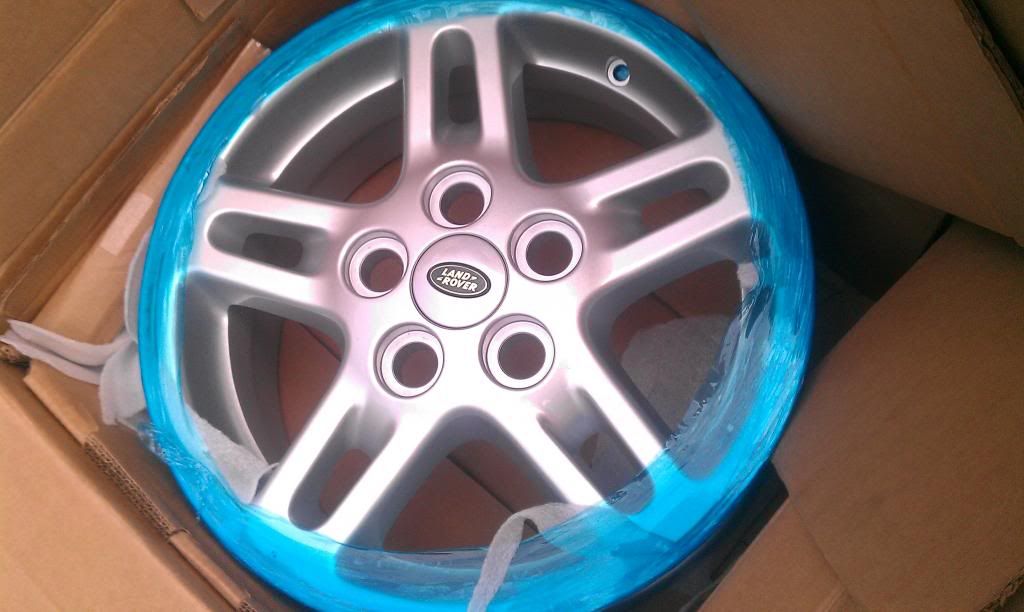
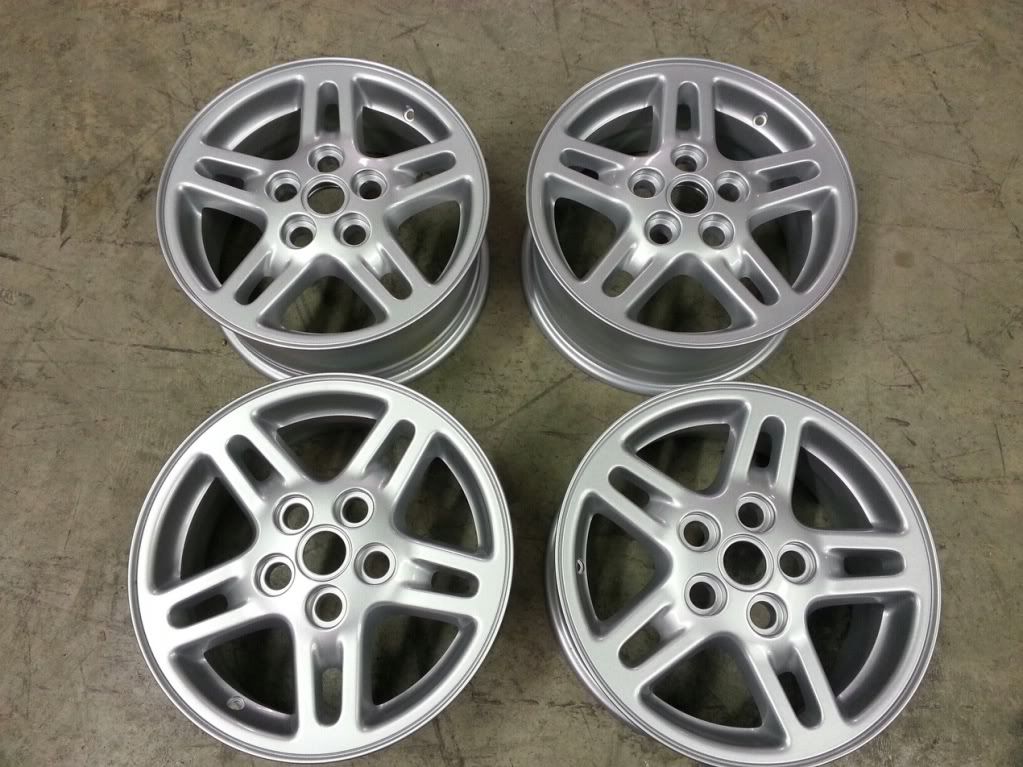
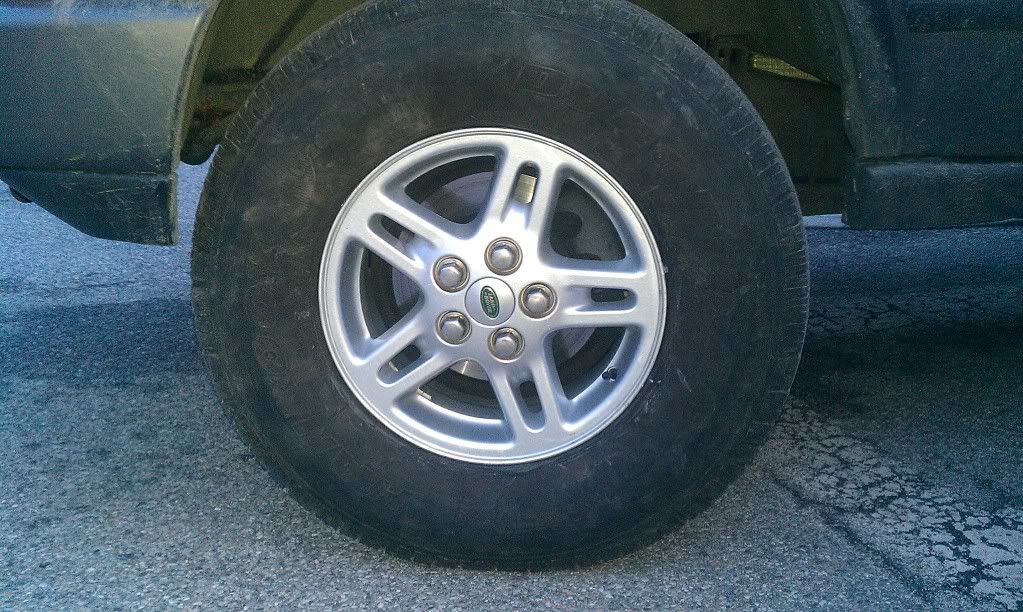
November 2013: Let the build begin! The first thing I had to address were the factory tie rods. Replaced them with the Britpart zinc coated HD tie rod kit. The factory 18" Hurricane wheels were to big for my needs and there are less tire options for that size wheel. Furthermore the finish on the wheels was peeling off. The suspension was factory installed back in 2004 sooo it was time for a upgrade. 2" is a reasonable lift for this vehicle, nothing to extreme but still functional over the stock height.
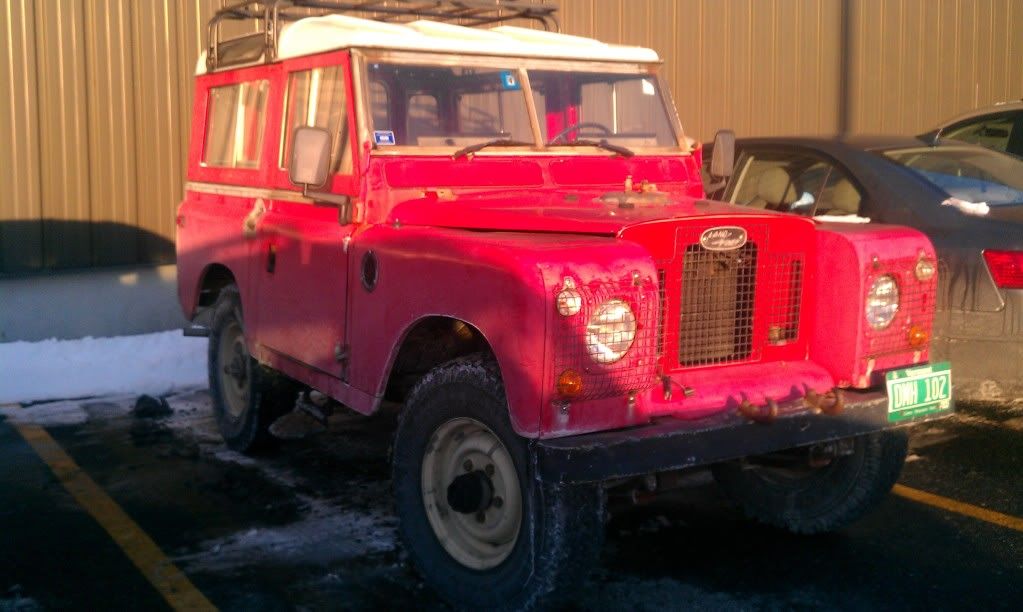
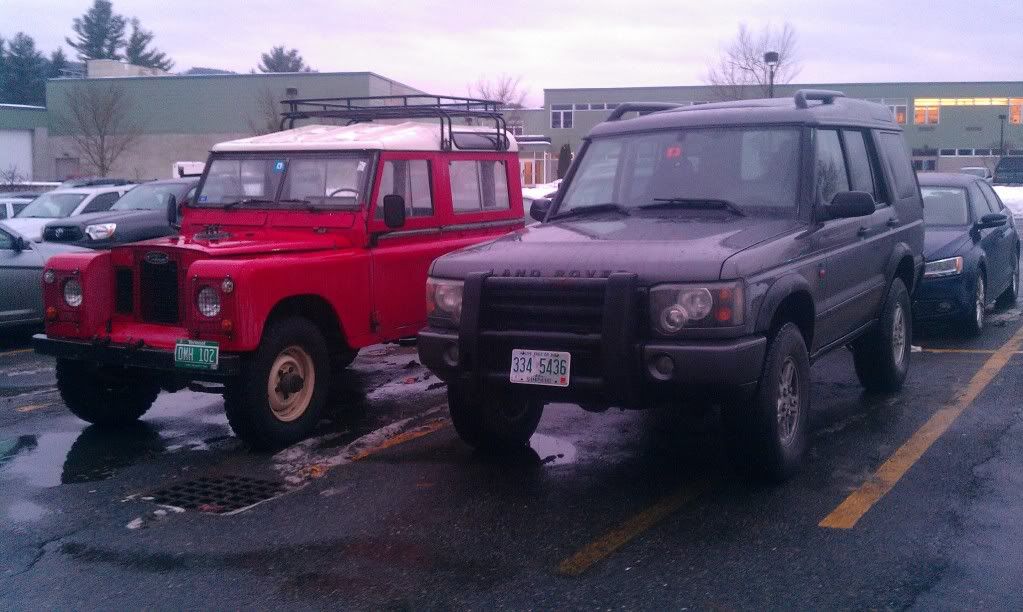
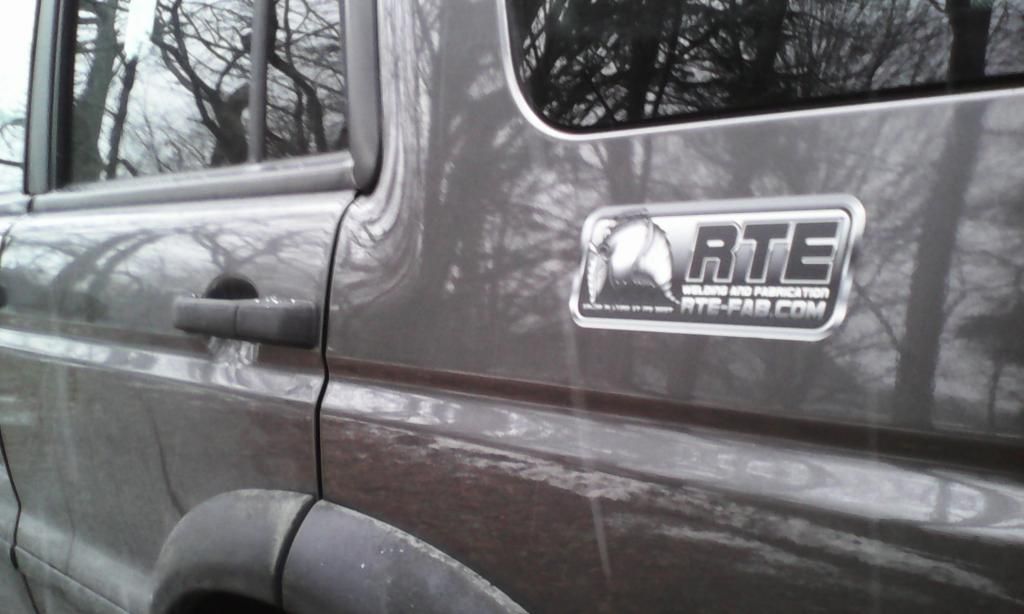
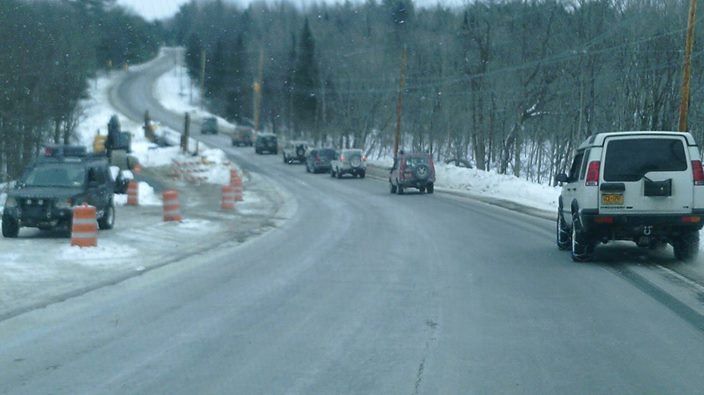
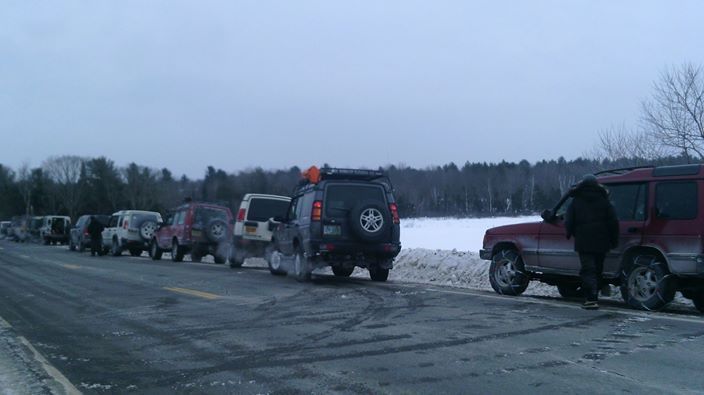
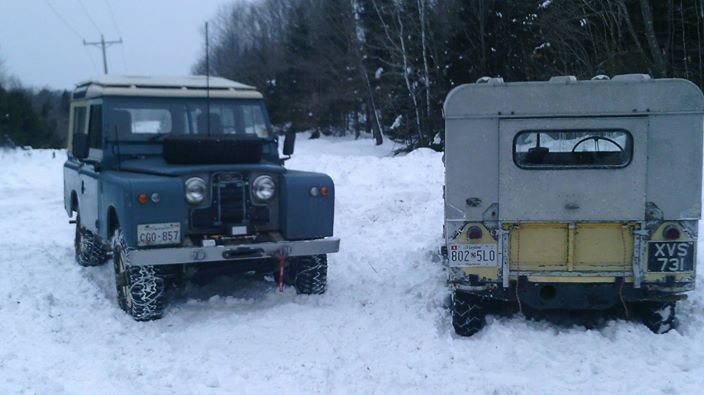
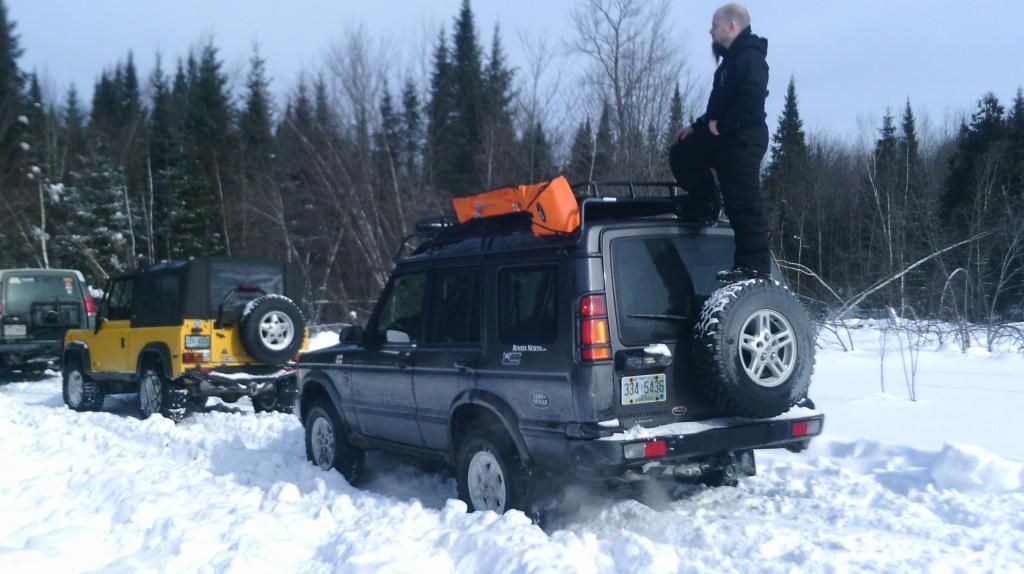
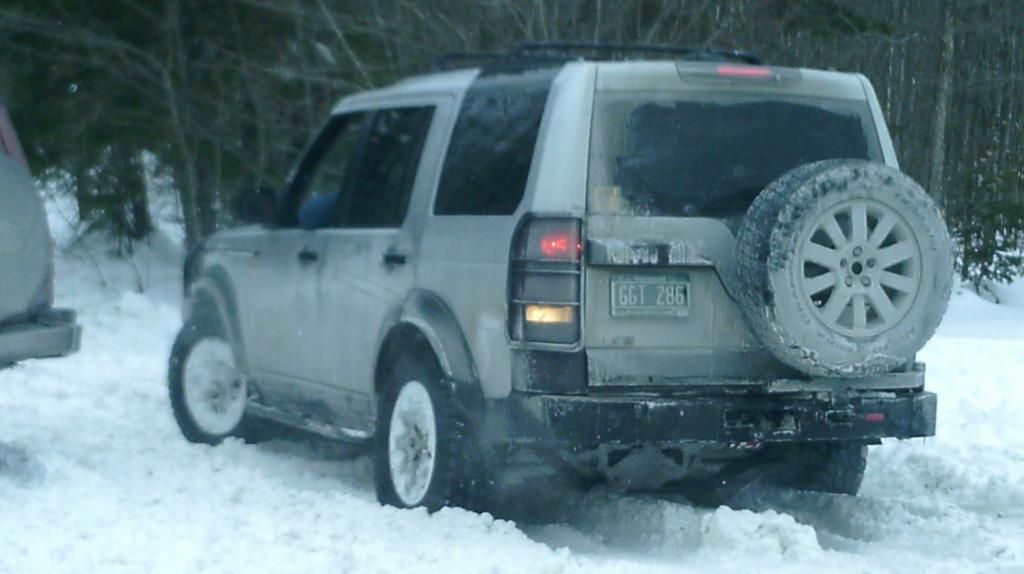
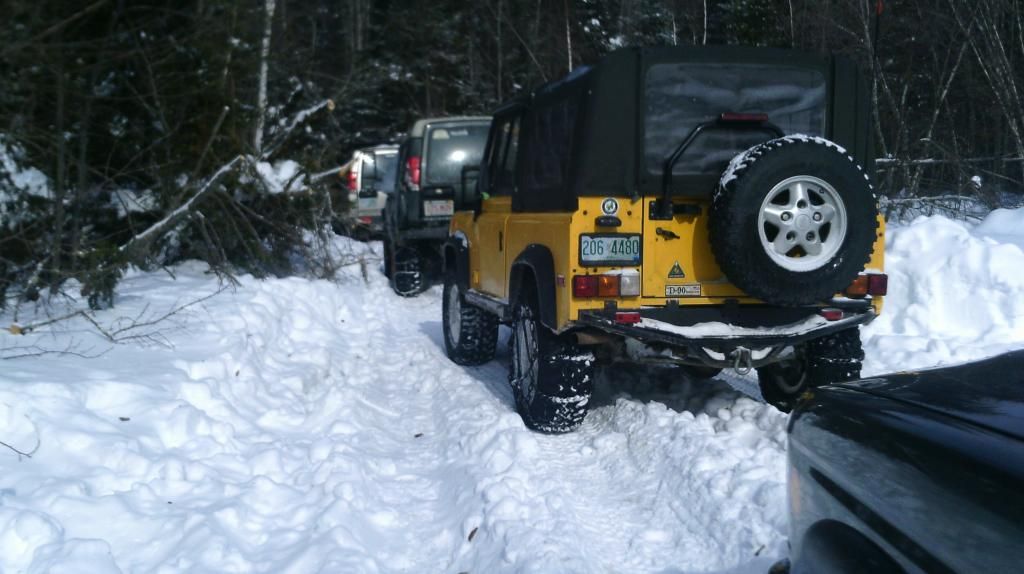
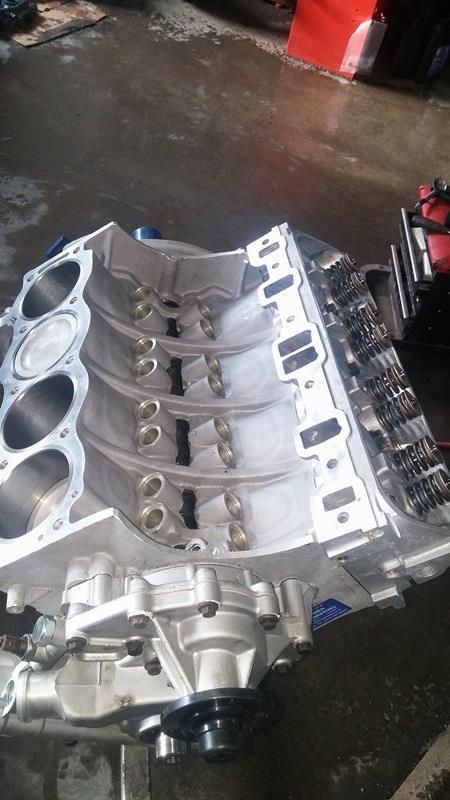
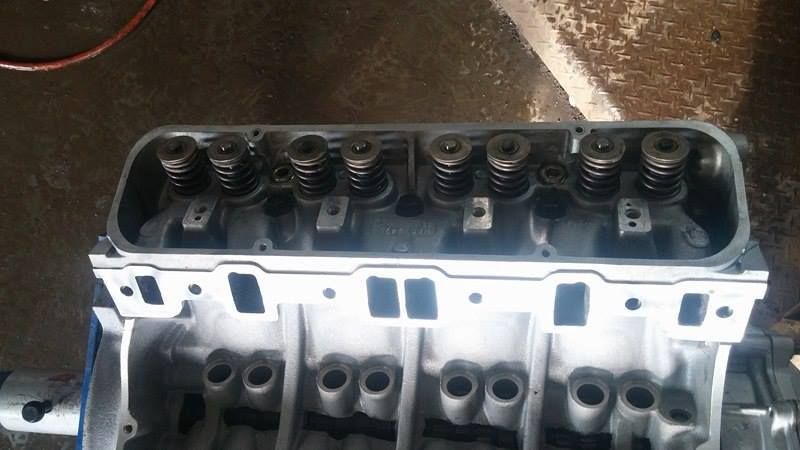
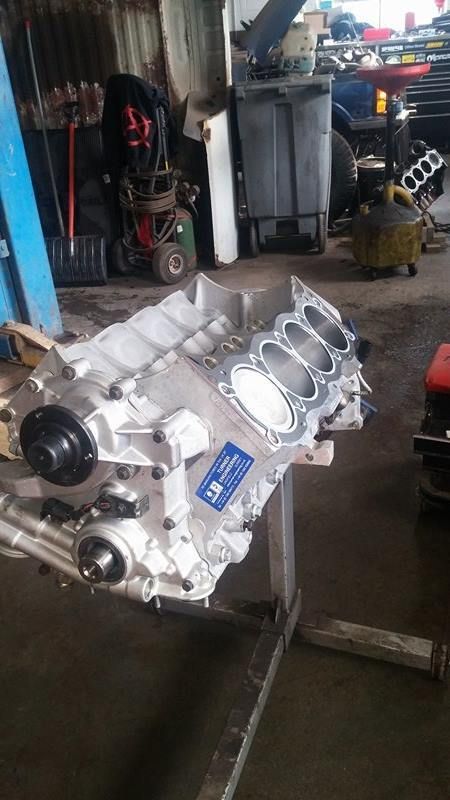
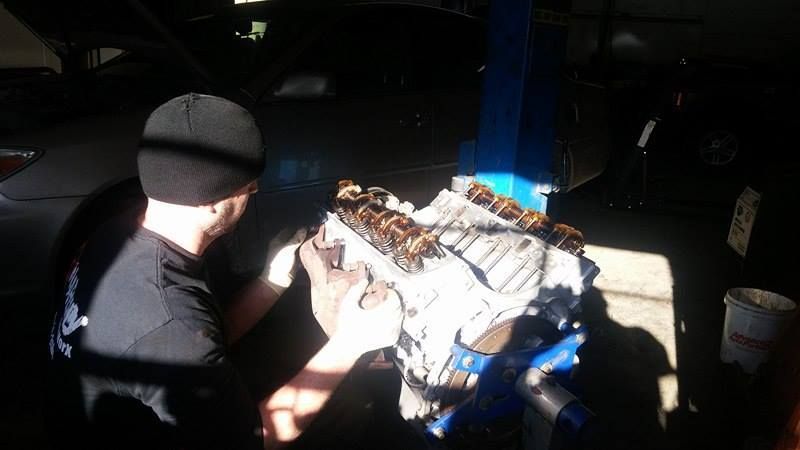

0417131601_zps34b19cbe.jpg


0417131602_zpsd5c12bb8.jpg
 

I Leak Oil

Expedition Leader
Stop leak is bad. You should find out why before it finds you. Britpart isn't generally held in high regard. Sometime refered to as ****part.
 

TRIARII

Adventurer
The upper rear tail lights were cracked and the inside of the assemblies were discolored and filled with some water. Swapped them out for new units and added G4 light guards:

IMAG0541_zpsd77f8342.jpg


IMAG0516_zpsc123499f.jpg


Next was the brake system. Calipers, rotors and pads front and back. Disregard the date stamp, never updated the date on the camera.

DSCN0549_zpsljfbrufl.jpg


DSCN0547_zpsa2m5qiei.jpg


DSCN0545_zps8vpdshmf.jpg


DSCN0548_zps3abcd225.jpg


DSCN0544_zpsheguxkiu.jpg


DSCN0513_zps92msieva.jpg


DSCN0522_zpshfipeyfa.jpg


DSCN0520_zpswdmkboiq.jpg


DSCN0541_zps3qn6cbhg.jpg


DSCN0537_zpsndmxcqbd.jpg


DSCN0554_zpshialafxj.jpg


Still was not happy with the braking so I replaced the brake master cylinder and brake servo booster. The servo booster is not cheap and it took the vendor 3 tries to send me the correct direct fit booster... so at one point I had 3 boosters but still not the right booster for my truck. Sigh

IMAG0540_zpsa0c816b6.jpg
 
Last edited:

TRIARII

Adventurer
Next I wanted to inspect the transmission sump pan, change the fluid and add a new filter and gasket.

IMAG0077_zps3762d3d3.jpg


IMAG0078_zpsbf3f7788.jpg


IMAG0082_zps9d527375.jpg


IMAG0076_zps9c9021f9.jpg


IMAG0083_zps59c417d6.jpg


Time for an Ultra-Gauge:

IMAG0533_zpsc8929bb4.jpg


Took a trip to Manchester, Vermont to acquire some used 16" tires for my new 16" style 2 wheels. Met up with some enthusiasts and met some of the folks at the Land Rover Experience Driving School.

IMAG0664_zps602c2950.jpg


IMAG0674_zps7b743545.jpg


IMAG0671_zps9291e9e7.jpg


IMAG0668_zpsd5542002.jpg


IMAG0673_zps75507f7a.jpg


IMAG0669_zps98ea387a.jpg


My understanding is that the Style 2 16" wheels were not optional on US models. Fortunately I found a vendor and purchased 5.

IMAG0534_zps3cd7edfe.jpg


20130806_161650_zps24cd2cf3.jpg


I traded my 18" wheels and tires for 5 used 16" tires thus enabling me to get my new wheels mounted. Was not in the market for new beefy tires at the time so this was a means to an end.

IMAG0676_zps2a050c5f.jpg


IMAG0675_zpsfbfc6dbf.jpg


IMAG0678_zpsebb9ac0e.jpg
 

TRIARII

Adventurer
My supervisor had a old Series!

IMAG0034_zpsd40a6cee.jpg


IMAG0036_zps5100fae1.jpg


IMAG0039_zpsdf342b04.jpg


Lets fast forward to 2014.

Relocated the Ultra-Gauge:
WP_20140419_009_zpsc0d631d9.jpg


Still was not happy with the braking so I upgraded the system again. This time with extended stainless steel brake lines, slotted/drilled rotors and ceramic brake pads. Seeing how I did the brakes the first time back in 2013 I decided to let someone else do the job ;) and this is when I met Don of Anarchy Fabworx in Hampton NH. Some of you may have seen his truck at past Winter Romp events.

WP_20140417_002_zps9ead4c11.jpg


WP_20140419_001_zpsbe0fbdf7.jpg


WP_20140419_004_zps63ade061.jpg


WP_20140419_003_zps055c12e6.jpg


Futile efforts to save a rusty bumper...

IMAG0727_zps89737951.jpg


IMAG0728_zps568ee93d.jpg


April 2014 I had an exhaust leak. Tried to patch it up to get a quick inspection sticker but that was a no go:

IMAG0769_zpsad6f7bcc.jpg


IMAG0768_zps35e9fbdd.jpg


IMAG0763_zps9d918b28.jpg


IMAG0766_zps4fcd0af3.jpg


Yet again the same vendor sent me the wrong part... but this time they got it right the second time around:

IMAG0846_zps4dafe9ce.jpg


The rear most muffler must have been replaced by previous owner not long before I purchased the truck:

IMAG0847_zps51a3721c.jpg
 

TRIARII

Adventurer
Interior lighting was dim and old so I fitted some cheap LED's to brighten up the interior:

IMAG0833_zps55c5d3fe.jpg


IMAG0834_zpsf0566473.jpg


USS Albacore Experimental Submarine. Constructed in Portsmouth NH in 1952, this sub was used to test the new teardrop hull design that would be later become the standard for future subs. She was constructed using a new form of high strength steel called low-carbon steel which again would be used on future submarines. She helped pioneer many new submarine technologies, some of which are still used today. She was retired in 1972 and today's sits on display in Portsmouth NH:

IMAG0831_zpsec78b93d.jpg


IMAG0829_zps25aead49.jpg


IMAG0821_zps5b37400d.jpg


IMAG0828_zpsa09ccca0.jpg


Next up some differential guards:

IMAG1270_zps5a381299.jpg


IMAG1271_zpsbbe5cb20.jpg


Spare tire mount is an issue if you plan on mounting larger aggressive tires.

IMAG1085_zps079cd945.jpg


IMAG1087_zps7fcaa20e.jpg


Lucky8 LLC has just the solution. A spare tire relocator that bolts directly onto the factory spare tire carrier. Easy install and no need to remove the carrier or drill any holes.

IMAG1088_zps5b56ece0.jpg


IMAG1090_zpsc1d3af94.jpg


IMAG1096_zps8df8c796.jpg


The rear door license plate lighting was a problem:

IMAG1082_zpsee4df62b.jpg


IMAG1014_zpsbee9d107.jpg


Next up on the list was the front drive shaft. Never had any issues but did not want to wait until the shaft failed to replace it. No pictures of the aftermarket Proline driveshaft but rest assured its fully serviceable. I still keep the original shaft as a spare.

IMAG0973_zps78b5df52.jpg


IMAG0971_zps84908162.jpg


IMAG0970_zpsf5c1148d.jpg


At long last its time to address the tires. I dislike the trend of fitting over-sized fat tires. Looking back at classic Land Rovers and military vehicles I noted how they had thin tall beefy tires. After careful consideration alot of research I opted to go with 235/85R16 Crawler MT Retread tires from TreadWright:

10559793_261418040714112_4356884293115279296_n_zps26f02b89.jpg


10600468_261418024047447_4283210472340500485_n_zps4110ee88.jpg


IMAG1336_zpsa24871a3.jpg


IMAG1432_zps75889122.jpg


IMAG1437_zps2dfbb68d.jpg


10590556_262261810629735_2924470860172361480_n_zps93bd68f3.jpg


Ive been looking for a high profile SD roof rack for months. Every blue moon one pops up on Craigslist and afew days later its GONE. Finally though my patience was rewarded. Drove all the way down to Connecticut to pick this up. Had a few dings and dents and some chipped paint but I was not in the market to be picky.

10711427_566896620122509_1453851014_n_zps4bad05b9.jpg
 

TRIARII

Adventurer
10733014_566896623455842_757093476_o_zps0022909d.jpg


10733014_566896613455843_1033240216_o_zps53161a5b.jpg


Next the light bar.

IMG_20141206_162310_zpscf7058c5.jpg


10868170_303278306528085_6649101991342559963_n_zps4dc4e6dd.jpg


10429227_303278336528082_4995214556400011320_n_zpsd442c9d6.jpg


10405298_303278349861414_6954910707331499494_n_zpsc87cb004.jpg


1476087_303278396528076_3853486063831985067_n_zps96eb8a48.jpg


Fast forward to 2015:

Front passenger wheel hub and the power steering pump were on their way out and had to be addressed. I prefer to replace parts in pairs so decided to order 2 new wheel hubs fro the front axle. While everything was apart I also decided to replace some leaking axle shaft seals. Also time for an oil change:

PTDC0050_zps6e4f4f2c.jpg


PTDC0052_zpse250550e.jpg


PTDC0051_zpsb85379ab.jpg


PTDC0020_zpsec06c79e.jpg


PTDC0022_zps494c612c.jpg


WP_20141005_005_zpsd35ef45d.jpg


WP_20141005_006_zps8ece9c2d.jpg


WP_20141005_012_zpse2a52eb9.jpg


WP_20141005_016_zpse57b8c2e.jpg
 

TRIARII

Adventurer
During the oil change I decided to drop the oil sump pan to inspect inside:

WP_20141005_046_zpsd349a6a0.jpg


WP_20141005_038_zps98f5f4e5.jpg


WP_20141005_040_zps5f0dc8c5.jpg


WP_20141005_042_zps563574ff.jpg


WP_20141005_047_zps464589d6.jpg


Next up some decals:

IMG_20141213_125741_zpsimeexu4s.jpg


IMG_20141213_125757_zpsmtyrfkvj.jpg


IMG_20141213_125826_zpshswvqlay.jpg


IMG_20141213_130039_zpsmlhhell6.jpg


IMG_20141220_153153_zpsxylx5ux5.jpg


The roof rack needed flooring so I ordered some chicken coop flooring from FarmTek:

IMG_20141220_142626_zpsm21zecn4.jpg


IMG_20141224_143801_zps5yfoskqy.jpg


Maine Winter Romp 2015:

10974740_324091381113444_5437718840406882435_o_zpsgoqhf5dl.jpg


10960425_324091297780119_7322320068318568532_o_zpsxm6ptmfz.jpg


10944801_324091754446740_8050893371369666390_o_zpsnj3y6uvi.jpg


1890436_324091594446756_3350504254077915154_o_zpsfloy09ak.jpg


10848789_324091197780129_4968437898133529096_o_zpskjx2enkl.jpg


10847268_324091834446732_6171107070747926090_o_zpsvnnvdqpi.jpg


Giant cookies, brownies and whoopee pies at Big G's Deli in Waterville Maine.

10991687_324090694446846_3304781996936248383_o_zpst5zxa9um.jpg


10984521_324090707780178_4709911899539256850_o_zps2mlqikv0.jpg


PTDC0021_zpsi5gsr8yp.jpg


PTDC0027_zpsndu7fmw0.jpg


PTDC0017_zpsfhaxxote.jpg


Good times ;)

PTDC0001_zpstjzurtu3.jpg
 

TRIARII

Adventurer
Lets fast forward to January 2016. My truck has 155,000k. She has been my daily driver since late 2012 and she handled herself fine during our first offroad event at Maine Winter Romp 2015. Up to this point Ive had no major issues with the engine. The engine ticking comes and goes and at most can be annoying while your sitting in the drive thru. Average temps were 197 city and 188 highway. No overheating and no major coolant leaks. However as mentioned at the beginning of this thread, the previous owner replaced the water pump and used stop leak in the cooling system. This is a red flag. The engine may have overheated and driven for to long but Ill never know for sure. Stop leak is only a temp patch fix and is something I prefer not to use. I had a choice to make. My primary objective with this build is to create a reliable platform. Although the service records indicate good treatment over the years by the previous owners, the stop leak and engine ticking on a block that does not have top hat liners is a problem and a risk. So while I had the extra $$$$ should I invest in a head gasket job and 3 point valve job? Or invest in a professionally remanufactured block all together? After over a year of research, reading tons of forum posts from other members who invested in remanufactured engines and after many in depth discussions with afew different vendors I decided to invest in Turner Engineering of the UK. Their reputation, warranty, price and longstanding customer reviews are unmatched. Plus I figure who better knows these engines than the Brits?

My investment included a professionally remanufactured 4.6 short block with remanufactured crankshaft & conrods and includes new original equipment pistons, bearings, camshaft, timing equipment with Darton Sleeves ductile iron flanged liners, H180 Sports Torque Kent camshaft, hydraulic lifters, shim kit, head gasket kit, head bolts, oil pump assembly, new oil pump front cover, and new water pump.

My block has secondary air injection and unfortunately Turner was out of stock of SAI heads so I had to get my old heads machined and a 3 point valve job done locally. The valve covers were polished and painted and the intake manifold was equally polished locally. I will not mention the exact price I paid for the order with Turner as the price will vary depending on your specific needs and location. Obviously I live in the USA so shipping a block with all the extra parts from the UK was pricey but I will say that it was considerably cheaper than JE Robinson remanufactured blocks which sell for around $10,000-$15,000. The team at Turner is very professional and very knowledge about Rovers and these engines. Excellent customer service and I have yet to find one single bad review. Cannot say the same thing for Cannibal V8. So if a remanufactured engine is in your future I recommend you check out Turner Engineering: http://turner-engineering.co.uk/

During the engine swap I had the following new parts installed: radiator, cooling fan, vicious clutch, cooling hoses, coolant expansion tank, coolant tank cap, throttle body heat plate kit, 180 TD5 thermostat, alternator, genuine spark plugs, magnecor ignition wires, Blacklisted Engineering heavy duty engine mounts and Peak coolant.

BLEHDMountsArray02.png


11215699_412402785615636_2231968747690702194_n_zpsfg4cyef6.jpg


12235050_412402808948967_8553124145091122995_n_zpssq1g4tgk.jpg


12274345_412403005615614_2122290378423288277_n_zpsufgipvxa.jpg


12241264_412402962282285_5814182356005099211_n_zps2l1ge1sz.jpg


12540109_10205902198133970_293481131_n_zpsxt4llkkv.jpg


12511610_10205902198253973_104807748_n_zpsx6lhqoad.jpg


12528175_10205902198053968_274175020_n_zpsnq5xq9uf.jpg


12540345_10205957123827078_1183823374_n_zpszu2d38kh.jpg


12483681_10205902198333975_204218824_n_zpsmruzb2st.jpg


1957501_10205957154467844_755714503_n_zpsgj67jzj7.jpg


12583725_10205957156107885_93086982_n_zpsdx8wwpbn.jpg


12570890_10205957124187087_406906580_n_zpsqk7ewtin.jpg


12583867_10205974826829642_1059762046_n_zps3qkgiwbn.jpg


12584073_10205997627719650_713760329_n_zpskdob99hy.jpg


12583969_10206002971773248_1880304992_n_zps78wxulsg.jpg


12606705_10206002972173258_1150957711_n_zpspqqc89uf.jpg


DSC_0086_zpsi2z9pzrv.jpg


DSC_0089_zpsqyhfhe6s.jpg


DSC_0095_zpsy8yurgws.jpg


DSC_0094_zpsiztco9k4.jpg


DSC_0099_zpshzvpjcv9.jpg
 
Last edited:

TRIARII

Adventurer
My efforts to save the front bumper and A-frame brush bar were futile. Chipped paint and rust did a number on the bar and had to be addressed. I also needed to relocate the air flow into the new block. Im still not happy with the braking so my quest for maximum braking continues with these EBC ceramic brake pads. Once the slotted rotors wear down Ill upgrade those to EBC as well:

12714221_10206093253110225_1849204550_n_zpsuqomghbt.jpg


ARB Sahara winch bumper:

DSC_0122_zpsr8il3om8.jpg


February 2016:

DSC_0118_zpskytkzlqv.jpg


Mantec raised air intake

DSC_0131_zpsnq9n2pjn.jpg


DSC_0100_zpswt7unwi0.jpg


DSC_0126_zpsee1eevnd.jpg


DSC_0128_zpsleu1uhs6.jpg


DSC_0102_zpstuzbibzk.jpg


DSC_0104_zps16hwh56r.jpg


DSC_0106_zpsb04kaba2.jpg


DSC_0108_zpsev4hazs0.jpg


DSC_0115_zps3n7j3qfc.jpg


DSC_0116_zpsqdbus2ec.jpg


DSC_0113_zpsopqiph51.jpg
 

TRIARII

Adventurer
I will be taking a break from the build for awhile so I can figure out other things in my life. I have some big decisions coming up regarding my career and living and even family so I need to reconfigure my priorities. Nevertheless there is still so much more work to do. The frame has afew small rust holes so the short term plan is to have small sections replaced with rail steel. Long term plan is a frame swap. Most likely I will source a perfect condition used 2004 frame, clean it up, paint it and add several coats of Waxoyl. A list below to shed some light of the future:

- Replace the rear wing window glass with aluminum paneling
- Professional exterior paint job
- Add 1-1.5 inches of additional lift to make up for the added weight of accessories and fully loaded truck
- Update/improve security system
- Replace door and window seals
- Replace rear axle hubs (already have 2 new rear hubs in box)
- Install dual battery system and power management
- Install durable solar paneling
- Install quality air compressor system
- Install Warn winch
- Install either led light bar or Warn driving lamps on bumper
- Replace existing fuel tank with extended range fuel tank
- Replace all bushings with genuine rubber bushings
- Replace Proline front drive shaft with top of the line heavy duty drive shaft
- Replace rear drive shaft with top of the line heavy duty drive shaft
- Install Magnaflow performance exhaust system
- Replace rear bumper with RTE heavy duty bumper
- Install rock sliders
- Install skid plate and fuel tank armor
- raise air breather lines
- Machine transfer case cover and install new bolts
- Install ARB refrigerator
- "Might" Install storage drawer system
- Install kitchen system and propane tank
- "Might" invest in a performance chip for engine management system to maximize power and or fuel economy
- Increase airflow and overall performance of the secondary air injection cylinder heads
- Replace AC compressor
- Invest in spare power steering gearbox
- Replace headlights with UK spec headlight assemblies
- Protection bars for front wheel arch panels
- Custom interior center console update for my needs
- "Might" permanently remove back seats for maximum space and reduction of weight
- Address any other issues as needed

etc
 

jonny.jpg

Adventurer
Great build, and the most pictures I've seen in a single thread! My Xterra has been built over the eight years I've had it, and it's still in progress. I'm somewhat in the same predicament, with my wife and I wanting to buy a house, and whatnot.

Take all the time you need. I would say that we've all been there.


"Adventure is out there."
-Russell, Pixar's Up
 

TRIARII

Adventurer
Great build, and the most pictures I've seen in a single thread! My Xterra has been built over the eight years I've had it, and it's still in progress. I'm somewhat in the same predicament, with my wife and I wanting to buy a house, and whatnot.

Take all the time you need. I would say that we've all been there.


"Adventure is out there."
-Russell, Pixar's Up


Thanks mate. Your build looks great as well! What is a build thread without tons of pics and before/after comparison pics? I always enjoyed reading thru fellow member build threads, enjoy looking at all the pics and I enjoy learning about them. Felt it was time to contribute my own build as well. I cannot wait for the day that this build is complete so I can start work on a second expedition vehicle build. I like things in pairs ;) But family and other responsibilities come first.
 

Forum statistics

Threads
185,891
Messages
2,879,269
Members
225,450
Latest member
Rinzlerz
Top