karo
Observer
Current:
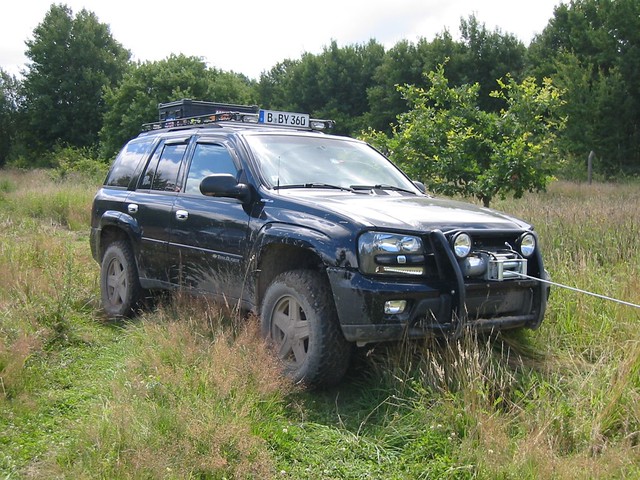
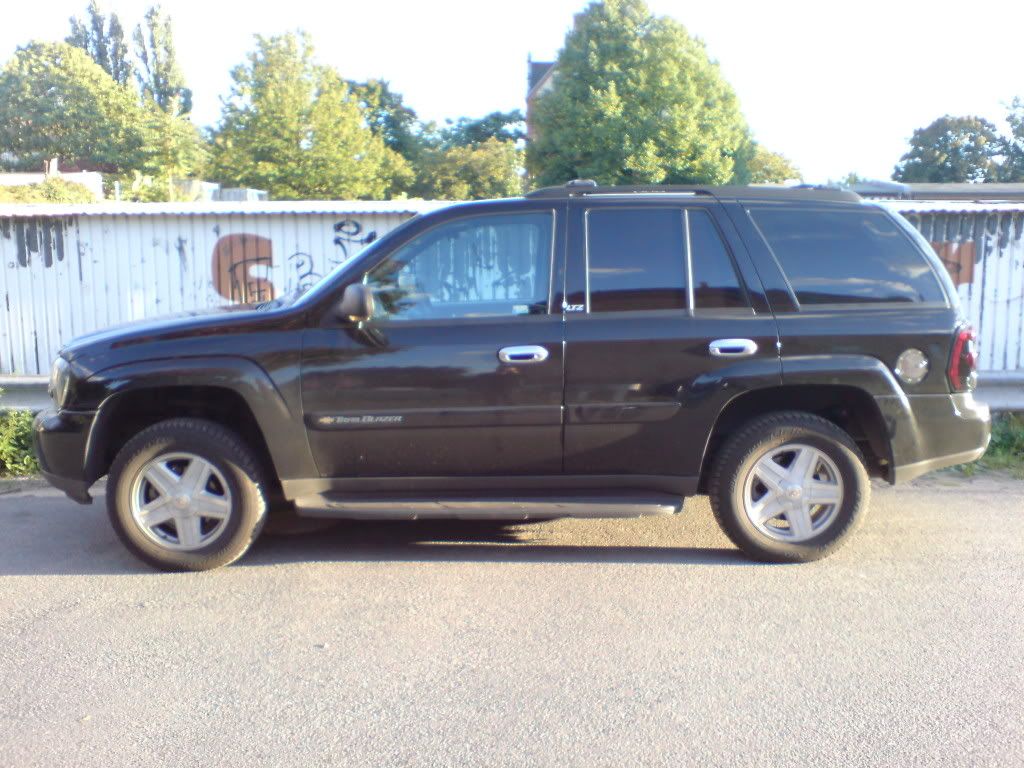
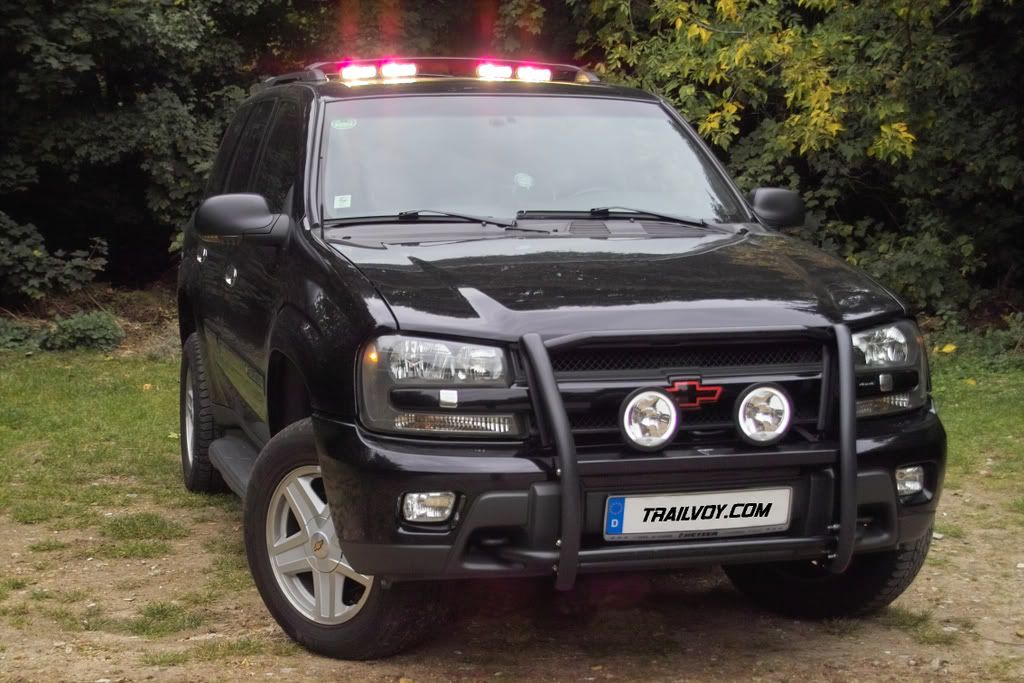
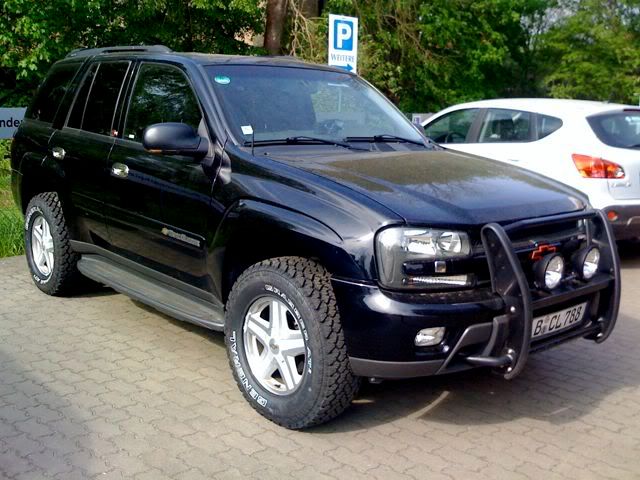
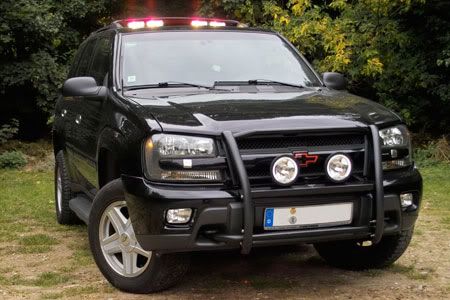
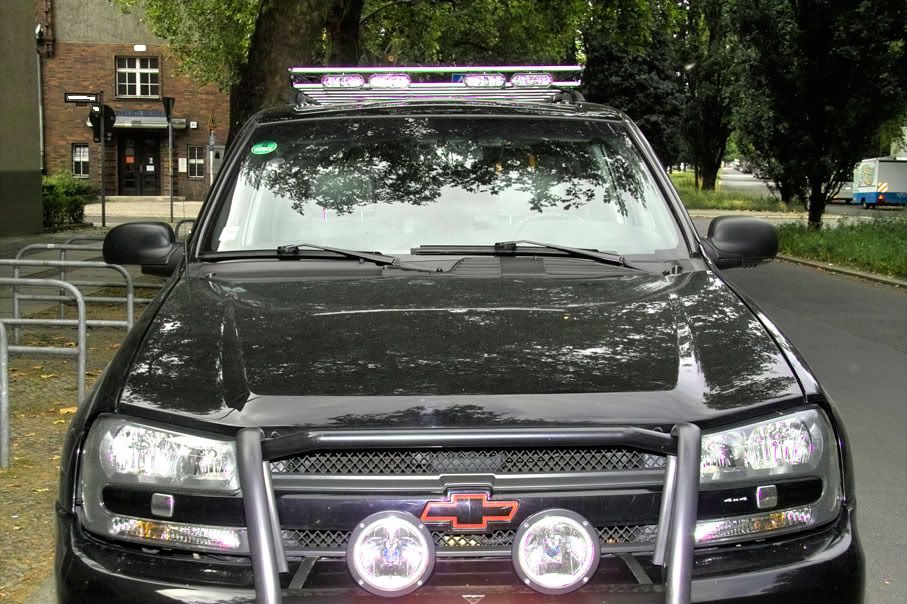
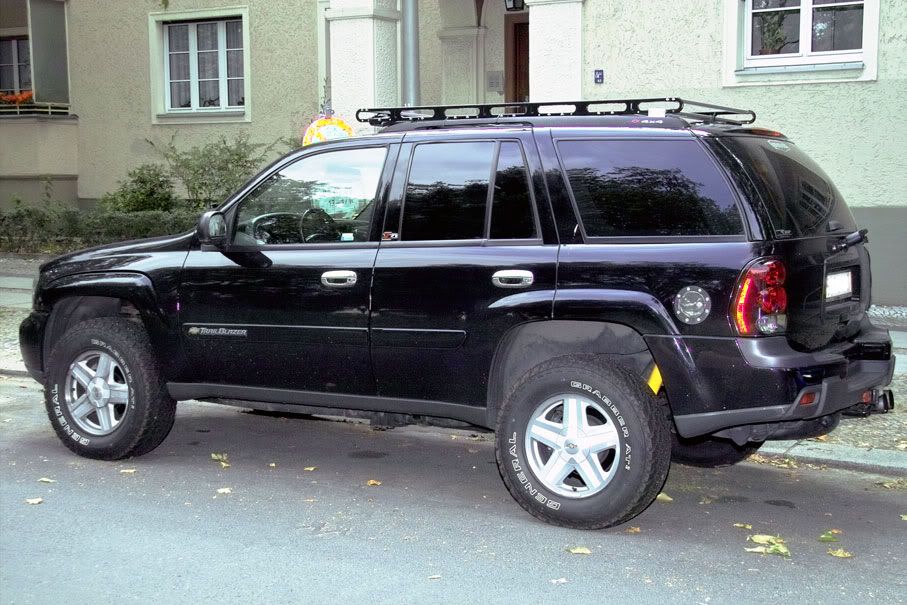
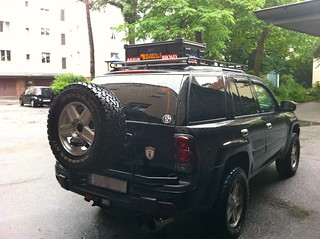
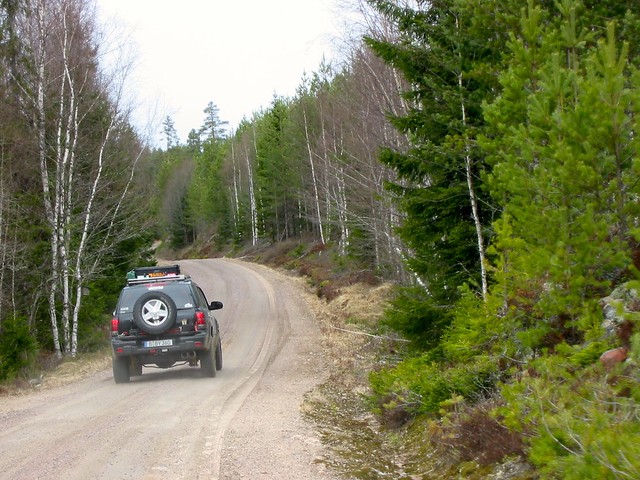
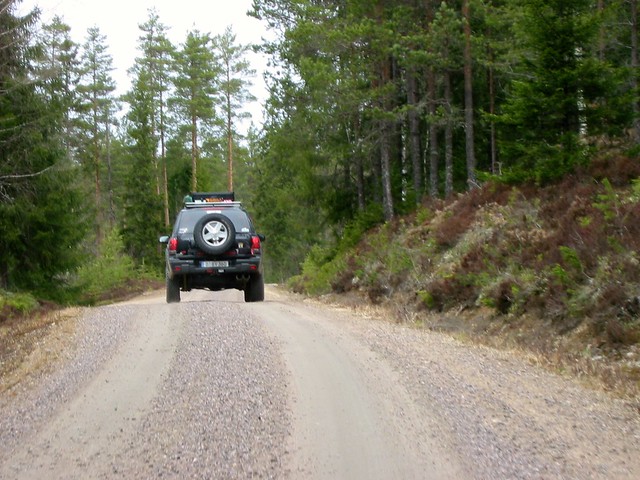
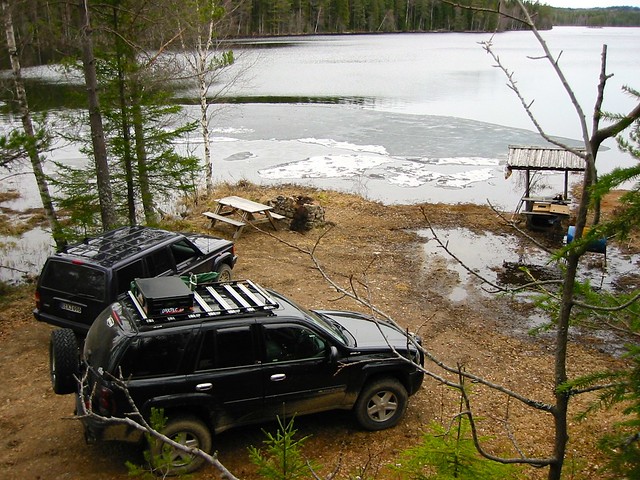
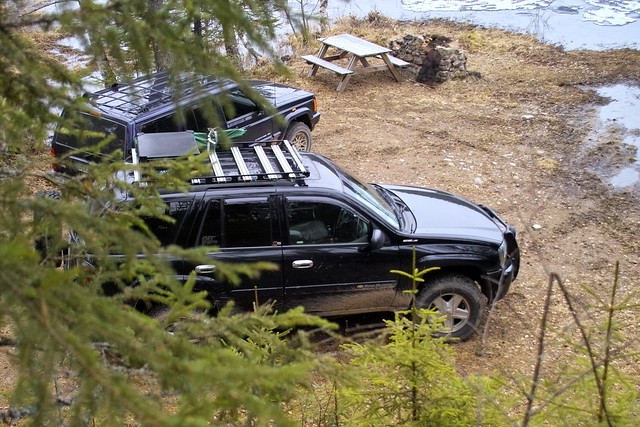
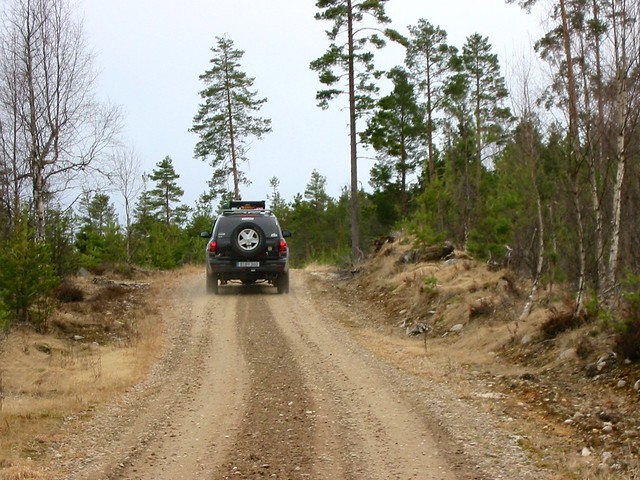
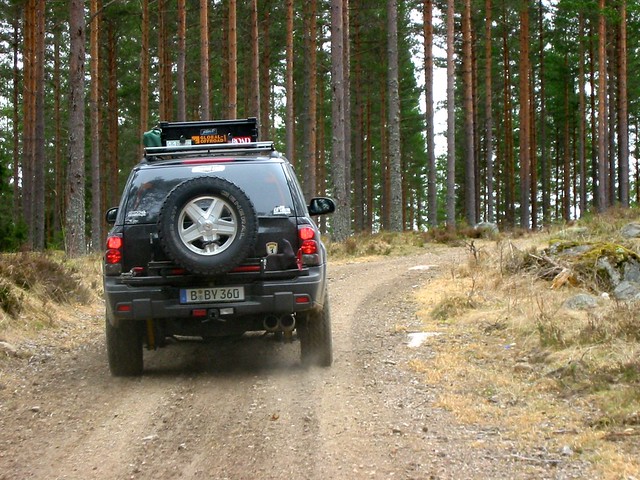
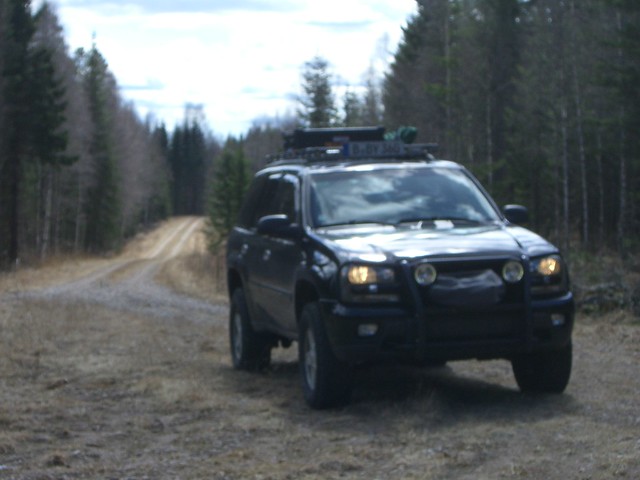
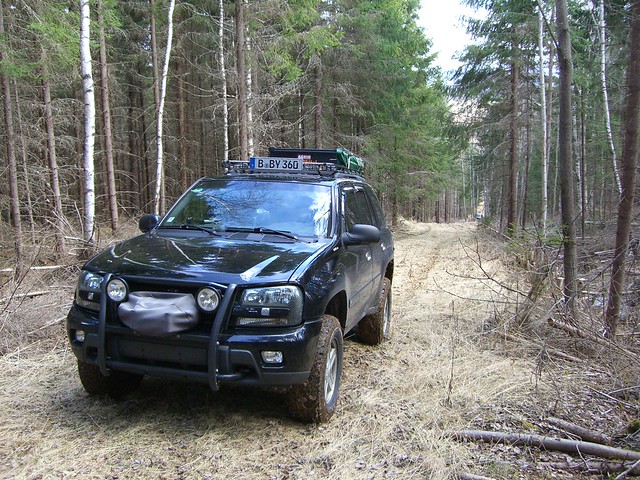
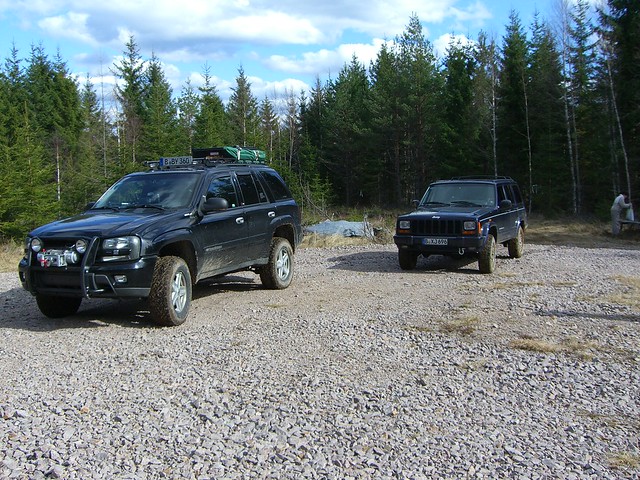
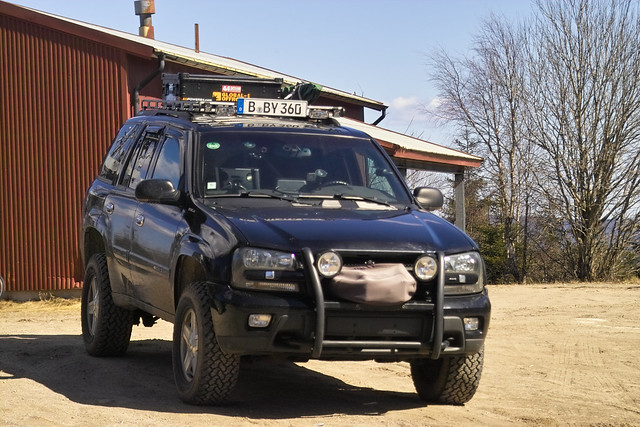
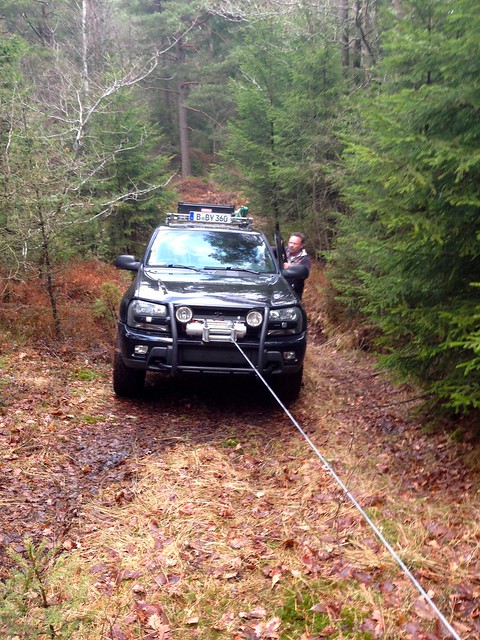
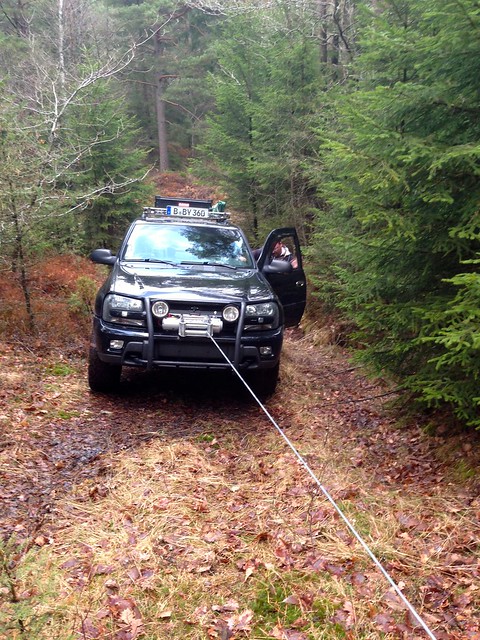
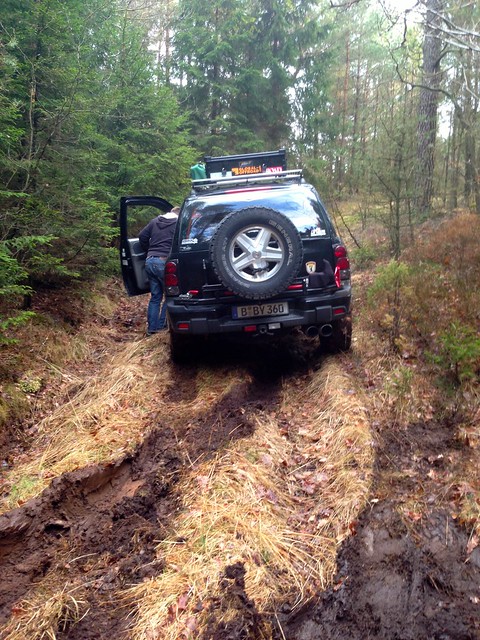
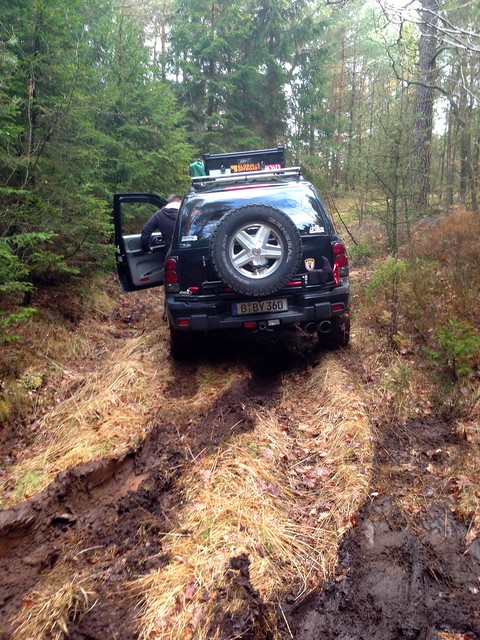
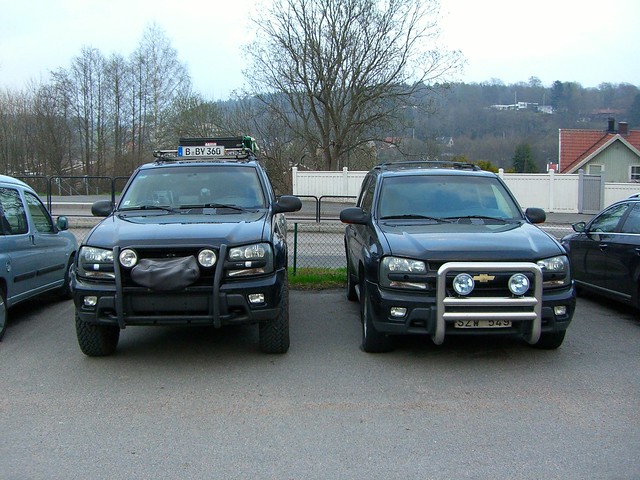
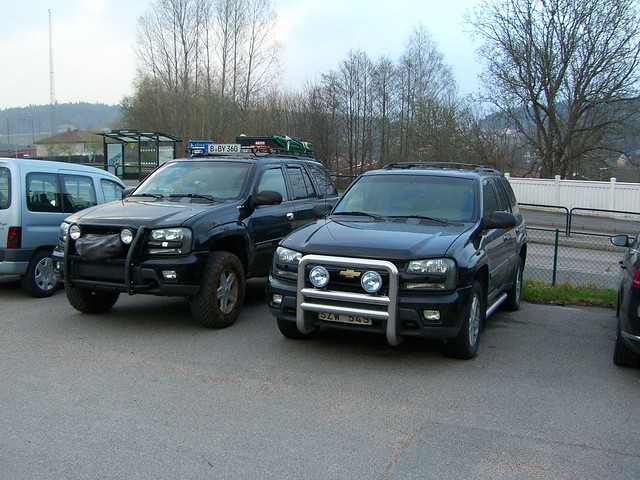
Chevrolet Trailblazer LTZ 2002
Bought in March 2002
Vehicle Engine: 4.2L I6
Drivetrain:
3.73 4X4 with G80 Locker
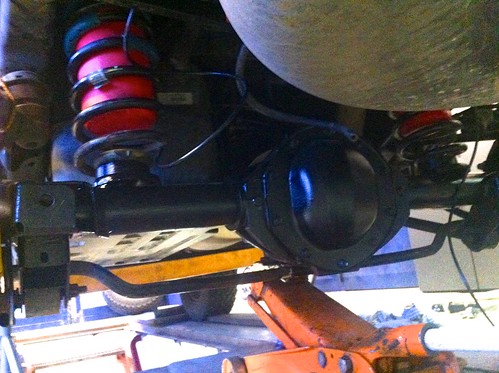
Upgraded to the 8.6 rear axle from the TB EXT
Performance Modifications:
Airraid Filter
pcmforless tune
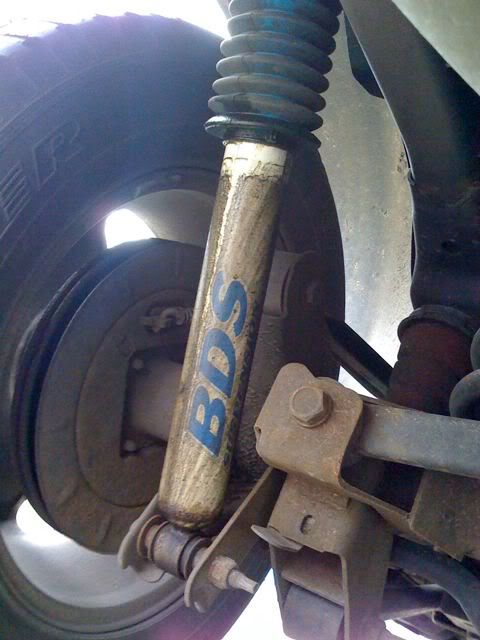
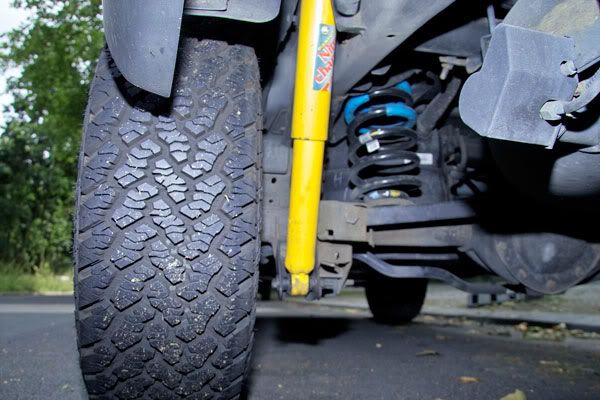
Suspension Modifications:
BDS 2" Suspension lift,
..87 Front Springs
Z71 rear coils,
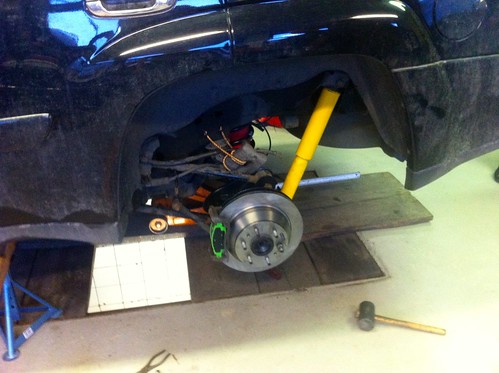
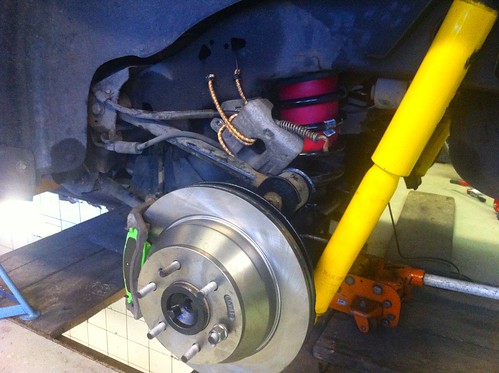
Airlift 1000 HelperBags in Rear Suspension
Old Man Emu Nitrocharger rear shocks N75 (extended 640mm closed 390mm, Load cont. 250KG per side)
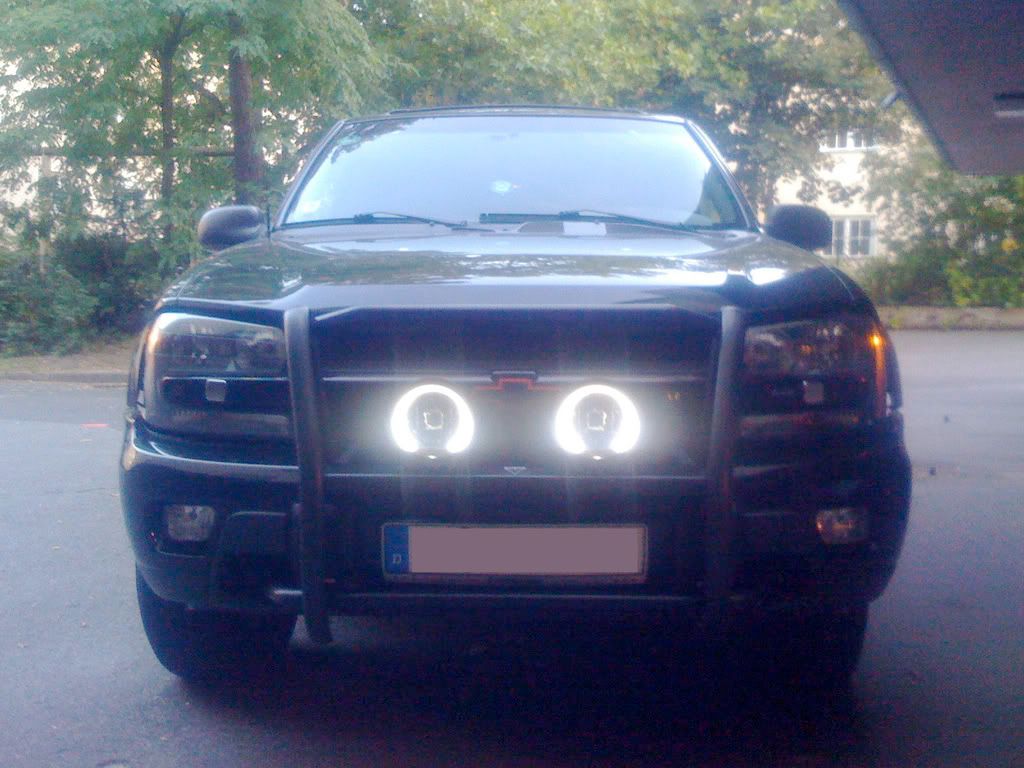
Exterior Modifications:
removed running Boards,
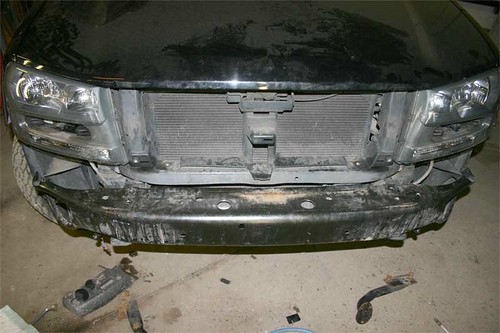
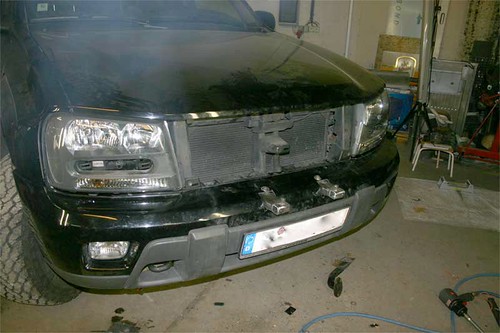
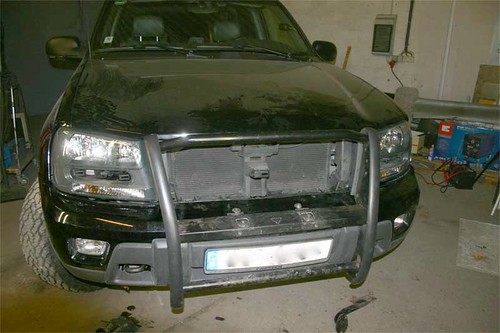
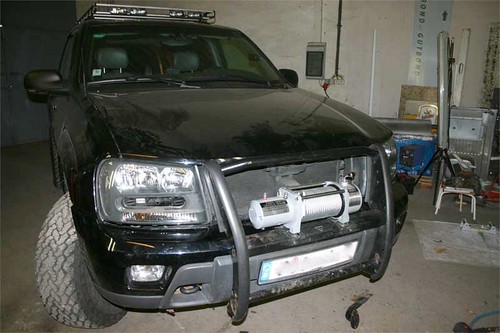
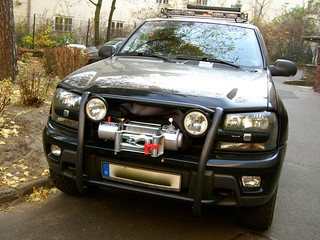
WAAG Center Guard,
Clear Marker Lens with led turn signals,
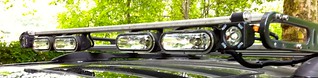
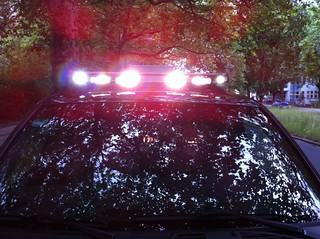
VisionX Led Lights, Hella Lights on Roof and Front Guard,
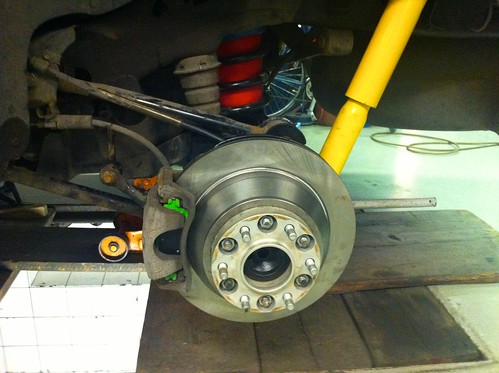
H&R Wheel spacers,
Anti Rust protection for Frame and under Body, doors.. (2012)
265/70/17 General Grabber AT2 Tires,
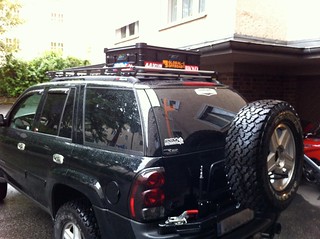
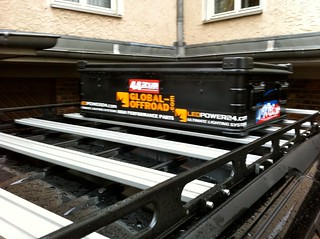
Roof Carrier,
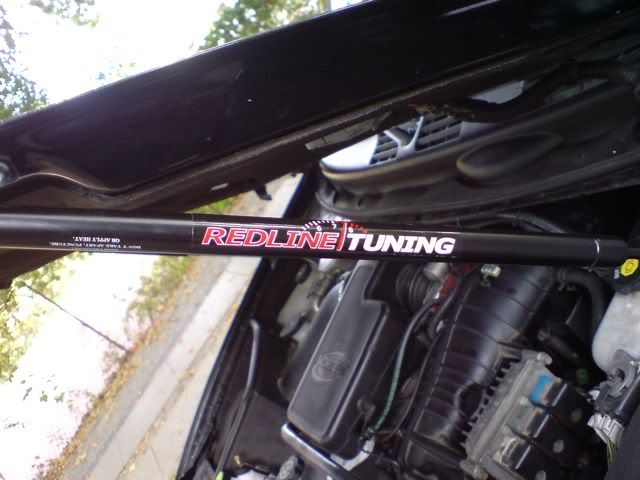
Redline Hood Lift struts,
Mike´s Oil Pan Skidplate
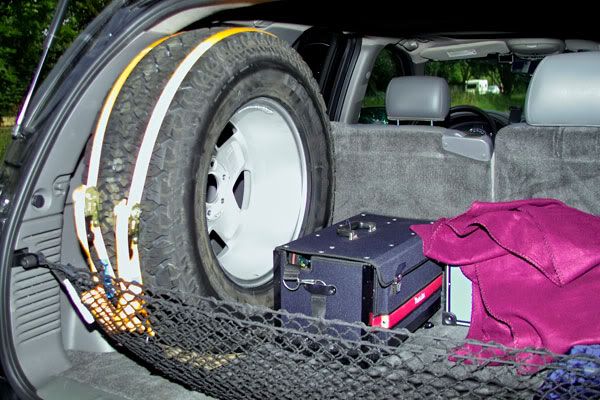
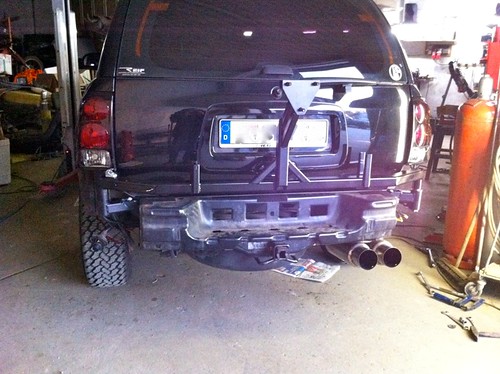
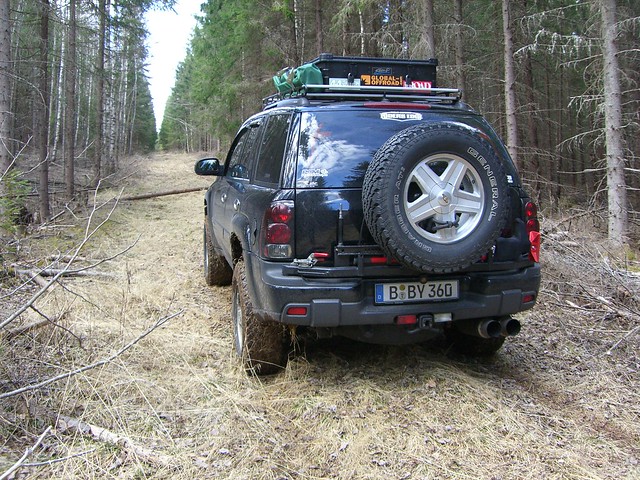
Rear Tire Carrier with HiLift Mount
Winch installed
FireStick II CB Antenna
Installation Solar Panel
Engine Modifications:
Airraid,
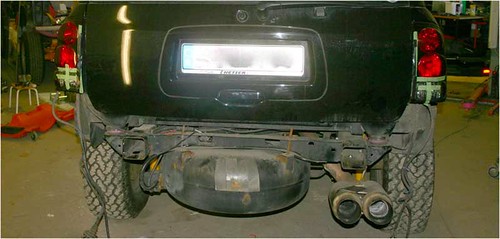
Muffler,
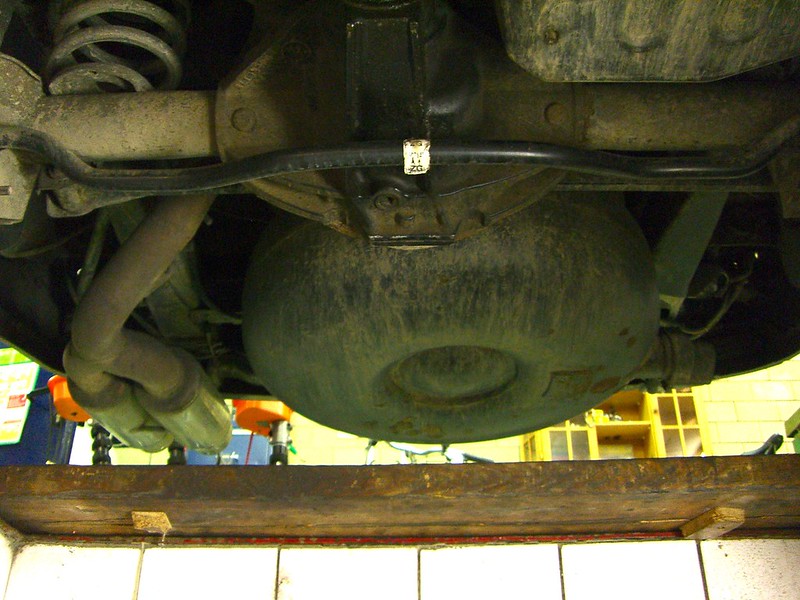
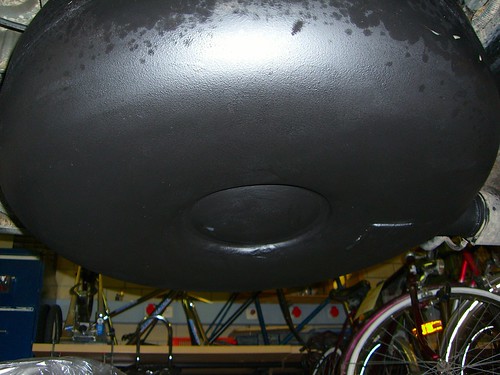
(LPG - Liquefied Petroleum Gas) Injection with Tank in Spare Tire Holder under the Car. Runs now with Gasoline and LPG
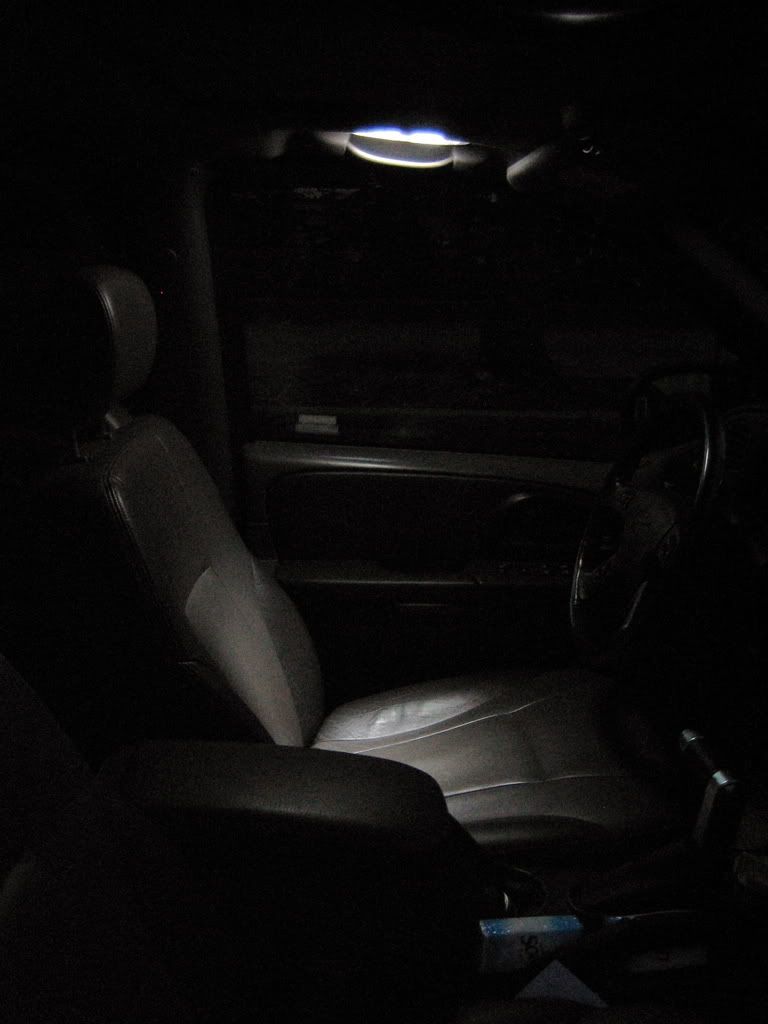
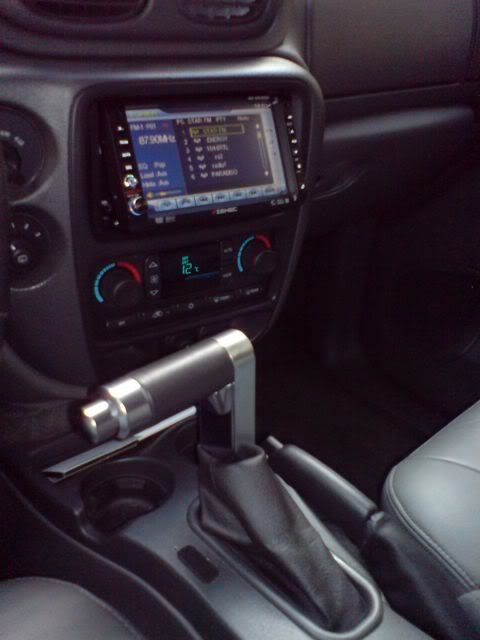
Interior Modifications:
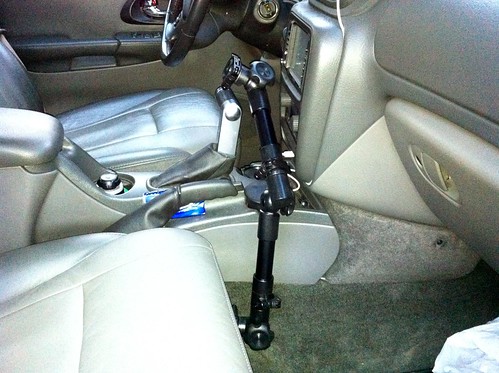
Hummer H2 Shifter,
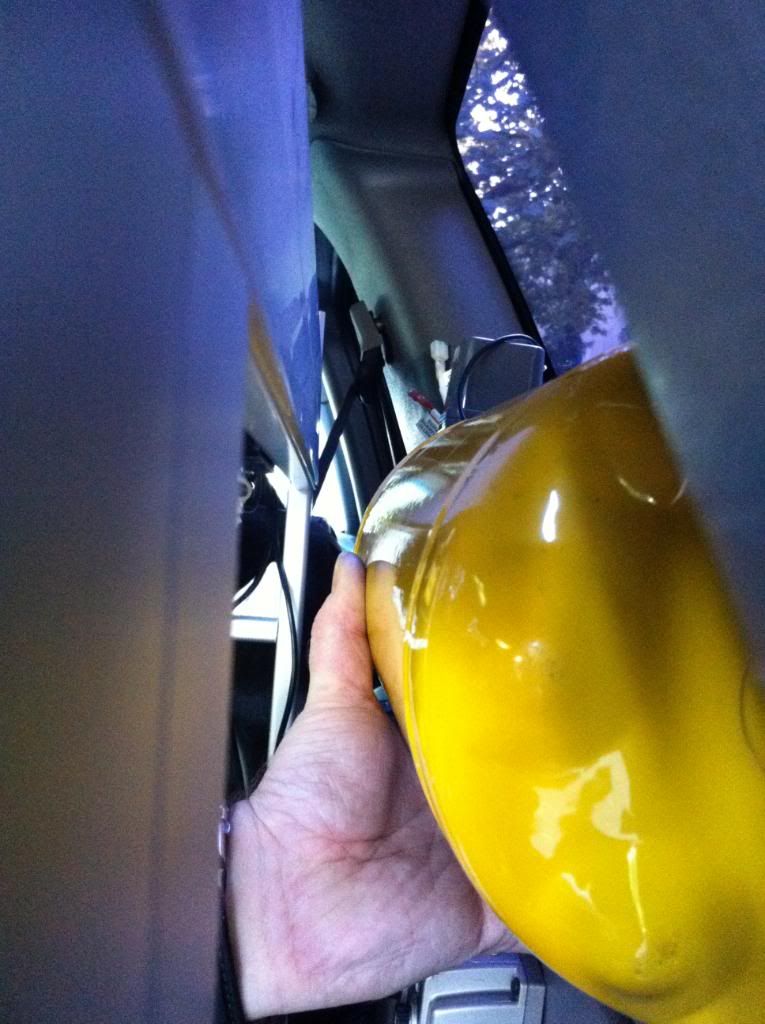
Fire extinguishers,
Zenec Head Unit,
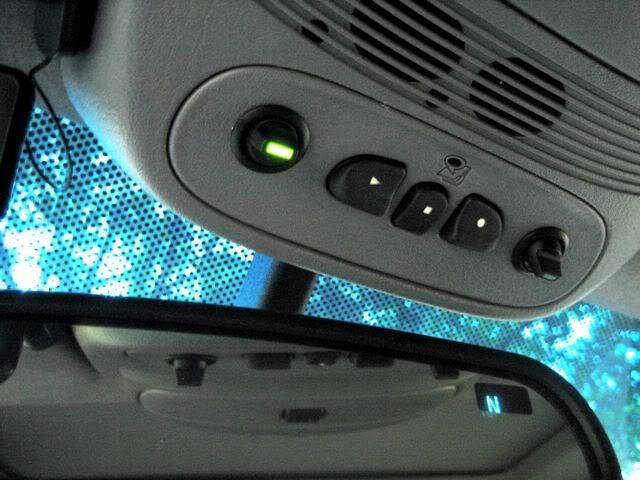
LED Dome Lights,
Envoy Gauge Bezel,
Blue Needles (USSPEEDO),
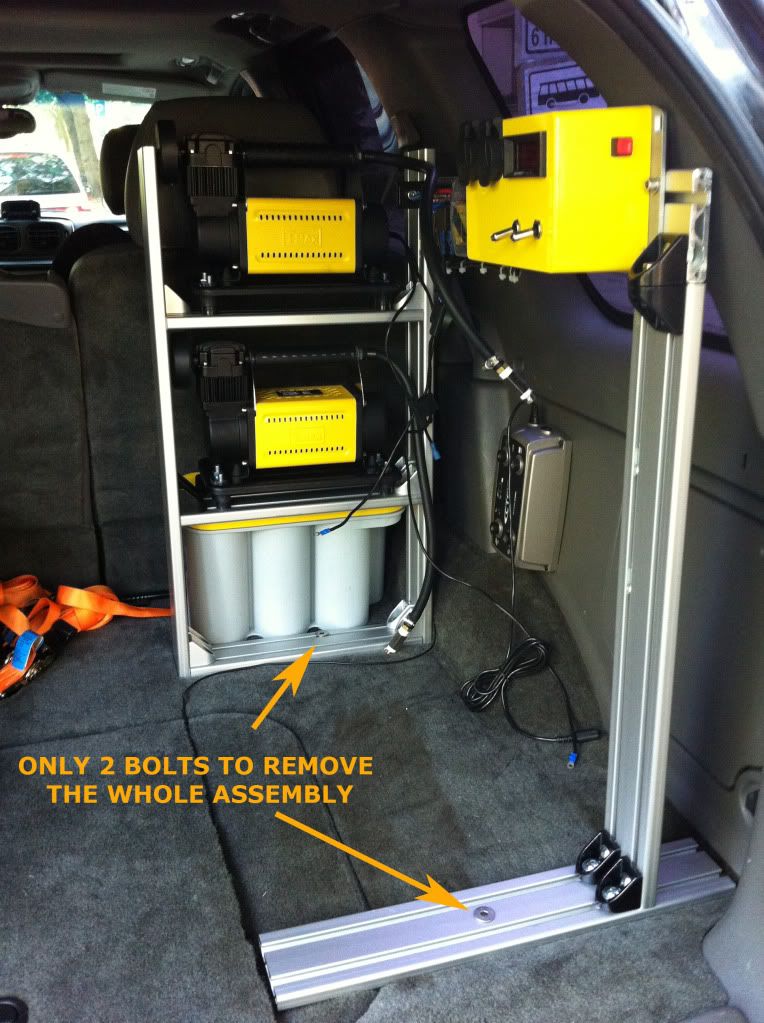
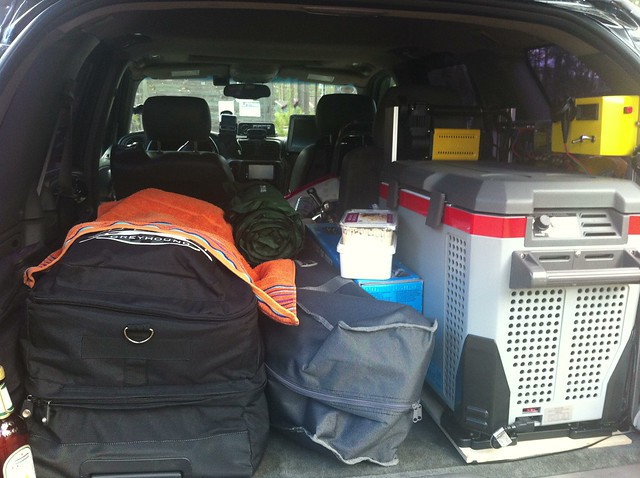
Drawer Unit,
Chrome Interieur Handles,
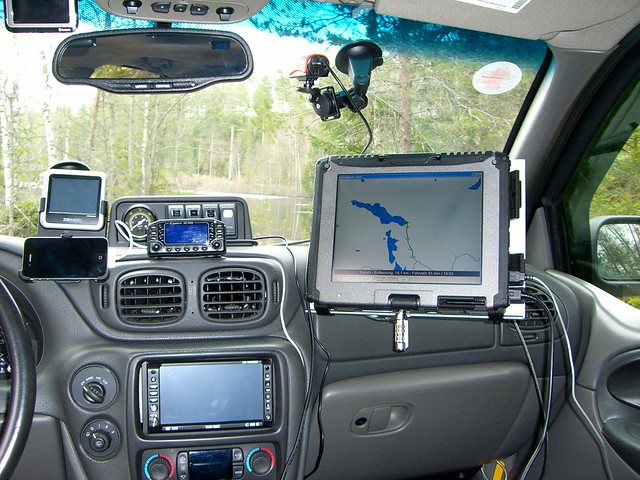
Albrecht AE 6890 CB Radio
Engel Fridge
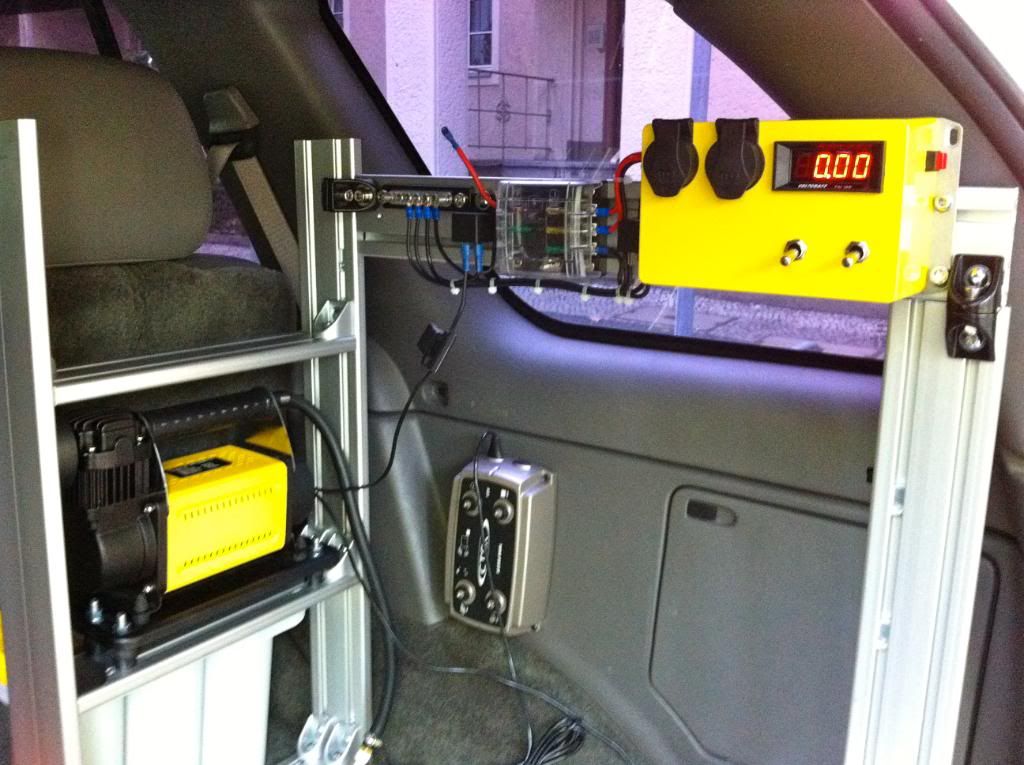
Switch Console with Carlington Switches on Dash for Winch & Compressor
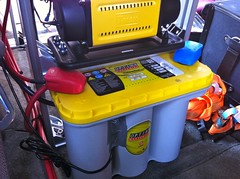
Dual Battery Setup
Wiring up Ctek Dual 250 S
Audio/Video Modifications:
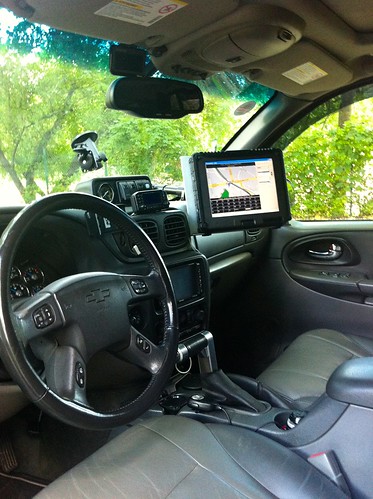
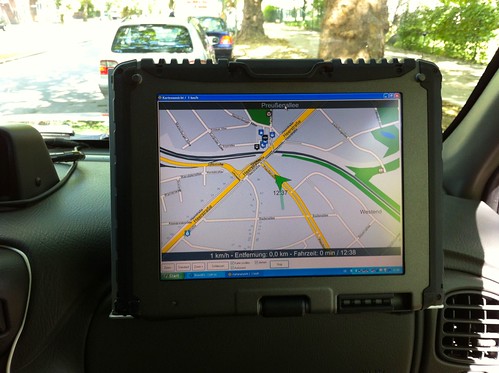
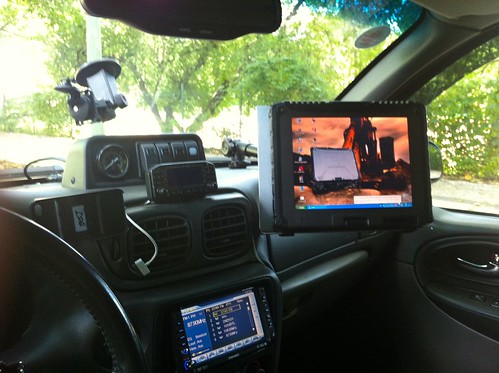
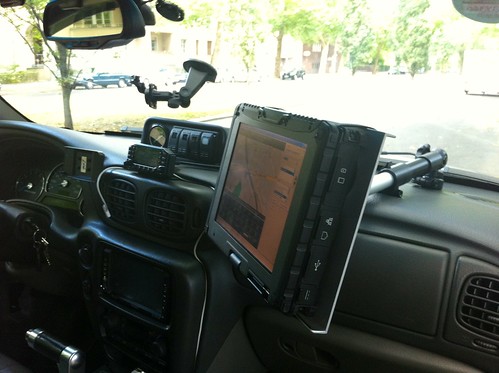
In Car Computer (Mac Mini),
Xenarc Display7",
Navilock GPS System,
Zenec 7" Audio System with GPS and rear view camera
Future Modifications:
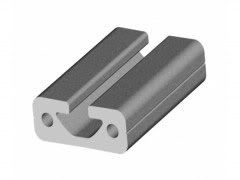
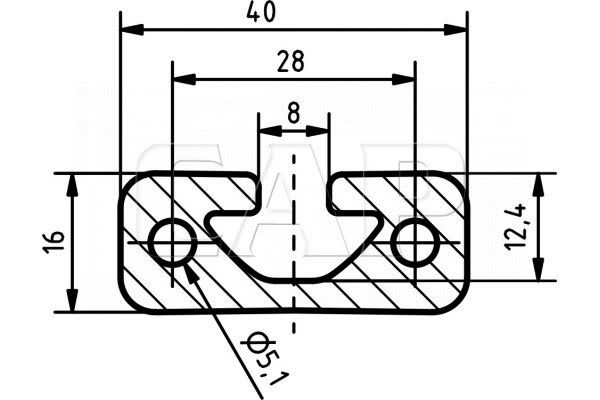
Tree Sliders
Vision X Led Support Light for Rear View with Water Resistant MagCode Connector
Chevrolet Trailblazer LTZ 2002
Bought in March 2002
Vehicle Engine: 4.2L I6
Drivetrain:
3.73 4X4 with G80 Locker
Upgraded to the 8.6 rear axle from the TB EXT
Performance Modifications:
Airraid Filter
pcmforless tune
Suspension Modifications:
BDS 2" Suspension lift,
..87 Front Springs
Z71 rear coils,
Airlift 1000 HelperBags in Rear Suspension
Old Man Emu Nitrocharger rear shocks N75 (extended 640mm closed 390mm, Load cont. 250KG per side)
Exterior Modifications:
removed running Boards,
WAAG Center Guard,
Clear Marker Lens with led turn signals,
VisionX Led Lights, Hella Lights on Roof and Front Guard,
H&R Wheel spacers,
Anti Rust protection for Frame and under Body, doors.. (2012)
265/70/17 General Grabber AT2 Tires,
Roof Carrier,
Redline Hood Lift struts,
Mike´s Oil Pan Skidplate
Rear Tire Carrier with HiLift Mount
Winch installed
FireStick II CB Antenna
Installation Solar Panel
Engine Modifications:
Airraid,
Muffler,
(LPG - Liquefied Petroleum Gas) Injection with Tank in Spare Tire Holder under the Car. Runs now with Gasoline and LPG
Interior Modifications:
Hummer H2 Shifter,
Fire extinguishers,
Zenec Head Unit,
LED Dome Lights,
Envoy Gauge Bezel,
Blue Needles (USSPEEDO),
Drawer Unit,
Chrome Interieur Handles,
Albrecht AE 6890 CB Radio
Engel Fridge
Switch Console with Carlington Switches on Dash for Winch & Compressor
Dual Battery Setup
Wiring up Ctek Dual 250 S
Audio/Video Modifications:
In Car Computer (Mac Mini),
Xenarc Display7",
Navilock GPS System,
Zenec 7" Audio System with GPS and rear view camera
Future Modifications:
Tree Sliders
Vision X Led Support Light for Rear View with Water Resistant MagCode Connector
Last edited: