Vader Van - Promaster 1500 Weekend Warrior Build

tBatt

New member
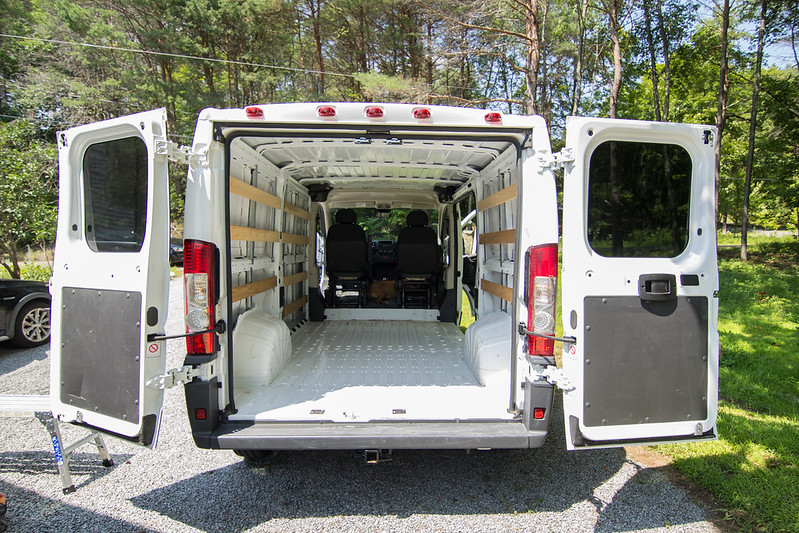
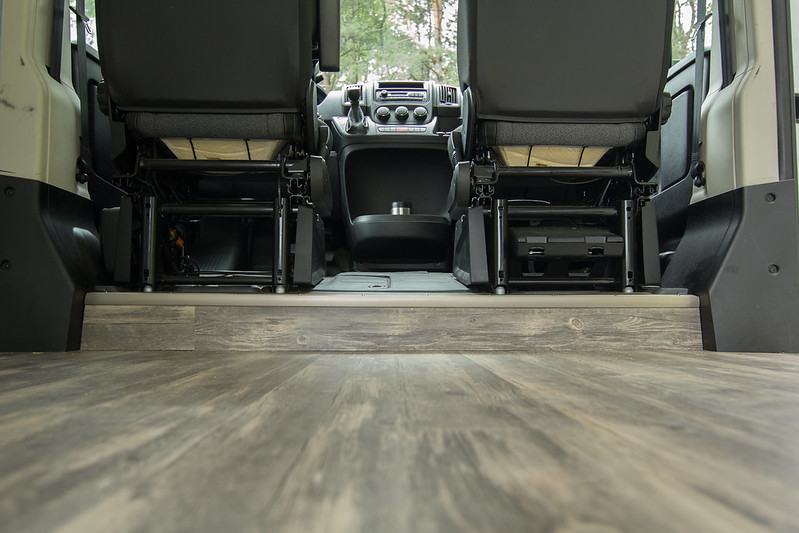
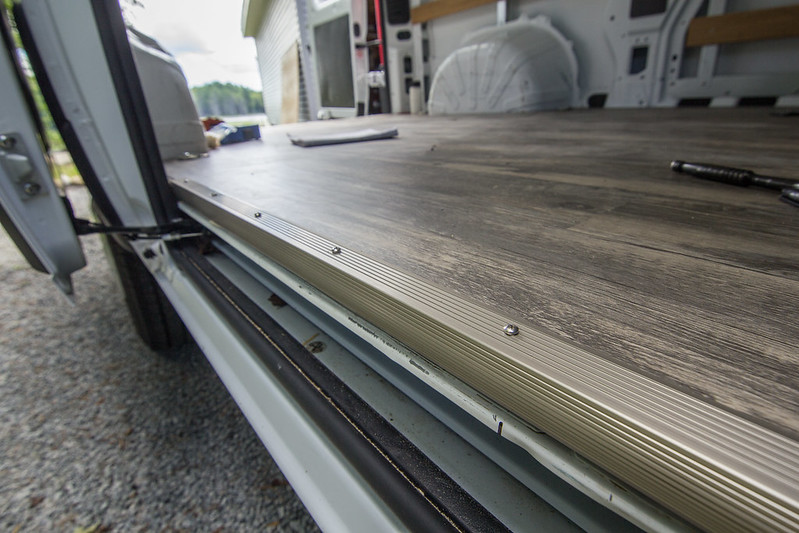
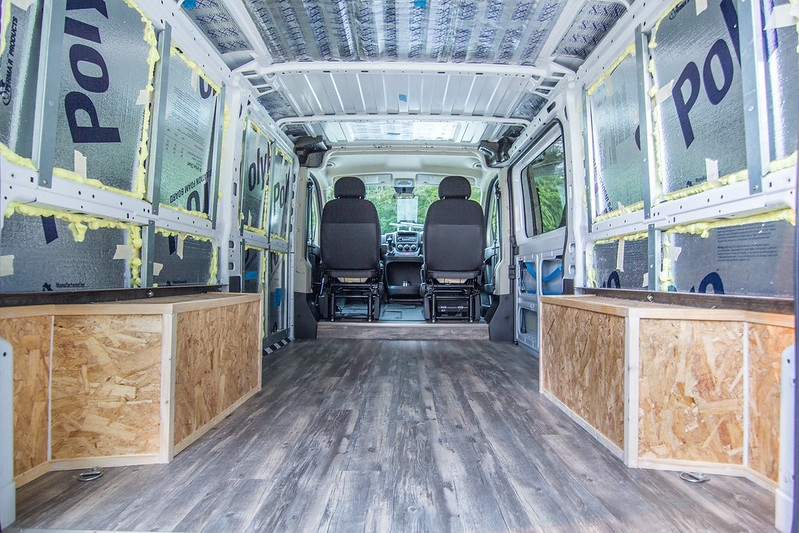
I'm helping a friend build out a Promaster as a weekend camping rig. We're planning on installing the floor soon. The thought was to lay down 3/4" furring strips to create insulation bays and lay 3/4" subfloor on top of that. How are you all attaching your subfloors and/or furring strips to the metal floor in your vans? Drilling into the floor would stick the screw tips proud into the outside world and leave room to introduce rust. Has anyone tried a construction adhesive like PL Premium or Liquid Nails?

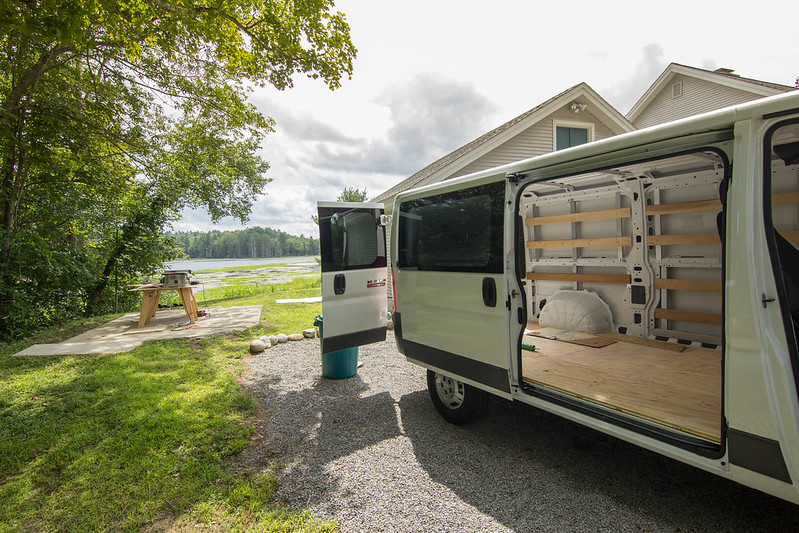
Also, this is only going to be a 3 season rig primarily around the Northeast. It's not a high top and they will likely only be inside while driving or sleeping. What are you all using for insulation? Is 3/4" rigid for the floor way overkill? Am I better off using Reflectix and saving 3/4" of headroom?

Lastly, how are you all attaching your rigid insulation to the walls and ceiling? I was thinking of using low expansion spray foam to fill the cracks around the edges and thought the adhesive properties in that would be good enough. Does duct tape or Reflectix tape take care of that? Id rather it didn't rattle between the exterior metal walls and interior furring strips.

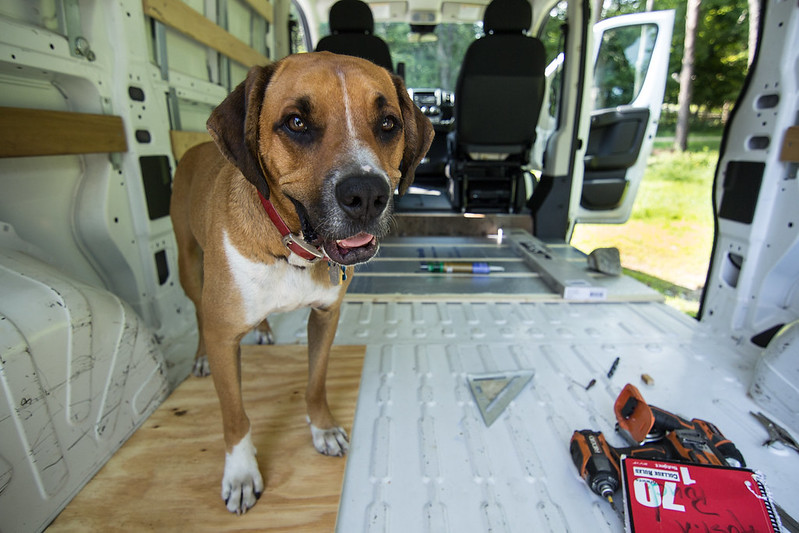
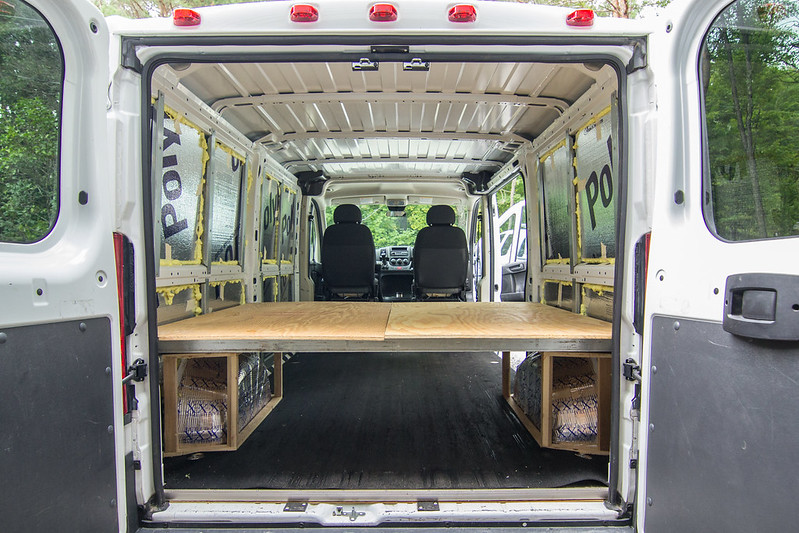
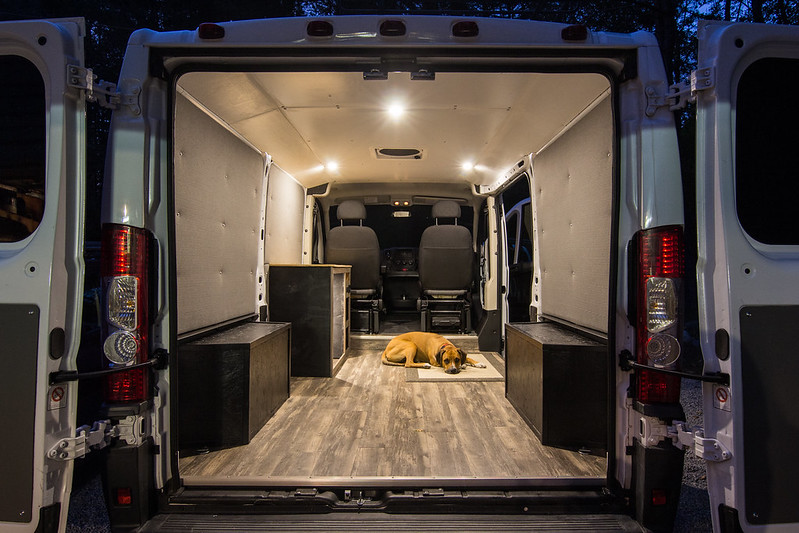
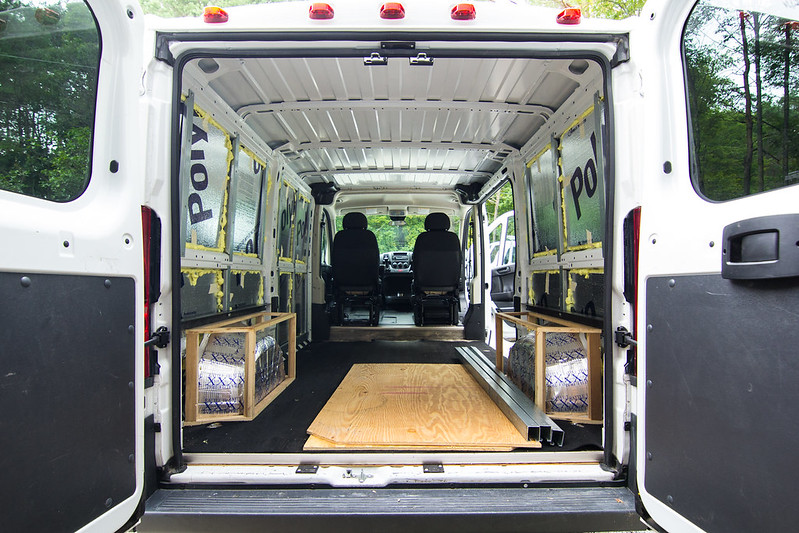
Here's a picture of Vader inspecting his new home, because if you're not an outdoors couple with an adventure dog, are you really #vanlifing?

IMG_6623 (1).jpg
 

RC000E

Member
I think your approach is pretty much what I'd do. I'd adhesive the floor. You get a lot of shifting around and you'll often shear screws right off that's attaching floor, as the chassis flexes. The skoolie people essentially do what's called a "floating floor". Do the strips, foam in the spaces, then just lay the flooring on top, fitted to the walls and let it be.

Same would go on the foam walls...adhesive, which will essentially be encapsulated by the walls. Use the spray foam for gaps. Spray foam won't really act as much of an adhesive until it's really starting to set up. Just use adhesive.
 

ThomD

Explorer
Given the low roof, I'd do 1/2 polyiso over a good 1/2 plywood. In my high roof I did 1" polyiso over 3/4 ply. Don't bother with filing the low spots between ridges. Use the factory tie down spots to bolt it down. I used 1 inch PVC pipe as a sleeve to keep from over compressing the floor in those spots. slot the ply edges a bit so you can tongue and groove the seams. I used a biscuit jointer. No need to glue the floor down. If yo build any interior it will help hold the floor down.

Most people do thinsulate or polyiso on the walls. Greatstuff foam to adhere - make sure you use the non expanding version or you will deform the walls.

There is a form for promasters. Lots of answers there.
 

tBatt

New member
Two votes adhesive. Use the tie down screws for mechanical fastening the subfloor. I like it, thanks.

Is the Promaster forum a subforum on here or is it a totally different website?
 

tBatt

New member
about 50 hours into it...
Floor is 1/2" polyiso between 1" furring strips 12"OC for insulation bays. Fastened with Liquid Nails and the OG tie downs are still in place with longer screws. 1/2" subfloor over that, Shaw Asheville Pine snaplock floor adhered with vinyl floor adhesive. The step down was furred out to be easier to finish.

Blank Slate
29271776647_f45220dac8_c.jpg


Vader loving his new doghouse
43302283155_220e7e5bd0_c.jpg


Templates, templates.
kgui3p11L66ogdUc8
42400411140_0afa8cb44c_c.jpg


Subfloor done
29271758267_c0e414c976_c.jpg


Finished floor and trim
44159825002_57b8abb311_c.jpg


42400396210_0be0dca6b5_c.jpg


Tie downs in. I put in a small hex screw from under the van with red threadlocker to plug the front set as we were not using them and we don't want water getting in.
43490392964_ba39ec2b94_c.jpg


Kept the rubber mat that came with the van to protect the floor as we build up. 1" rigid in the walls over the rattle trap, low expansion spray foam to hold it in place. We were back and forth on framing in the wheel wells. I woudn't have spent to much time scribing in the floor tight if I knew we were gonna box/trim it all out.

Bed frame breaks down in 5 mins.
29271684717_486c7e1974_c.jpg


43490345604_2026bcd5ba_c.jpg


Wheel wells finished, soon to be pained with truck bed liner. Everything underneath the bed is designed to be a "trunk"
44208533441_d4aa74cf7f_c.jpg


Next up, an isolated house battery system with a switch to jump the start battery from the house battery, ceiling fan install, cabinet opposite the door, lighting and 12v outlets, and finally finished wall and ceiling paneling. stay tuned..
 
Last edited:

tBatt

New member
Updated. Electrical system was designed tonight and hopefully a rough in post coming soon.

I was hosting the images on Google Photo. Switched to a Flickr album and we're gucci. Photobucket broke the internet.
 

tBatt

New member
Rough in electric and some temped in lights to plan out the finish interior. Cabinet is 1/2" CDX for the sides and back and a good friend came by with some scrap mahogany for the finished face.

Battery system looks like this:
44499404131_42ac72b4ee_c.jpg


We went with an Optima Blue Top 27M - 66AH battery with a vent port that leads outside.

Testing the lights and not keeping a tidy jobsite
44499171881_4568b8e3b1_c.jpg


44449236072_6ef3a841b9_c.jpg


Weird computer magic views out the back door
44499160951_1491129c42_c.jpg


Fan hole is cut and flange is glued in, Finished fan install should be this evening along with pulling the cabinet and battery box for paint/stain and getting some grommets to protect the holes the wires are running through and insulating them on the exposed studs. After that's all back in it's wall and ceiling paneling, a roof rack, and she'll be just about done.
 

tBatt

New member
Cleaned it up a bit.

42943170990_65156c8f28_c.jpg


42943168270_636b0d6110_c.jpg


That's gonna be it for now. Have another job starting this week. I would like to get back and finish up some details on the ceiling. Hopefully a better trim to cover the seams and the transition to the driver's area.
 

Forum statistics

Threads
185,783
Messages
2,878,190
Members
225,329
Latest member
FranklinDufresne
Top