Vandit - A Build Thread - 2013 E-Series Camper Van/4x4 Build

aarcaris94

Active member
Panel Adjustments:

-Finally got around to getting all my inserts set for the ceiling panels as well as the ceiling light layout. We ended up using six lights on one circuit for the main lighting and then two lights acting as bed lights overhead night lights in the rear.

14991-albums1480-picture44832.jpg

14991-albums1480-picture44840.jpg

-After getting all ceiling/ trim boards inserted and tightened I realized I made some mistakes. Since everything wasn't fully tight when I scribed my lines for the trim boards and the rear panel things now were not fitting correctly. So after lots of debating whether or not it was worth it I decided that it was going to be something I would notice every time I was in the van. So I pulled it back apart and re-cut the passenger trim transition board and re-cut the rear panel. It was extra work, but I think it will be worth it in the end.

14991-albums1480-picture44833.jpg

14991-albums1480-picture44838.jpg

-Then I went back to what I have been calling my “control center” over the side doors. I drilled/ cut out the opening for the Victron BMV-712, Xantrex Freedom XC controller, and light switches. I also routed out the bottom edge for where the entry LED strip light will be.


14991-albums1480-picture44834.jpg

14991-albums1480-picture44835.jpg

14991-albums1480-picture44836.jpg

14991-albums1480-picture44837.jpg

-Then I went back to the rear of the ceiling transition panel and added in the light switch locations there as well.

14991-albums1480-picture44845.jpg
 
Last edited:

aarcaris94

Active member
Electrical Rough-in:

-So after getting the panels mostly done I started on the task of electrical rough-ins. I started by wiring up the puck lights and doing a quick test to make sure they were working the way I wanted them to. I decided to keep all the wiring attached to the ceiling panel to make it easier for the removal and installation of the lights.

14991-albums1480-picture44843.jpg

14991-albums1480-picture44844.jpg

-Then I moved onto the passenger side electrical rough-ins. All the wire I am using is marine-grade tinned stranded copper wiring. I went ahead and pulled out the label maker and just got as OCD I could. All the wire is color-coded, pulled through expandable braided sleeves, heat shrinked, and labeled.

14991-albums1480-picture44851.jpg

14991-albums1480-picture44852.jpg

14991-albums1480-picture44849.jpg

-I am also using some LED dimmer modules for almost all the lights which if it all works how it's supposed to should be pretty sweet. They use a momentary push button to control all the dimming and the on/off. If you push and hold it dims and if you quickly push it does the on-off. In addition to the dimming function, it has the ability to have multiple inputs, so I can have a 3-way switch and it will match all the other switches!

14991-albums1480-picture44847.jpg

-After getting the passenger side done I moved on to the driver side repeating the same process.

14991-albums1480-picture44848.jpg

14991-albums1480-picture44853.jpg

14991-albums1480-picture44854.jpg

14991-albums1480-picture44846.jpg

-After getting everything on the inside all cleaned up and good I picked up some larger wires from a local shop called Bend Battery to get my rough-in for my ground wire and my DC/DC wires. I drilled a few holes through the van body on the underside, painted them with an underbody and bed liner paint, and then inserted the wire pass-throughs. I then just spooled everything up and will come back to this stuff once I get through some other steps.

14991-albums1480-picture44860.jpg


Holes Drilled and Painted
Forgot to get pictures of the actual pass-throughs

-My last bit of electrical rough-in was to wire the overhead lights and switches for the cab section. While I was doing the wiring for this I decided to go ahead and rip off the vinyl as I plan on reupholstering the headliner to match. So far the foam backer seems to be in really good shape, so I think I am going to just leave it and use it for my new fabric.

14991-albums1480-picture44855.jpg

14991-albums1480-picture44905.jpg

Forgot to get shots of the wiring
 
Last edited:

aarcaris94

Active member
Insulation:

-After having the Thinsulate sitting in my garage for months it's nice to finally be able to get it in the van!

-I started by cutting strips on the Thinsulate and then using a fish tape pulled it through all the framing members around the van starting in the cab above the windshield. I repeated this process for all other small cavities and structural supports.

14991-albums1480-picture44856.jpg


-Since I wasn’t 100% sure I calculated for enough Thinsulate I started off by tracing out my wall panels just to make sure I had enough for at least a since layer on all the areas. Turned out I had calculated right and had plenty for almost 2-3 layers on all sections.

14991-albums1480-picture44857.jpg

-Once I had my main sections figured I started on the cab ceiling. Cutting a panel to fit I used 3M 90 to glue it to the ceiling panel.

14991-albums1480-picture44858.jpg

-I then moved backward from there on the rest of the ceiling. I first tried to do it as one big piece, but couldn't get it to work by myself, so I cut it into small pieces that just span between the ceiling cross ribs. In the areas where I crossed over a rib, I removed the actual Thinsulate from the black scrim just to make sure I didn’t screw any of my panel fitment up.

14991-albums1480-picture44863.jpg

14991-albums1480-picture44864.jpg

-After I got the ceiling insulation done I went around and put as much insulation up through the cavities of the van as I could. I implemented fish tape, and pushrods to get it everywhere I could reach.

14991-albums1480-picture44859.jpg

-Once I had a good base layer on all the van walls and openings I went to the doors. Using the same methods I secured Thinsulate everywhere I could reach.

14991-albums1480-picture44861.jpg

-Since I couldn't reach the inside of the rear wall of the van very well I pulled the tail lights off and put insulation in from the outside on the back wall.

14991-albums1480-picture44862.jpg

-Once I got all the doors done I went back into the van and started on the first layer of the driver side. I cut the insulation into a few wide strips to fill the void between the framing members.

14991-albums1480-picture44867.jpg

-Once I had one layer all done I brought in the big insulation mat that I had previously traced out using the panel as my template and started doing a rough attachment. I pushed all my bolts through the scrim and into the inserts. This let me fold it in half so I could mark out where all my framing members were. Using a highlighter I was able to mark the locations where I had my double blocking on the middle support. Once I had it marked I cut out the Thinsulate so It was only the scrim that was left (similarly to how I did the ceiling). This made sure it was a tight and flush fit once the panel was re-installed. Once I had it all cut and prepped I used spray adhesive to attach the panel to the first layer of Thinsulate. This gave me a nice solid-looking insulation package.

14991-albums1480-picture44868.jpg

14991-albums1480-picture44869.jpg

14991-albums1480-picture44870.jpg

14991-albums1480-picture44871.jpg

-I then repeated the same process for the passenger side of the van and then the insulation was basically done!

14991-albums1480-picture44872.jpg

14991-albums1480-picture44873.jpg


Additional pieces:
-When I pulled the door boxes out for the door insulation process I went ahead and did a rattle can spray-on bed liner to the insides of them. This should make them durable, easier to clean, and easy to touch up if need be.

14991-albums1480-picture44874.jpg

14991-albums1480-picture44875.jpg

-After getting the first round of insulation I decided to go back and check my panel fitment as well as add openings for my main wire pass-throughs.

14991-albums1480-picture44865.jpg

14991-albums1480-picture44866.jpg
 
Last edited:

aarcaris94

Active member
Upholstery:

-Finally made it to the long-awaited step of upholstery! Since this was my first time doing any upholstery kind of stuff I used a lot of references online, but one of the best that I have found was a blog and youtube channel from a person named Ken who runs ourkaravan.com. He has great videos and blog posts about his sprinter van build and I would highly recommend anyone who is looking for resources to check him out.

-I figured I would start with what I thought were the most forgiving areas being the rear doors. For the doors and window boxes, we are using Atlantis Marine vinyl color “Storm” from allvinylfabrics.com. The first step in the process was to trace out the door panel on the ⅛” foam. After getting it traced out (just for reference on where to spray the glue) I flipped the wooden door panel over and sprayed it with weldwood glue. After the panel had a layer of glue I went back to the foam and added a layer of glue. Then carefully lined up the two pieces using my marker line as reference. After pressing it down firmly I used a razor blade to cut off the excess as I wasn't wrapping the foam around the edges. I then repeated the same process for the vinyl step. After wrapping the edges and cutting out my bolt holes I reinstalled it in the van.

14991-albums1480-picture44876.jpg

14991-albums1480-picture44877.jpg

14991-albums1480-picture44878.jpg

-I repeated the process for the next rear door with even greater success.

14991-albums1480-picture44879.jpg

14991-albums1480-picture44880.jpg

14991-albums1480-picture44885.jpg

-Each panel I did I got a little better and a little faster. I continued with the same process for the remaining two side doors. Pretty happy with how these turned out.

14991-albums1480-picture44881.jpg

14991-albums1480-picture44883.jpg

14991-albums1480-picture44884.jpg

14991-albums1480-picture44882.jpg

-Next up on the list were the window boxes. We decided to not do any foam on these as they were already a very tight fit. We decided to go with the vinyl since they will be exposed to the outside air and have more likelihood to get exposed to more condensation. I took the idea of folding the fabric over itself to create a cleaner look from Ken from ourkaravan. I also left the inside corners long so I could cut them up around the windows so I wouldn't see any of the sound deadening between the rounded corner of the window and the square corner of the window box.

14991-albums1480-picture44886.jpg

14991-albums1480-picture44887.jpg

14991-albums1480-picture44888.jpg

-After the window boxes were done I started on the first real wall panel. We went with the Marathon Tweed fabric in Grey Heather that we bought from perfectfit.com. I used the same exact process as I did for the door panels for wall panels and started with my small rear panel on the driver side After getting them all wrapped I used a torch to heat up a screwdriver and push it through all my bolt holes. This melted the fabric around the hole which should help it from possibly unraveling at those points. After it was done I got it installed in the van.

14991-albums1480-picture44890.jpg

-I repeated the process on the main driver side panel. Since this was the first time I did this kind of thing I am not super happy with how the backside of my panel turned out, but I guess at the end of the day no one will probably ever see it. After getting it all done it was back into the van for a fitment check to ensure my ⅛” reveals that I left between the panels was adequate. It fit like a glove!

14991-albums1480-picture44889.jpg

14991-albums1480-picture44891.jpg

It's not Pretty But it works!
14991-albums1480-picture44892.jpg

14991-albums1480-picture44893.jpg
-One thing to note about this panel is I buried all my wires back in the wall for now since I wasn't exactly sure where the cabinets would land and I didn’t want the outlets and wire pass-throughs to end up in a weird spot. I figured since I am planning on using faceplates for all of those things It wouldn’t be too hard to cut them out after the fact and hide any flaws behind a trim ring. This might prove to be a bad idea, but I am hoping that is not the case.
 
Last edited:

aarcaris94

Active member
-Next up I repeated the process for the passenger side panel. Back when I cut my wall panel I had decided to run the panel all the way to the door frame which meant I needed to deal with the small bump out in the van body to the rear of the side doors and the return panel that needed to die back into the van body. If you look back in the thread you can see how I did that. Now that I am finished with that area I think my plan worked pretty well. I ran the foam and fabric over the bump out which left me with only a minimal bump in the finished wall. I also wrapped the fabric and foam all the way around the return panel as one continuous piece and I think it turned out pretty good!

14991-albums1480-picture44894.jpg

14991-albums1480-picture44898.jpg

14991-albums1480-picture44897.jpg

14991-albums1480-picture44895.jpg

14991-albums1480-picture44896.jpg

-After the wall panels I started on the transition pieces. I decided to only do foam on the downslope and bottom face of these pieces to make sure it didn't change the mounting surface for the ceiling panel. I used the same process and added extra foam in a few areas to help fill any gaps that I had. After getting the foam glued up I checked fitment before going to the fabric.

14991-albums1480-picture44899.jpg

14991-albums1480-picture44900.jpg

14991-albums1480-picture44901.jpg

14991-albums1480-picture44902.jpg

14991-albums1480-picture44903.jpg

14991-albums1480-picture44904.jpg
 
Last edited:

aarcaris94

Active member
-After getting more used to the fabric and the process of it all I went back to the rear walls and added my foam and fabric there. In a few areas, I doubled up in foam to try to even it all out and then used a 3M 90 and 3M 77 to get everything glued up and set.

14991-albums1480-picture44910.jpg

14991-albums1480-picture44911.jpg

-Then I started on the ceiling panel. I followed the same process as the rest but did decide to do the entire ceiling as one piece hiding the panel seam under the foam and fabric. So far I am happy with the results. In between all of these panels I pulled the lights apart and painted the trim ring black just so it would match with the rest of the theme of the interior.

14991-albums1480-picture44912.jpg

14991-albums1480-picture44913.jpg

14991-albums1480-picture44914.jpg

14991-albums1480-picture44915.jpg

14991-albums1480-picture44916.jpg

14991-albums1480-picture44917.jpg

-After getting the ceiling done I moved onto my “Control Center”. This piece I was feeling a little more nervous about since it has multiple planes in one piece but figured I would figure it out as I went. So I started off with the foam and then a test fit to make sure it was fitting right. I added some extra foam on the rear edge to help fill a small void and then it was fitting nicely.

14991-albums1480-picture44919.jpg

14991-albums1480-picture44920.jpg


-I decided to break the piece up into two pieces, one being the underside and the other being the face. This allowed me to deal with each plane as separate pieces. I started with the face panel where I cut a fabric piece that had a small overhang to the underside.

14991-albums1480-picture44922.jpg

14991-albums1480-picture44923.jpg


-Next, I cut a strip of fabric and rolled the edge of one side, and glued it back to itself to create a pleated seam (I have no idea what I am talking about so this may be all the wrong). I used this edge to create a clean “sewn seam” look along the edge. This was then glued to the underside of the “control center”

14991-albums1480-picture44921.jpg

14991-albums1480-picture44924.jpg

-Last step before installing it was to cut out openings for the flush mount track light, light switches, BMV, and inverter controller.

14991-albums1480-picture44925.jpg

14991-albums1480-picture44926.jpg

14991-albums1480-picture44927.jpg
 
Last edited:

aarcaris94

Active member
-Then I moved on to the front headliner. This was another odd-shaped piece that I was worried I would screw up. For this piece, I used 3M Yellow SuperTrim adhesive since it was going down on the existing headliner foam and I had seen that this was the best glue for this situation. Anyways I just took my time and with the help from my wife we were able to get it nice and straight and maintain all the curves of the headliner.

14991-albums1480-picture44928.jpg

14991-albums1480-picture44930.jpg

14991-albums1480-picture44931.jpg

14991-albums1480-picture44932.jpg

-After getting the headliner done I moved to the front storage shelf. I decided to do the same Bedliner process for the shelf that I did on the door boxes and then followed the normal steps for upholstery.

14991-albums1480-picture44918.jpg


Forgot to get any other pictures of the rest of the steps.​

-After getting all the parts in I then added my window box blinds. I had designed the window boxes so they should recess the shades pretty well when not in use. Once I add my trim ring there should be no exposed edge to the blind making them a pretty much complete black-out shade.

14991-albums1480-picture44944.jpg

14991-albums1480-picture44945.jpg

14991-albums1480-picture44946.jpg

14991-albums1480-picture44947.jpg
 
Last edited:

aarcaris94

Active member
Upholstery Update:

-And like that the upholstery was done... at least I hope so! I got some pictures and then took it down some forest roads for a shake and rattle test.

14991-albums1480-picture44933.jpg

14991-albums1480-picture44934.jpg

14991-albums1480-picture44935.jpg

14991-albums1480-picture44937.jpg

14991-albums1480-picture44938.jpg

14991-albums1480-picture44940.jpg

14991-albums1480-picture44941.jpg

14991-albums1480-picture44951.jpg

14991-albums1480-picture44939.jpg

14991-albums1480-picture44948.jpg

14991-albums1480-picture44950.jpg

14991-albums1480-picture44952.jpg

-So far I am very impressed with how secure and quiet everything is. The only sound my wife and I can identify is a slight noise from the window shrouds when going over rougher roads. I think I have seen some threads about how to help with that on here, so that will be a project for another day.
 
Last edited:

aarcaris94

Active member
Build Update:


This is a BIG update to the build, the interior is “mostly done”!! Before getting to the good stuff of the pretty shots of the mostly finished interior I should go back and show all the work that went into it, and what we were up against during this part of the build.


Background:

-Earlier in the year, we had set some dates to go visit our families down in San Diego. At the time it felt like it would allow us plenty of time to get the van in a decent spot for the trip which was about 12 weeks away. Our original plan was to just try to get it complete enough that we had it upholstered, a bed, and a fridge. This seemed doable, but as we started on the process we quickly realized that one we would be way more excited to show off a complete interior, and two we didn't want to halfway do stuff and cause ourselves twice as much work when we got home from our trip. So we formulated a new plan and decided we would do everything we could get done and start crossing things off that we couldn't do if we ran out of time. So as you can imagine we went from an aggressive timeline to an insane timeline. Our limited free time basically became 100% van time. We worked hard to get upholstery done and worked even harder to get it to the “show vehicle” stage. This is something my wife pointed out as we were leaving on our maiden voyage, It is like a concept car. Everything looks nice and pretty, but not all the buttons are functioning and not everything is hooked up. In the last week leading up to the departure date, which we totally blew, we were working 20-22hr days just to get it to the stage where it was back together and ready to drive the over 2,000-mile shakedown run. Which was a success!

-Now that you have some background I hope you can understand a little more why as the build went on the pictures and documentation might be lacking. If you have any questions though I am happy to answer what I can. So with that little storytime, it’s back to the build thread!


About the design:

-Before we even had the van I had started the interior modeling process. Now since I had nothing to reference myself I had to use some internet numbers. No surprise these were not 100% accurate. Then I added in my walls, floor, and ceiling which then further adjusted these numbers. So I had to go back and do some reworking on the original layout. The most critical numbers were the bench/bed dimensions and locations, and the fridge size. Having these pieces in hand I could further refine the layout on the computer before starting on the real world building. As you can see in the model we went with a more modern inset design taking inspiration from Kerf Design cabinets. They make some high-quality cabinets that showcase the cool edge pattern found on high-quality baltic birch plywood construction.


-The layout and material choices are obviously very important parts of a van build and are something we played around with a lot at the beginning and throughout the process of this build. I had originally modeled both pass-through and non-pass-through options, but the “RB50” layout just made the most sense to us. So after deciding on this came material choices. We ordered a ton of samples and went through the process of testing durability, ease of cleaning, and aesthetics. Once we narrowed down a few design options we modeled a basic layout and applied these materials to the layout to get a feel for how it would work in the space. We eventually decided on the materials you see in the model pictures below.


-After getting a rough idea went through and modeled each individual electrical and plumbing component as well as the main parts such as the fridge and bench/bed. These were things that we were constrained by and would dictate the design of it all. For the bed, we ended up going with a 74”x53”. This was the final dimension after lots of testing and discussion between my wife and I. Both of us are right around 5’-10” and this felt like the right size that we could sleep comfortably while maximizing our cabinet space. As you may have previously seen we ended up going with the Isotherm 85 Drawer Fridge/Freezer. We squeezed as many drawers as we could into the cabinets and ensured we could fit the smallest Dometic toilet in the lowest part of the cabinet. After everything was modeled I played around with parts to see how I could most effectively use the space. In the end, we are very happy with the layout we choose.


14991-albums1480-picture45163.jpg

14991-albums1480-picture45164.jpg

14991-albums1480-picture45165.jpg

14991-albums1480-picture45166.jpg

14991-albums1480-picture45167.jpg

14991-albums1480-picture45168.jpg
 
Last edited:

aarcaris94

Active member
Cabinets:

-Again let me quickly say I am sorry for the lack of process pictures. I was literally running around trying to get everything done, and pictures just became an afterthought, but I will roughly explain the process for anyone who cares.


-Now for the fun part, actually building it out! We started with building the rear box section as this was a pretty straightforward section being a rectangle box for housing the rear drawers. It is made up of ¾” Baltic Birch for the vertical supports and ½” Baltic Birch for the top and bottom cross pieces. The lower cross pieces are attached using pocket holes and the top piece is attached using 2” trim head screws. The center support is dadoed in for some extra lateral support.


-After getting the rear cabinet locked in with the bench base in the van I moved on to the main cabinet vertical pieces of the kitchen galley section. These sections are made out of ¾” Baltic Birch. They were cut square and oversized to allow room to scribe to the van wall. I then cut some cross pieces that were pocket-holed to give me my bottom connection pieces. After rough assembling the 3 vertical panels with their bottom and top cross pieces, I moved them into the van. I then used my plans to locate the cabinet carcass front to back in the van and then made sure it was even and square to a centerline of the van I had previously established. Once I knew it was good I determined how far back I would want the assembly to slide to give me my final counter depth. With that measurement in hand, I adjusted my scribe tool and scribed all the vertical panels accordingly. Then I dissembled the carcass and cut those panels down with a jigsaw and then reassembled to check the fit.


-After getting the front galley cabinet locked in I started working on the full height closet/pantry section. I started by establishing the floor of the cabinet which I used ½” Baltic birch scribed to the van wall and connected to the rear box. After getting that square and level I went ahead and started on the vertical panels. Like many other things in the build I used cardboard to create a template which I traced to ¾” Baltic birch. I needed to establish the front-most panel first as this would lock the space I would have for the sink and the length of my counter. After getting the front locked in, I repeated the process for the rearmost panel. Next up was locking in the rear pantry panel. I repeated the same process and made it out of ¾” Baltic birch. (finally a picture of all this).


14991-albums1480-picture45169.jpg

14991-albums1480-picture45170.jpg

14991-albums1480-picture45171.jpg

-After getting that part set I realized the Ruvati 15x15 sink I had bought wasn’t going to fit properly. So I went back to amazon and found a nice undermount sink that would work instead. While I waited for the new sink to show up I pulled the galley cabinet section out of the van and added in all my cross supports and my drawer slides (these are 22” Blum Undermount soft close tandem drawer slides) so I could lock in my drawer sizes. I then put everything back in the van and ran some cross pieces to tie in the rear cabinets to the front cabinets. After that was done I went in and added the center divider to the closet and added in a few cross pieces to lock in the rear cabinet panels. Once the sink showed up I was able to test fit the sink, cooktop, toilet, and bed to ensure all my computer measurements were working out in the real world.

14991-albums1480-picture45172.jpg

14991-albums1480-picture45173.jpg

14991-albums1480-picture45175.jpg

14991-albums1480-picture45176.jpg

-After having the main structure together I went back to the rear drawers and added in my 30” Blum heavy-duty under-mount soft-close drawer slides.

14991-albums1480-picture45177.jpg

-After the drawer slides were in place I finished up some of the side trim panels and built my rear drawer boxes. These are made out of a prefinished Baltic Birch with a ¼” BB bottom drawer panel.

14991-albums1480-picture45178.jpg

14991-albums1480-picture45179.jpg

14991-albums1480-picture45180.jpg


Exterior:
-After getting all of this together in about 2 days I needed a little bit of a break from cabinets, so I transitioned over to swapping out the headlights to the Aero-styled headlights. I think these really modernize the front end even if they still aren't very bright. I plan on coming back to these maybe later this year and trying my hand at doing a projector retrofit as that seems to be the only real solution to the headlight problem for these vans.

14991-albums1480-picture45181.jpg

14991-albums1480-picture45182.jpg

14991-albums1480-picture45183.jpg

14991-albums1480-picture45184.jpg

14991-albums1480-picture45185.jpg
 
Last edited:

aarcaris94

Active member
Cabinets:

-The following day I jumped back into making some drawers to finish out the front cabinets.

14991-albums1480-picture45186.jpg

-Then it was on to cutting the face panels for all the cabinets. I used ½” Baltic birch for everything except where there were hinges as the hinges I am using need ⅝” min so in those areas I used ⅝” Baltic birch.

14991-albums1480-picture45187.jpg

-The next day I went ahead and cut down all the face panels into their required door and drawer sizes ensuring I maintained my ⅛” reveal for all edges except the floor where I have a ½” reveal that will house a LED strip light for some floor washing accent light. I also cut and added in my front triangle cabinet behind the driver seat.

14991-albums1480-picture45188.jpg

14991-albums1480-picture45189.jpg

-Then I started cutting my inset door openings. I was nervous about this since I know standard practice for this style of door would be to cut everything on a CNC. Unfortunately for me, I do not have access to anything like that although it would have been nice since I had CAD files for everything. So I started off by using a Forstner bit to cut my corner radiuses and then used a track saw to connect those corners. In the end, this worked well. I used this process for the pantry, closet, under-bench door, triangle cabinet, and the above counter shelf.

14991-albums1480-picture45190.jpg

14991-albums1480-picture45191.jpg

14991-albums1480-picture45192.jpg

14991-albums1480-picture45193.jpg

-That night we did a little bed test just to make sure everything was fitting correctly and then got started on the over counter storage the following day. This will house a few switches, an under-mount LED strip, as well as electrical outlets for the galley section.

14991-albums1480-picture45194.jpg

14991-albums1480-picture45195.jpg

-Then I went back to the rear of the van to get the rear drawer faces and hardware installed.

14991-albums1480-picture45196.jpg

-After that It was time to mock up the closet sliding doors. That way I could upholster the over counter shelf and closet doors at the same time. (After midnight pictures start dropping off)

14991-albums1480-picture45197.jpg

14991-albums1480-picture45198.jpg

-The next day I worked on getting all the flush doors cut and checked. These are made out of ⅝” Baltic birch with the same ⅛” reveal around the edges. I made these doors by cutting a rectangle and then using a belt sander rounding the corners to match the line I had drawn and then testing fit in the opening to ensure the correct fit. At the same time, I also cut out my holes for the electrical components.

14991-albums1480-picture45199.jpg

14991-albums1480-picture45200.jpg

-Later that day I worked on getting all my hardware set in the galley. This required all the drawer boxes to be modified around the hardware which I did by making a jig out of MDF and then using a templating bit in my router to get them all to match. I am using a Southco latch model M1-2A-13-5 . I also did my final opening cut for the front triangle cabinet.

14991-albums1480-picture45201.jpg

14991-albums1480-picture45202.jpg

14991-albums1480-picture45203.jpg
 
Last edited:

aarcaris94

Active member
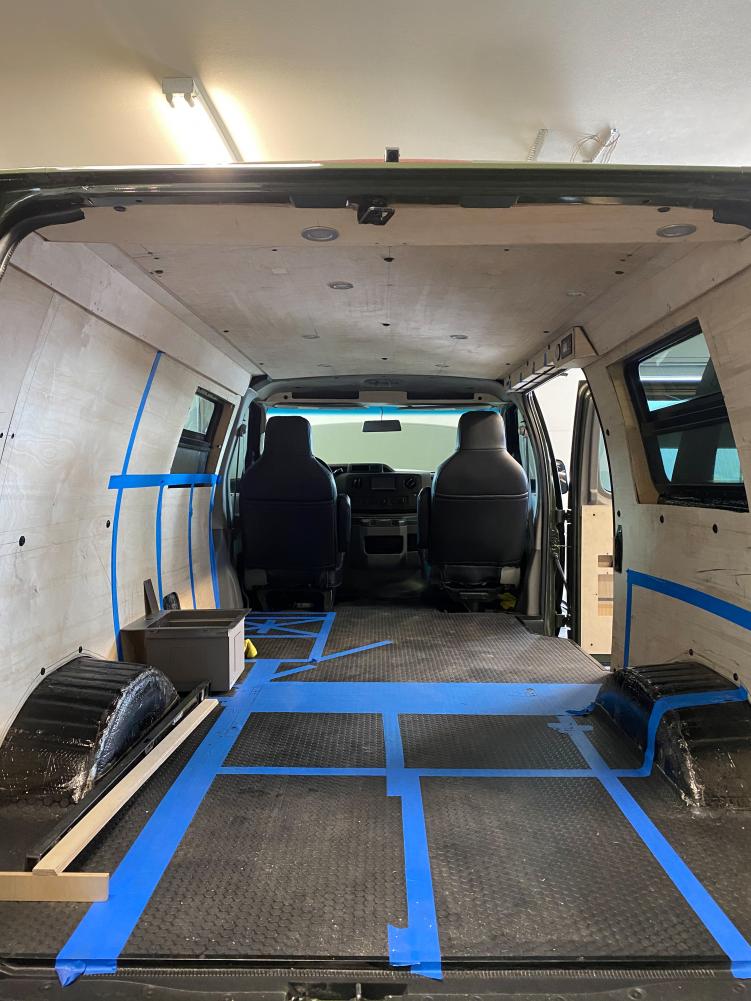
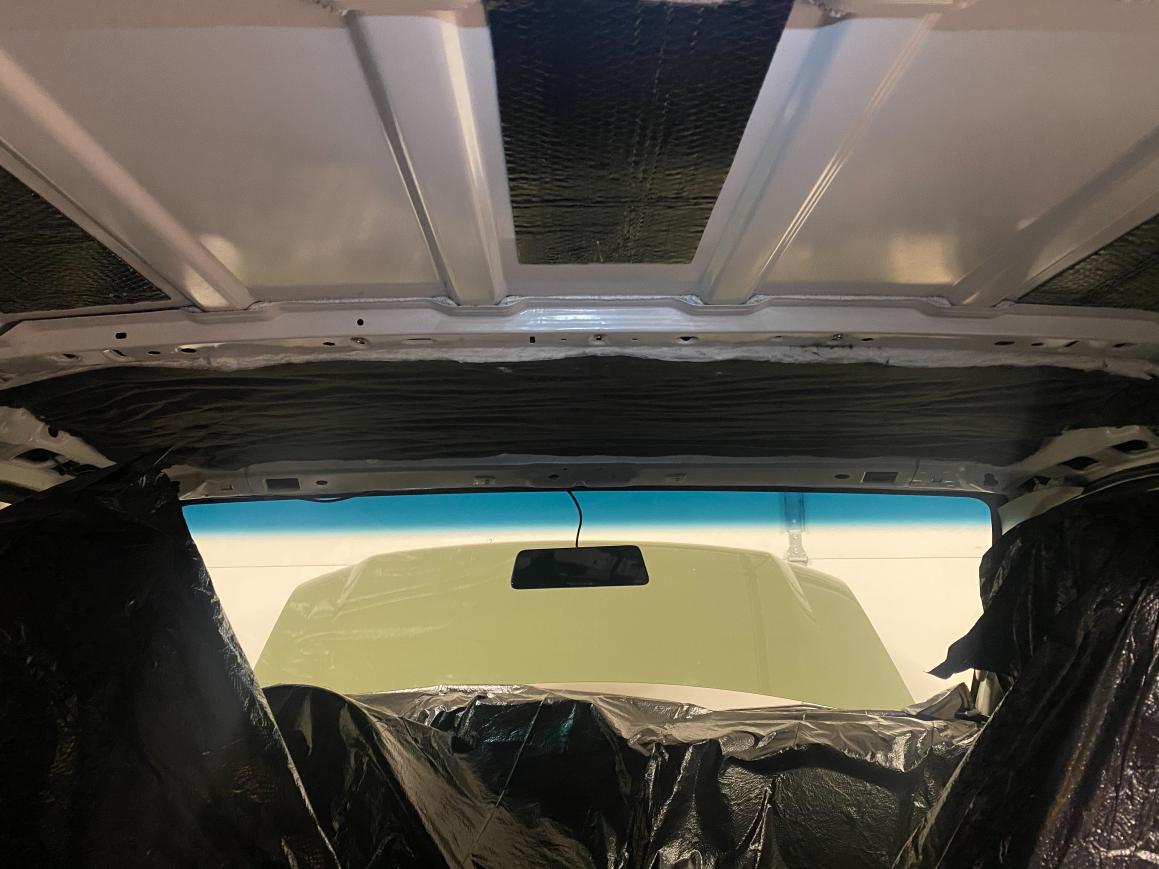
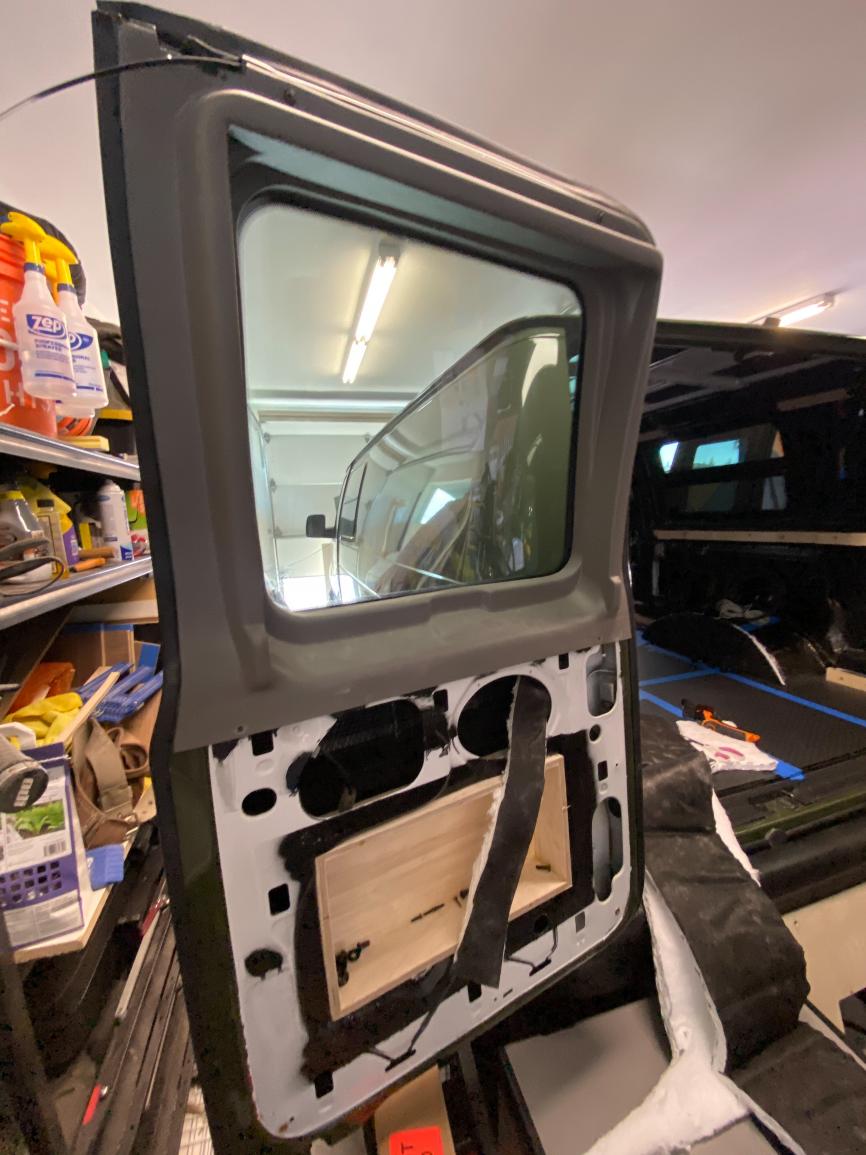
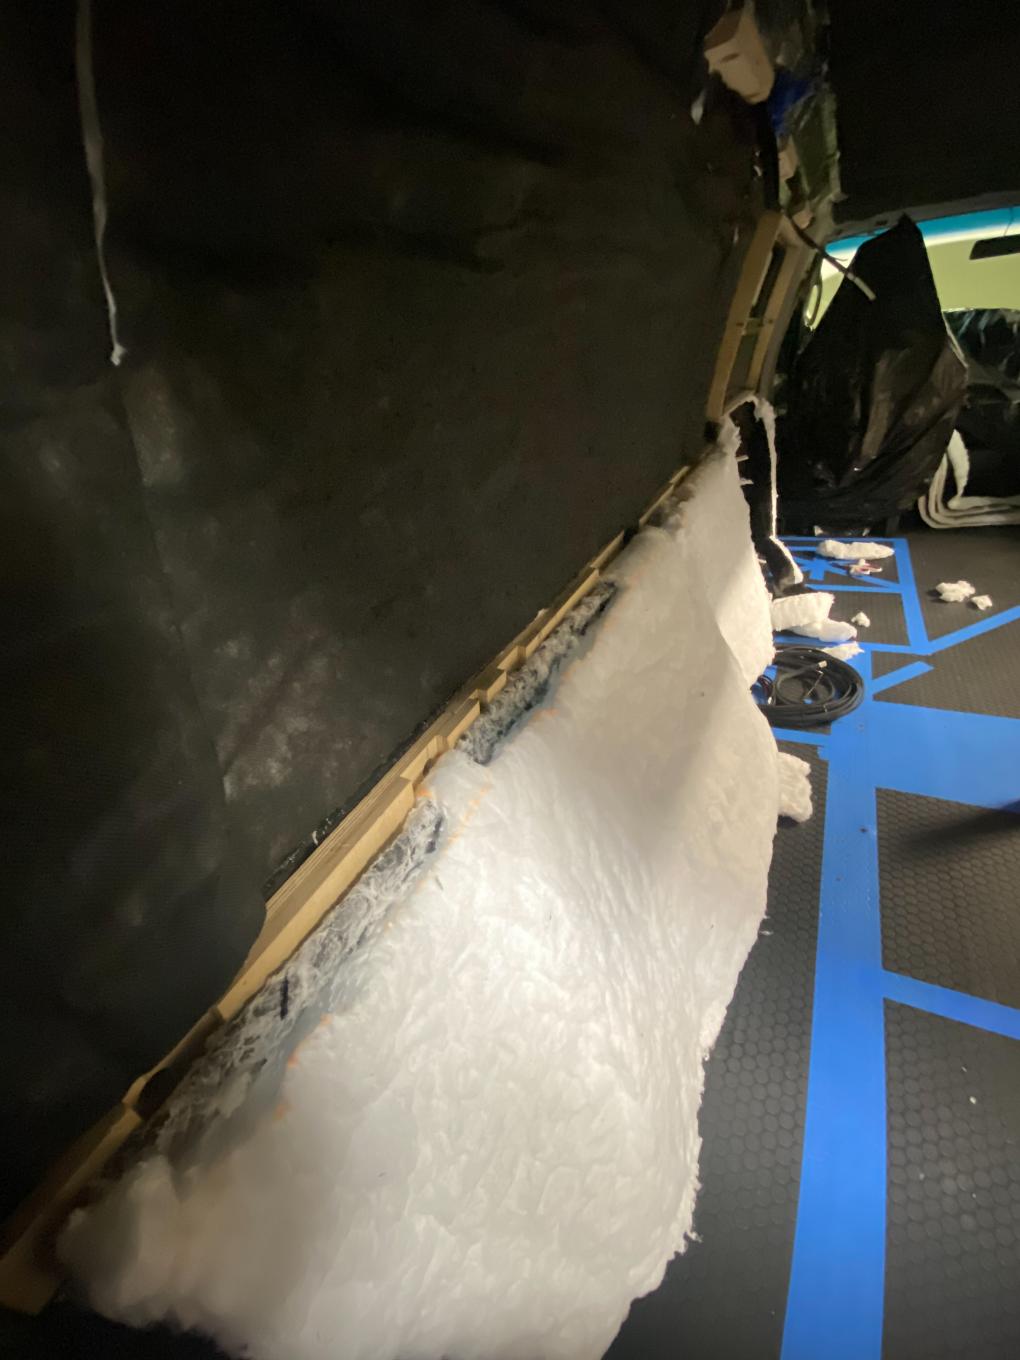
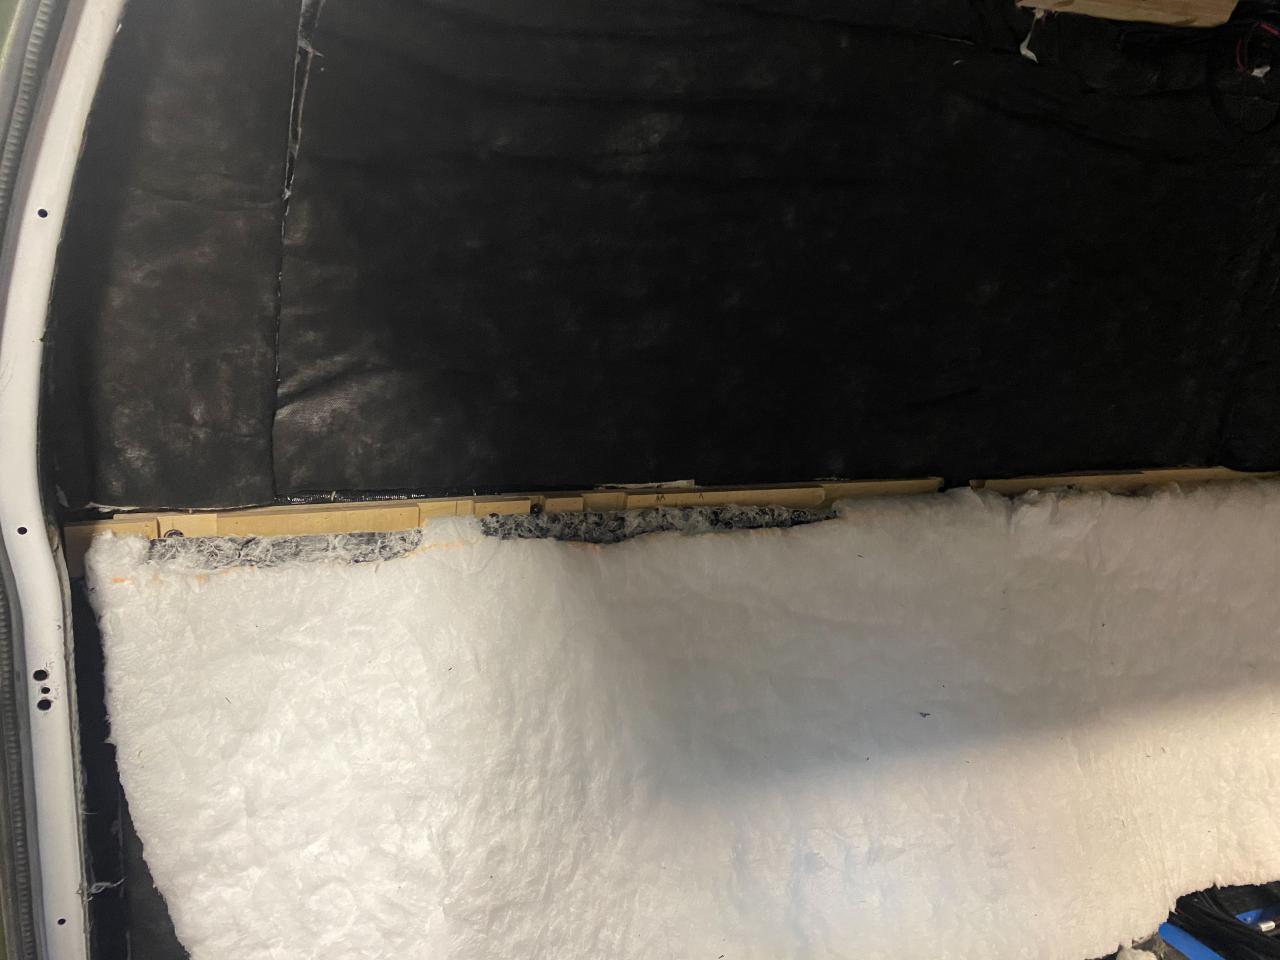
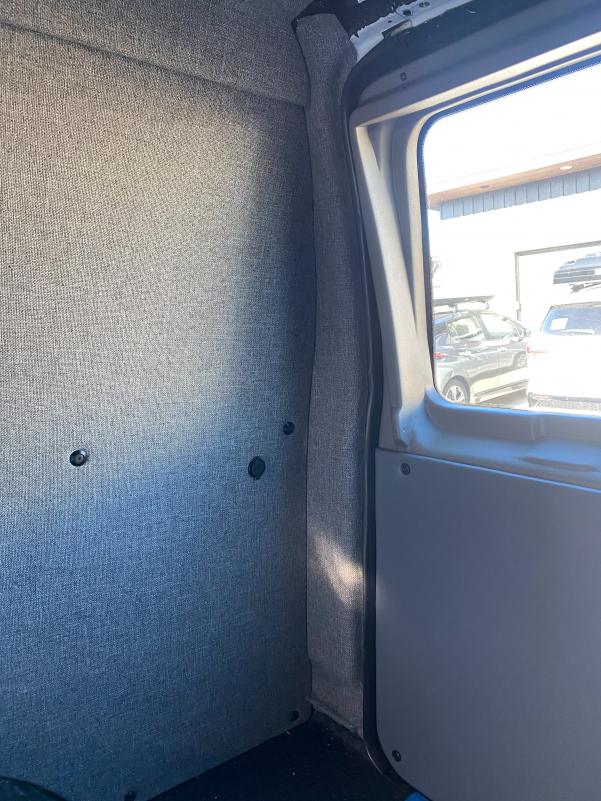
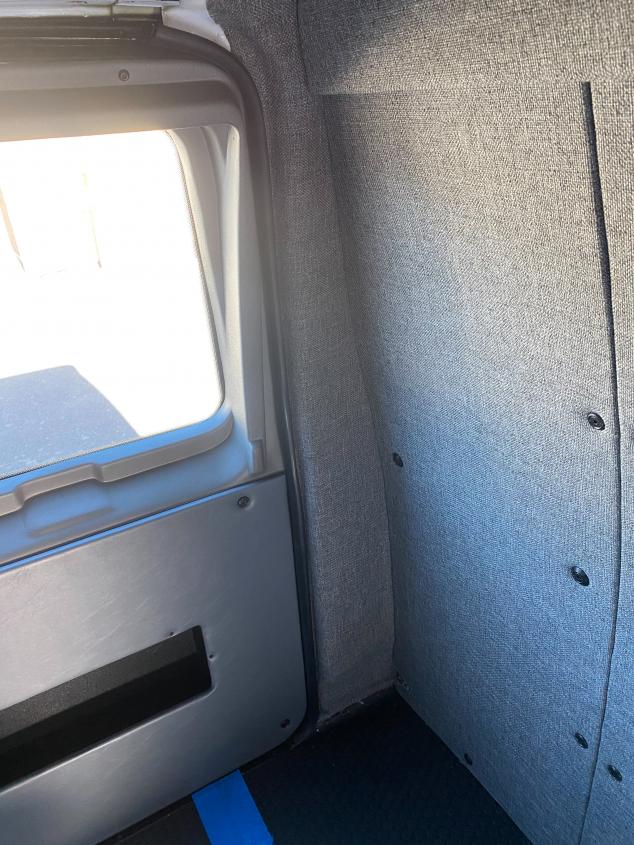
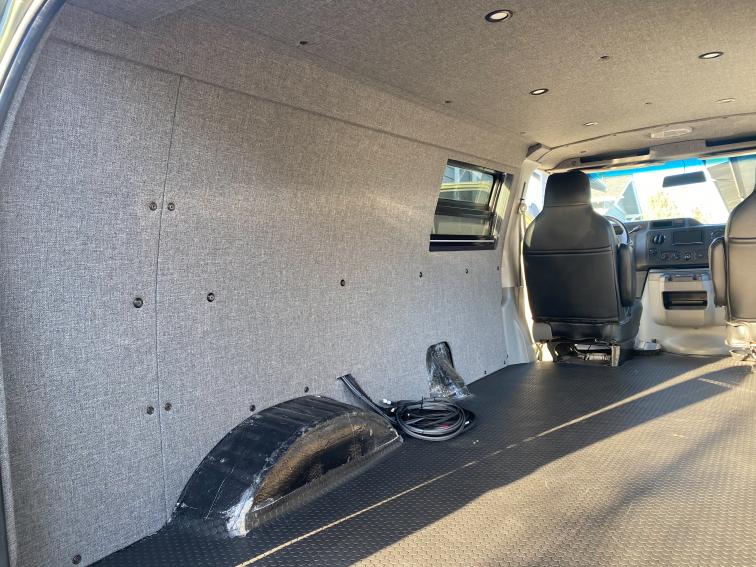
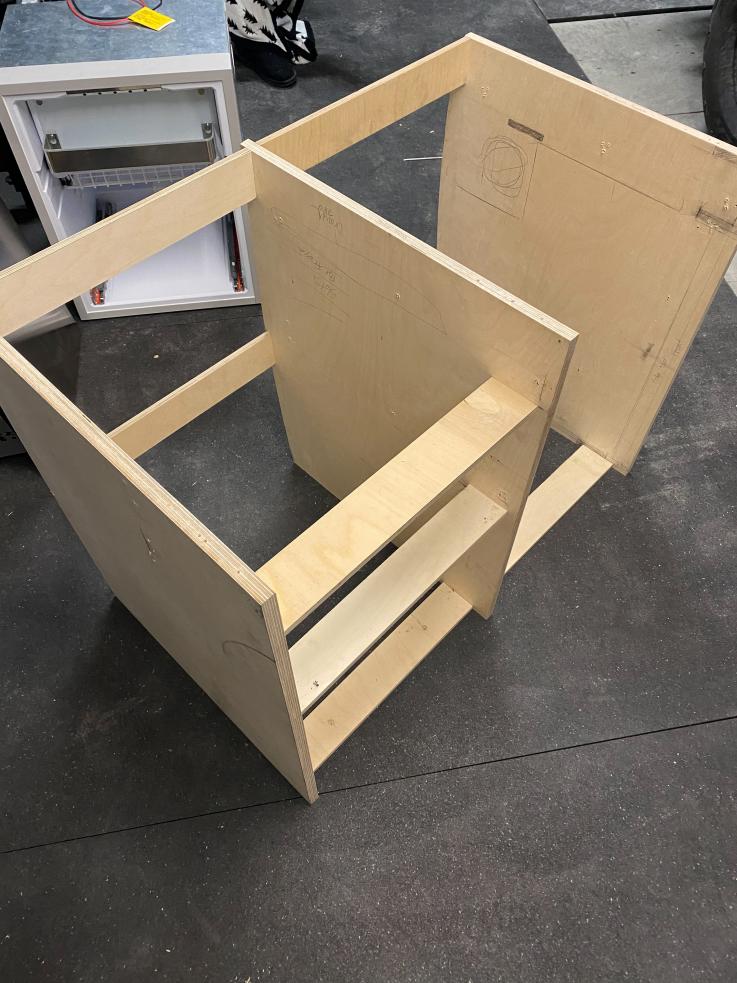
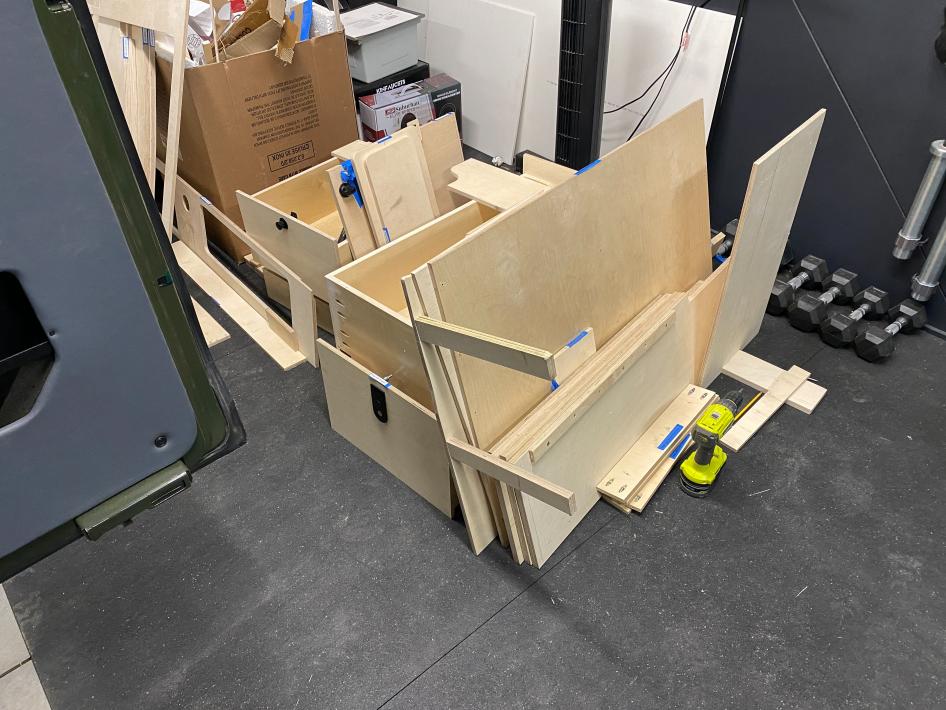
-So at around midnight we started the lengthy and unfun part of this process of disassembling everything. With some documentation of how everything looked my wife and I took the label maker out and started pulling everything apart piece by piece to get ready for the laminating process. 2 hours later the van was back to empty and all the cabinets back to just small parts.

14991-albums1480-picture45204.jpg

14991-albums1480-picture45205.jpg

14991-albums1480-picture45206.jpg

14991-albums1480-picture45207.jpg

14991-albums1480-picture45208.jpg

-At this point, we were only about 3 days from our original departure date, and we quickly realized this was not going to happen. So this started us on the 20-22 hours a day work track to try to get everything back together enough for us to leave for our trip.


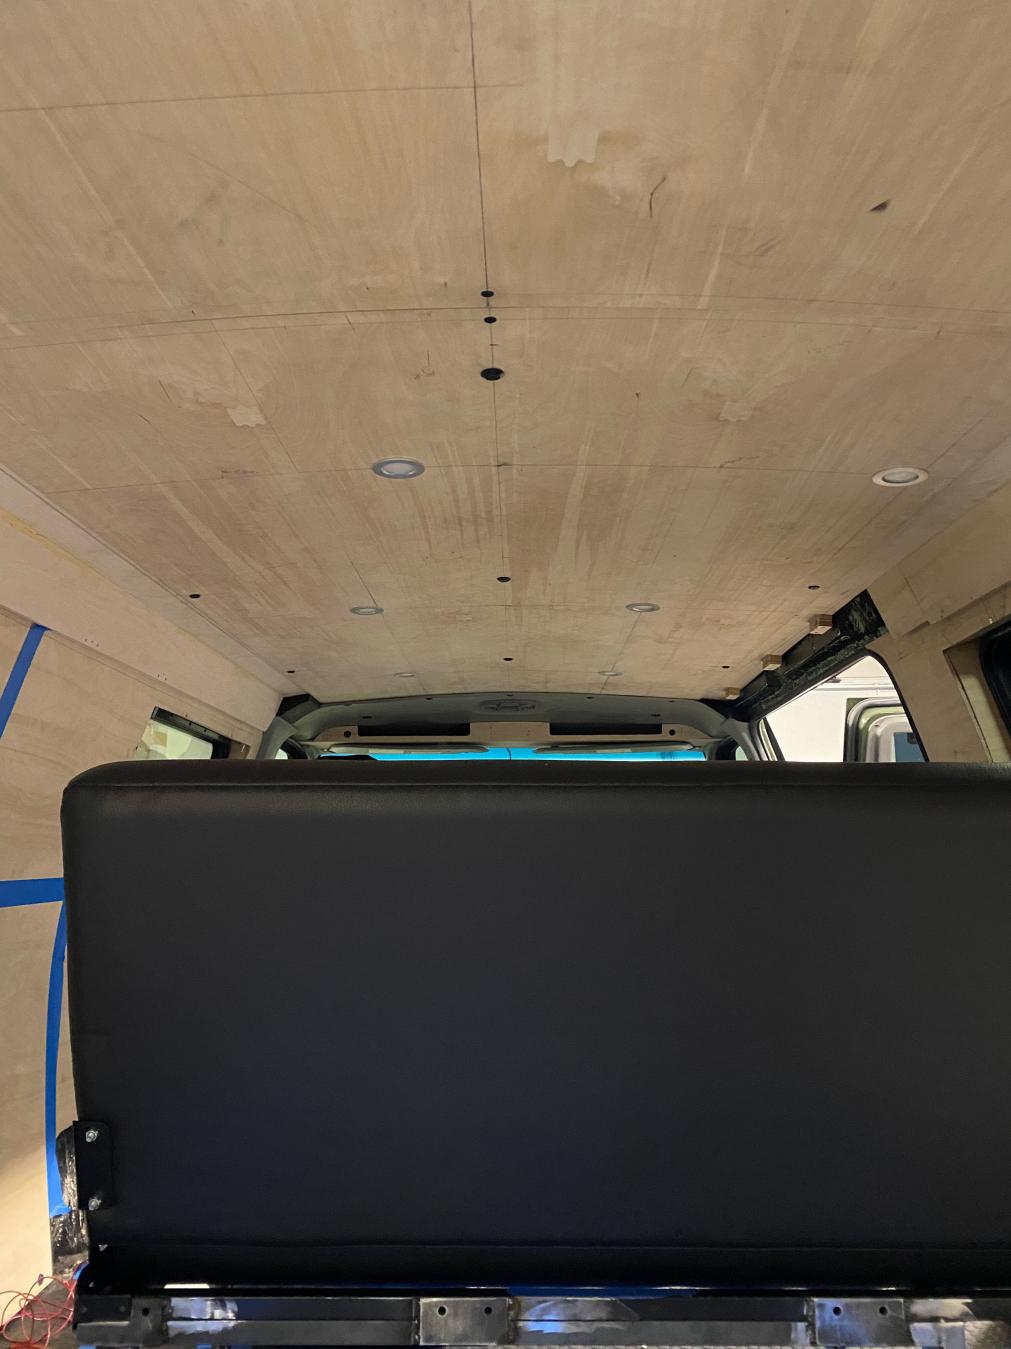
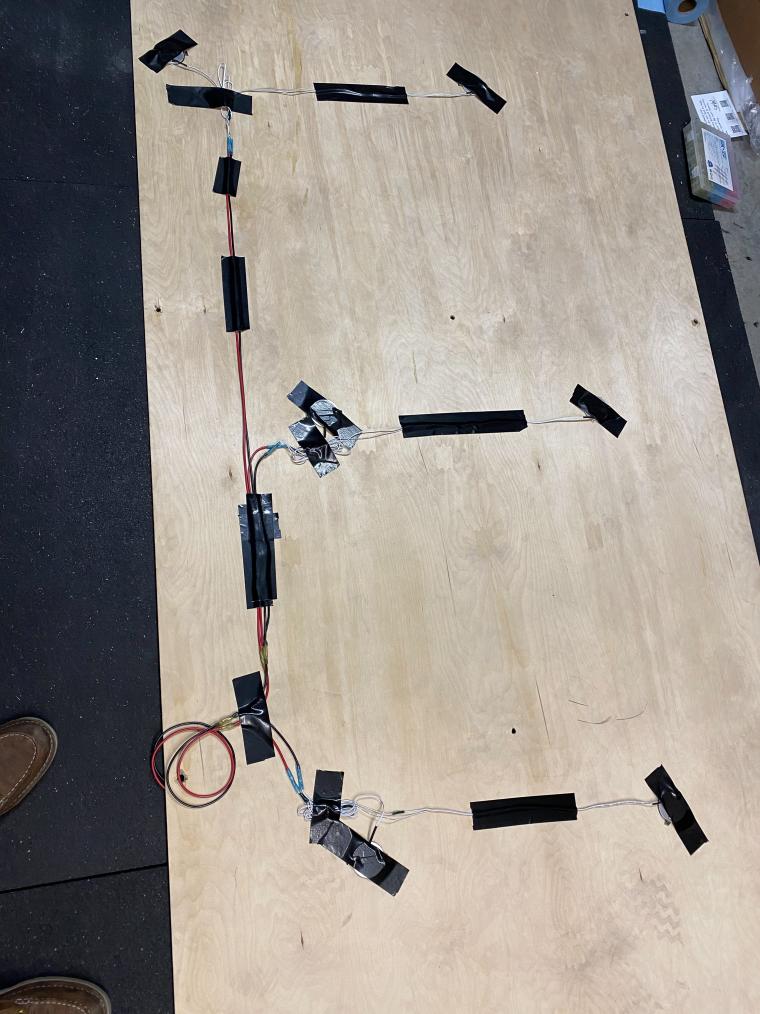
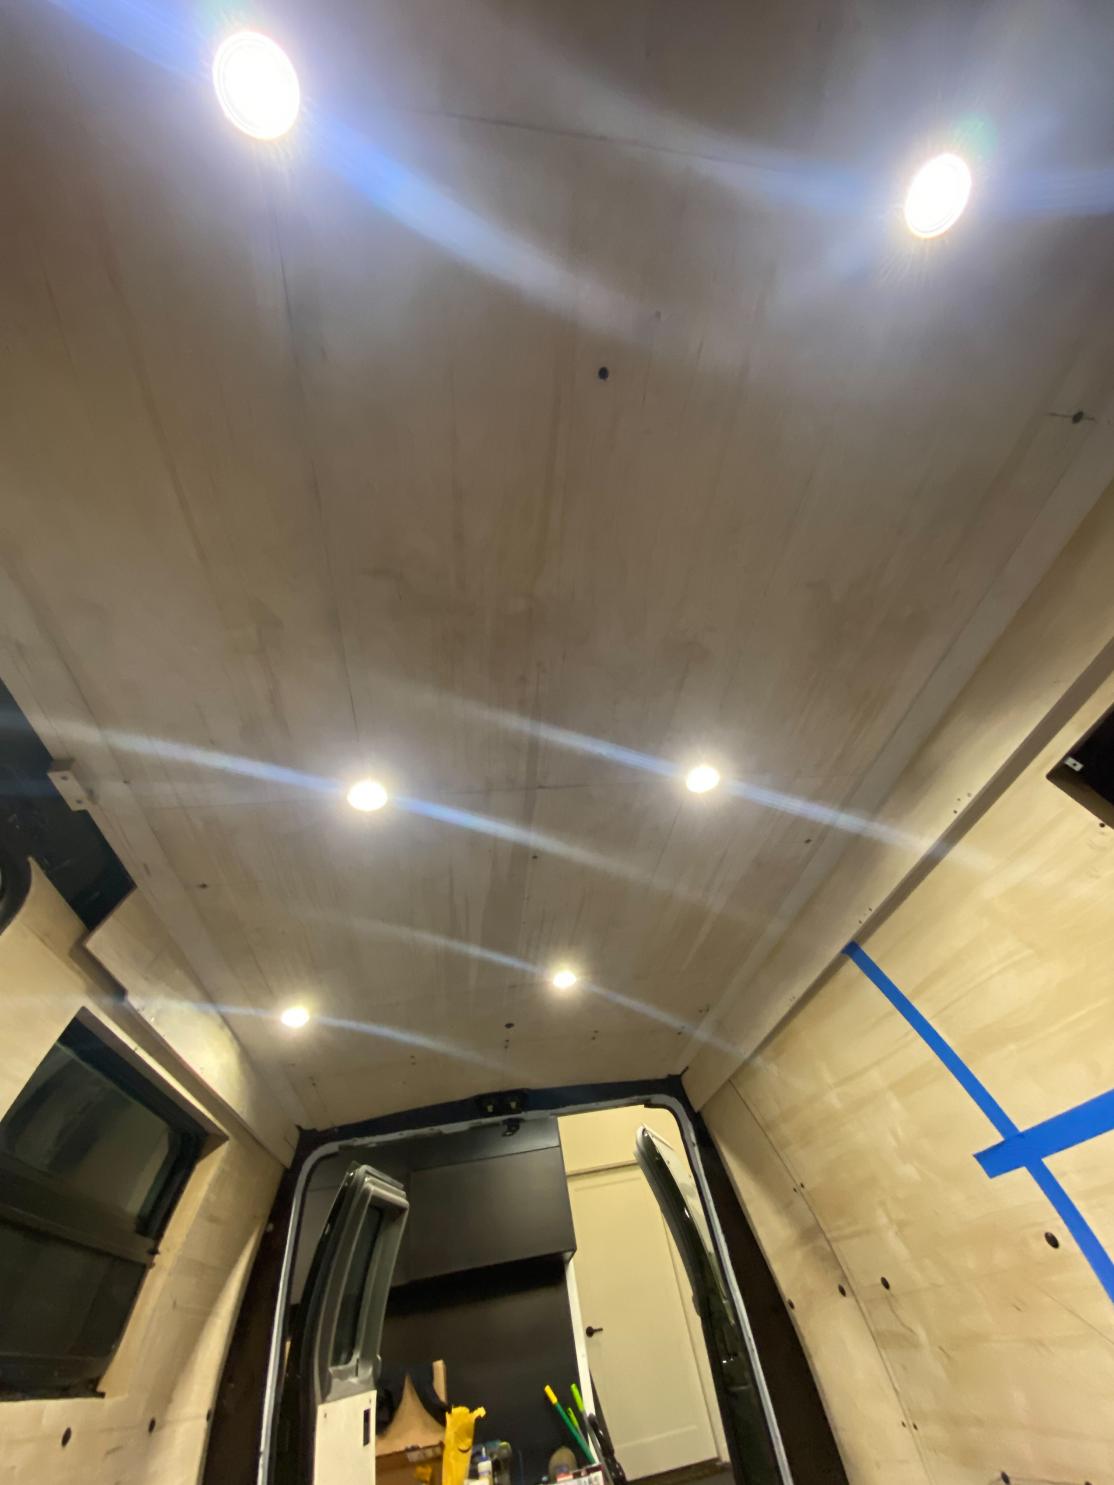
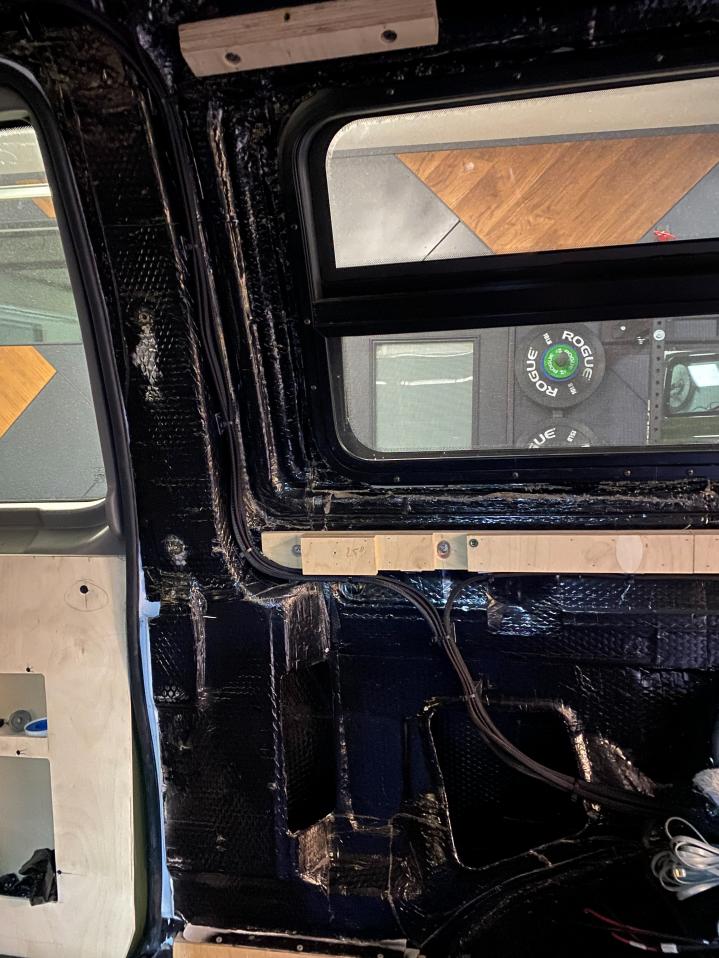
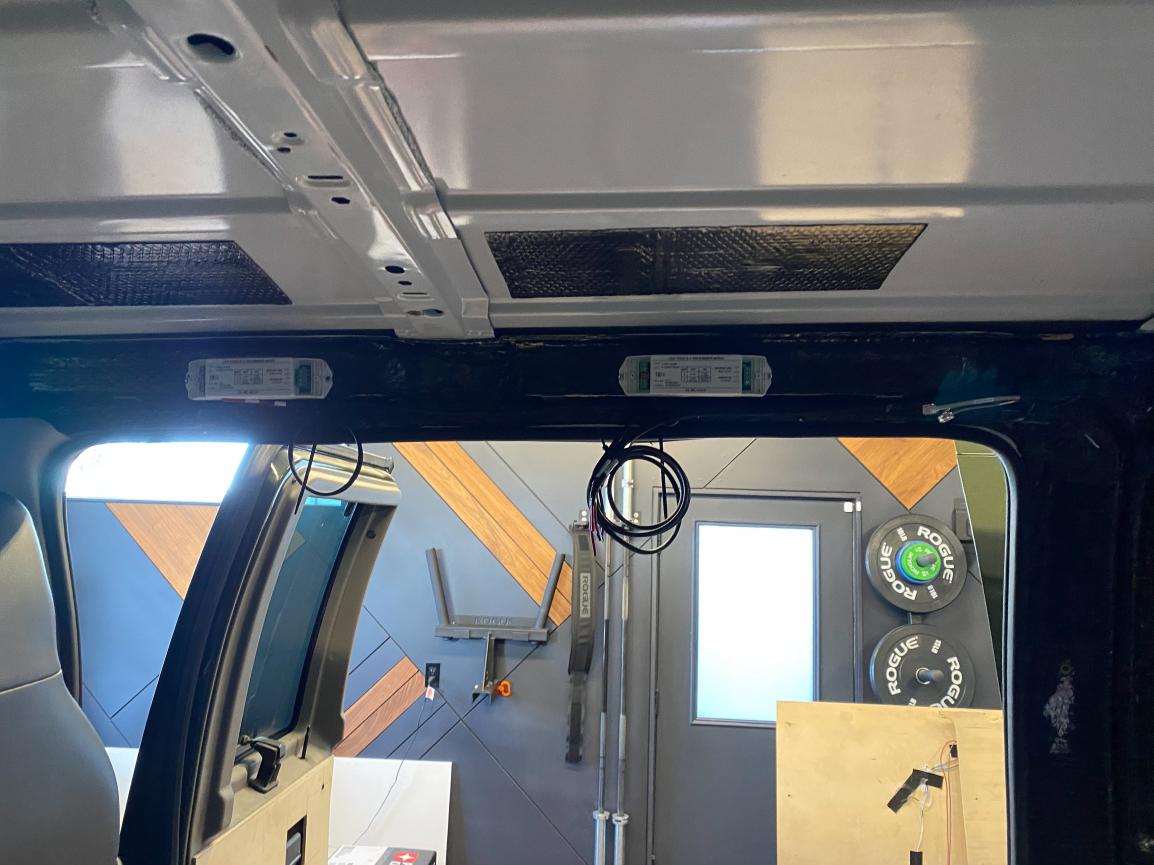
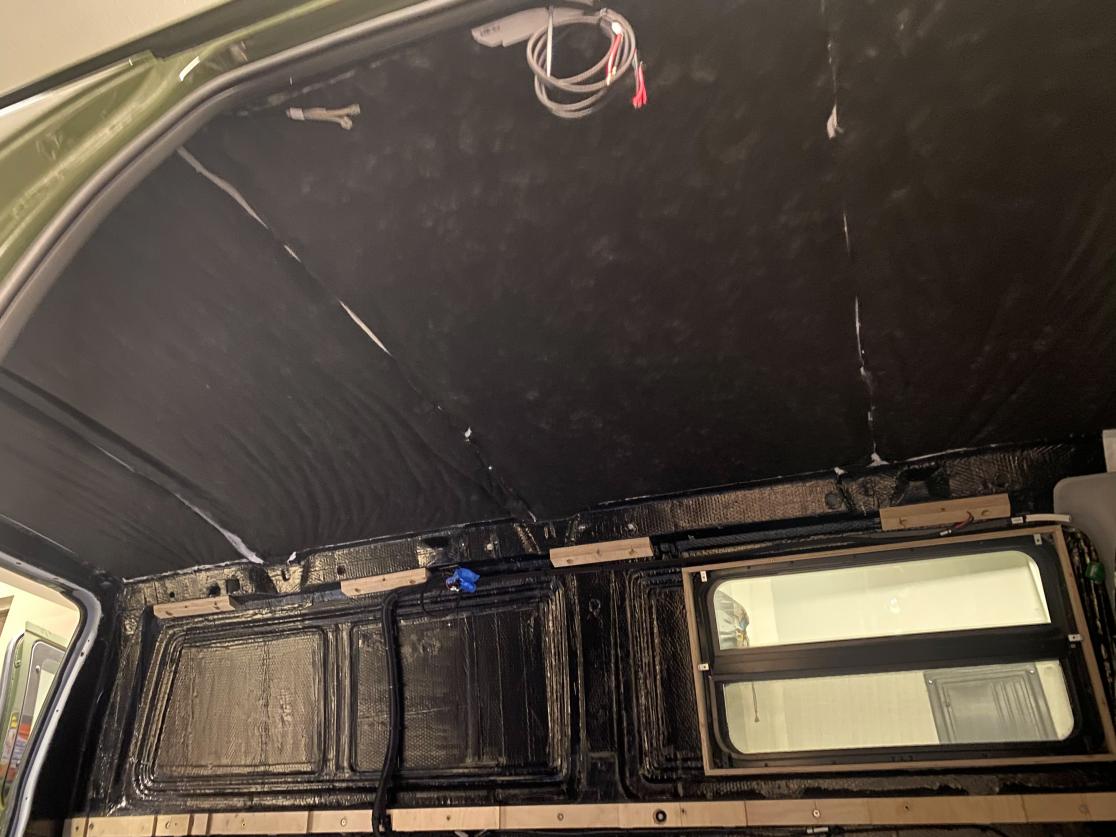
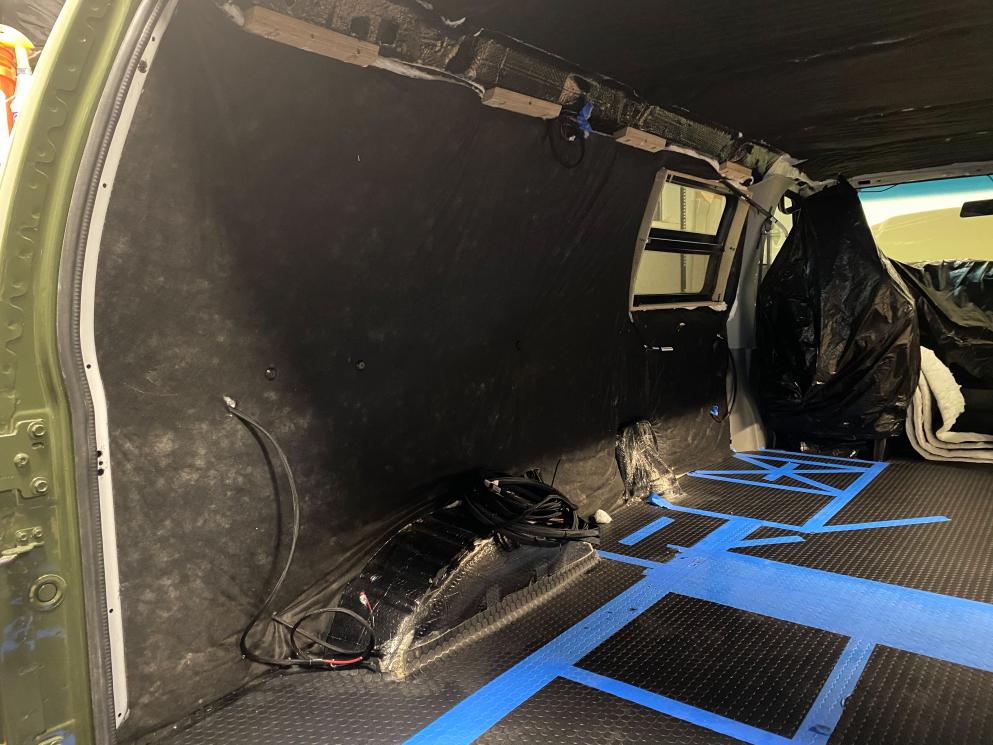
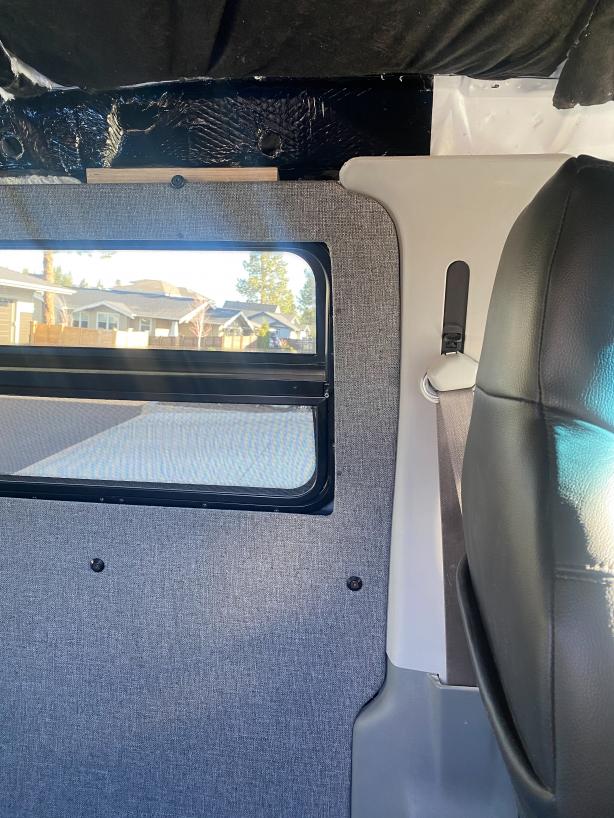
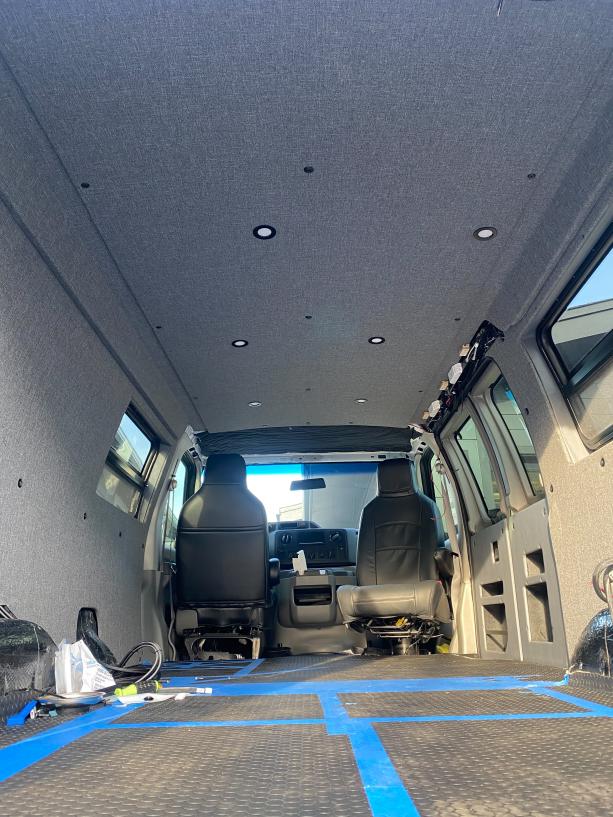
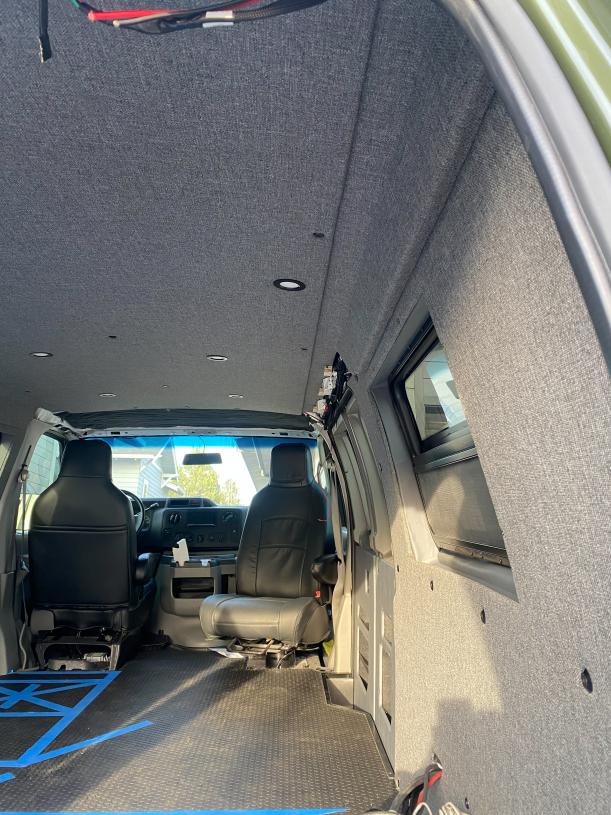
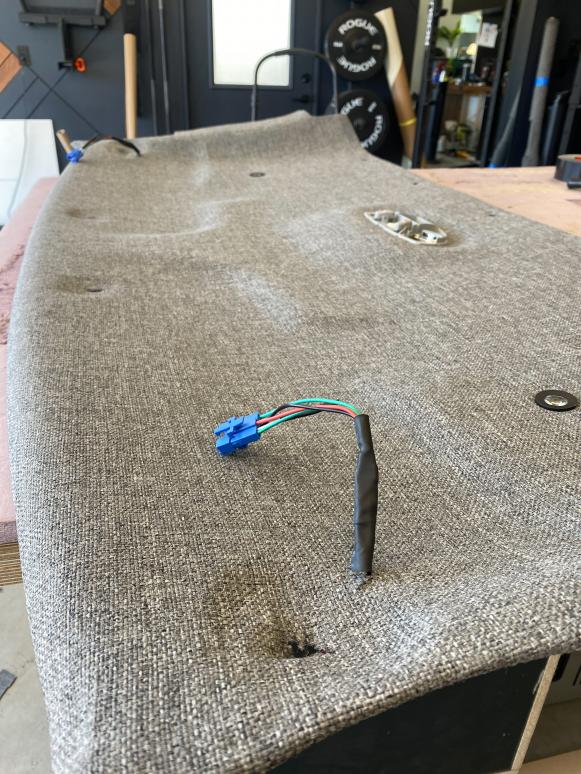
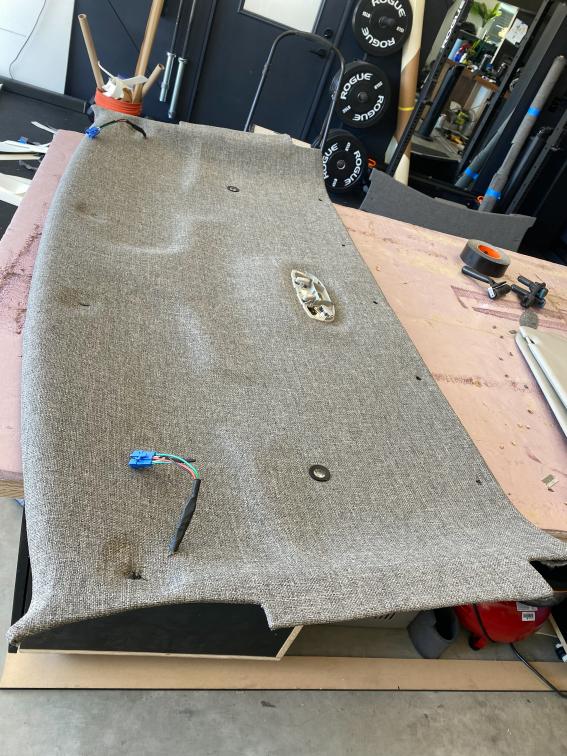
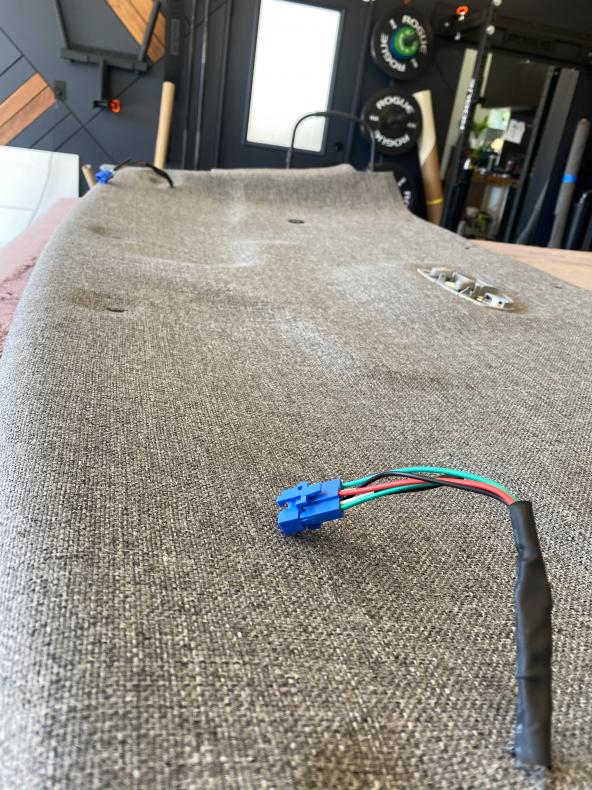
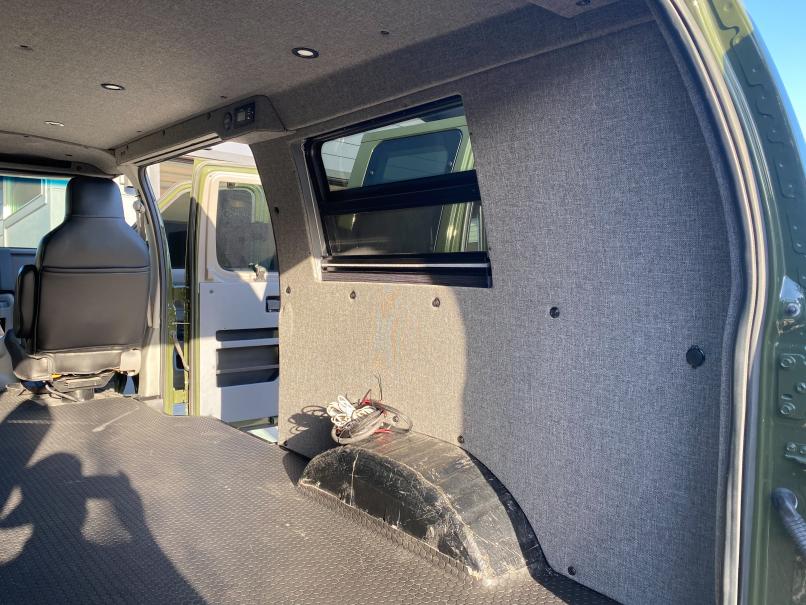
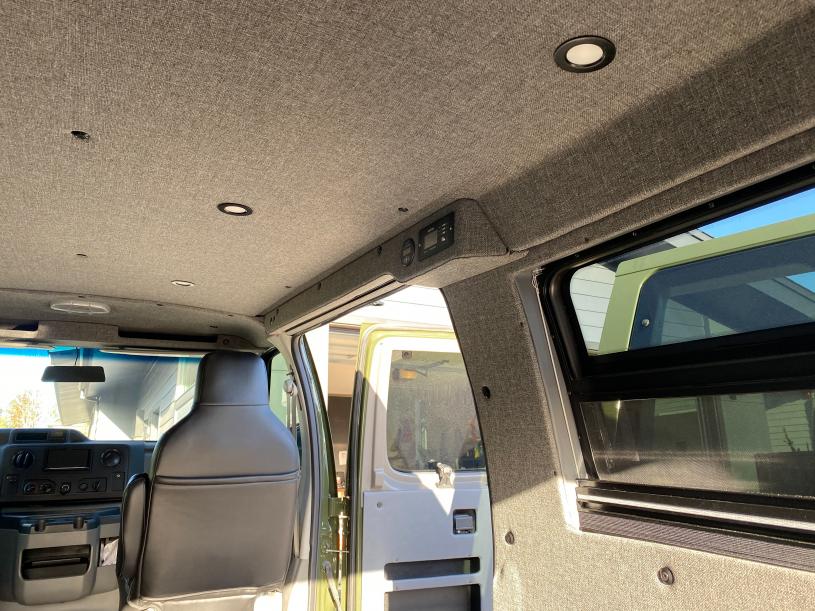
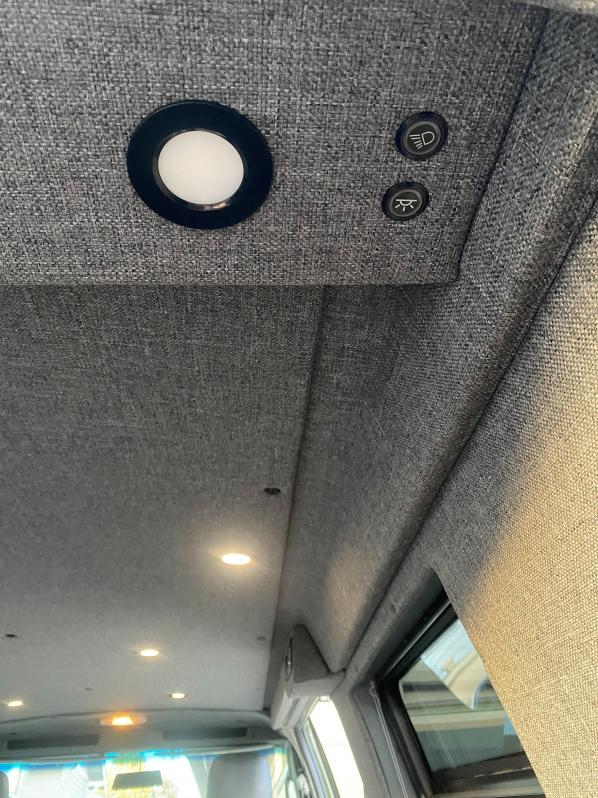
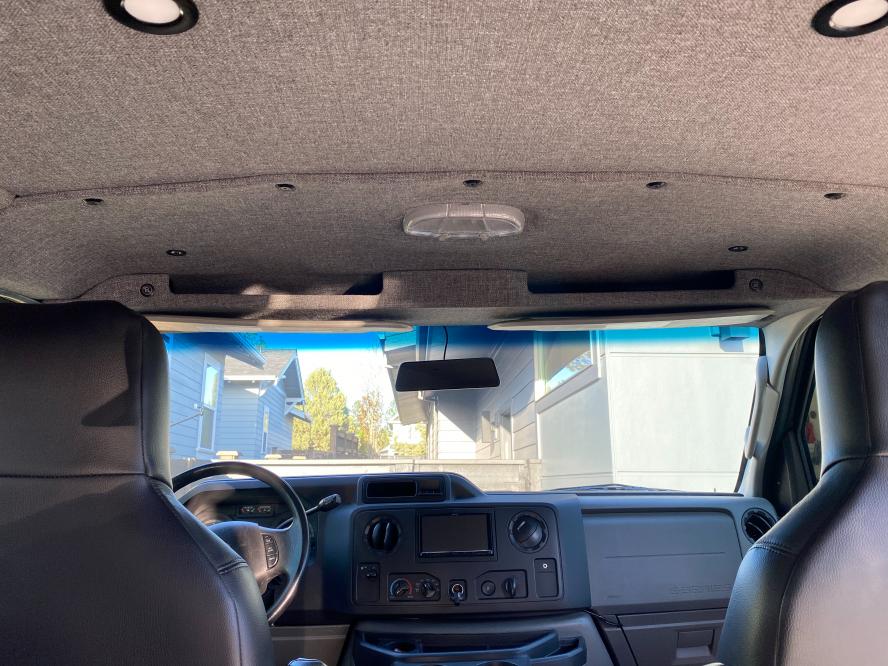
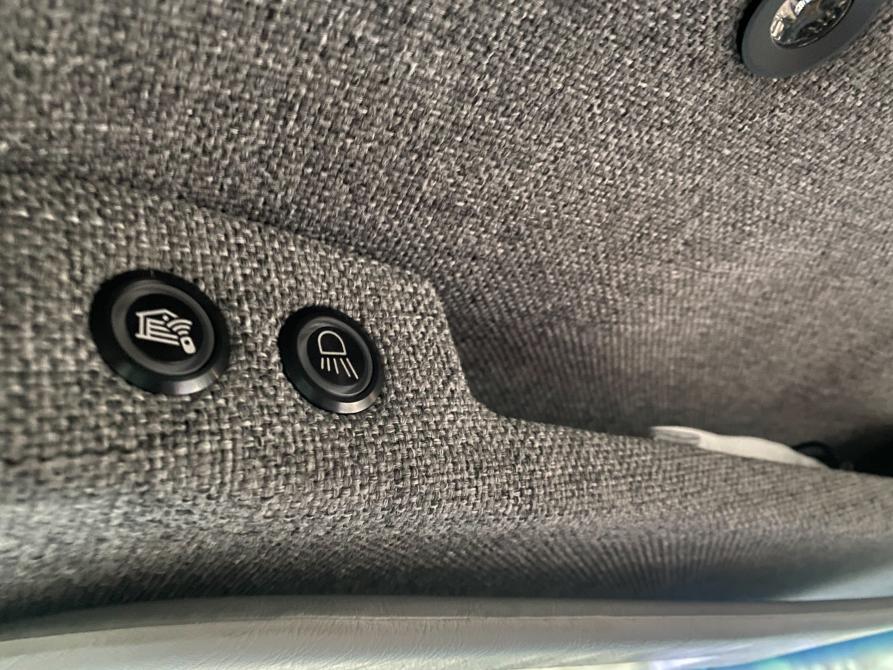
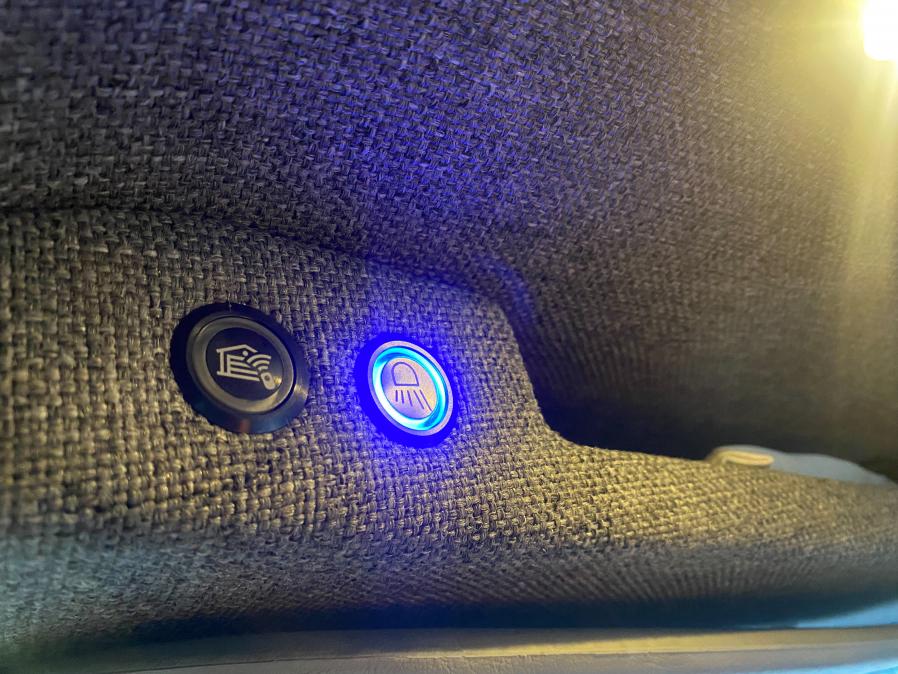
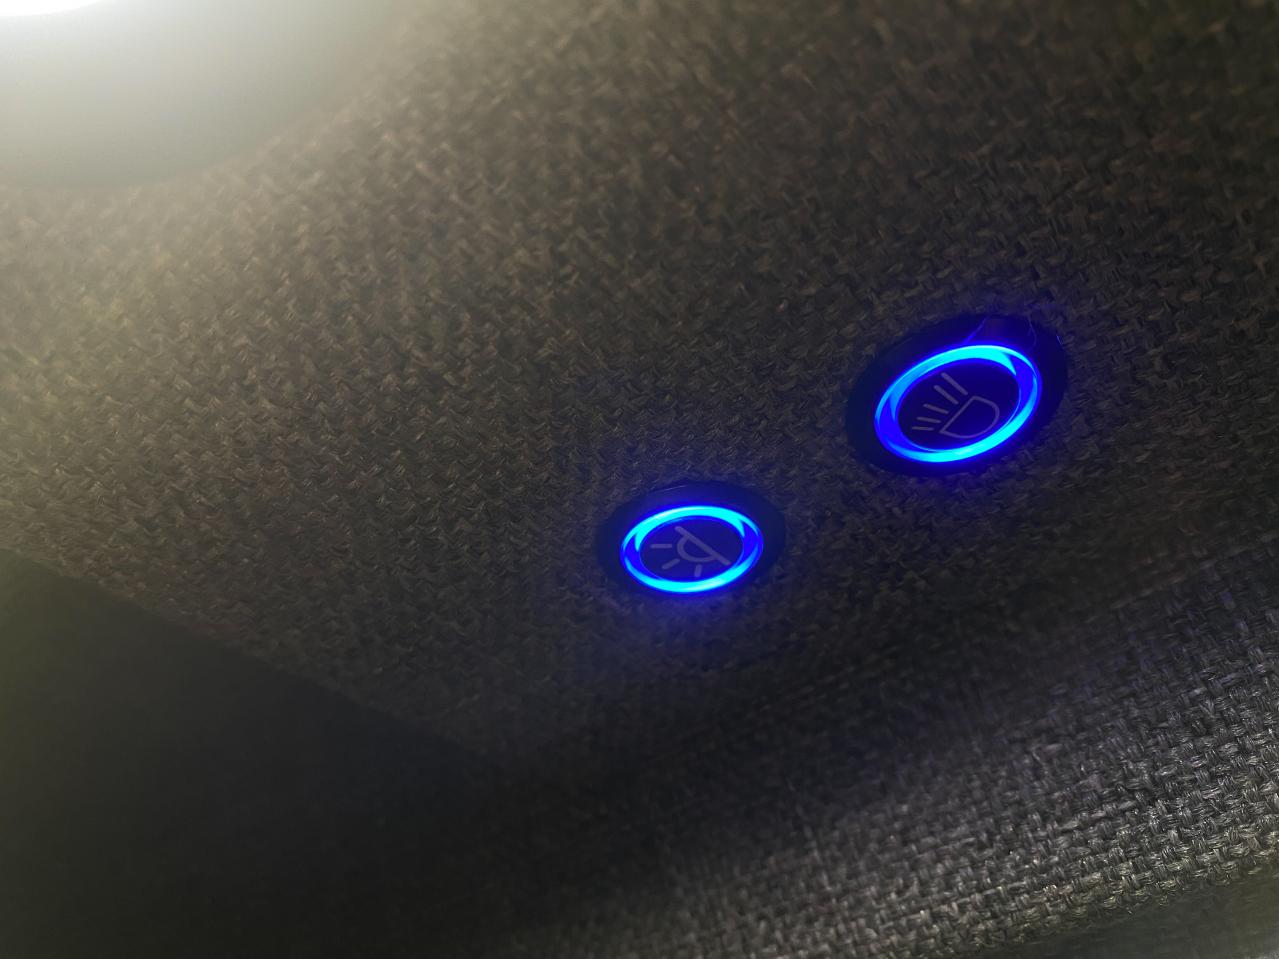
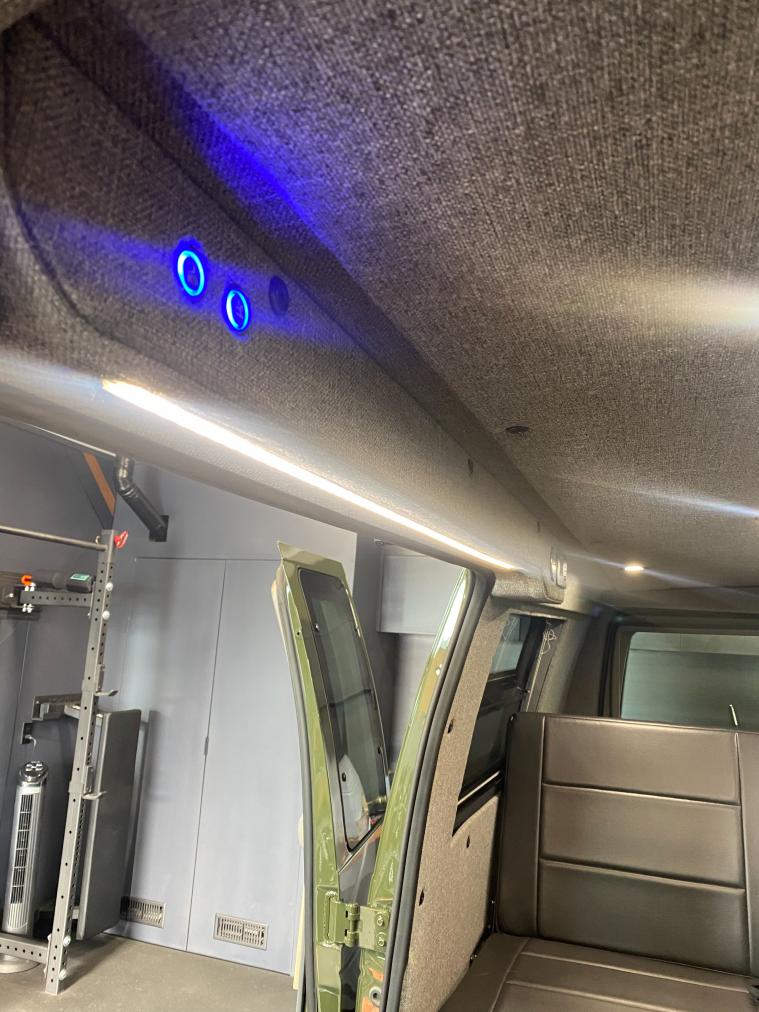
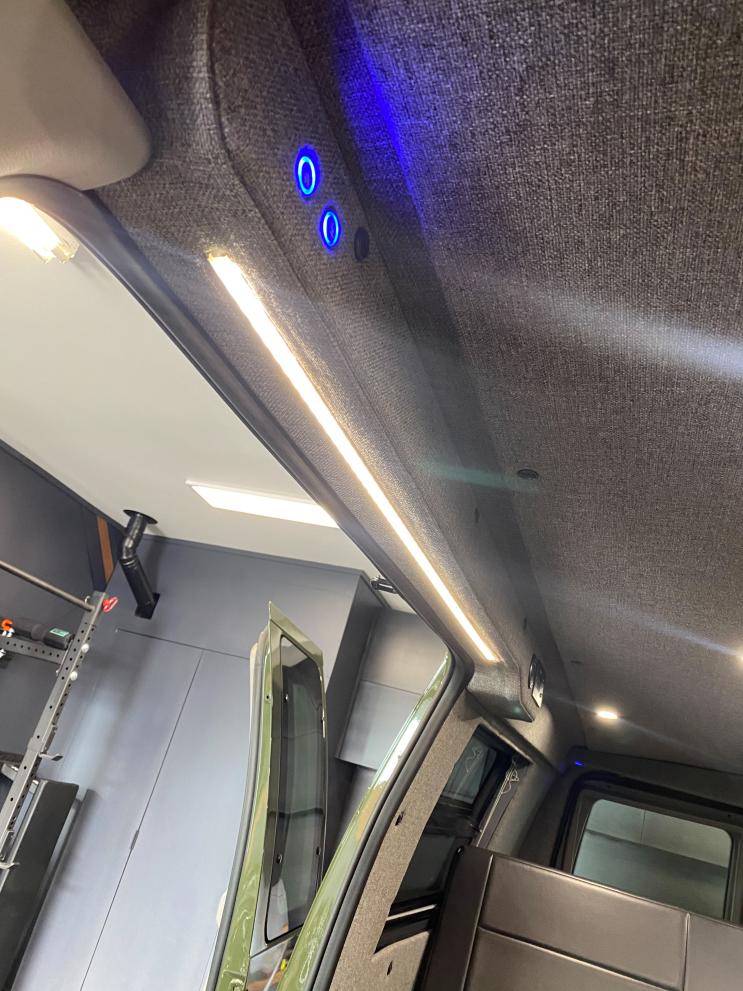
-The following day I got to removing even more parts to finish up some of the wiring that I had previously left behind the wall and finished up wiring the ceiling lights to the dimmer modules. One thing that I had some issues with was the dimmer module trying to run two switches for the main lights while maintaining the button LED and dimming function. After some trial and error, I finally got it working.


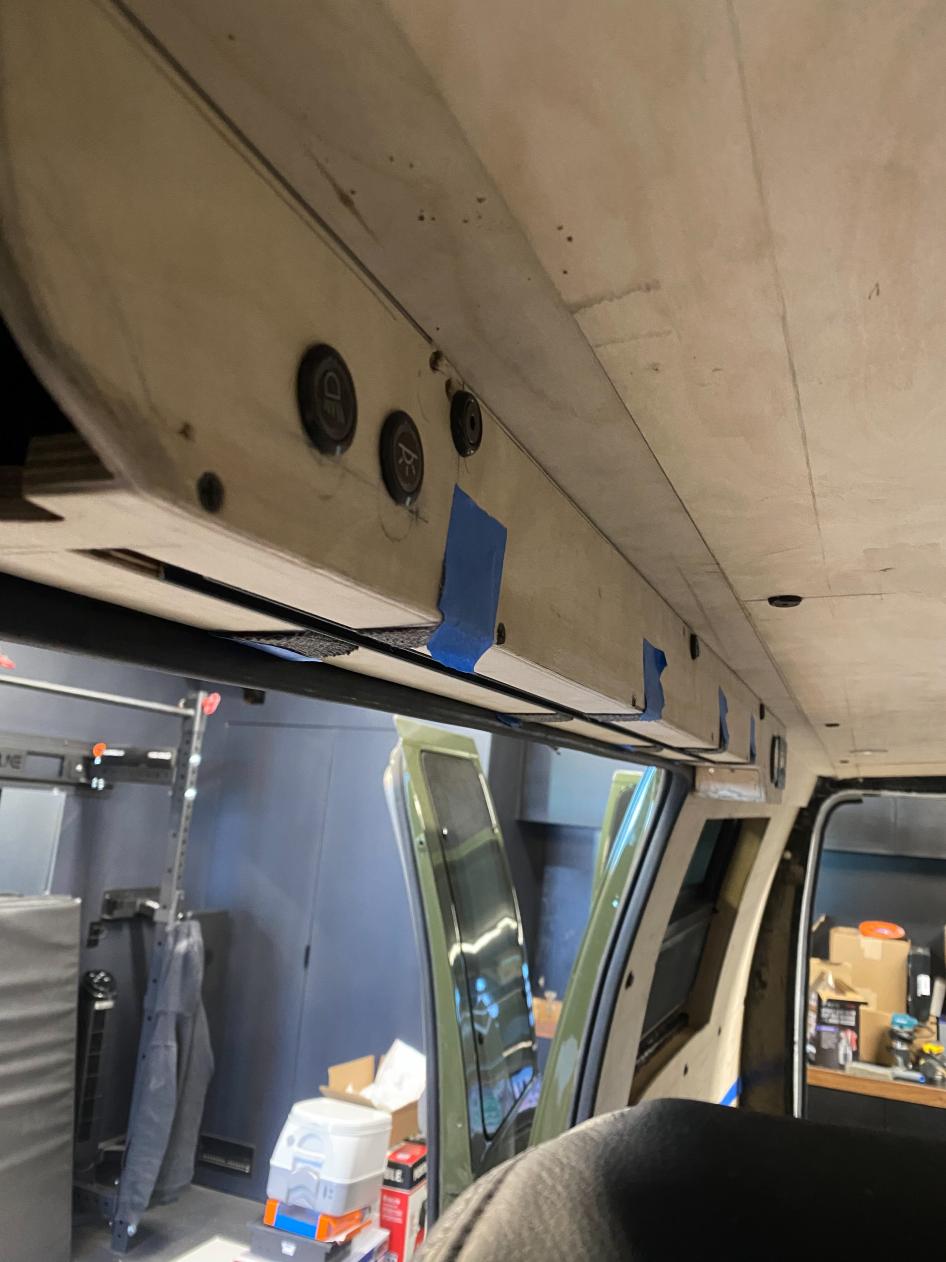
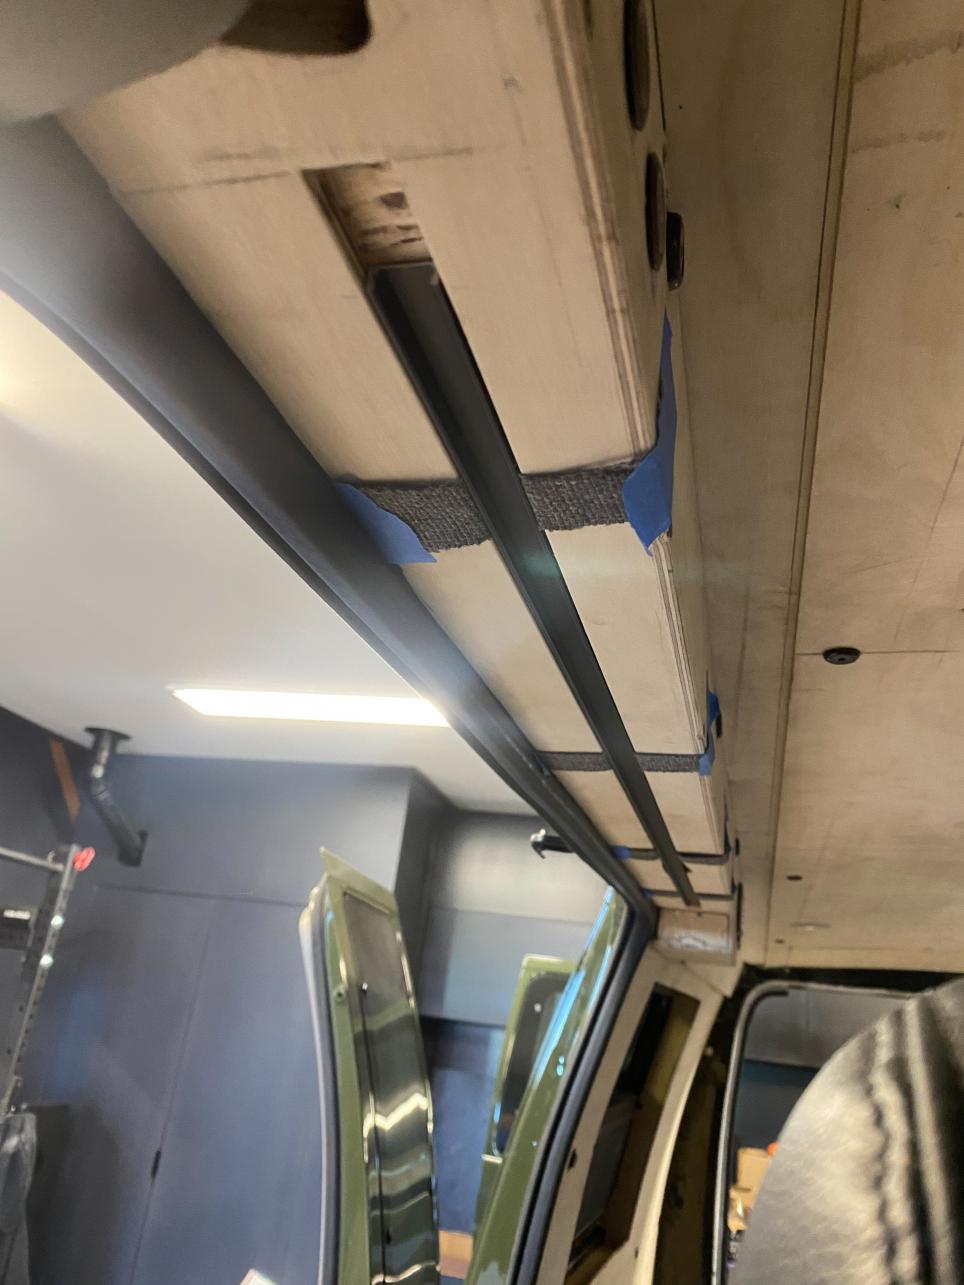
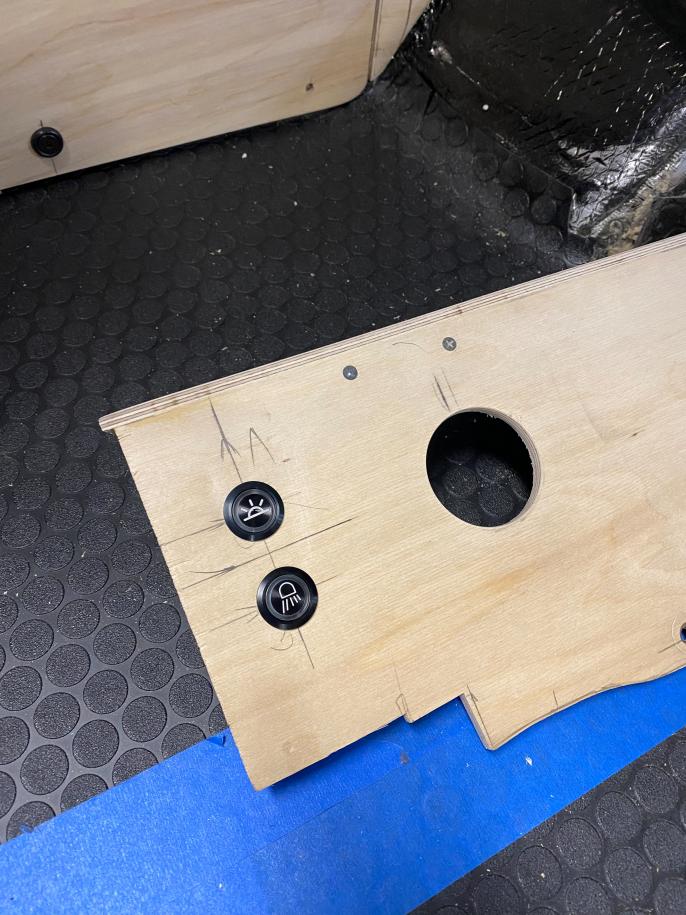
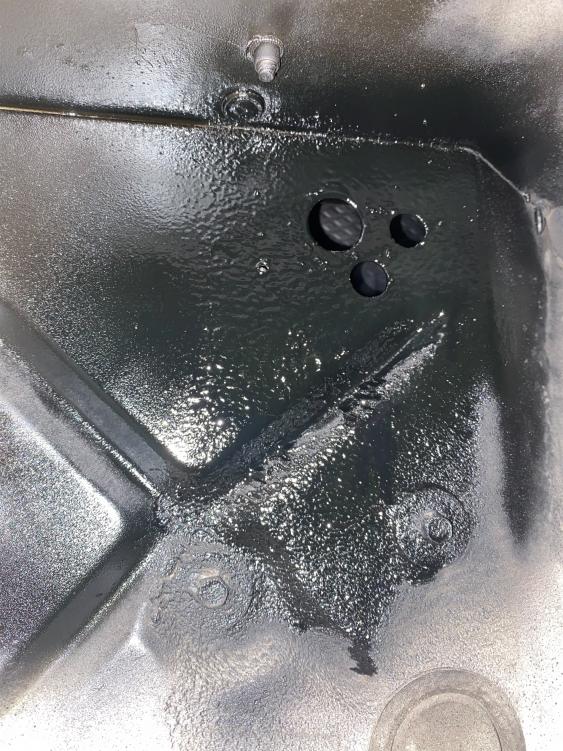
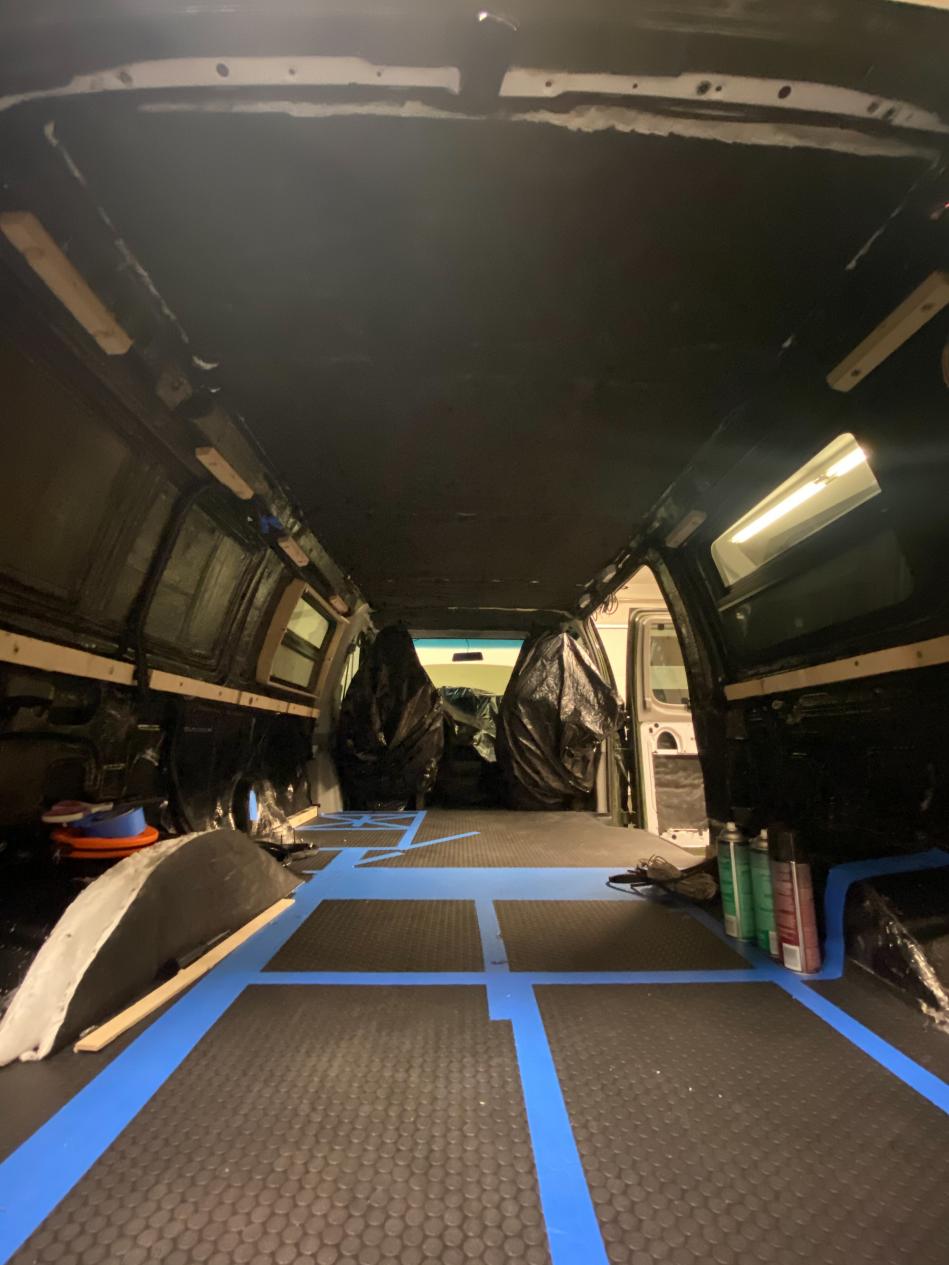
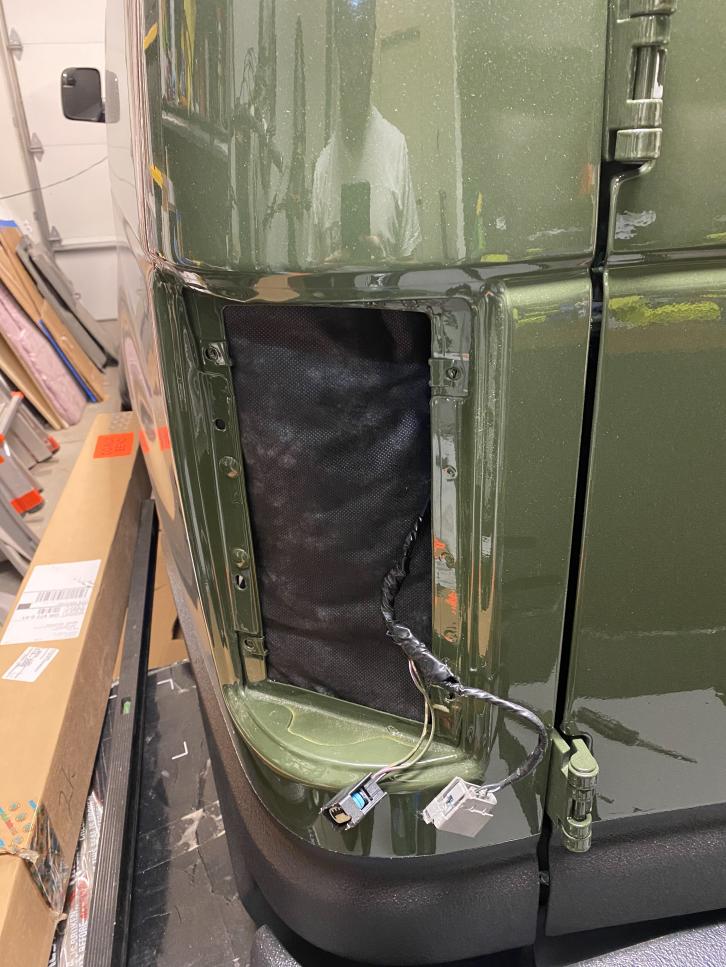
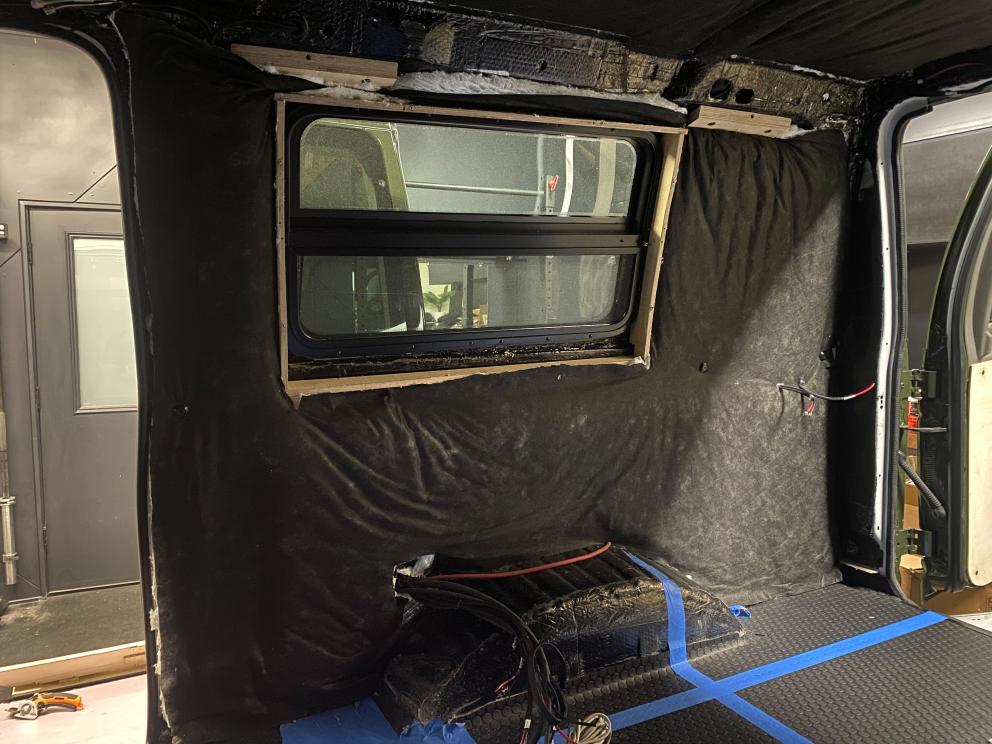
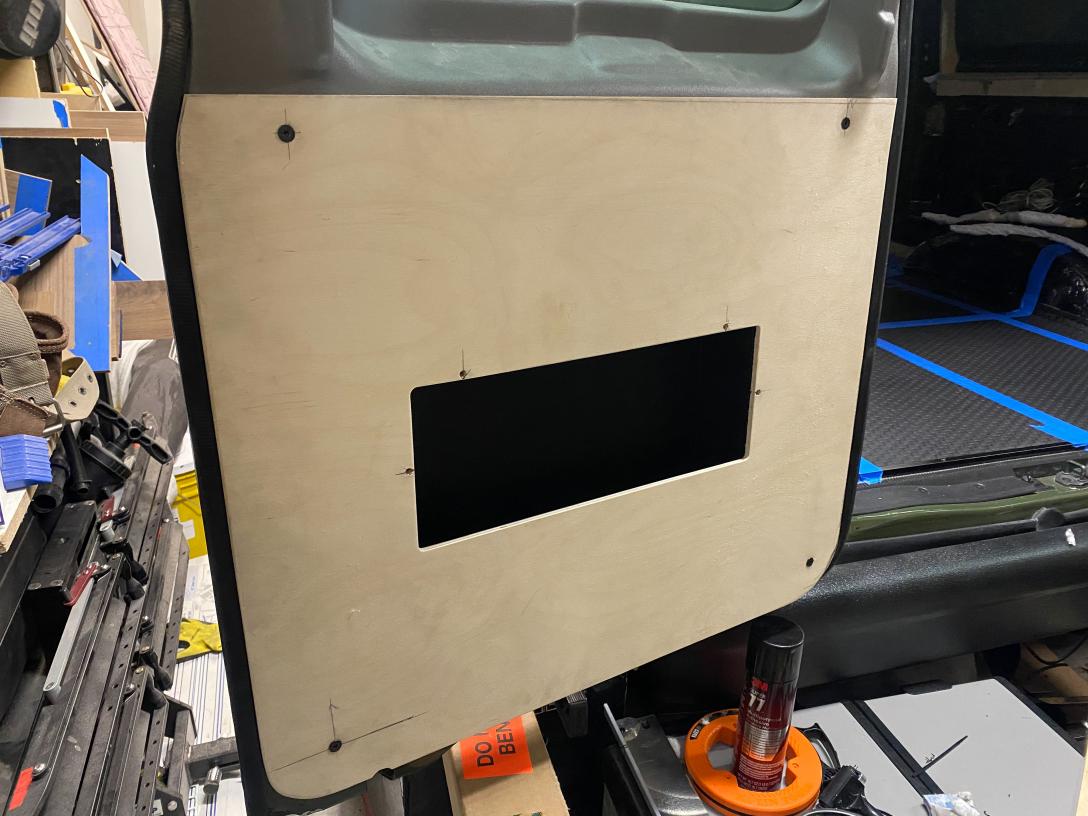
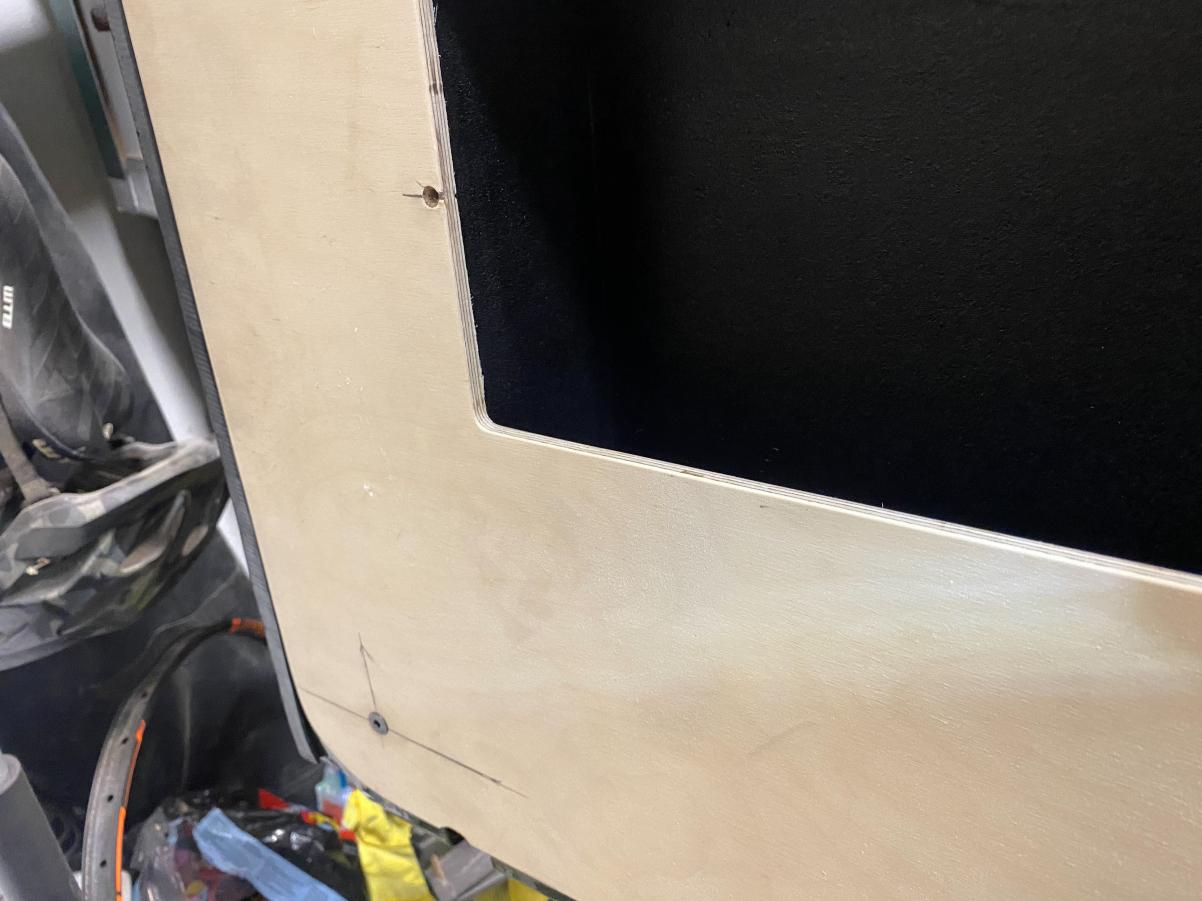
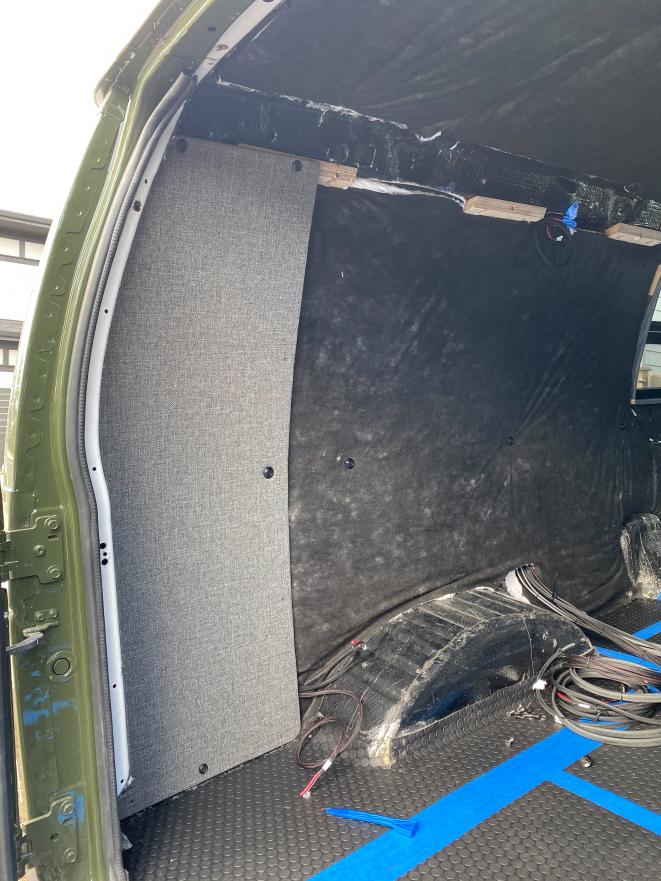
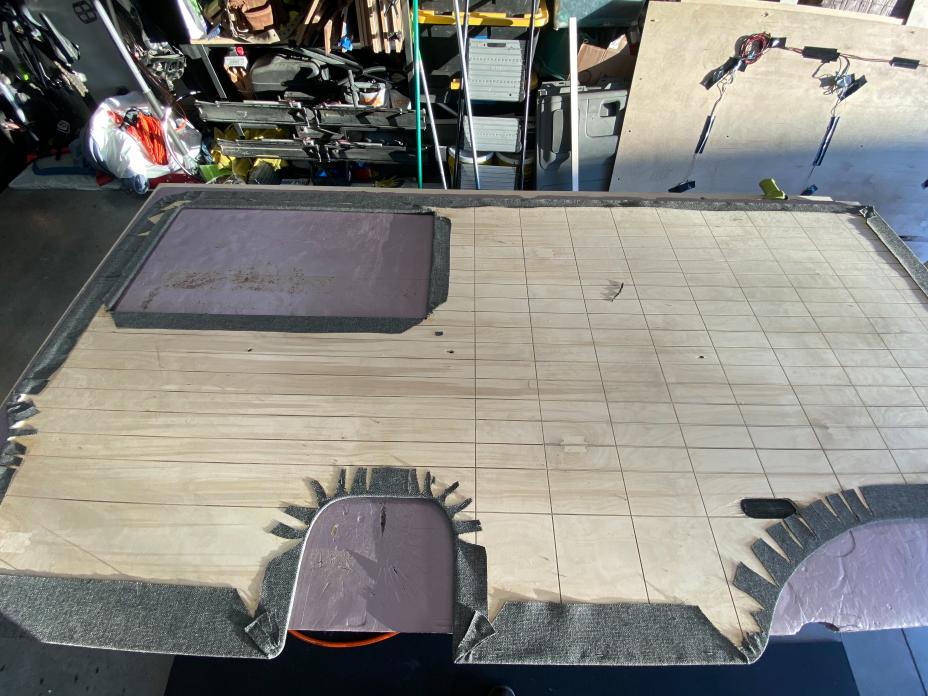
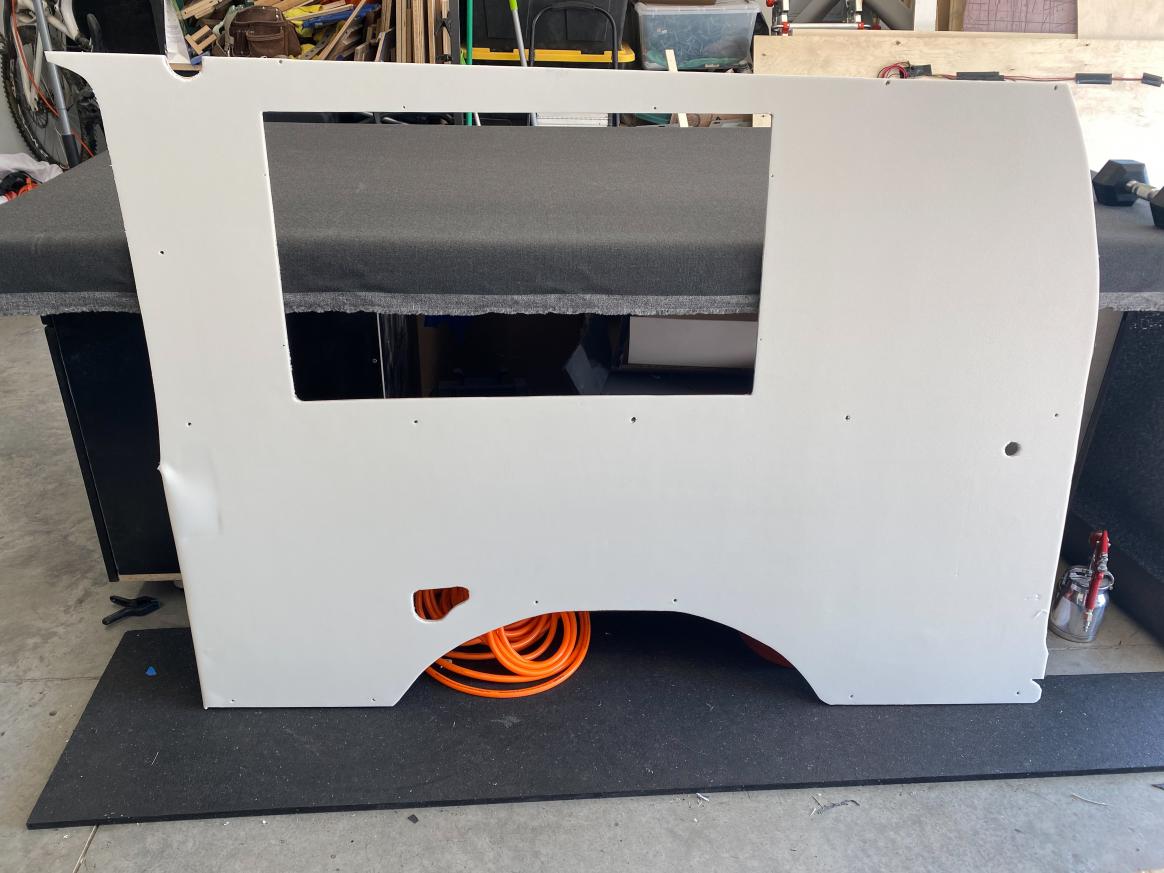
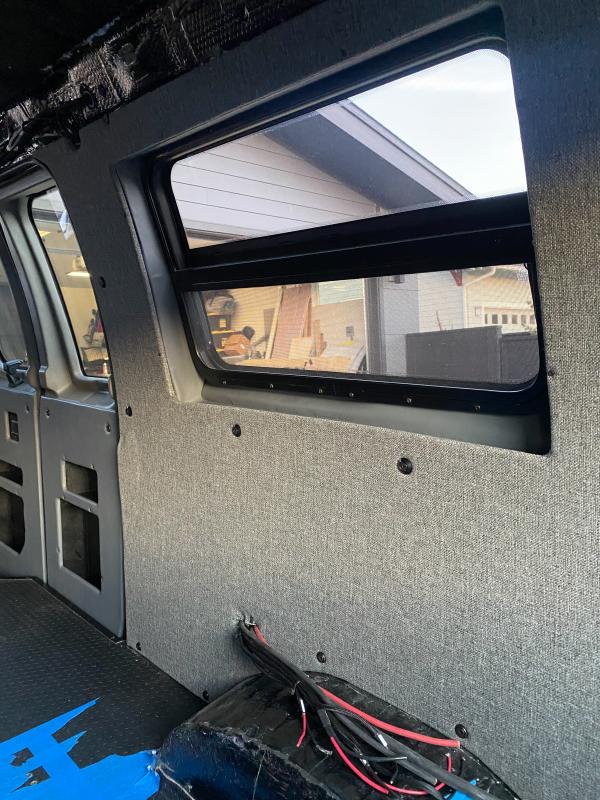
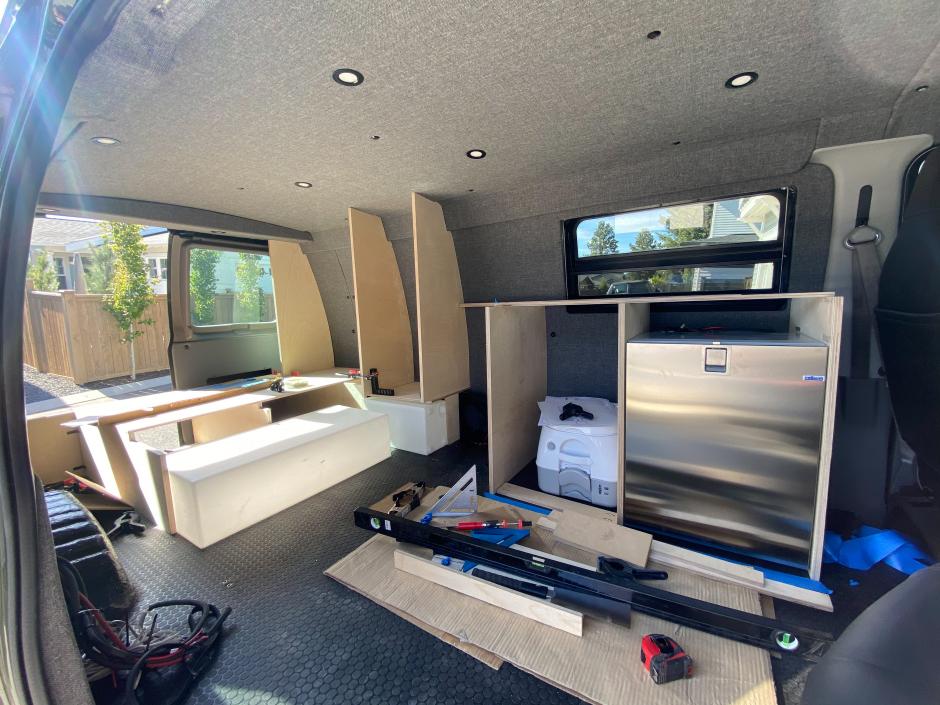
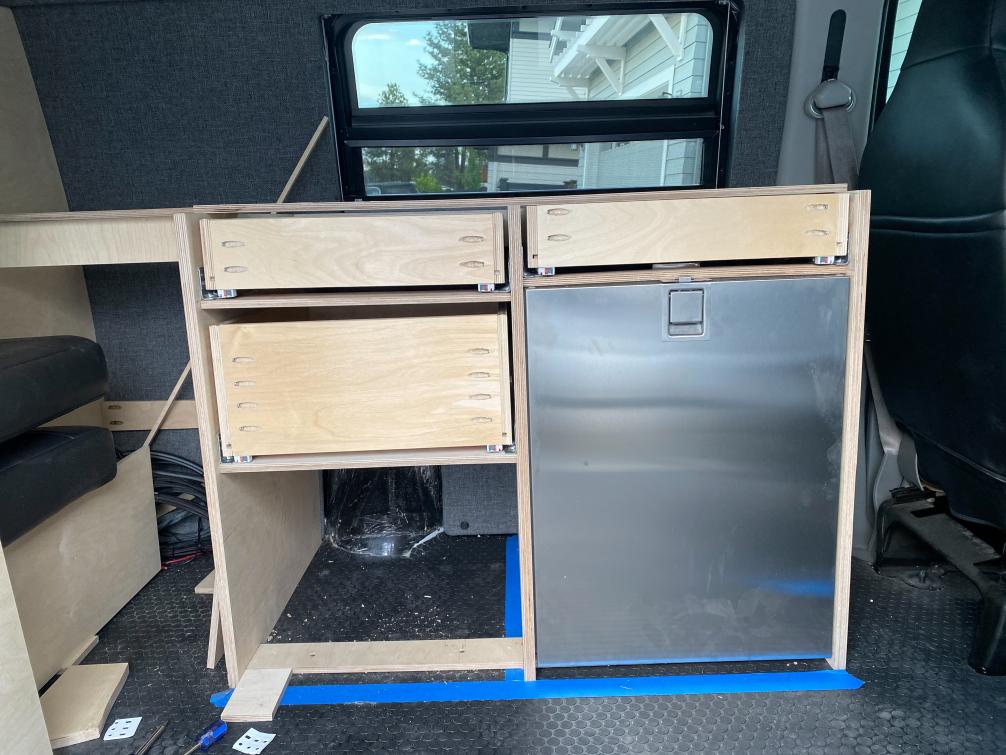
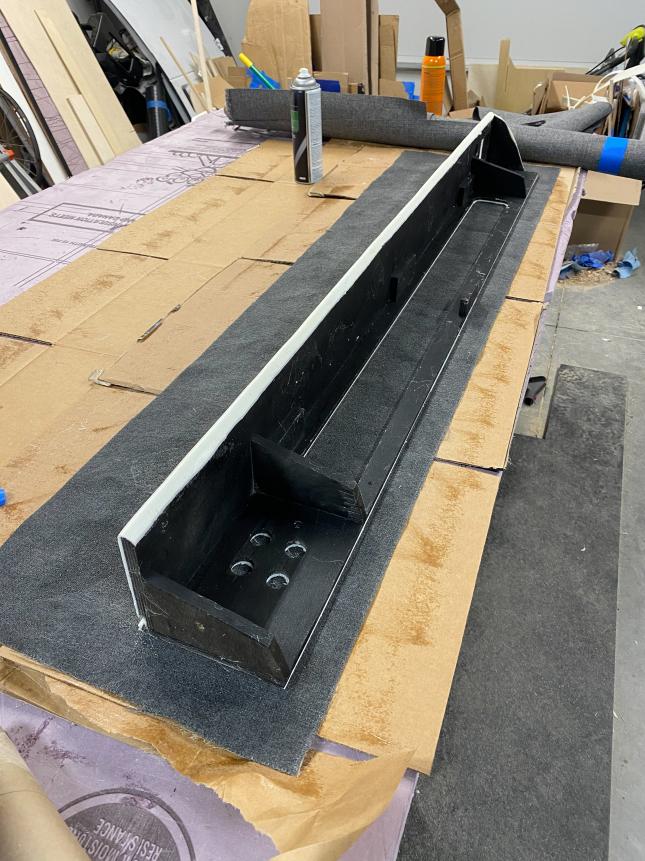
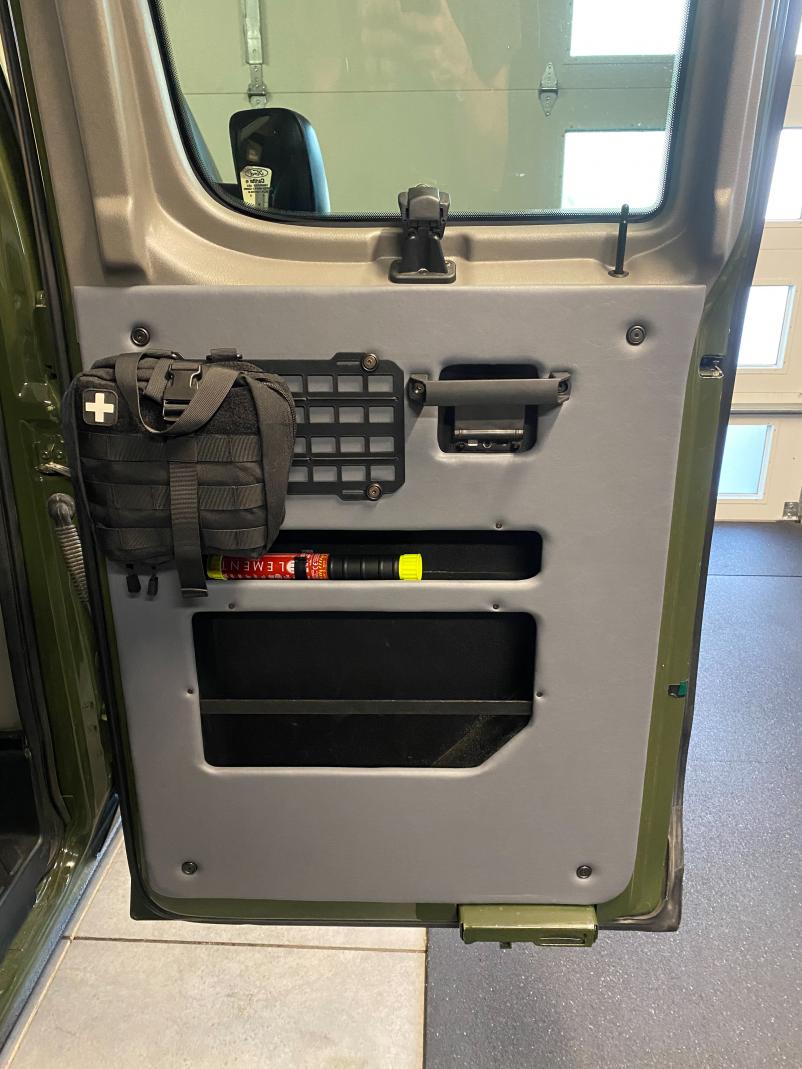
-I also worked on cutting in some holes and openings for weight savings and venting of the electrical cabinet as well as the fridge.


Lamination Process:

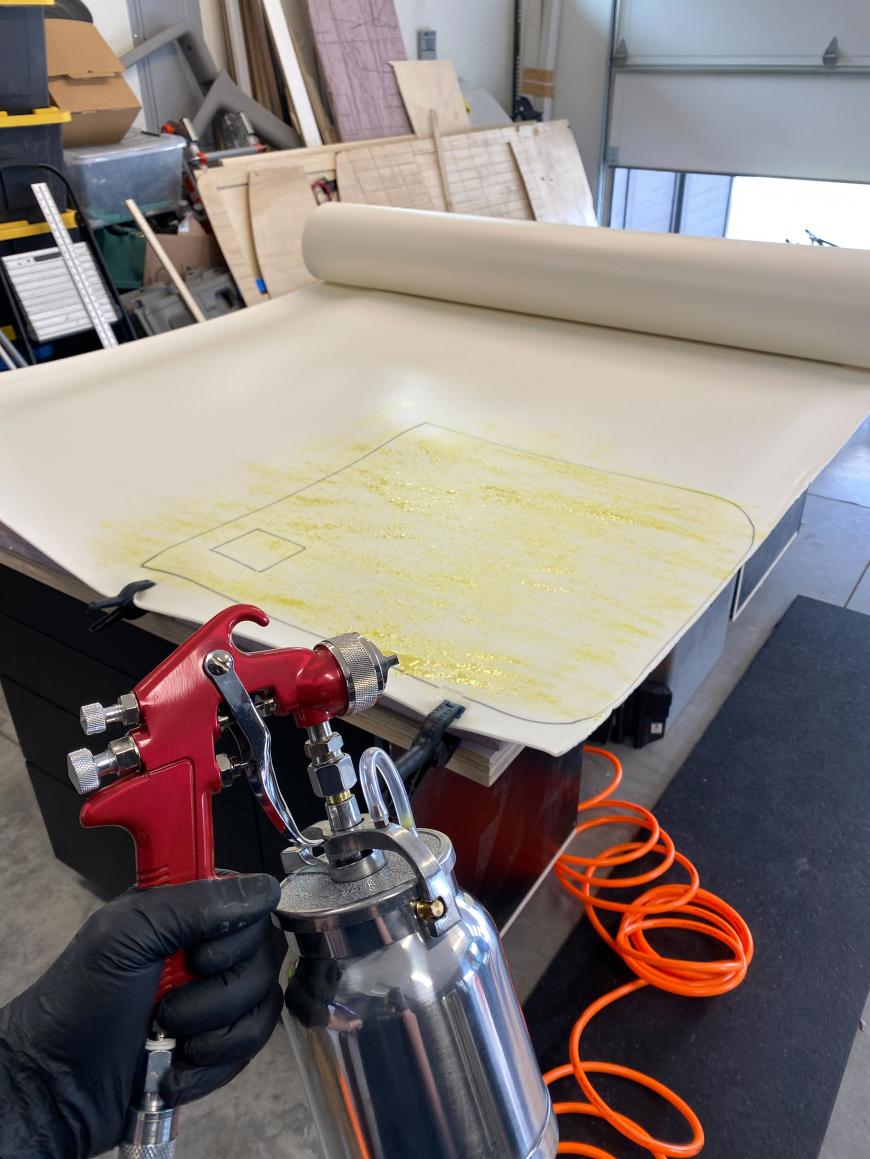
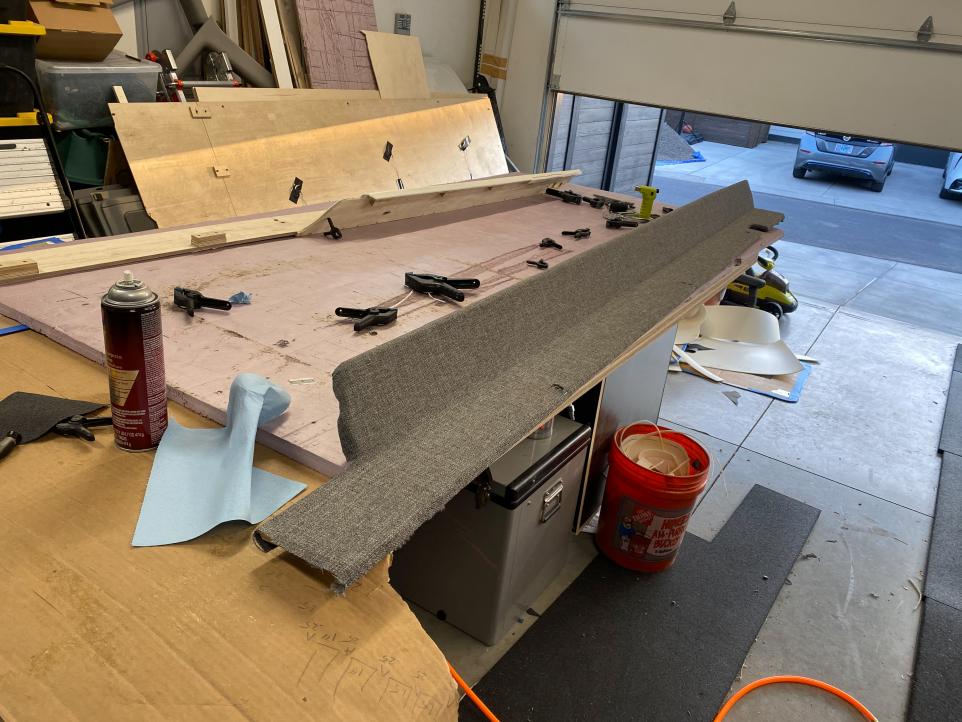
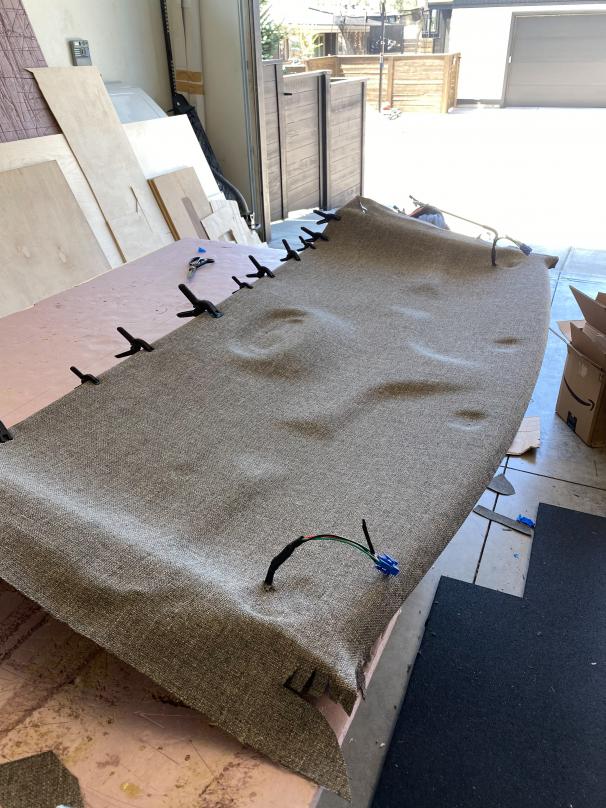
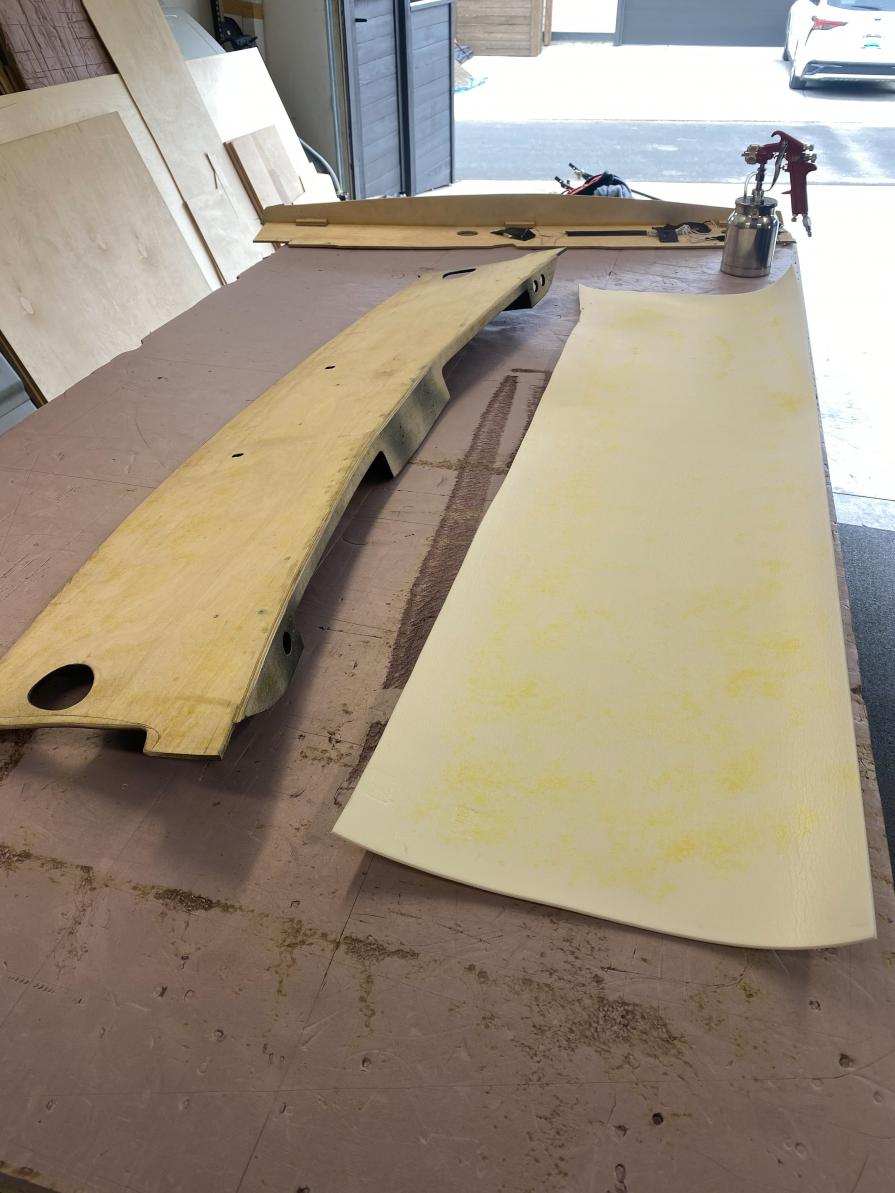
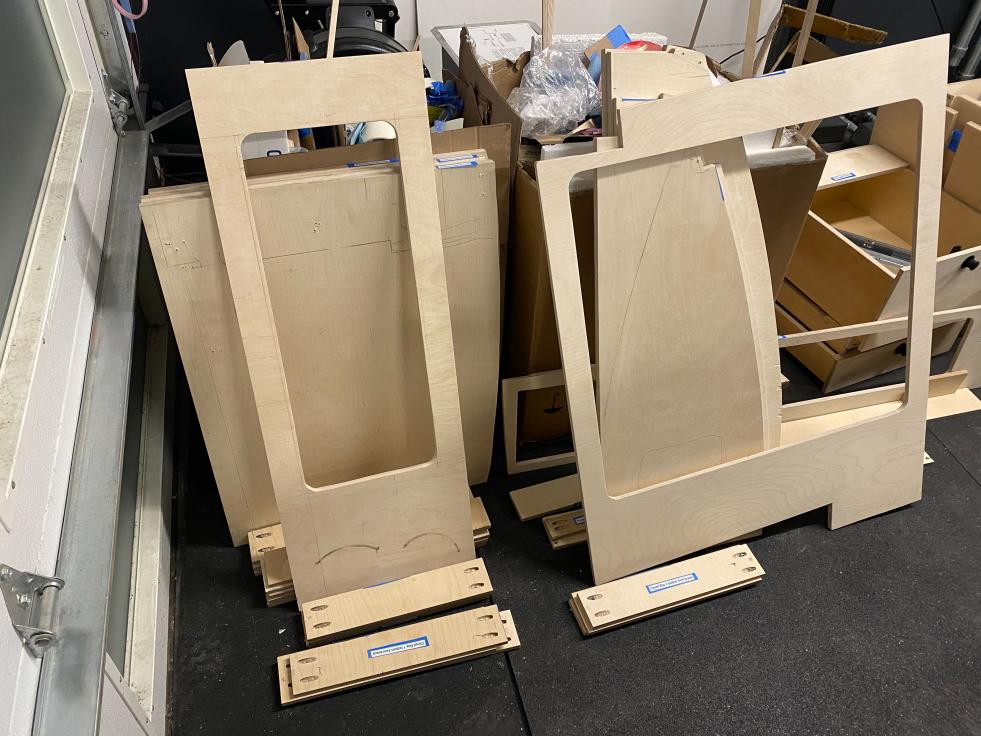
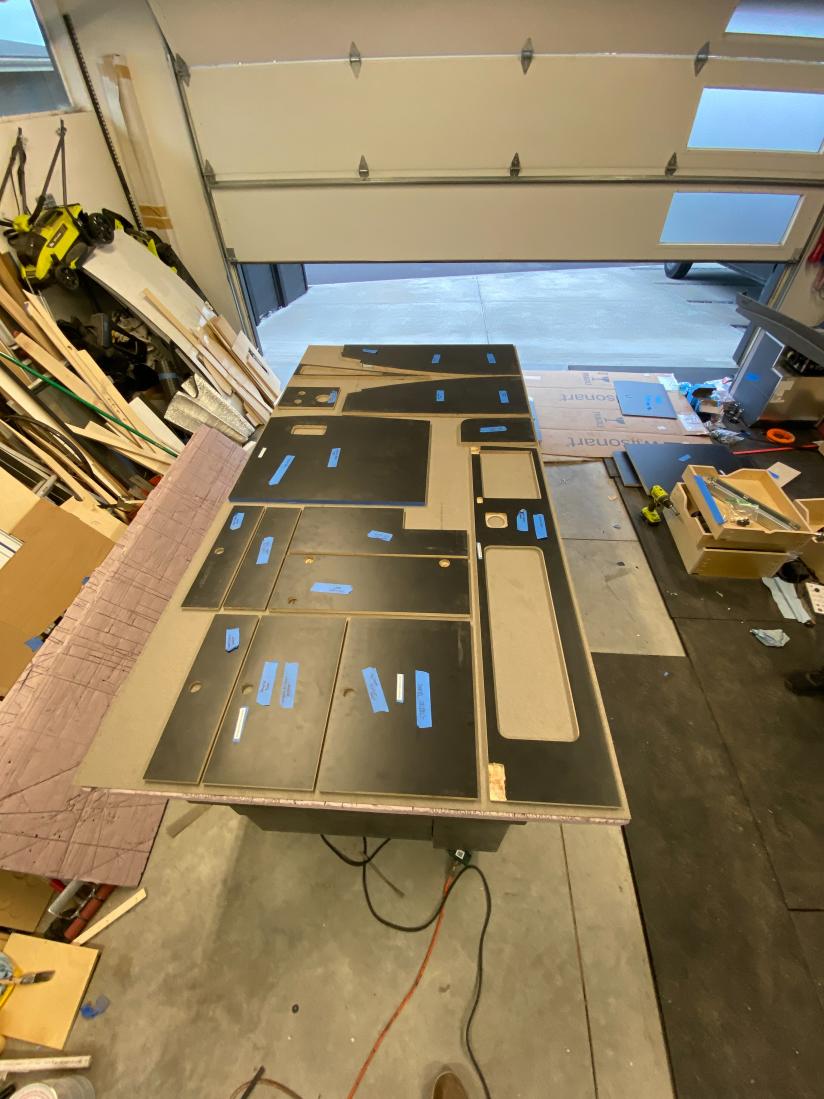
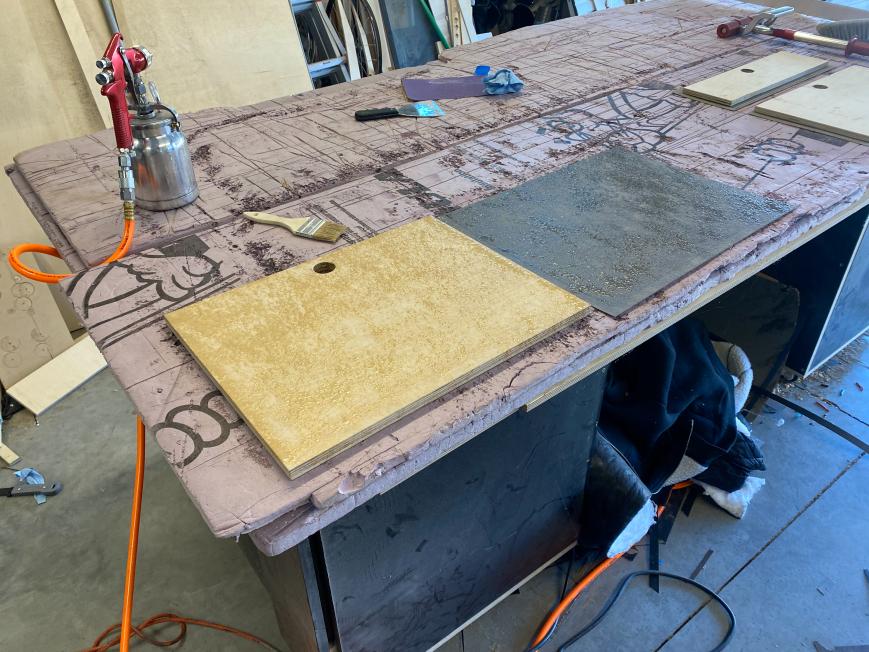
-After lots of research through forums and youtube we found a good rough walkthrough that we semi followed for the process of the lamination. The basic process was to lay out the sheets of laminate finish side down then take each cabinet piece and lay it out on the sheet to try to minimize the waste. Then trace all the shapes out and label each shape. After getting it all laid out I took a track saw and cut out each rough shape and stacked it with its corresponding panel. Then using the sprayer I sprayed the laminate and cabinet piece with glue. Most tutorials suggest putting the laminate on top of the wood, but we found the opposite worked better. We would lay the laminate out and then line up the wood as close to our traced line as we could and apply even pressure. Once it was stuck we would flip the assembly over and use a laminate roller to even everything out. Then we would use a trim bit that we picked up from amazon (Link) on our router to flush up the laminate. After this, we would file and sand the edges to break any sharp edges.

14991-albums1480-picture45211.jpg

14991-albums1480-picture45212.jpg

14991-albums1480-picture45213.jpg

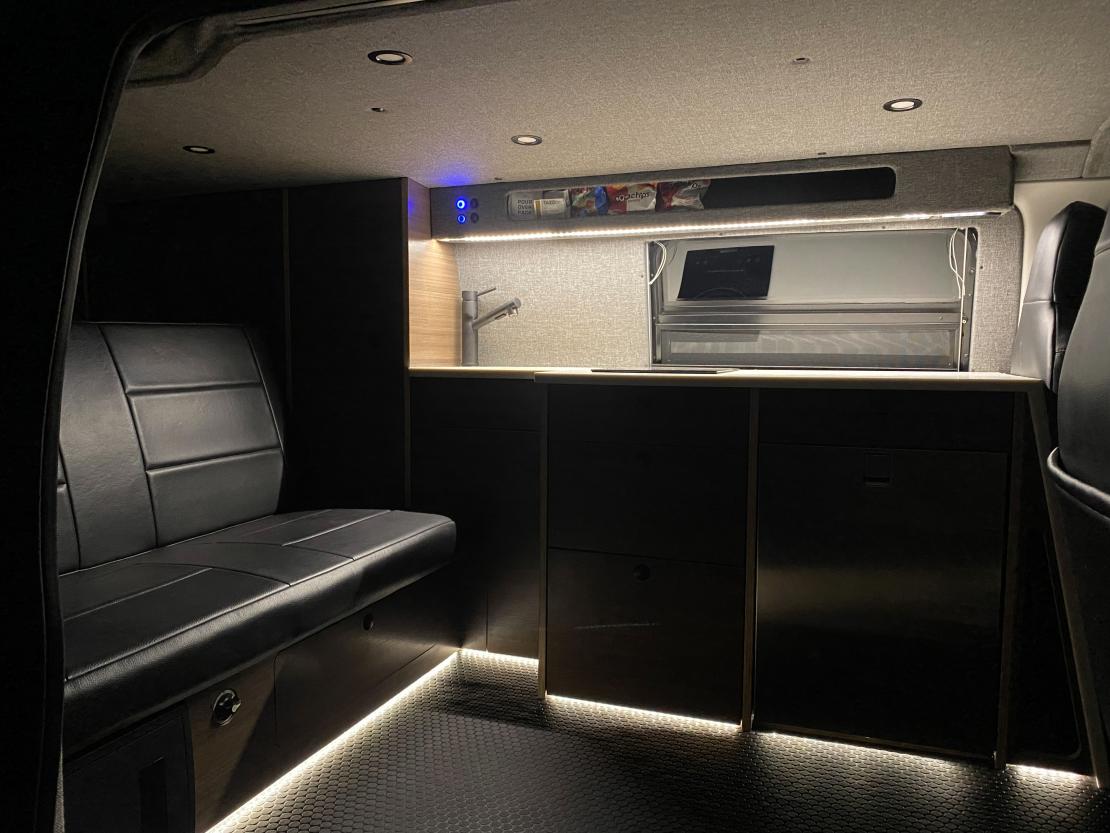
-Since we were doing black on the inside and Wilsonart Studio Teak on the outside we had to repeat this process twice. We started on the inside black section just so we could get a feel for how the process worked and because it didn't matter how precise we were with placement as it’s all just a solid color. When it came time for the Studio Teak side we had to be much more deliberate with layout and gluing as we were trying to grain match across the whole van. In the end, I would say we got pretty close considering on the inset flush doors we had to cut from two separate sections of the laminate.


-If you thought there were not enough pictures in the previous section you will be even more disappointed as I pretty much stopped doing anything but working from this point on.
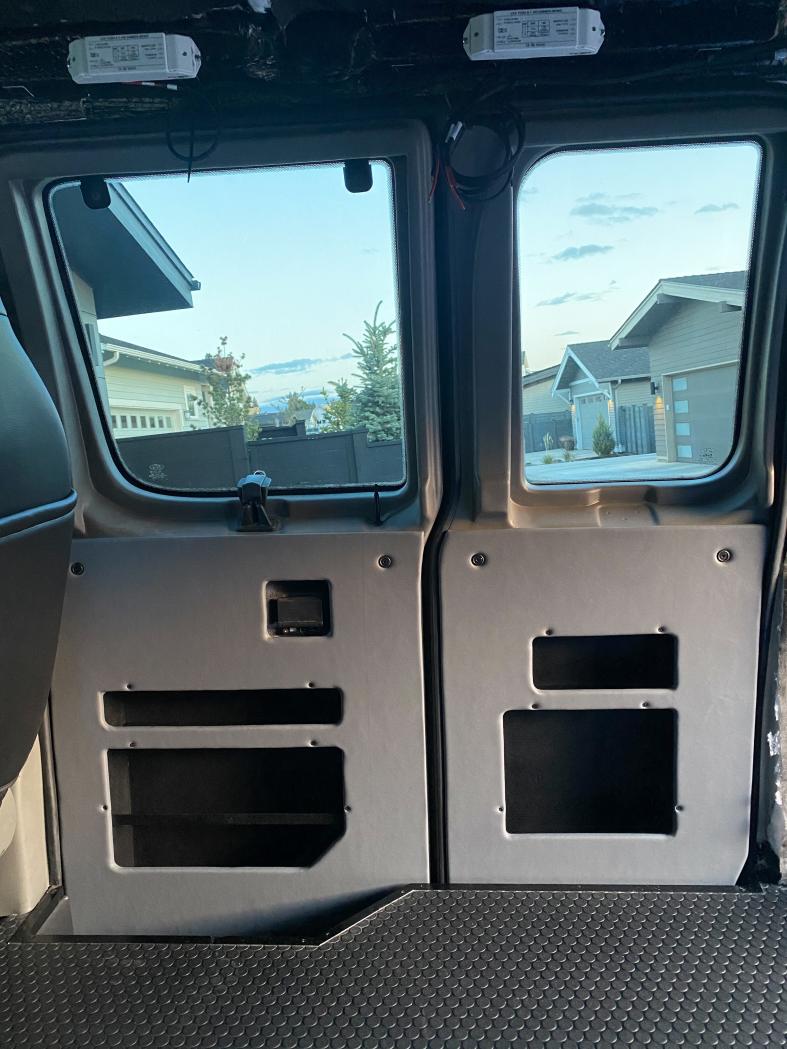
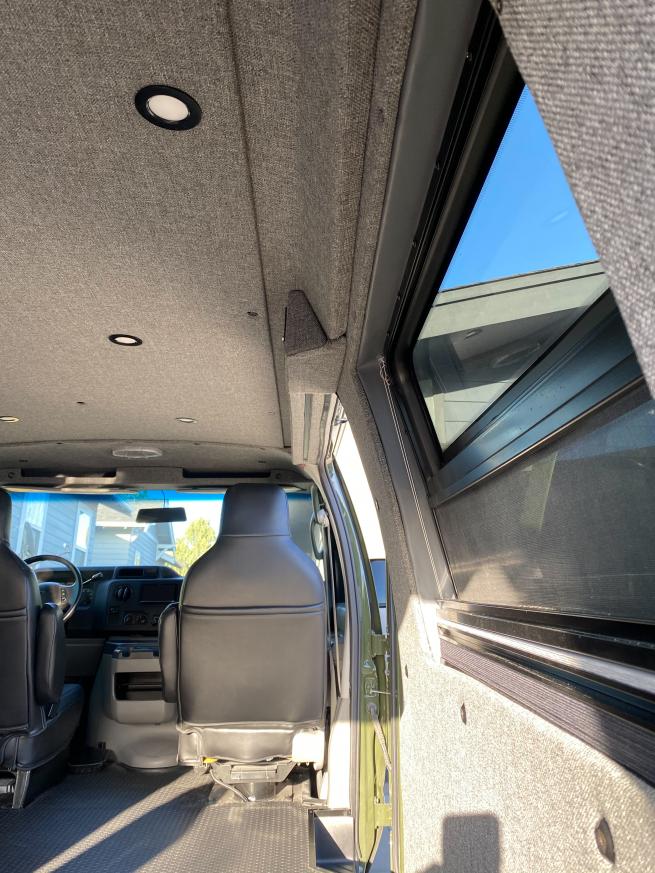
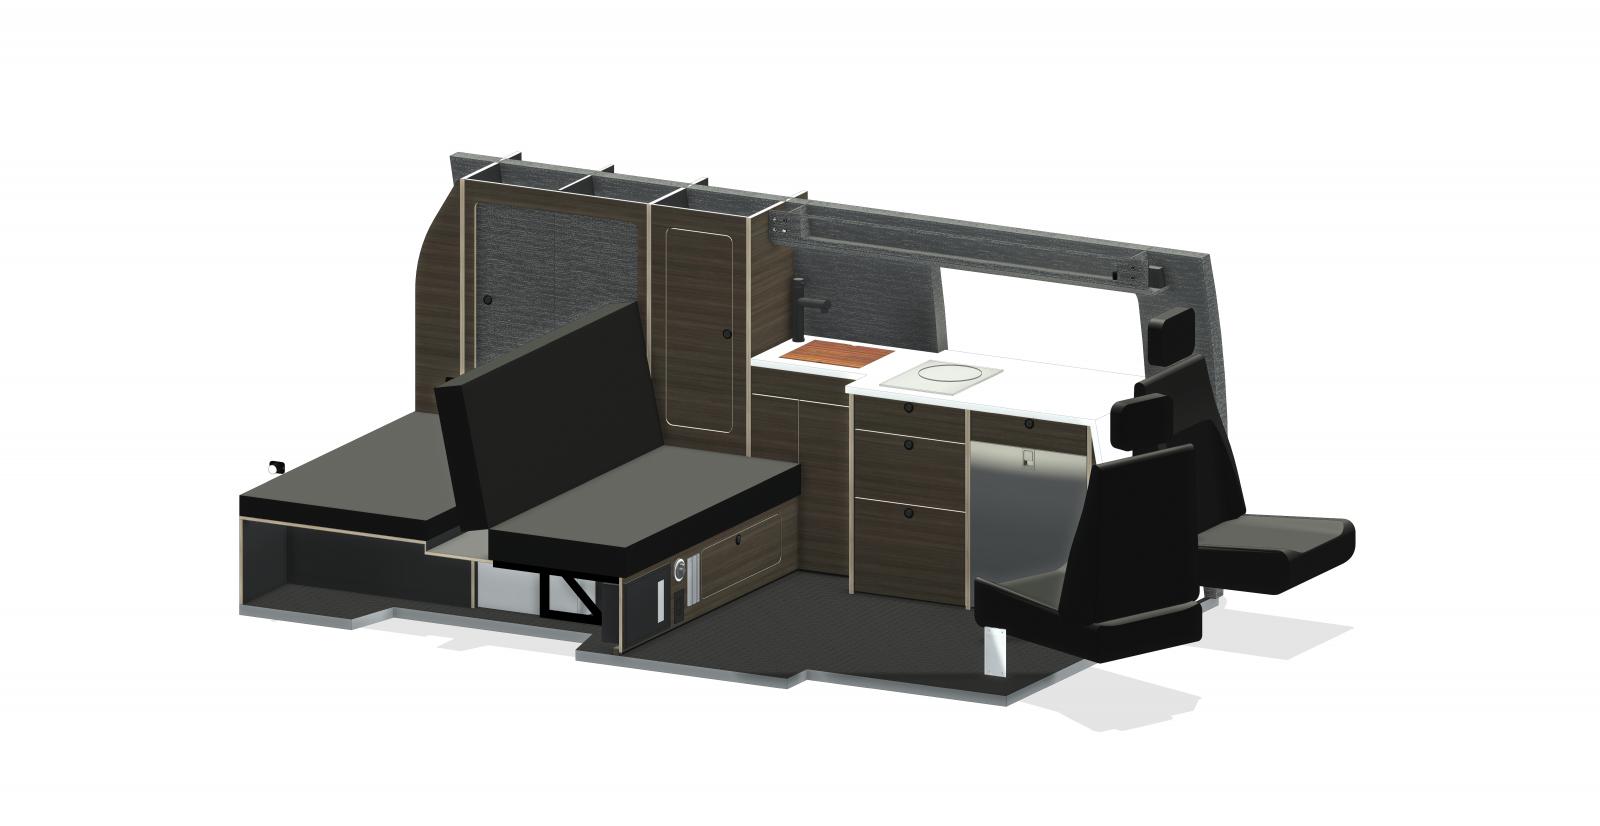
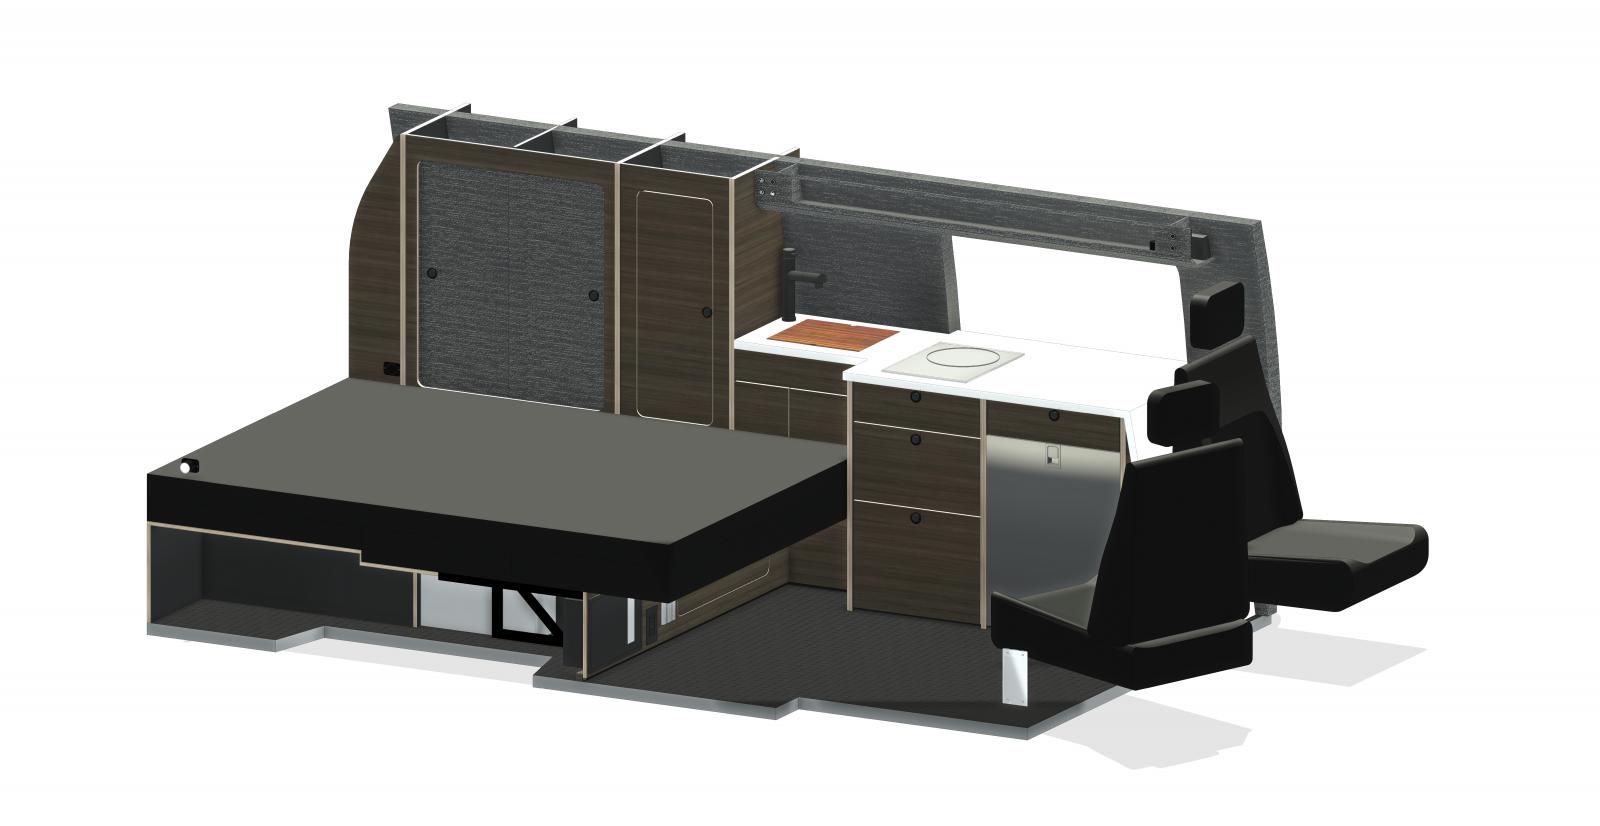
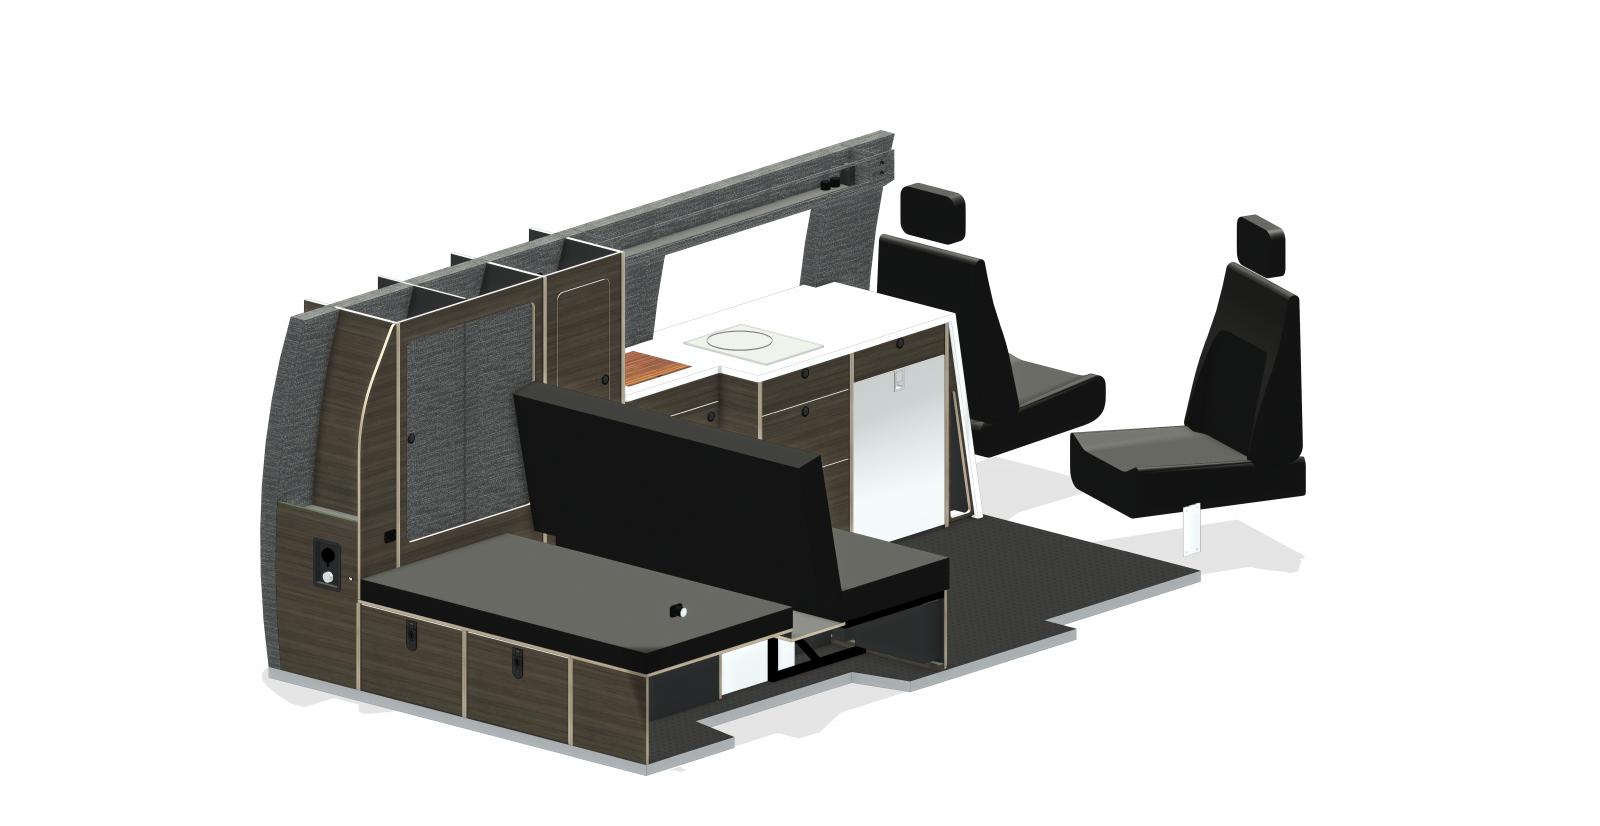
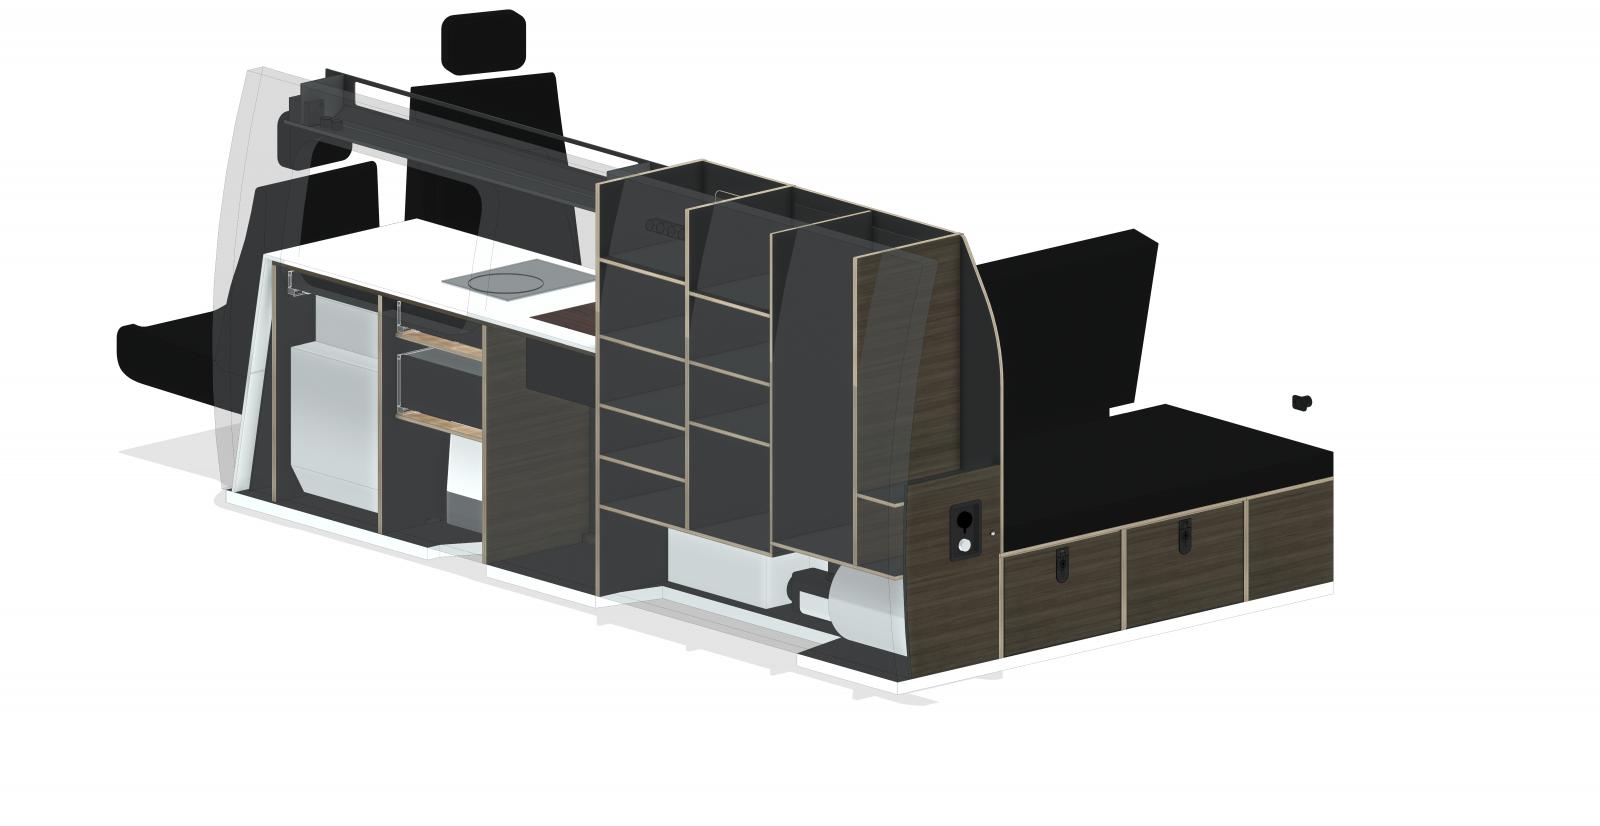
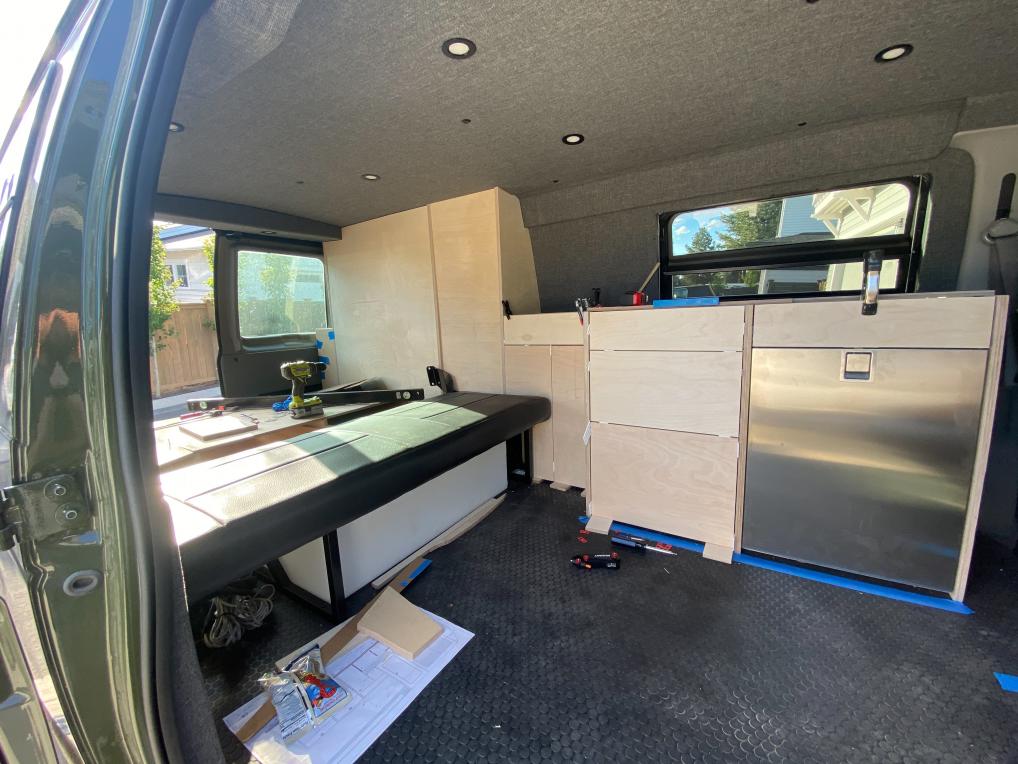
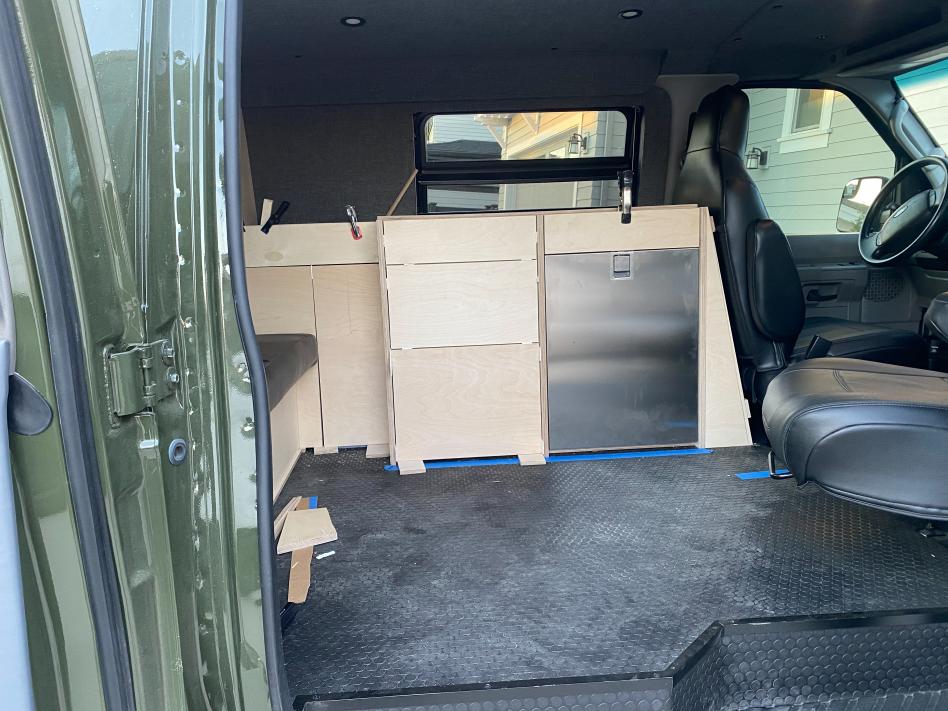
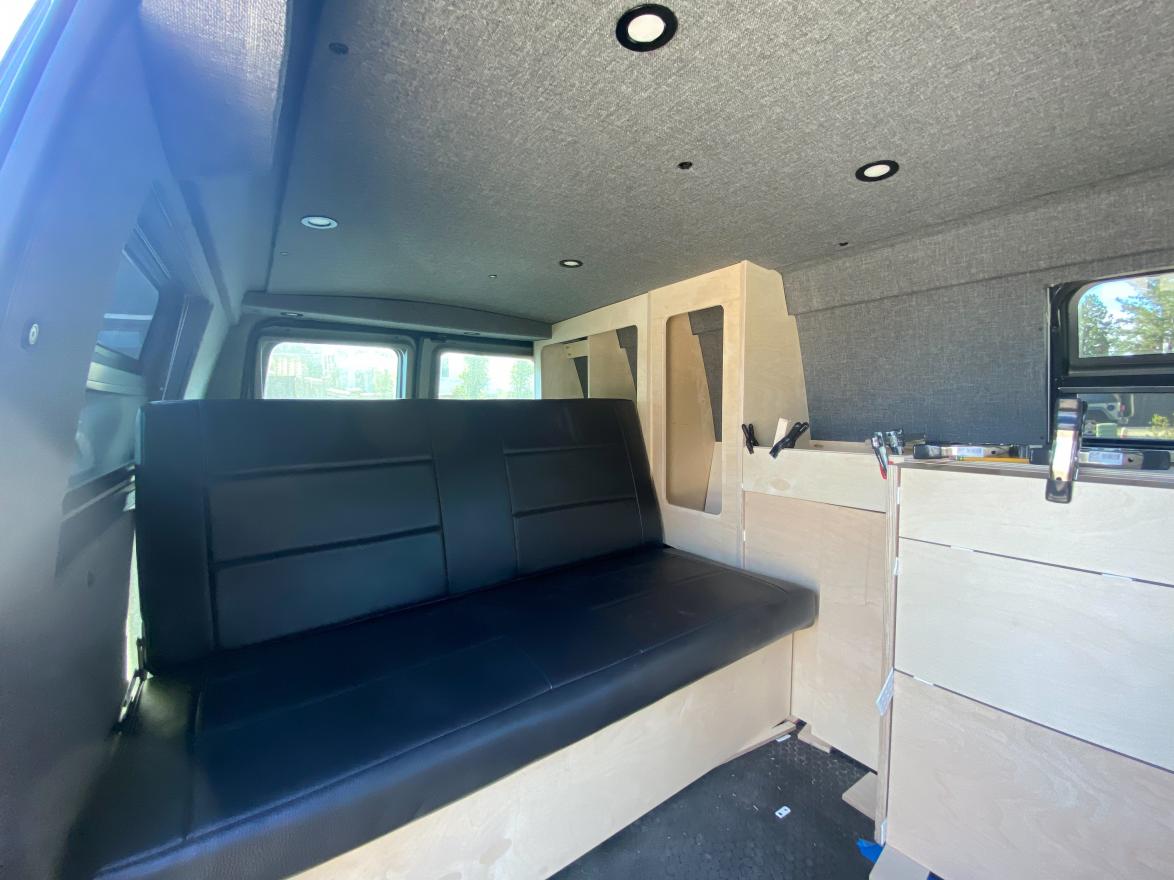
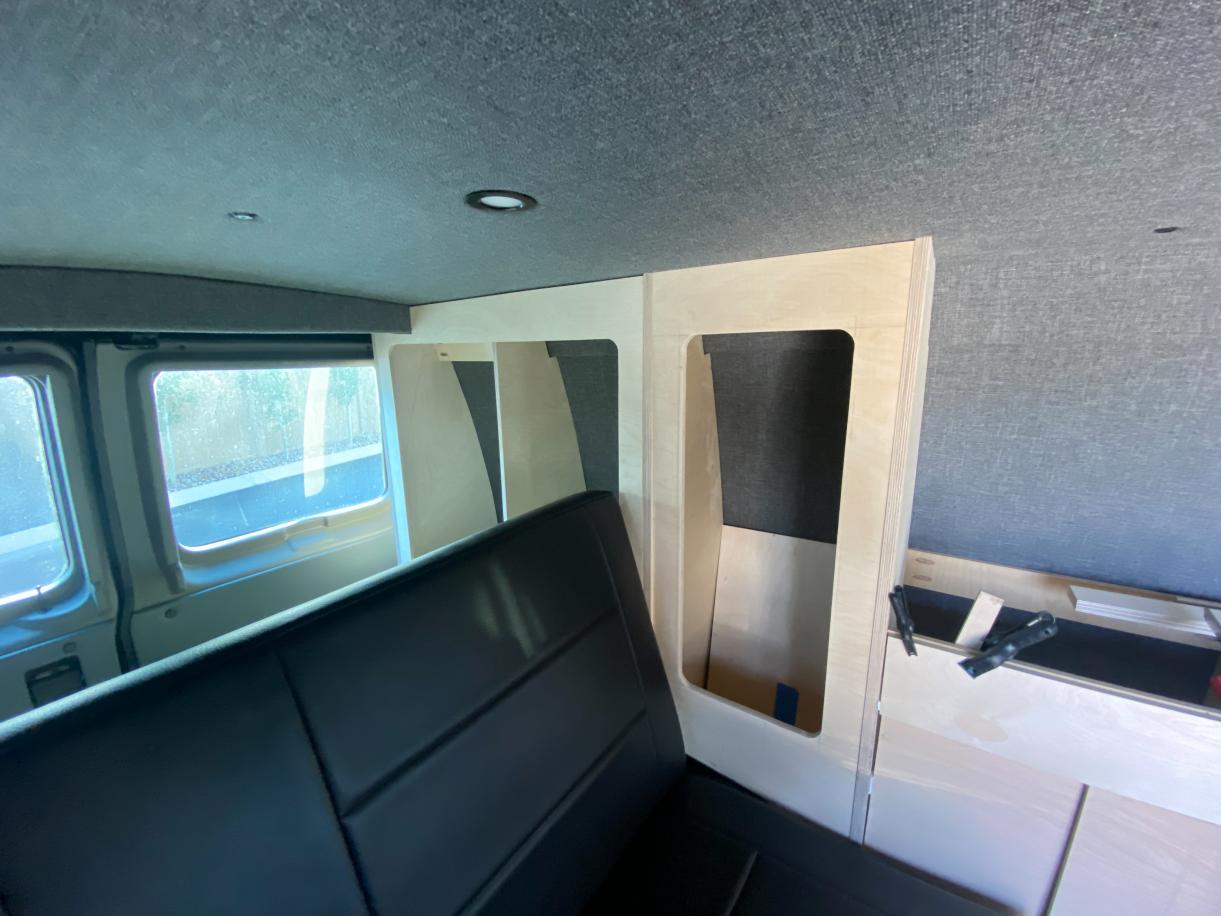
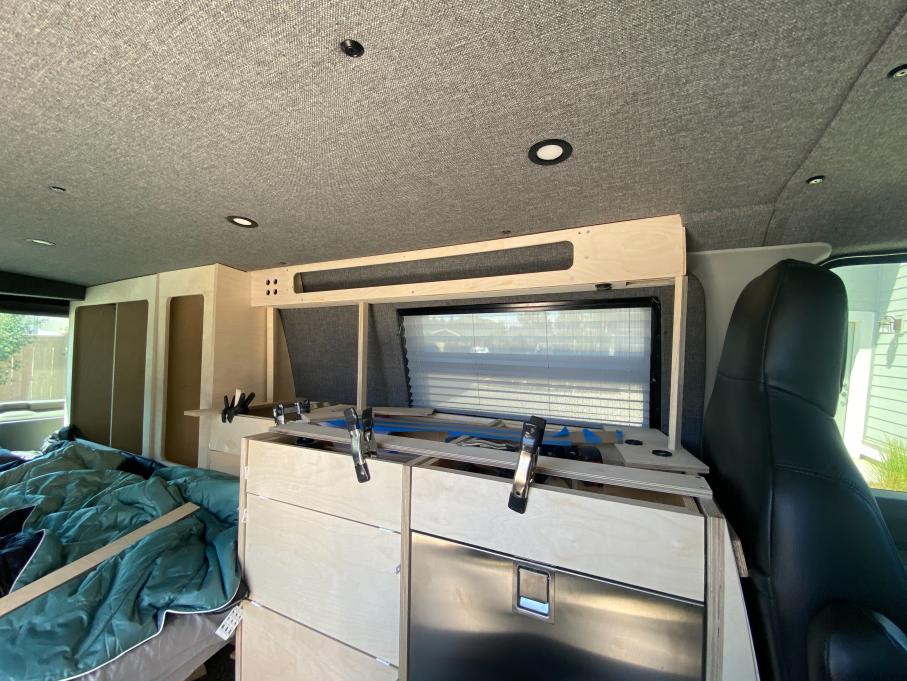
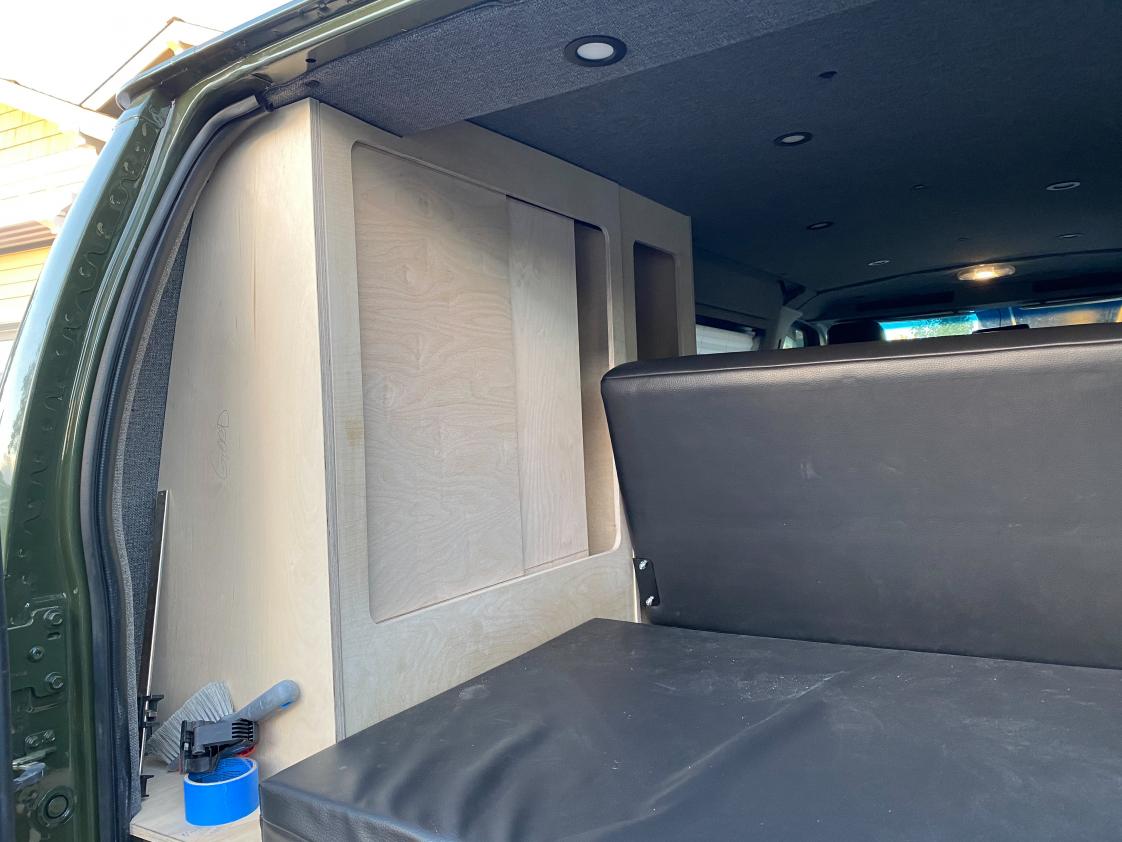
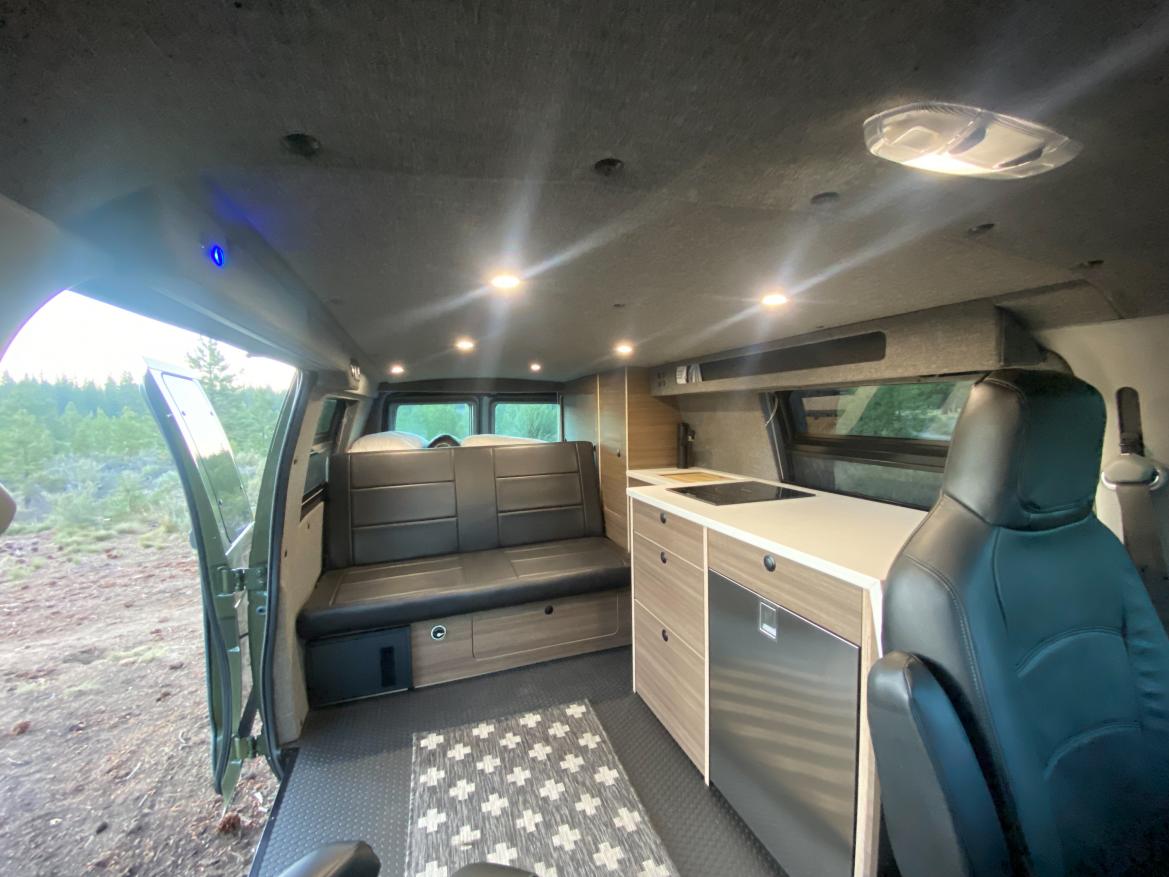
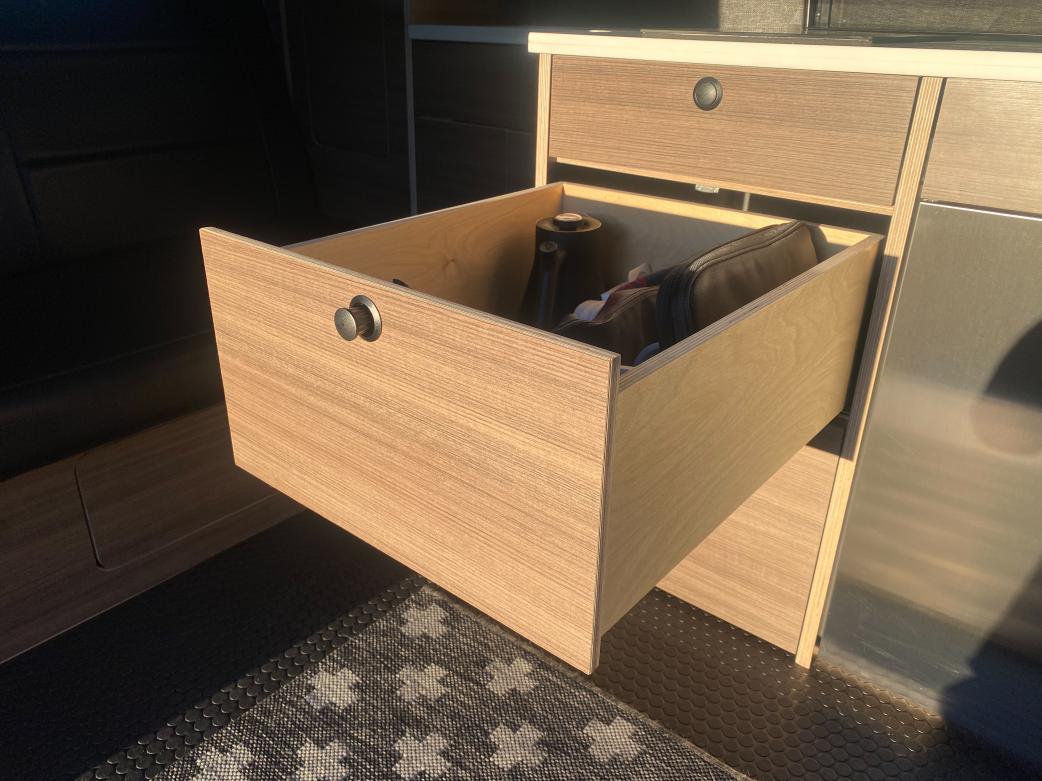
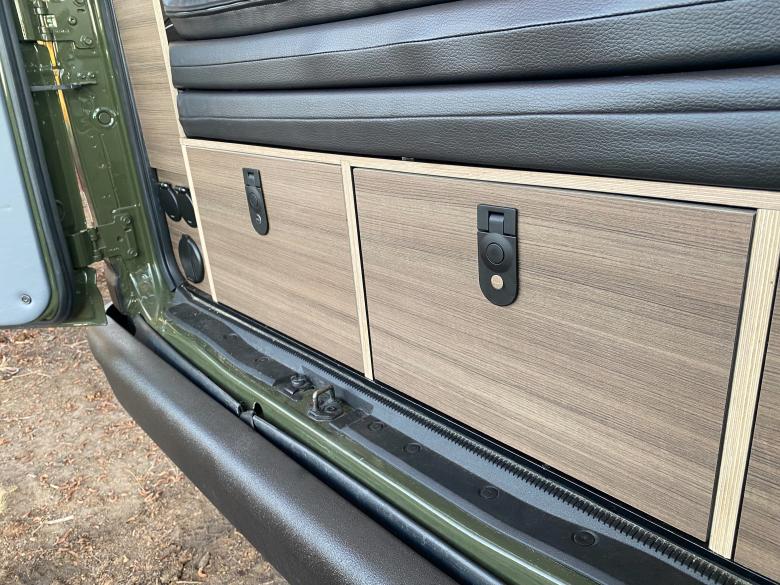
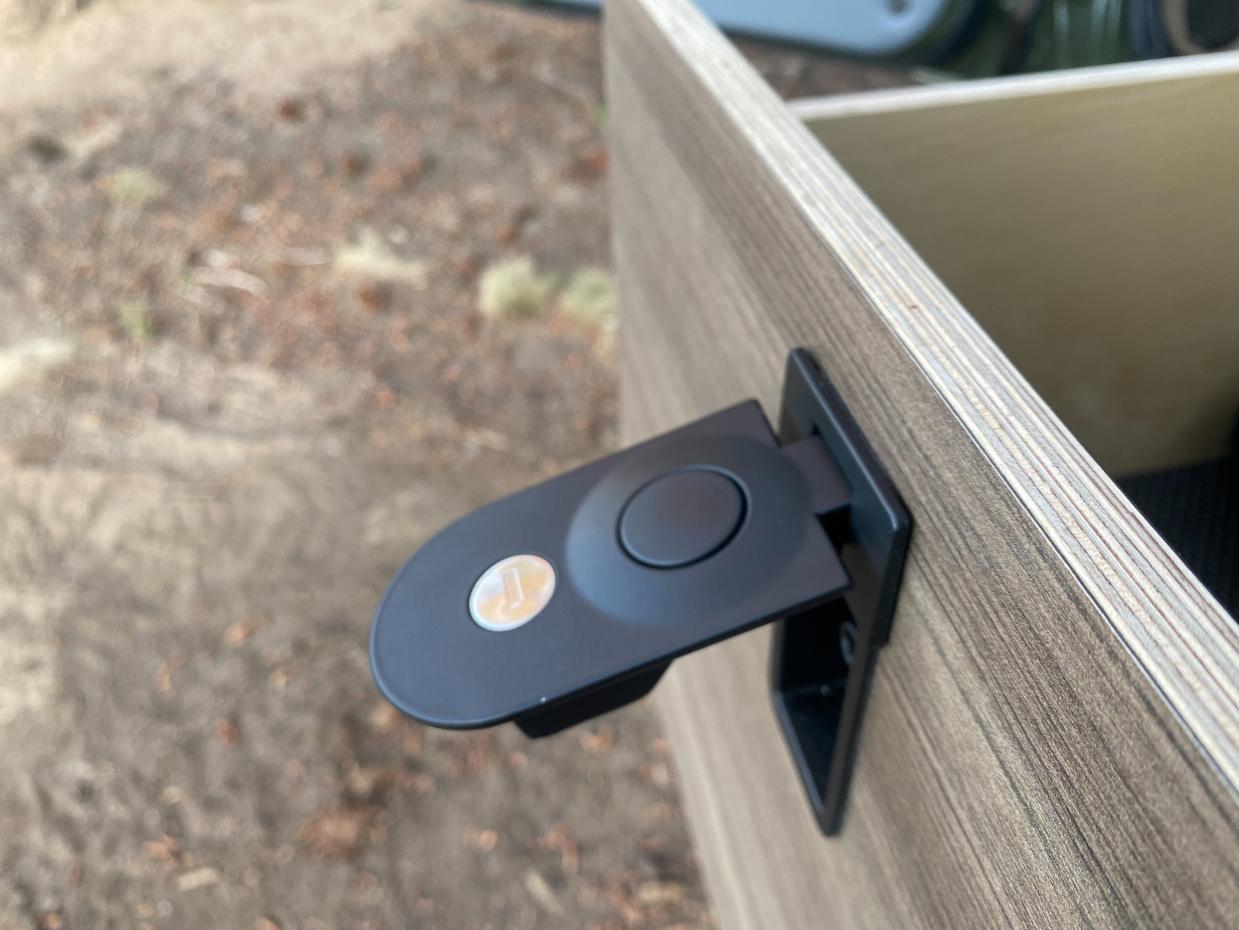
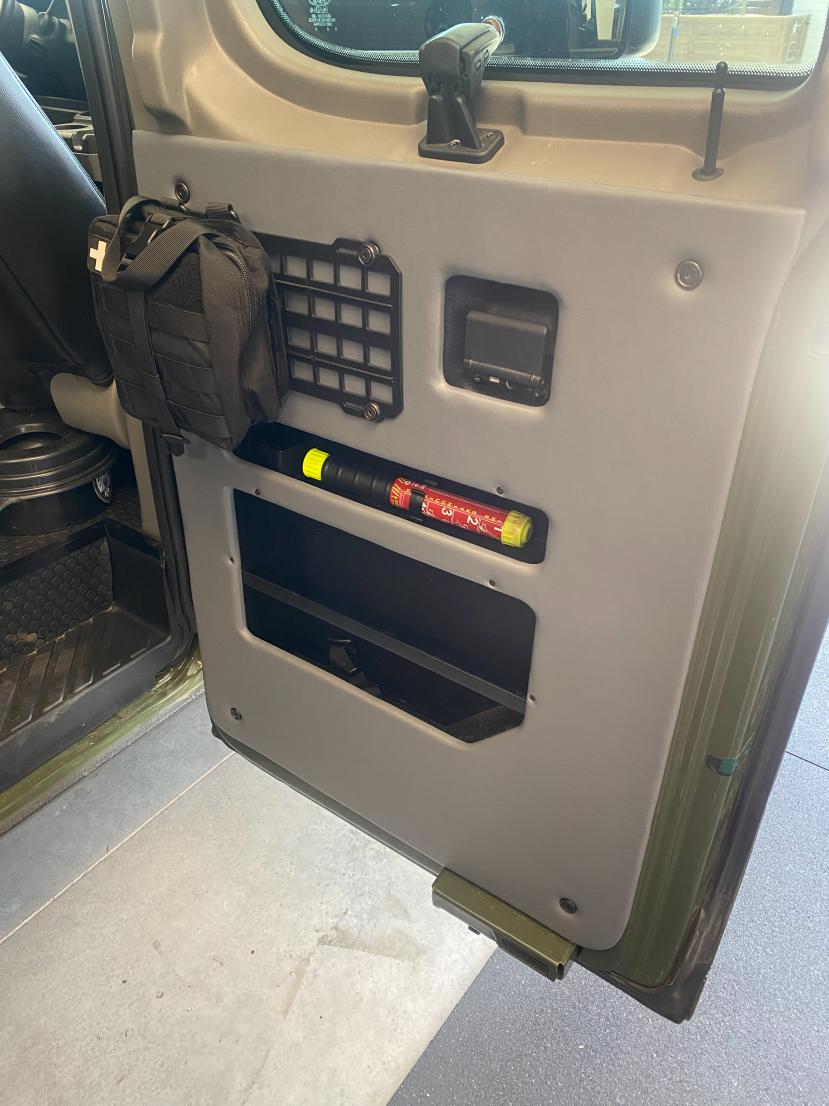
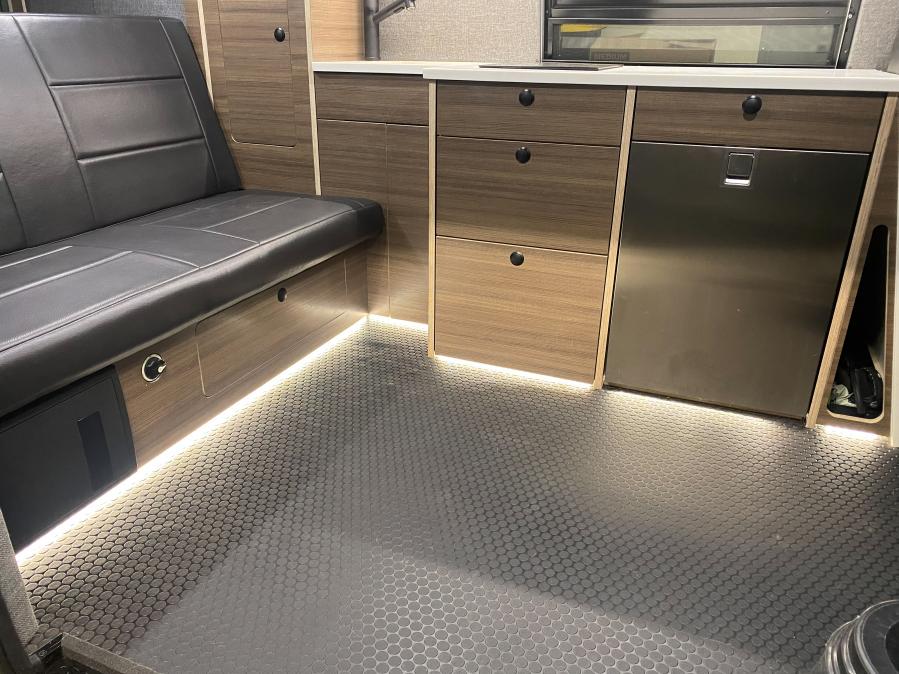

Cabinets:

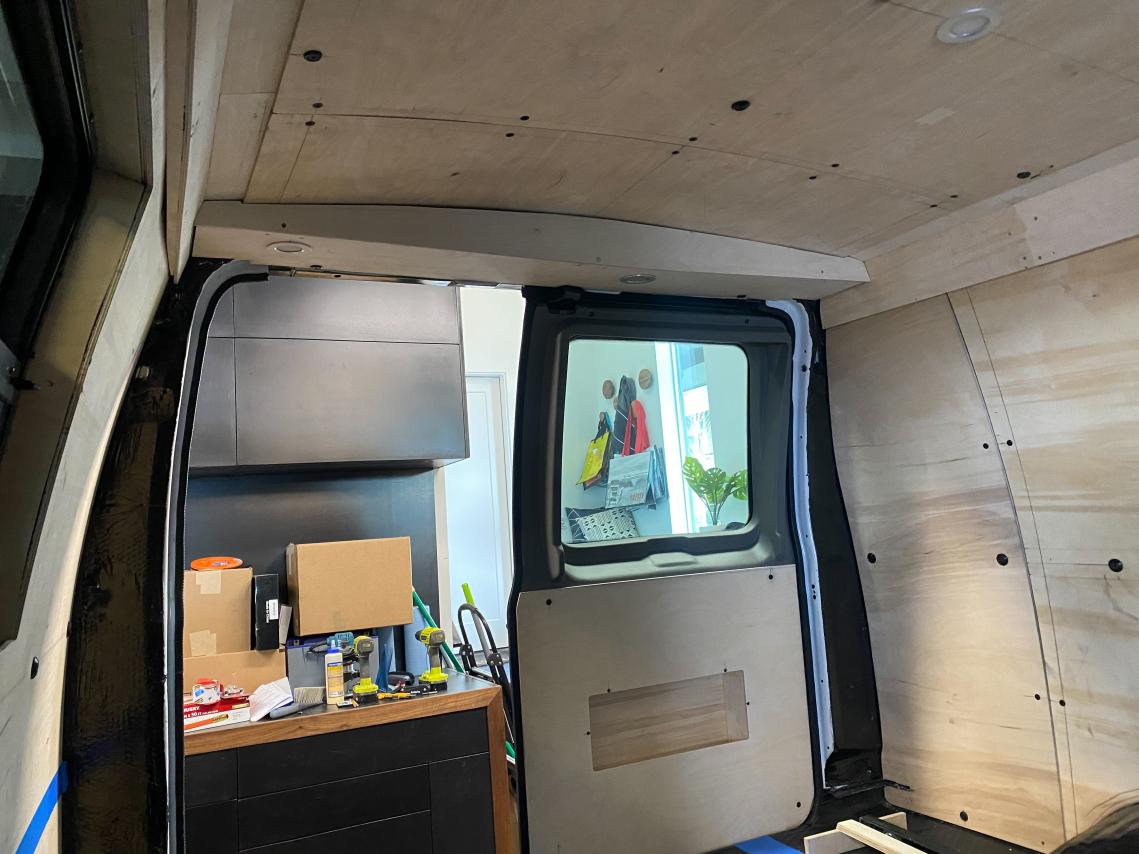
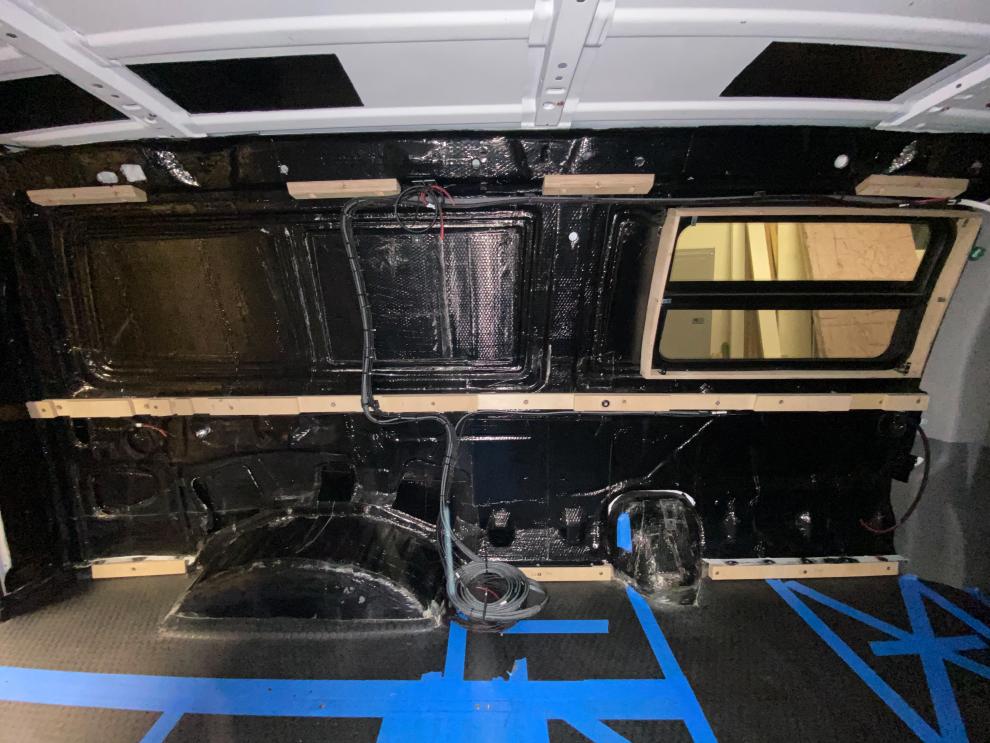
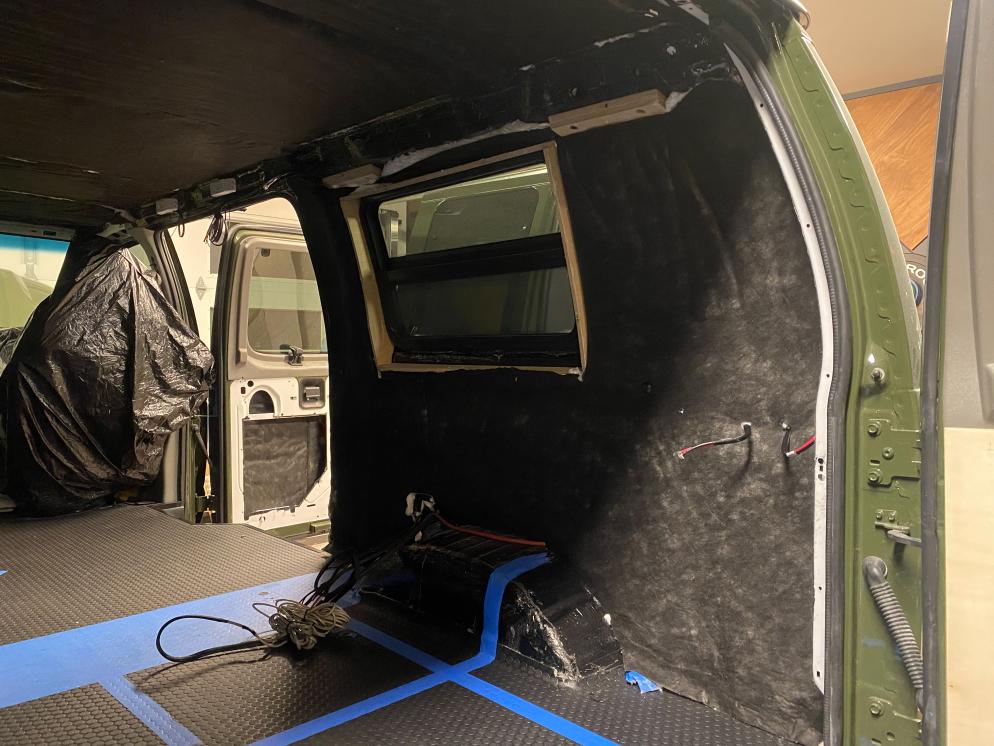
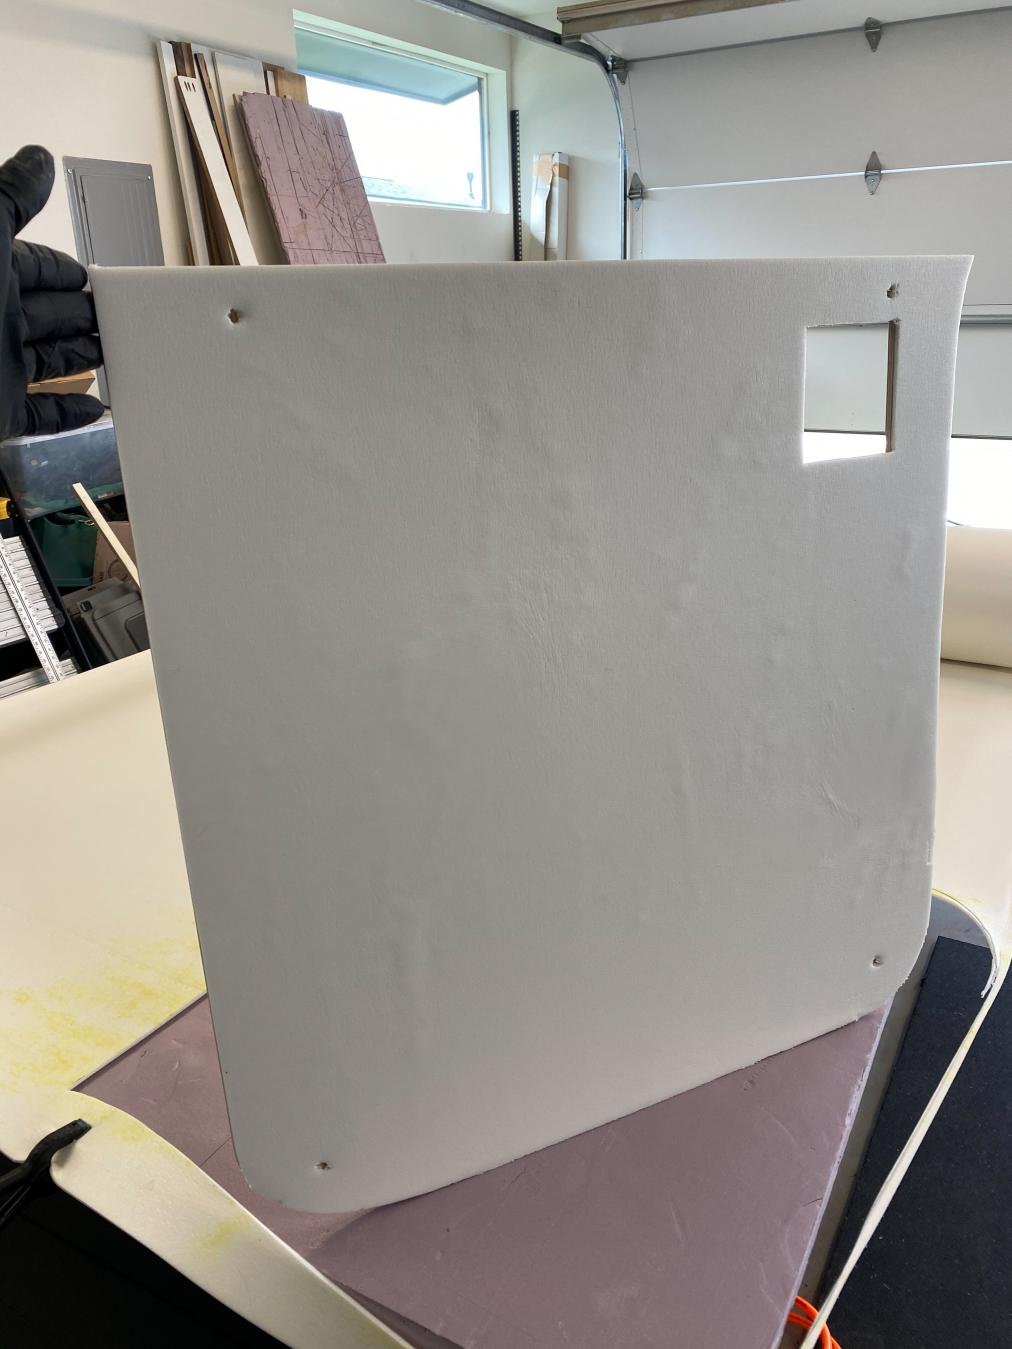
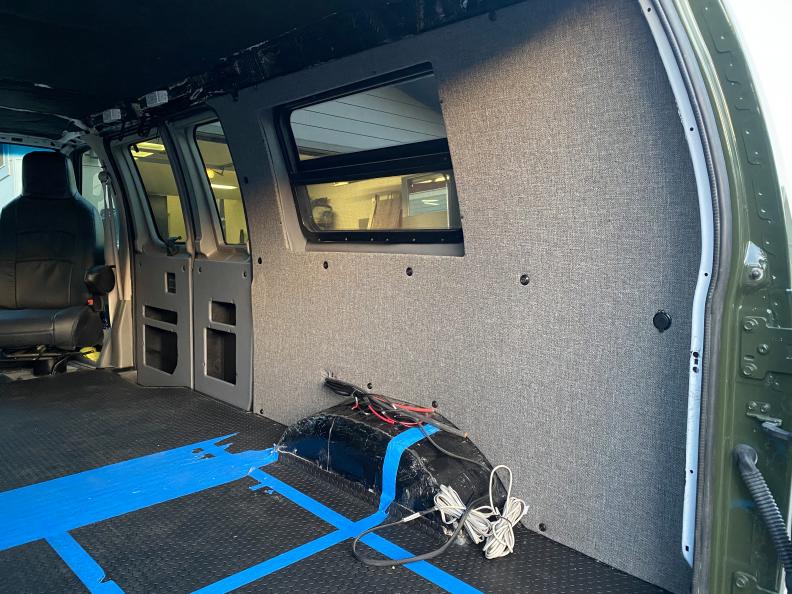
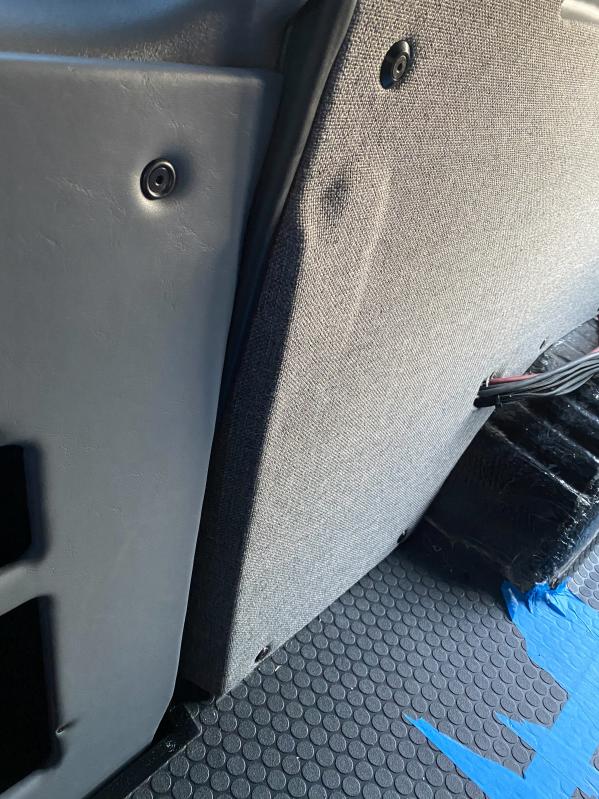
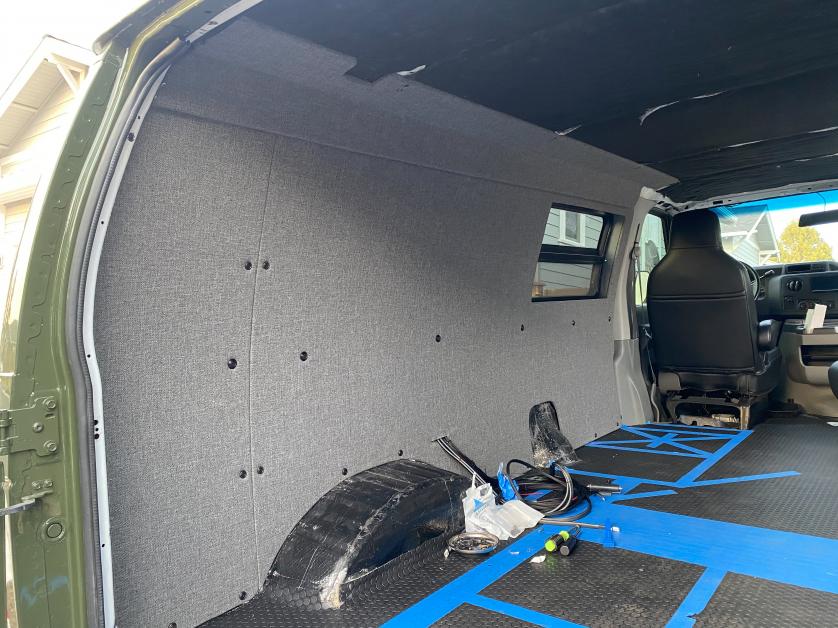
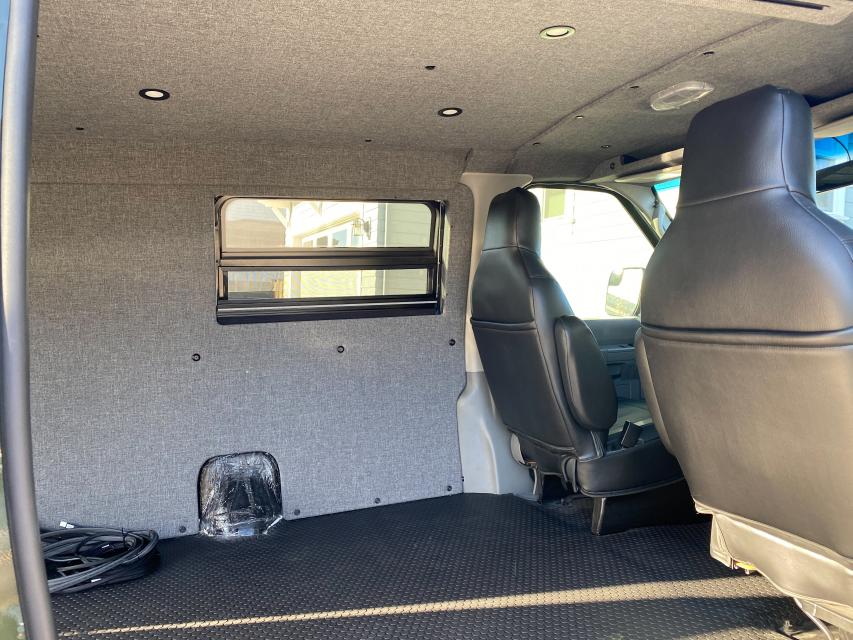
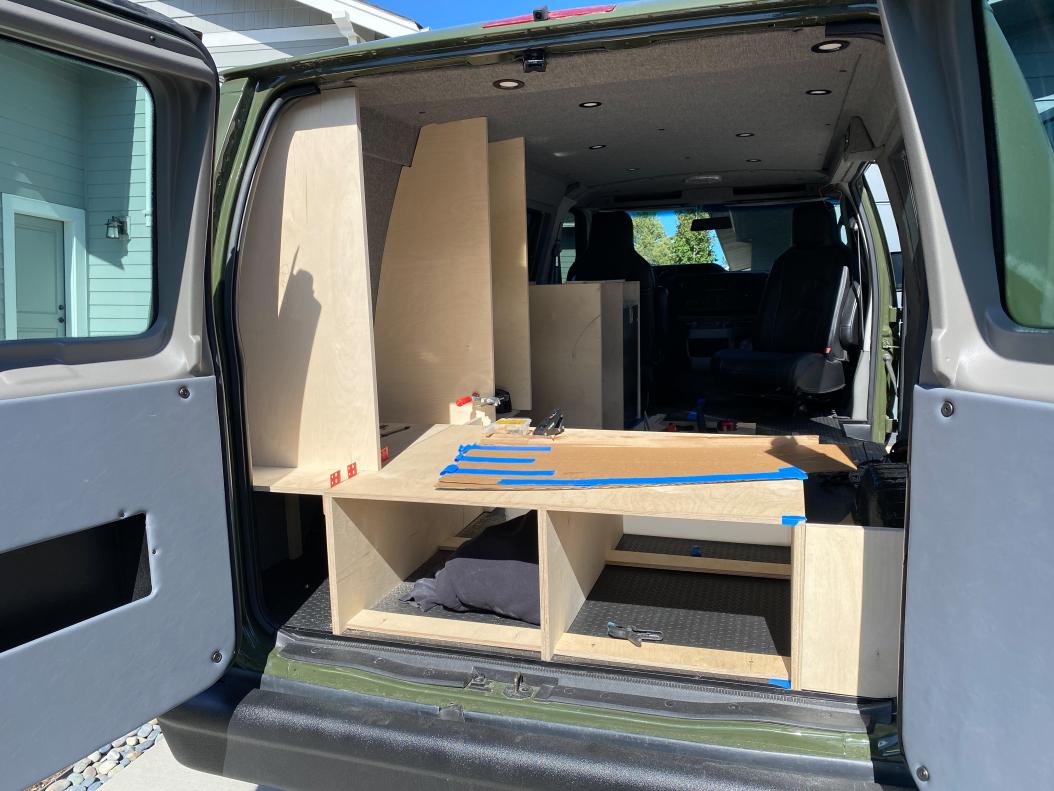
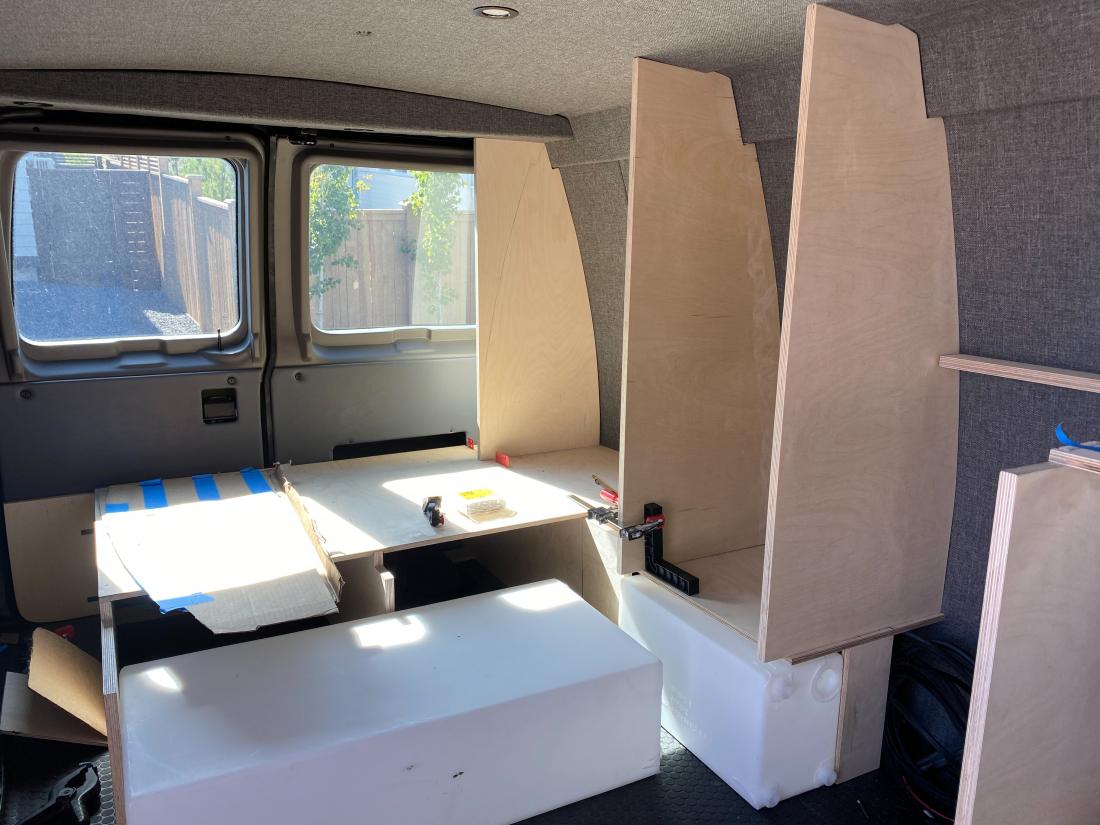
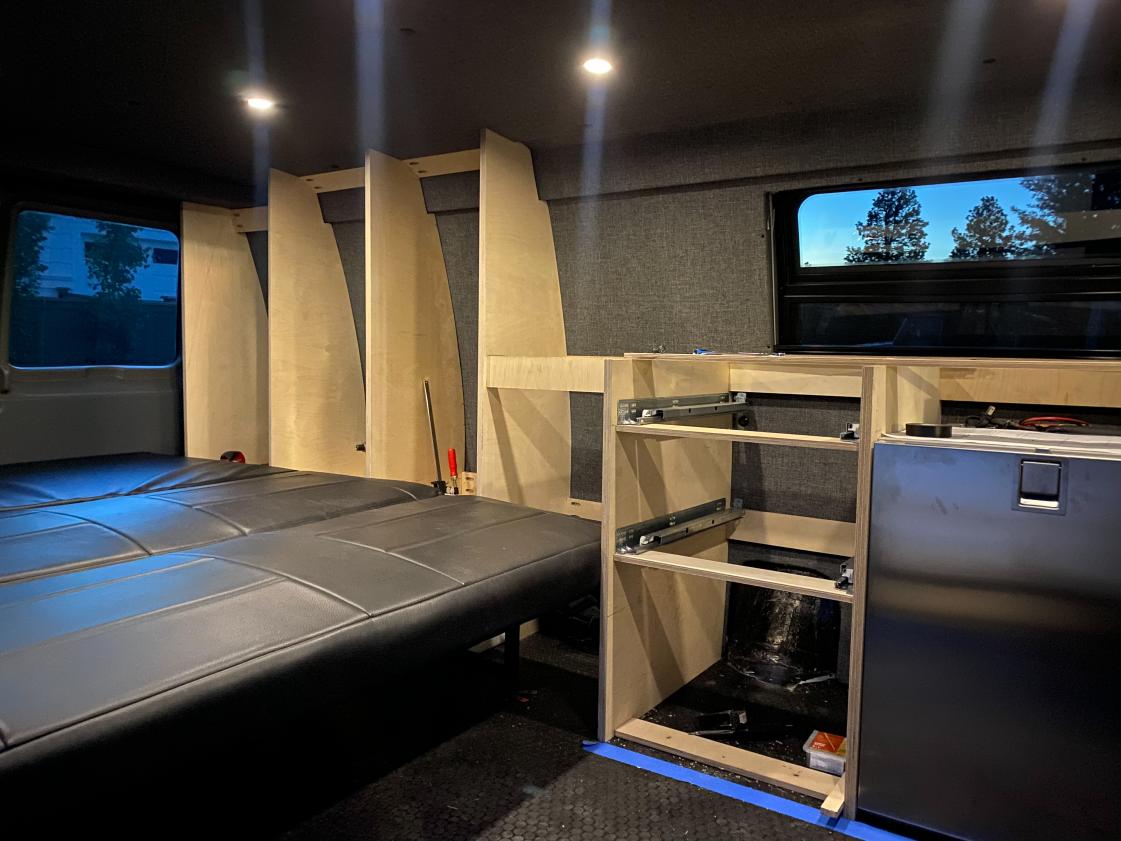
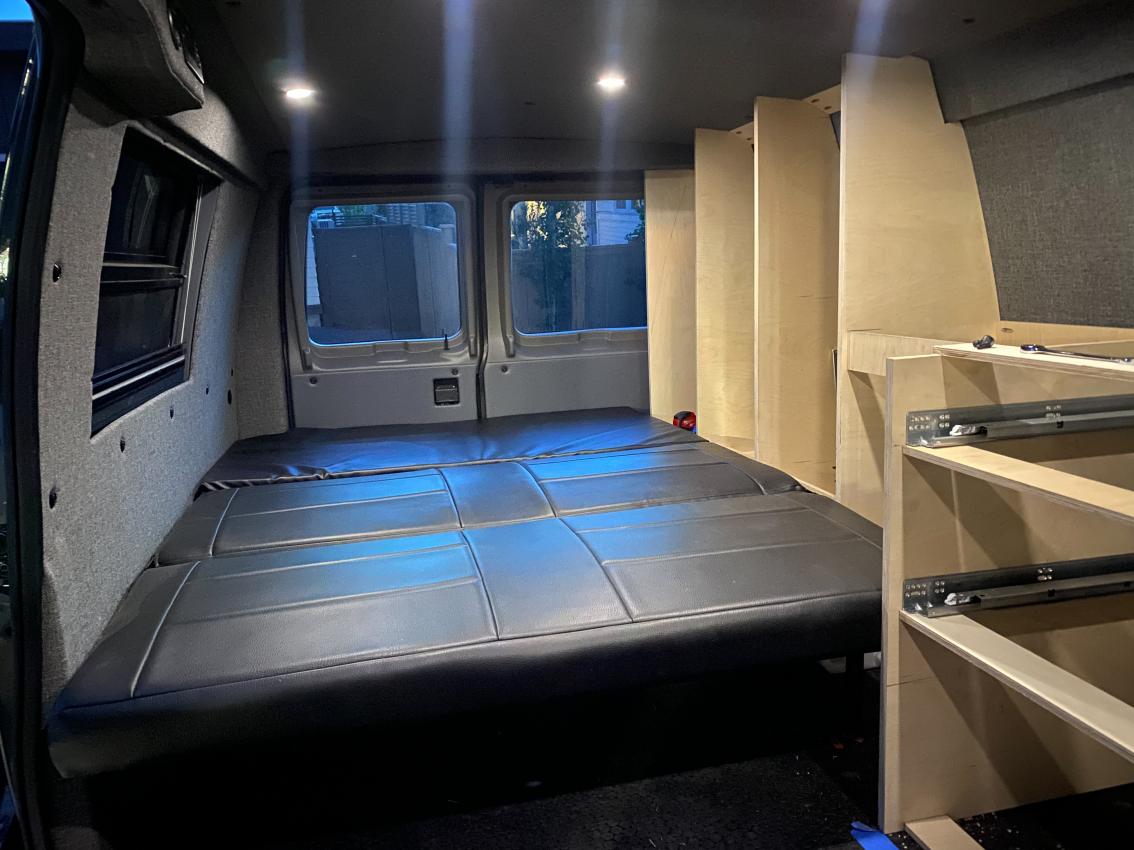
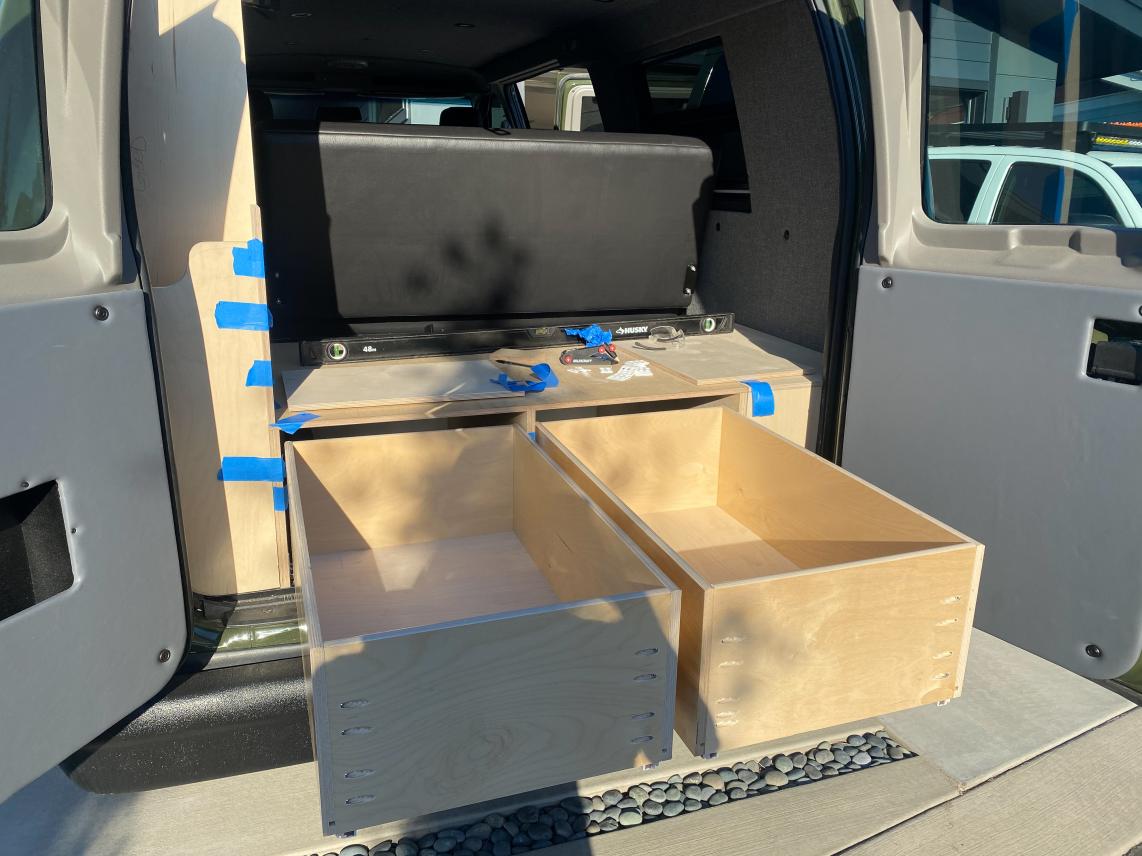
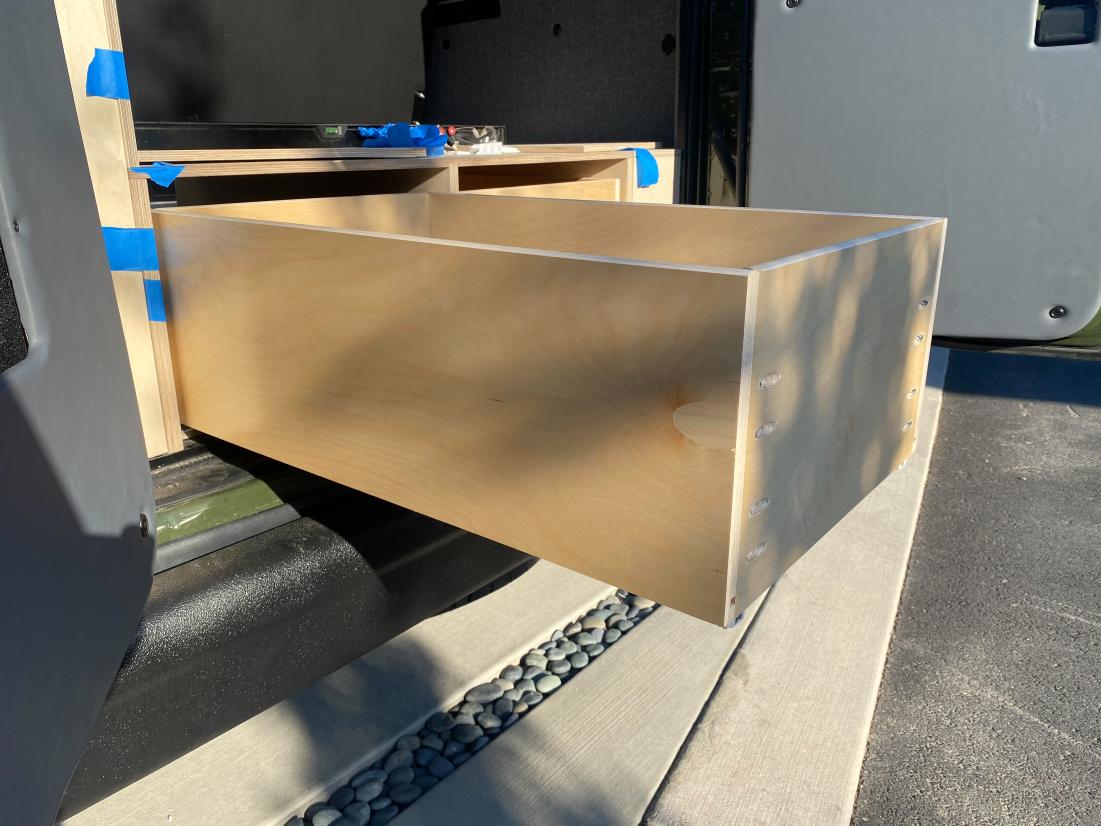
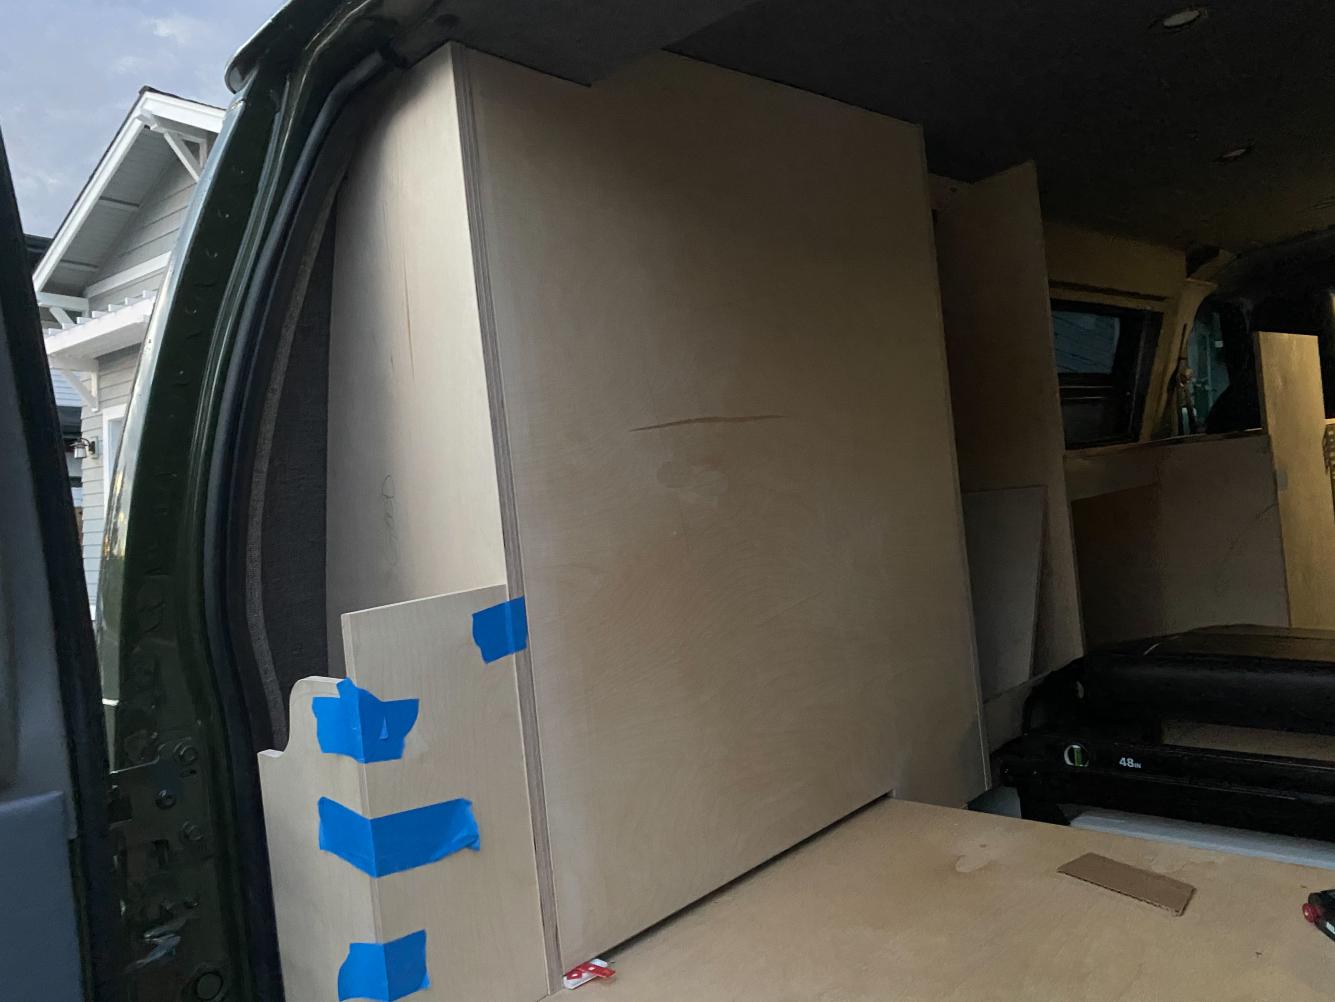
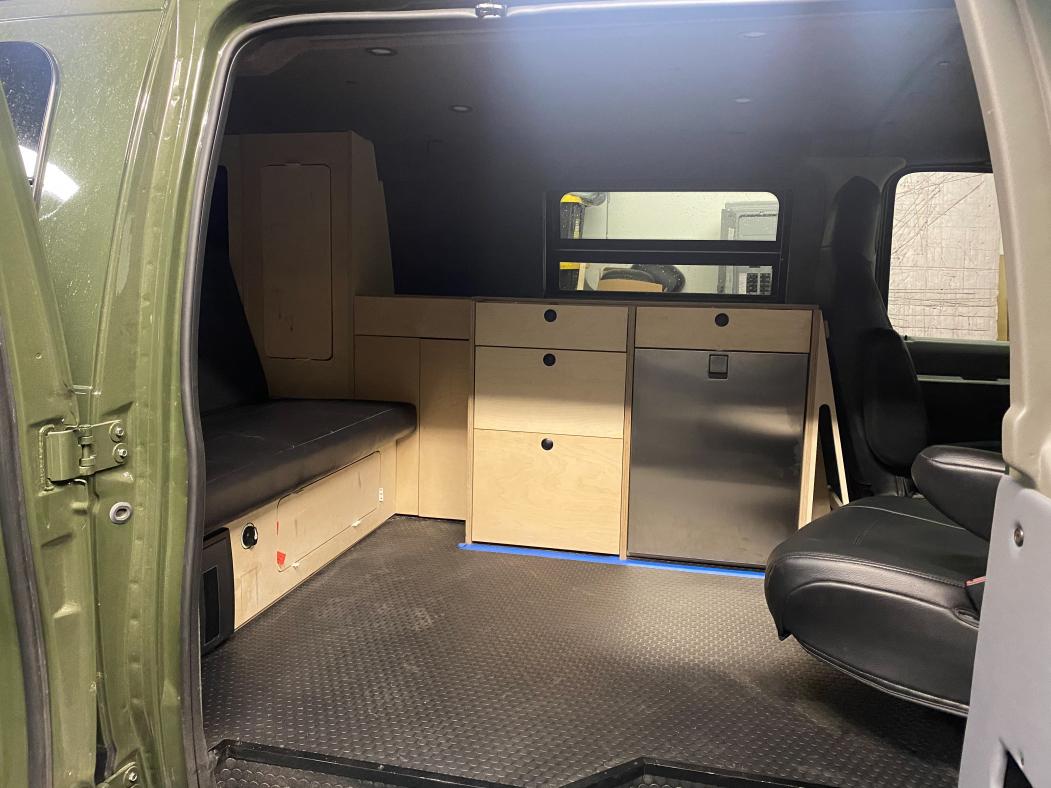
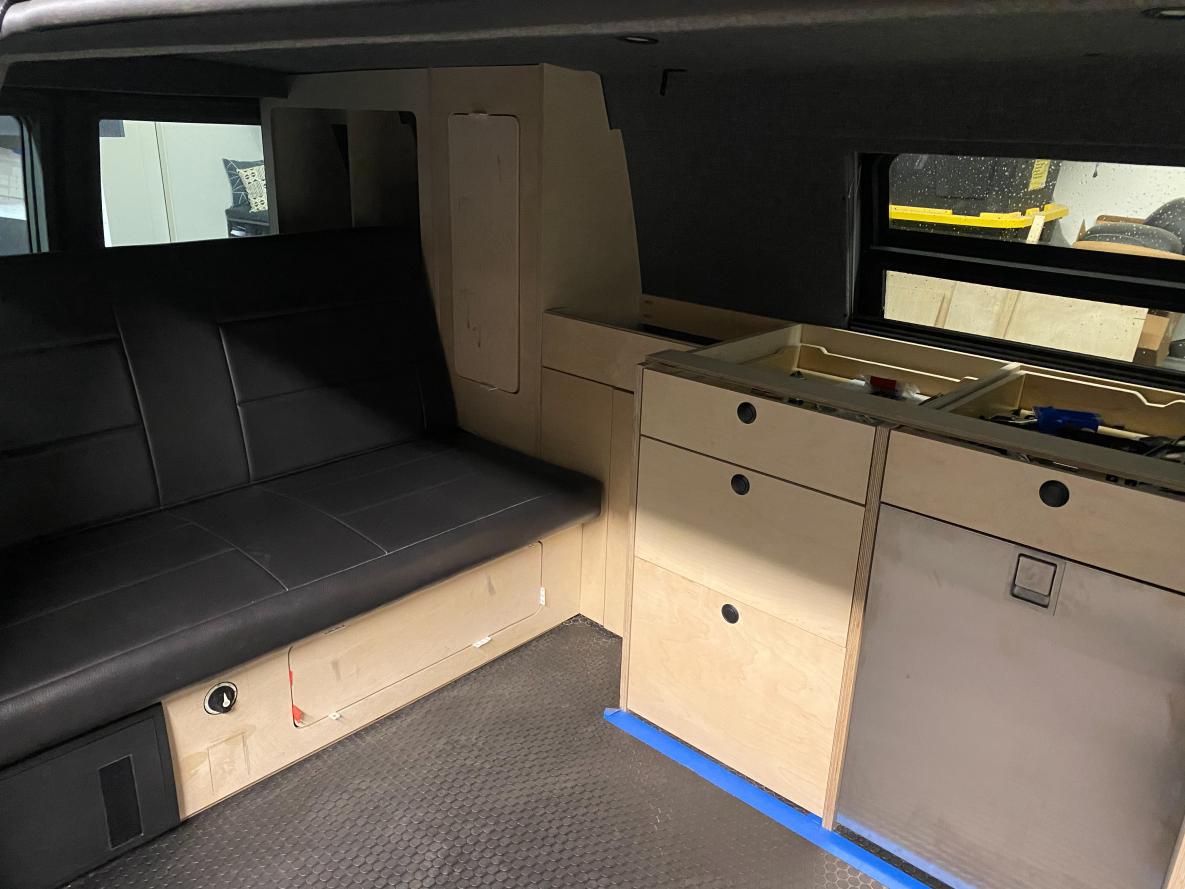
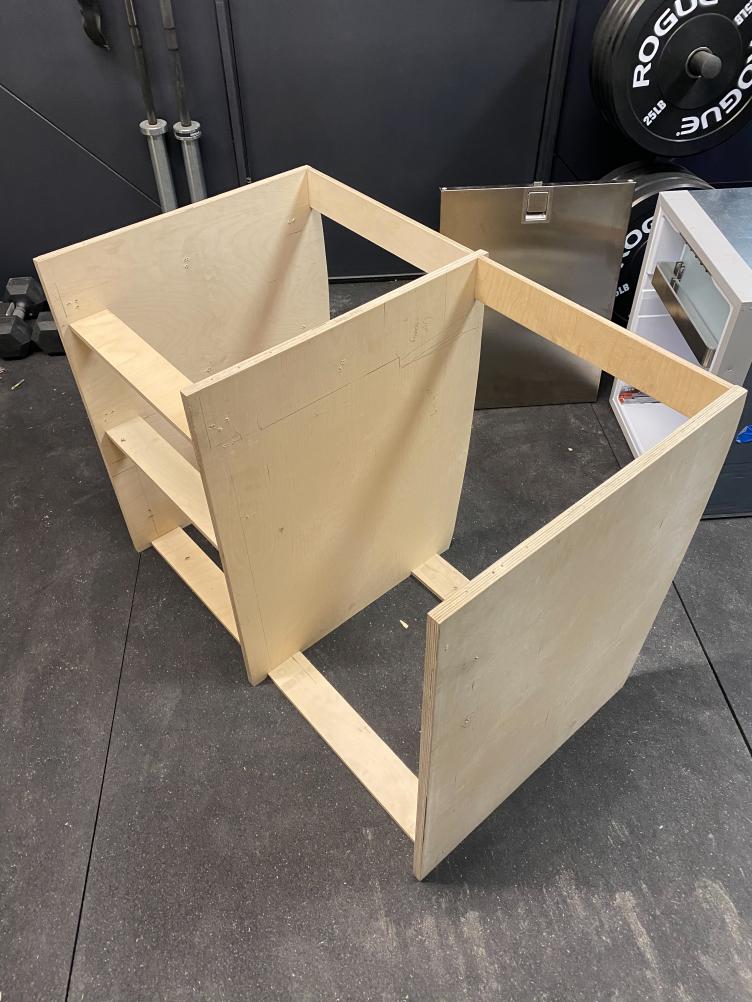
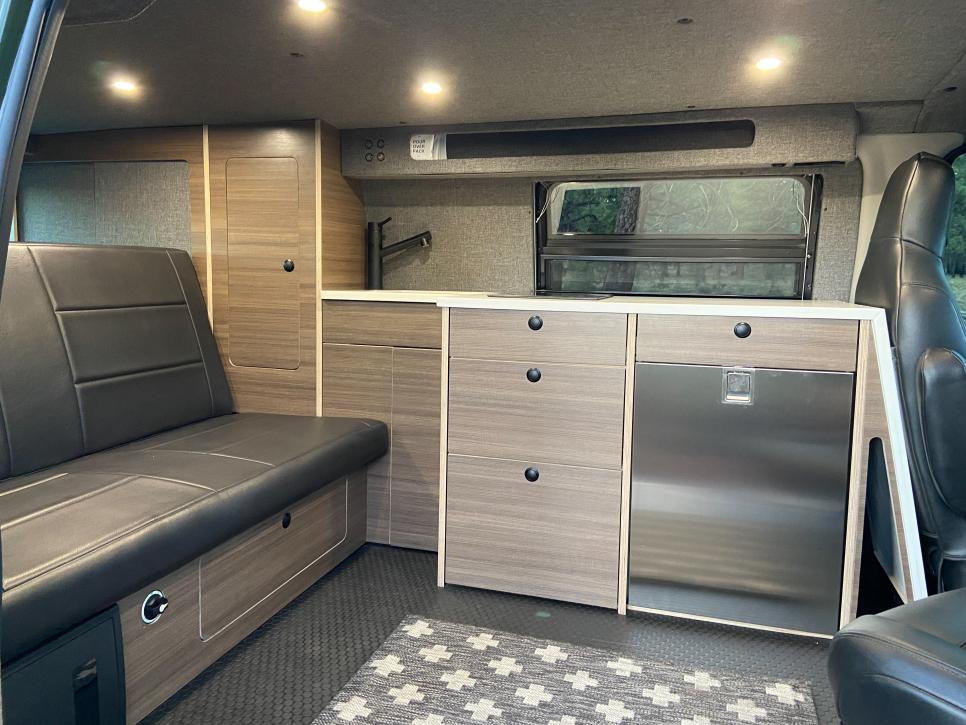
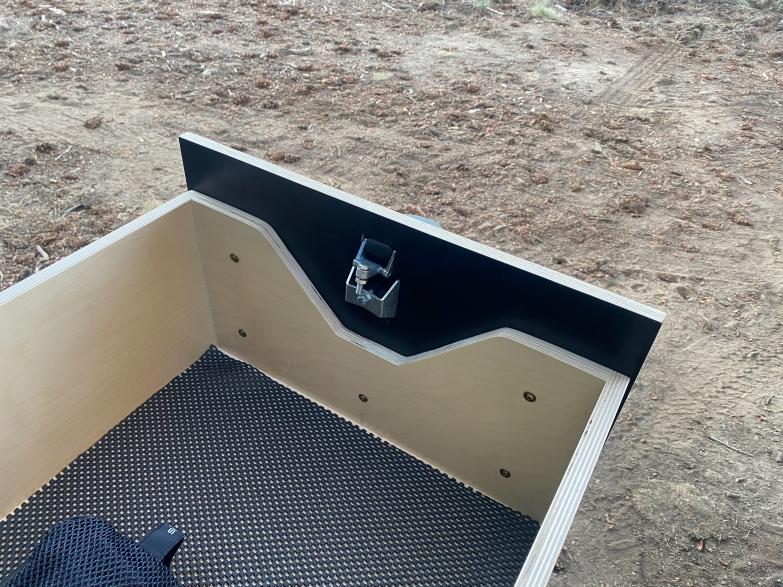
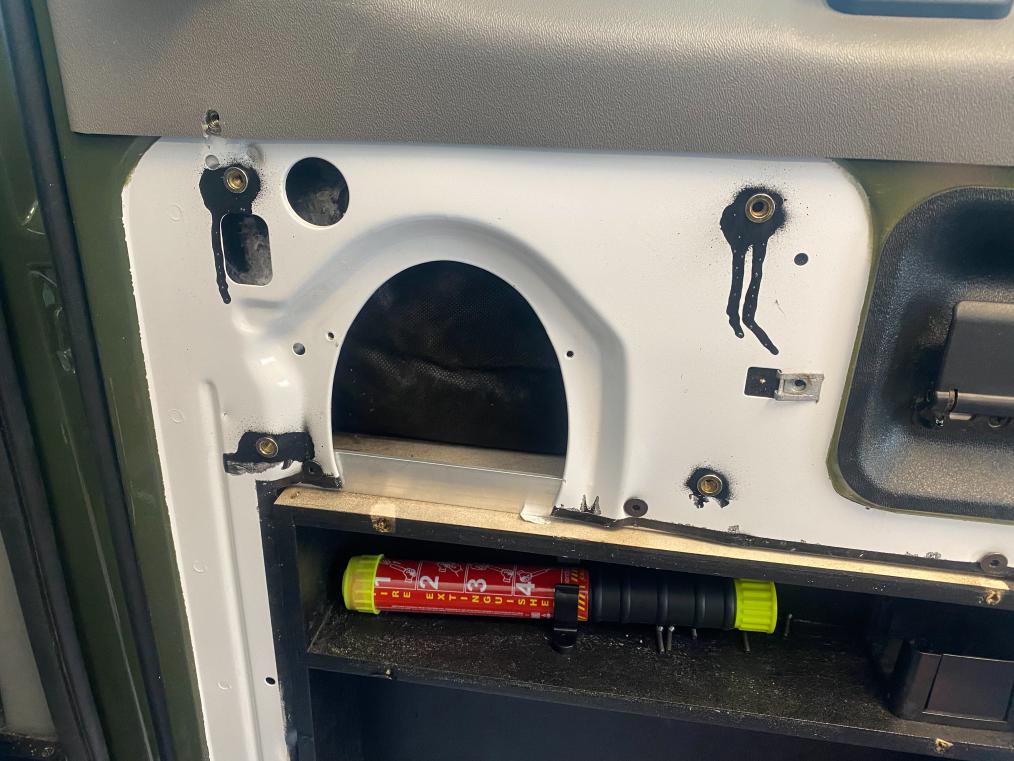
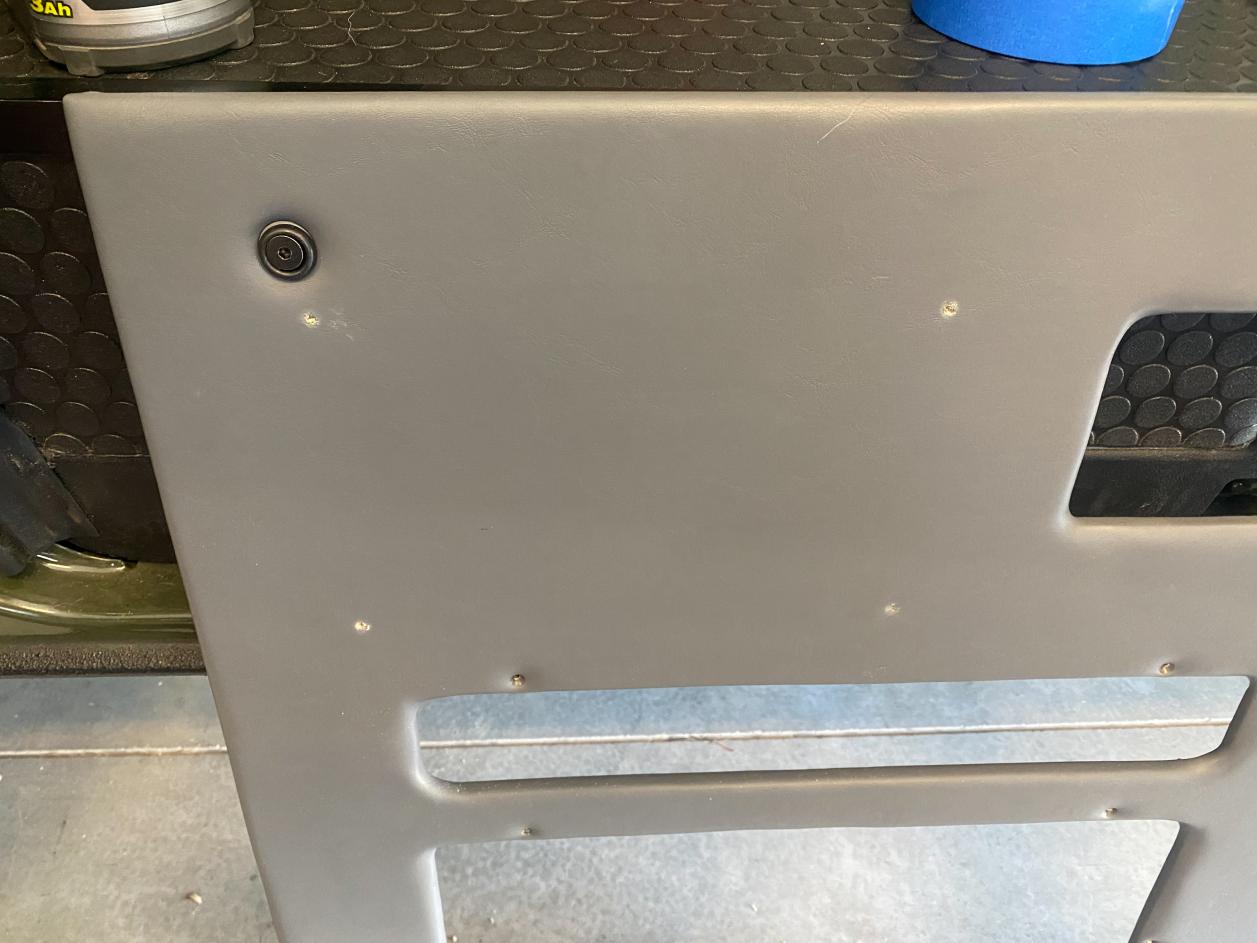
-After getting everything laminated it was time to begin the re-installation process. Our very OCD labeling process paid off as it allowed us to quickly identify all the pieces and their orientation in the van. One thing That I totally screwed up on though was my misunderstanding of just how hard the laminate sheets are. I had figured I would be able to feel my screw holes through the laminate making it easy to just poke screws back through allowing everything to just slide back together, but I was very wrong. In a few cases, I got lucky, but in most, I had to work back through with a tape measure and re-build essentially from scratch. This took some time, but I made it through it and got the interior structure all back in and secured through the floor.
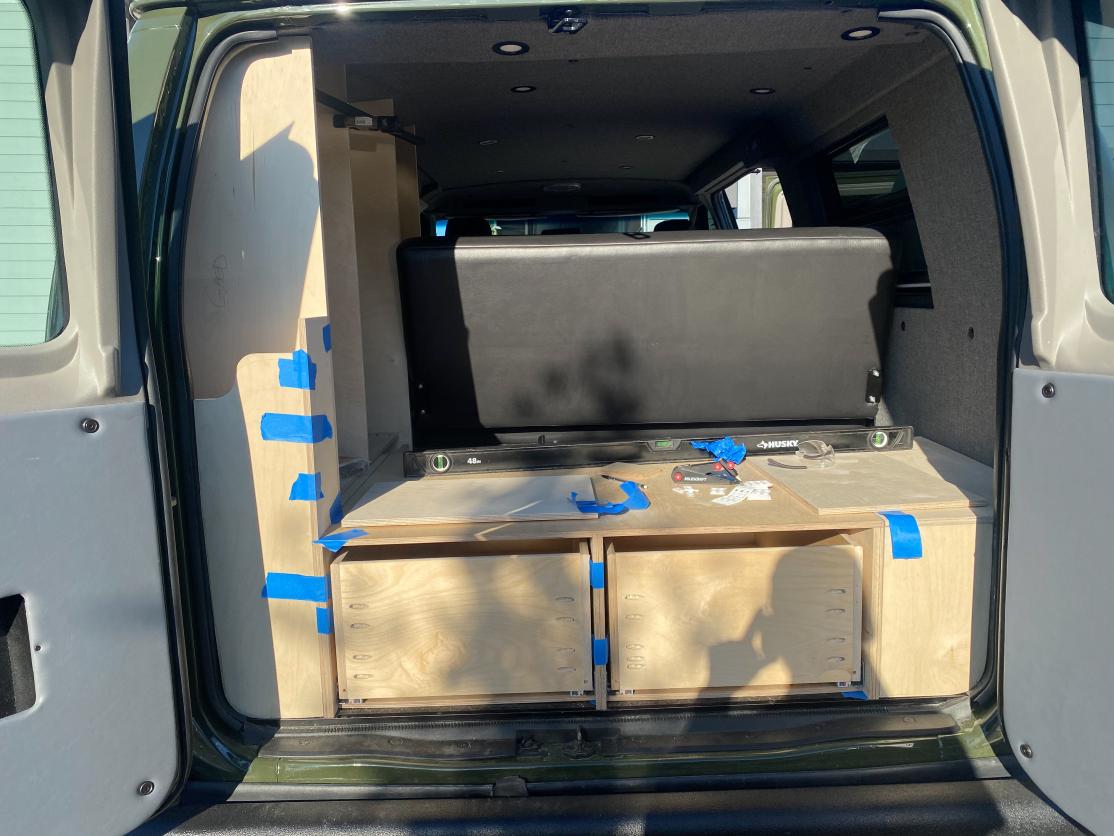

Countertops:

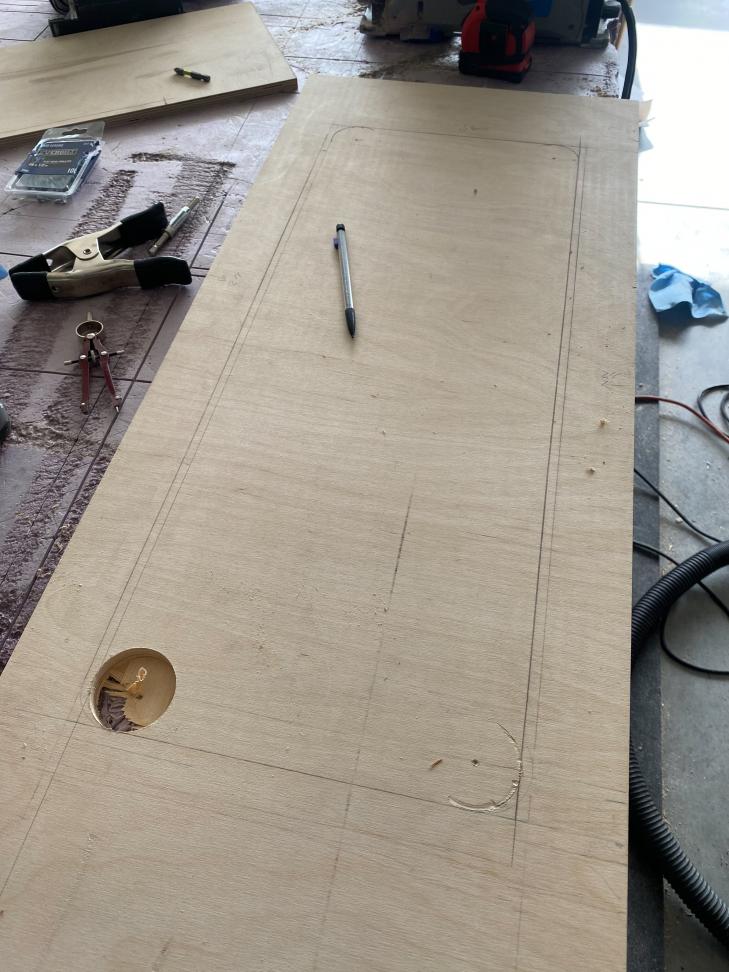
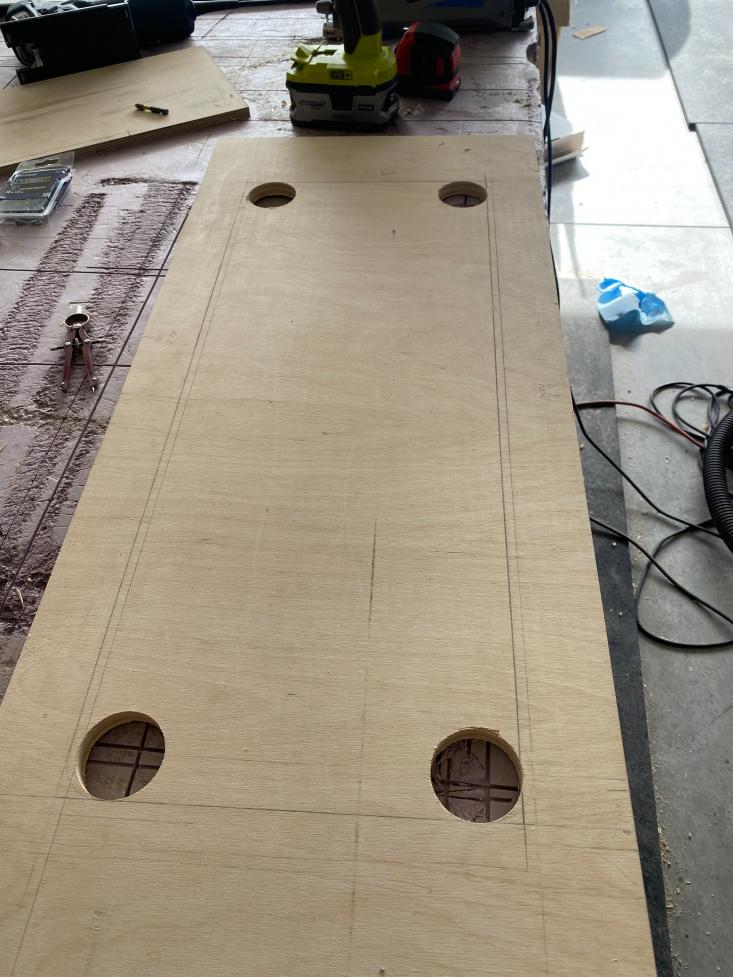
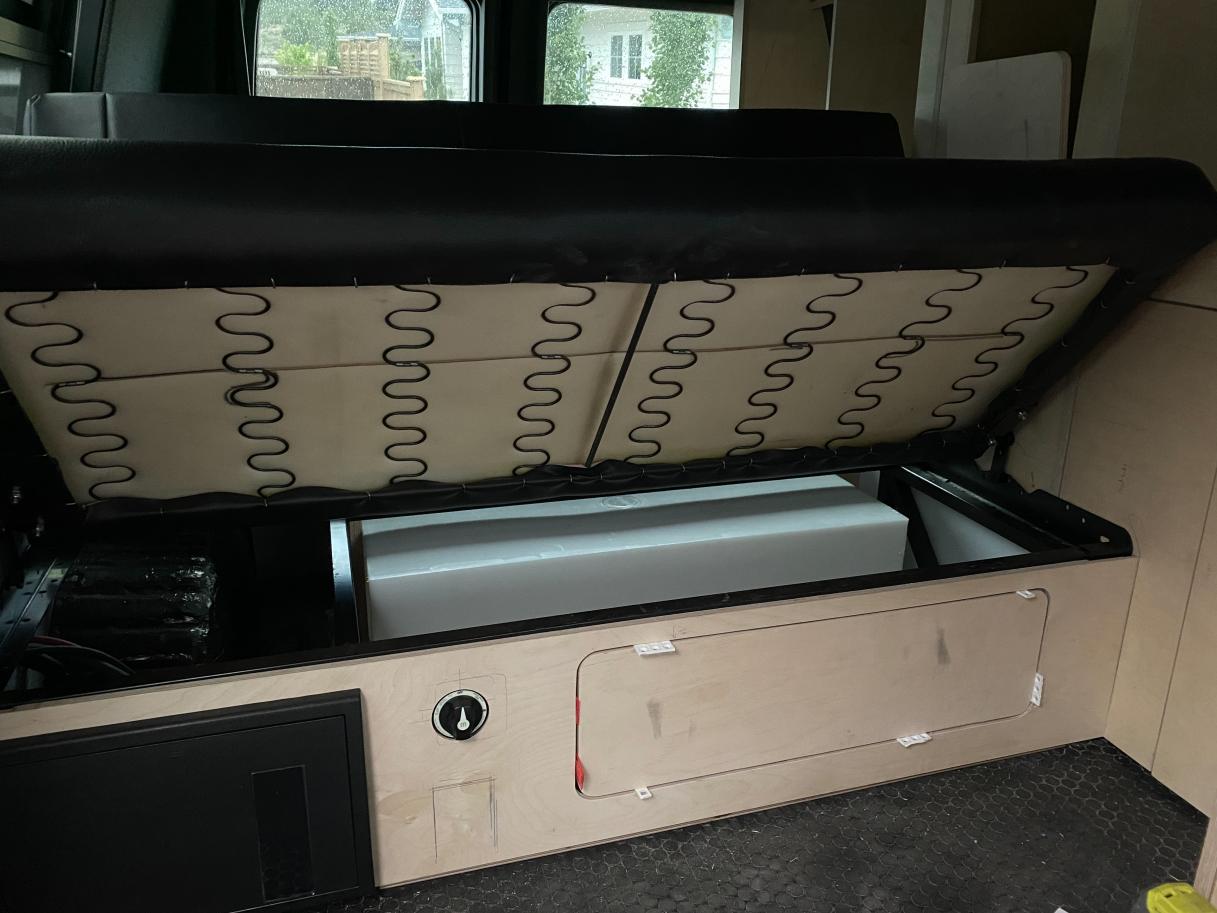
-Then, if I am remembering correctly, it came time for templating the countertop. Quick backstory, a few months ago we picked up some remnant pieces of a white solid surface countertop at a local countertop company for a great price. This led us to need to learn how to do countertops which were a bit intimidating. With some other forum posts on here and a few more youtube videos, we started on the process. We made a template out of scrap ¼” plywood and used that as our template to rough cut the material down. Using the track saw to get a rough cut and then our router with a template bit we got our final cut pretty easily. Then we used some smaller pieces to double up the front edge profile. We ended up using a clear epoxy to attach this piece which did leave a slight line but it's not too noticeable. After getting the thickened edge done we went ahead and established and cut our bevel cut for the front waterfall section. After getting that test fitted we cut out our two openings for the sink and cooktop as well as the hole for the faucet. We did this by making a template again and using the router as it cut the material much cleaner and smoother than the saw. Then everything was finally installed into the van.
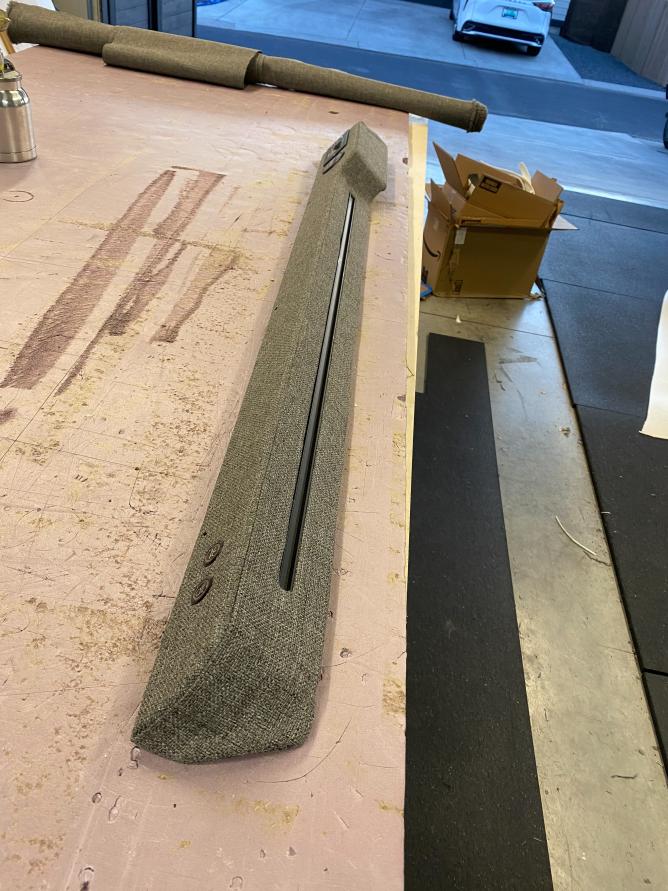
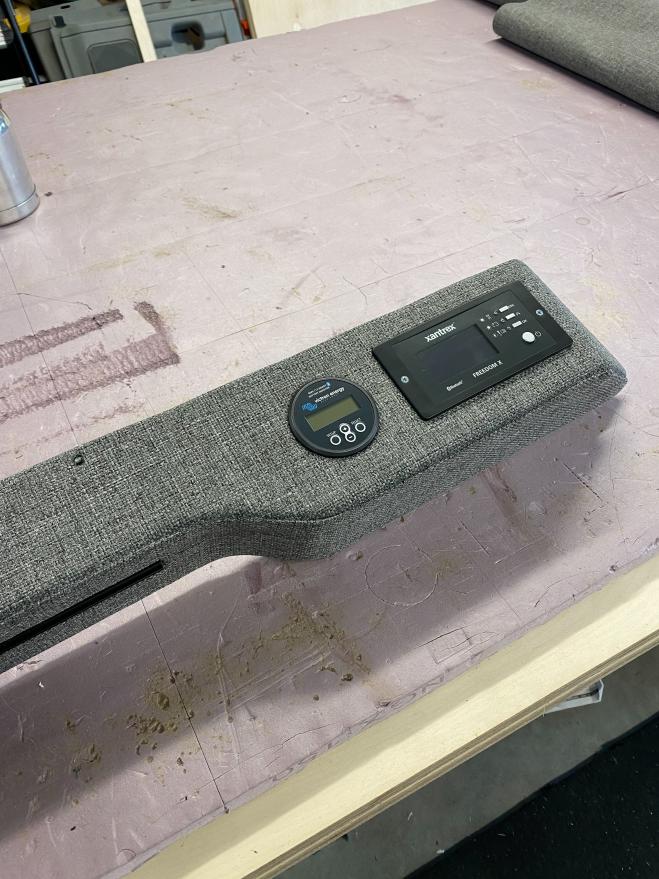
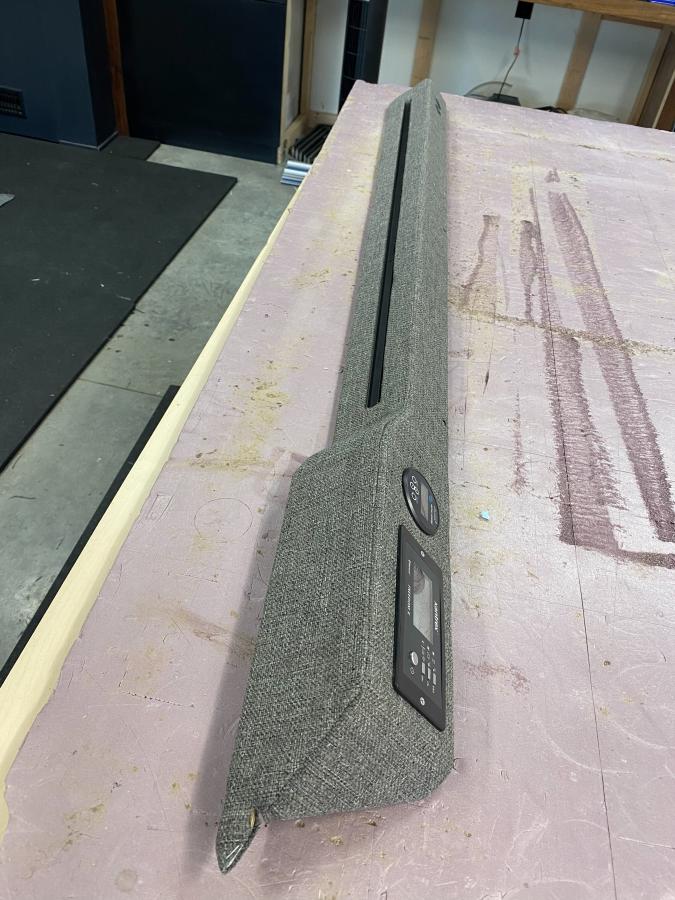
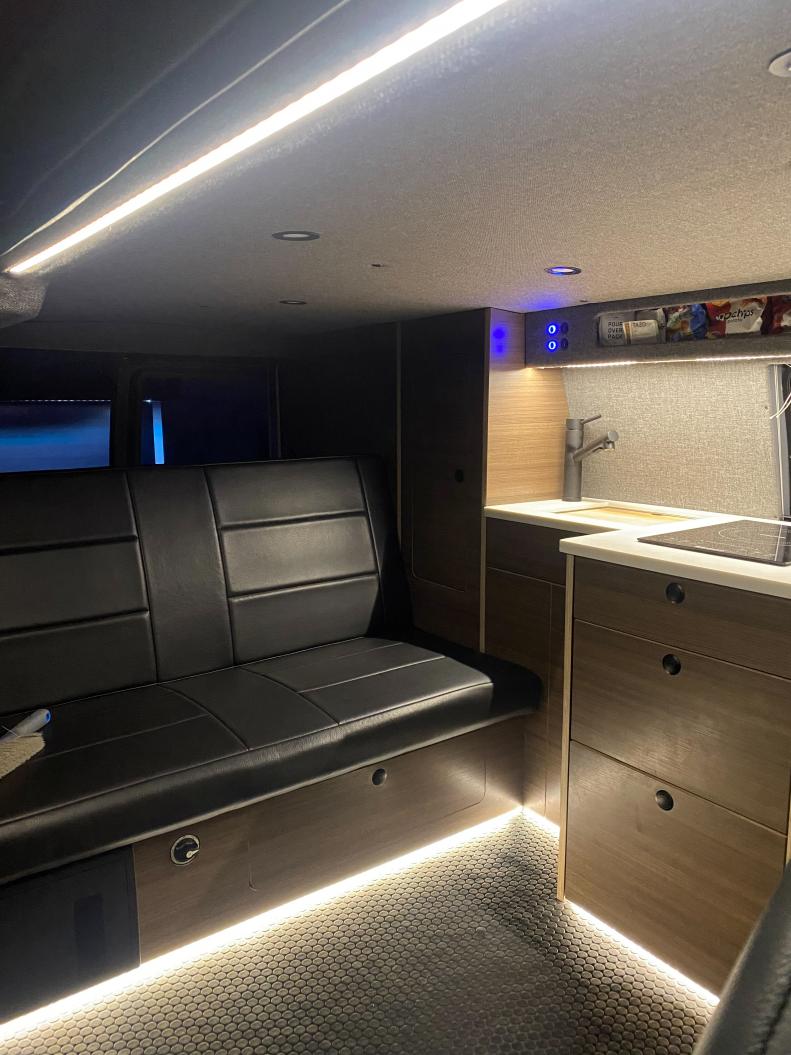

Electrical:

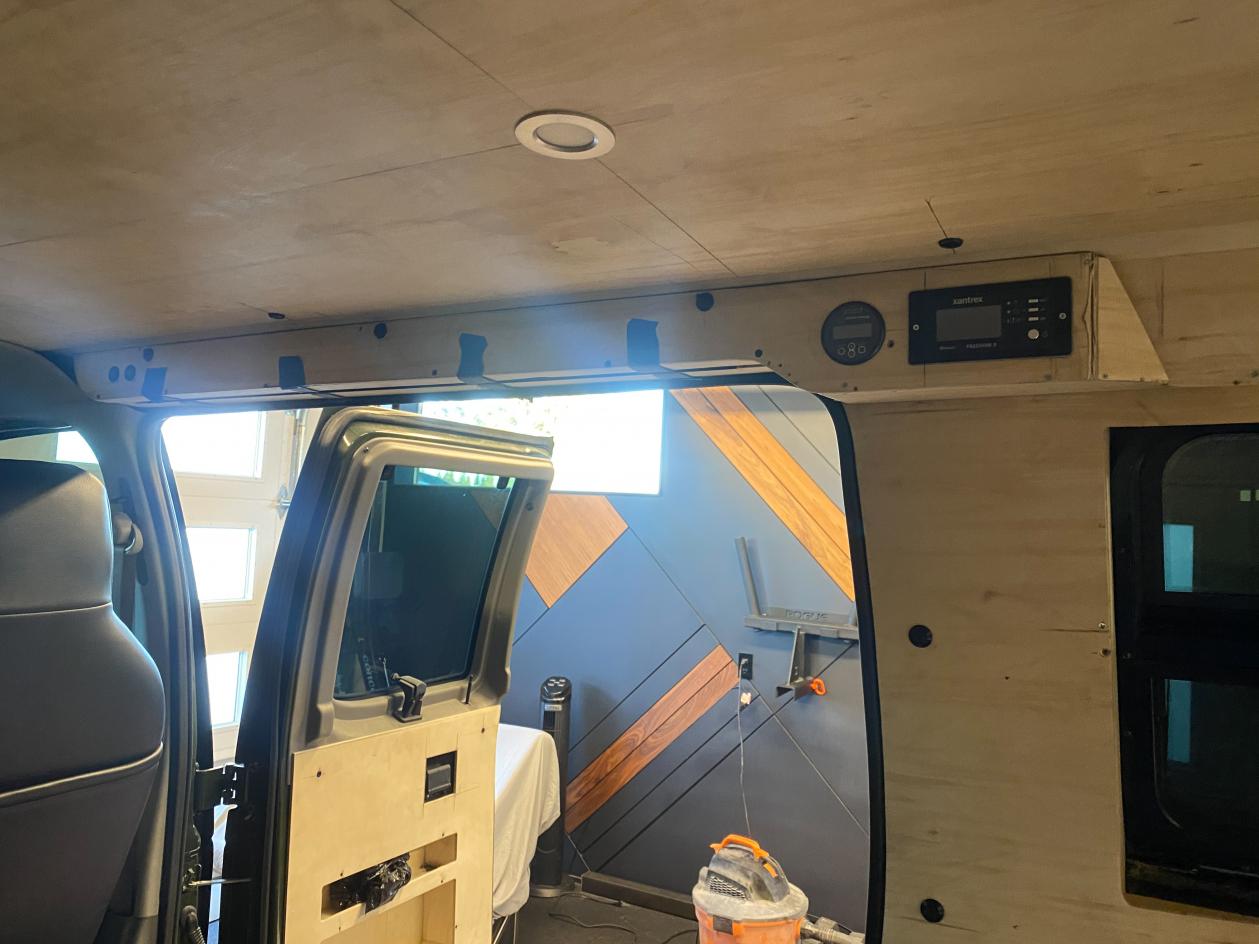
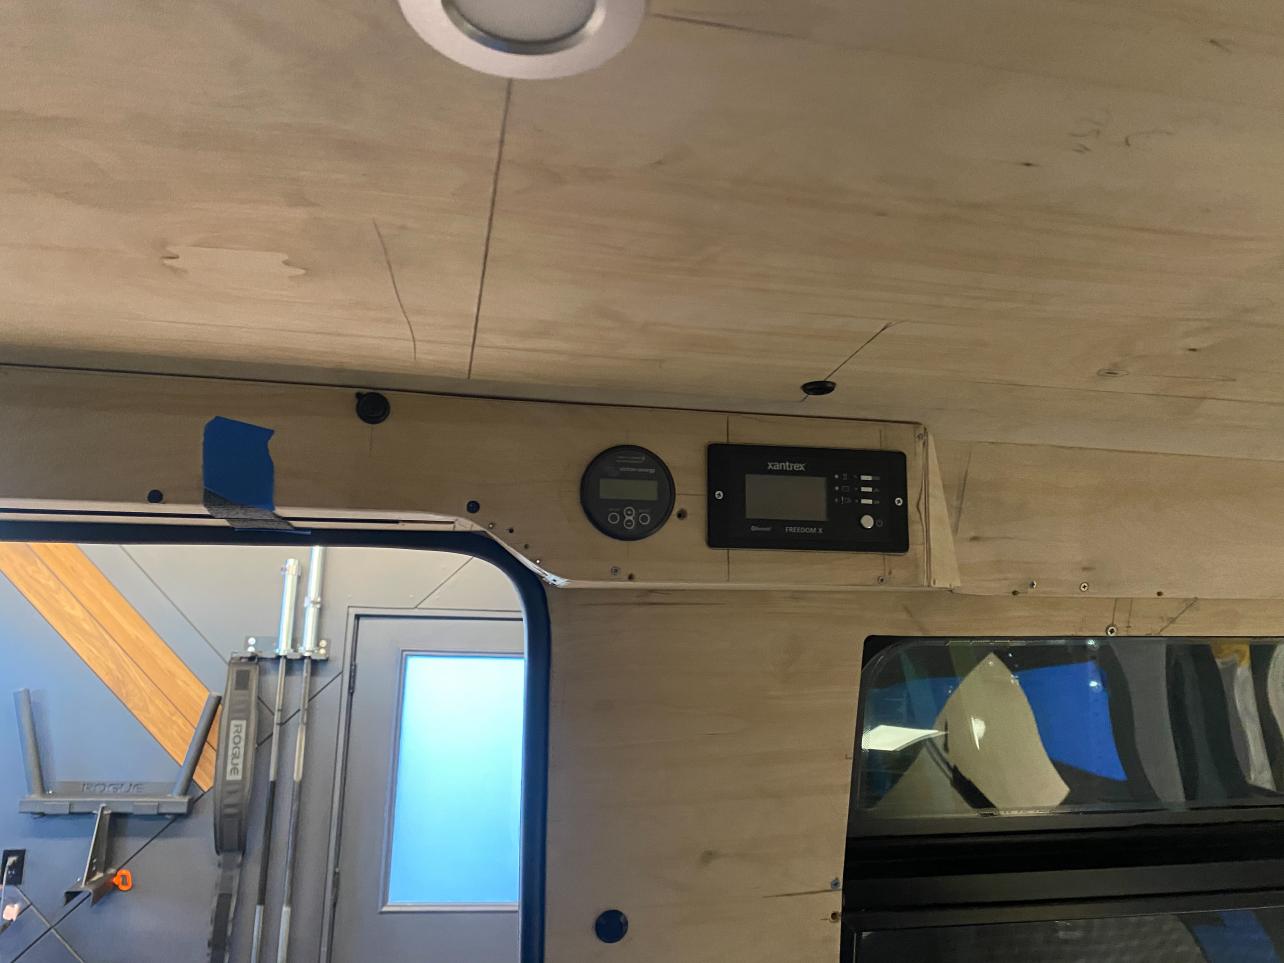
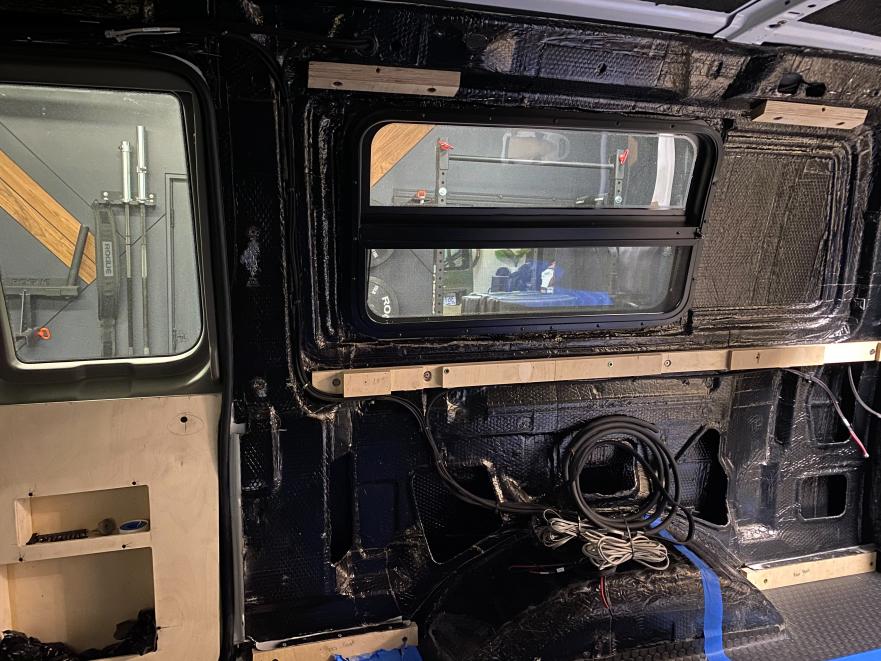
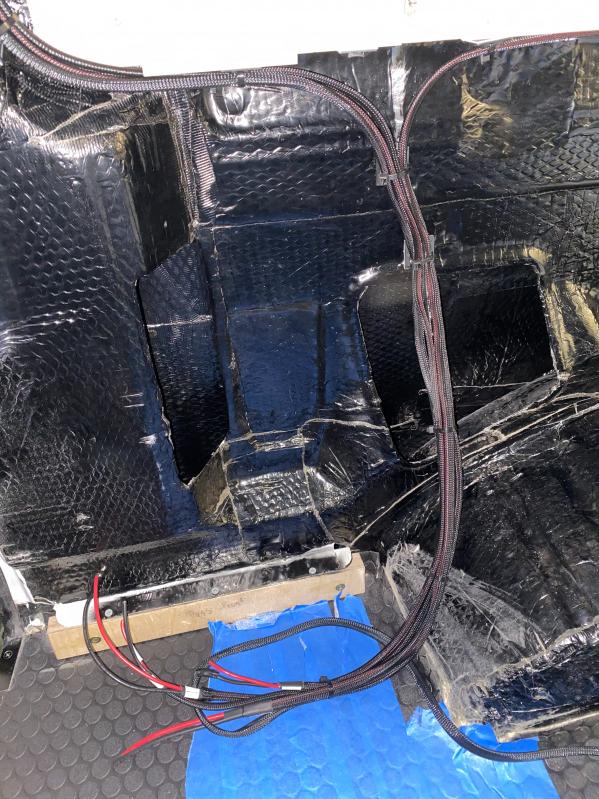
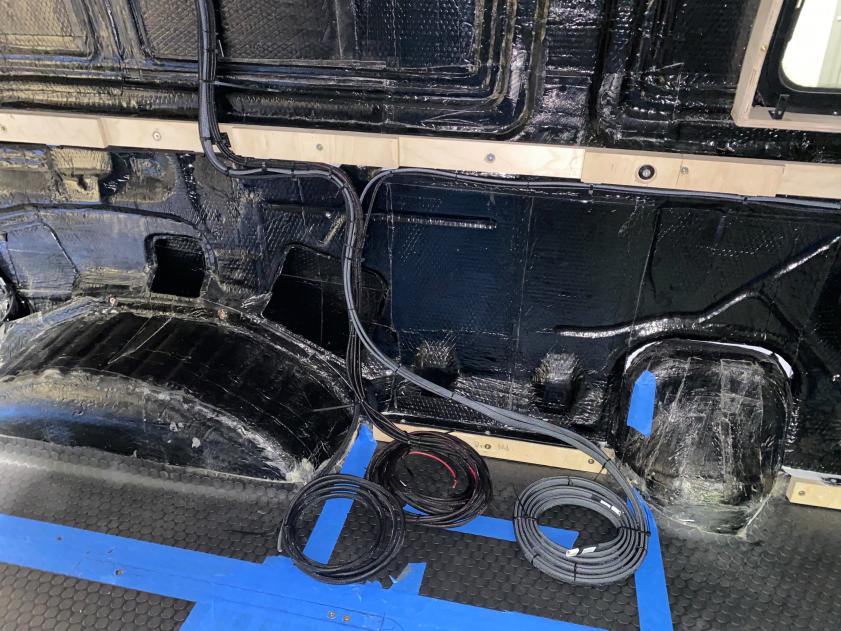
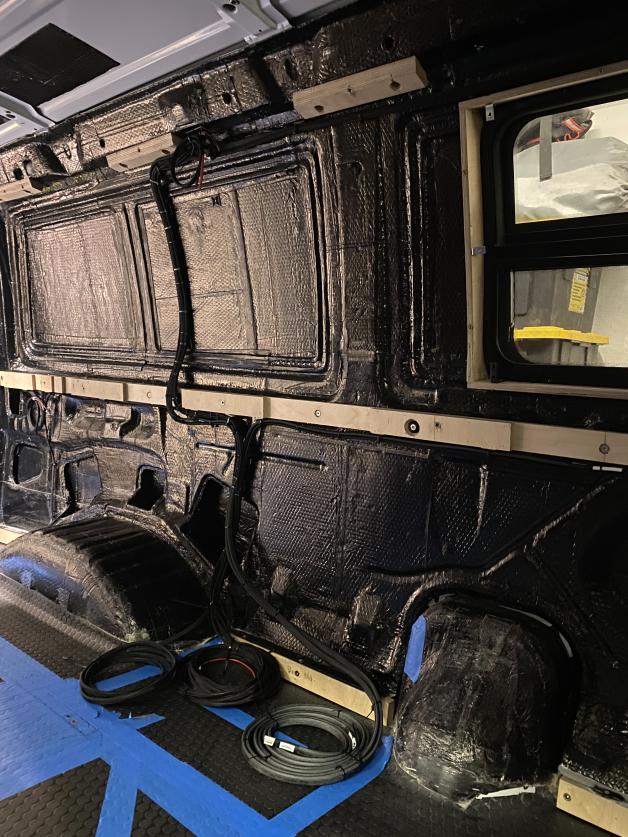
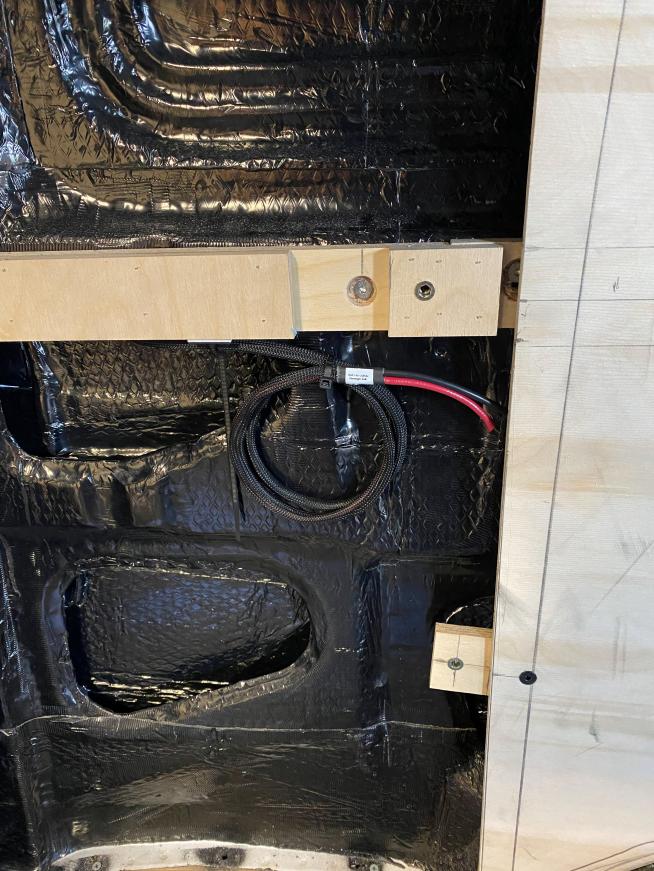
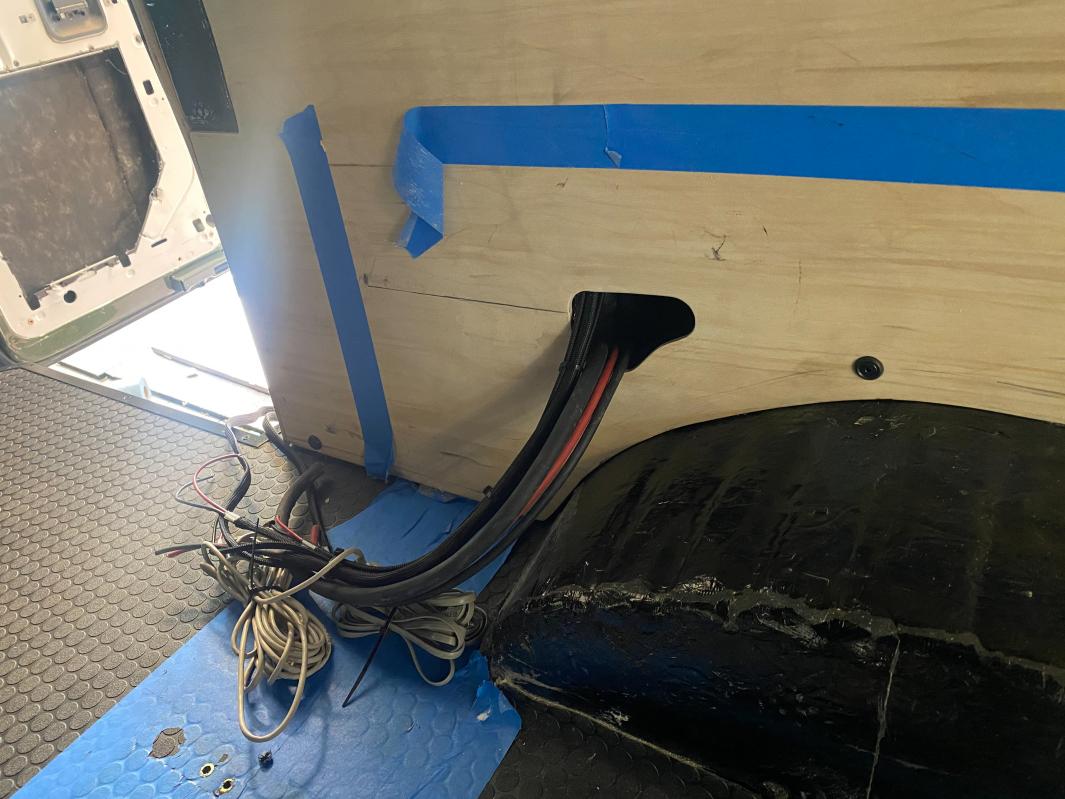
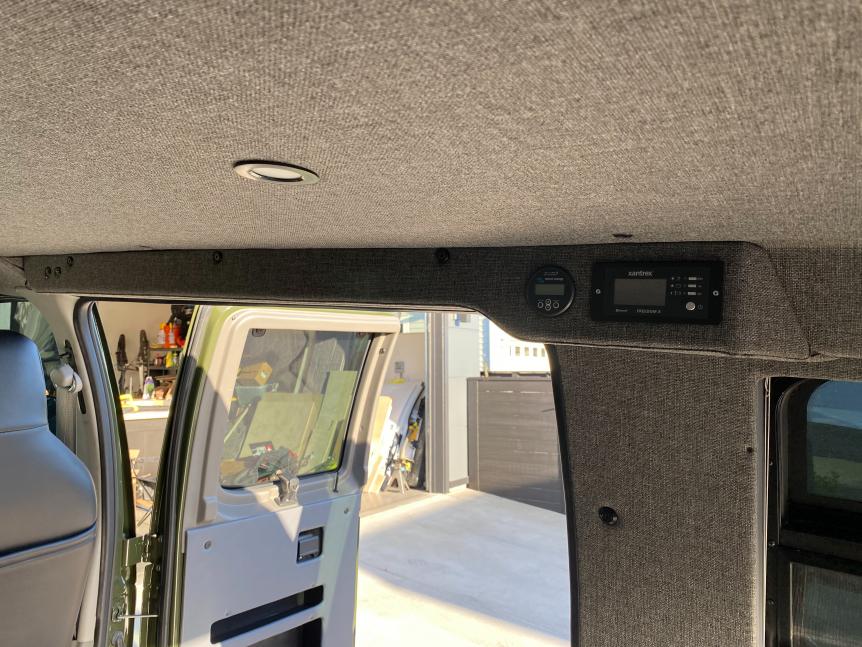
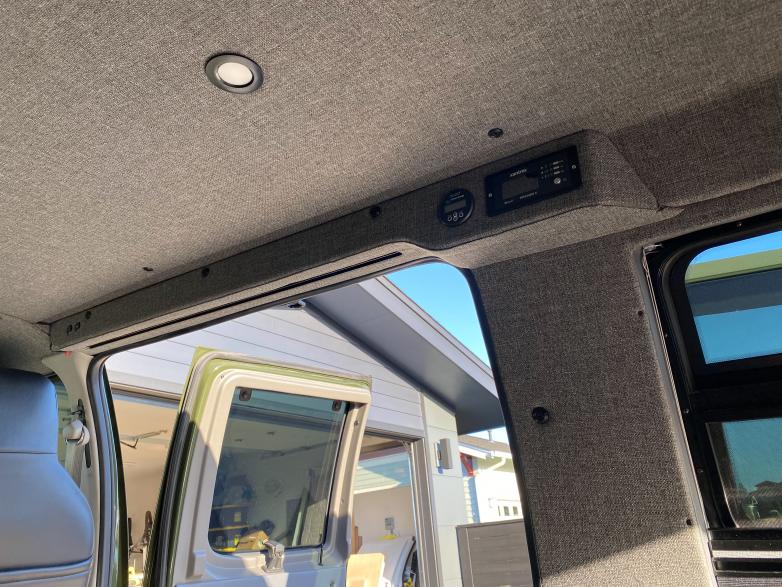
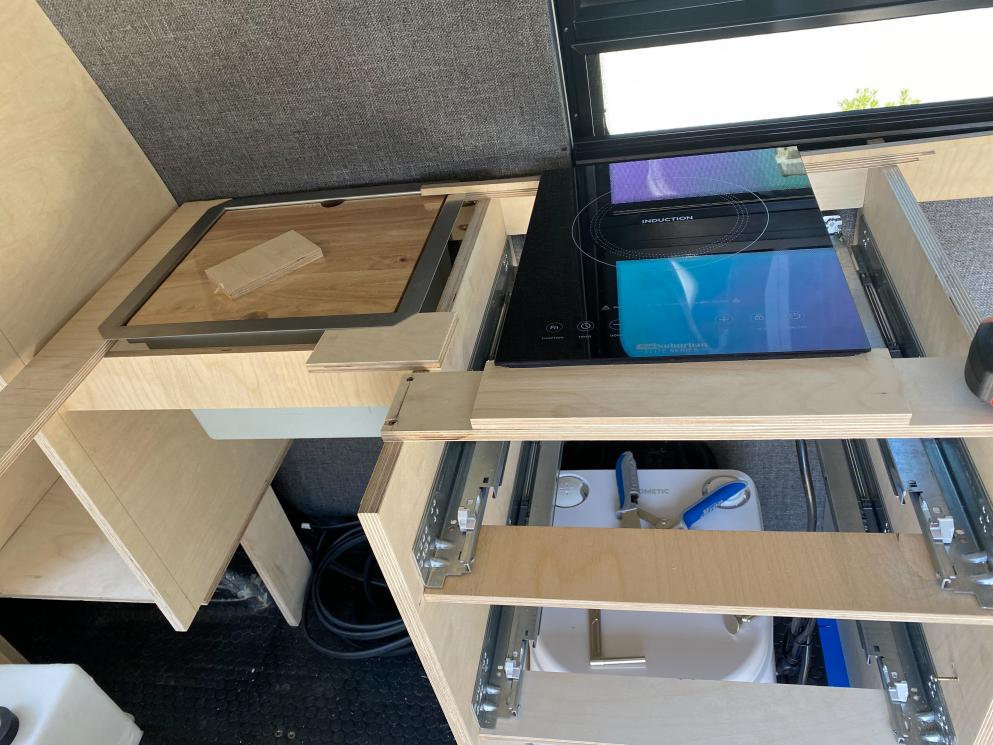
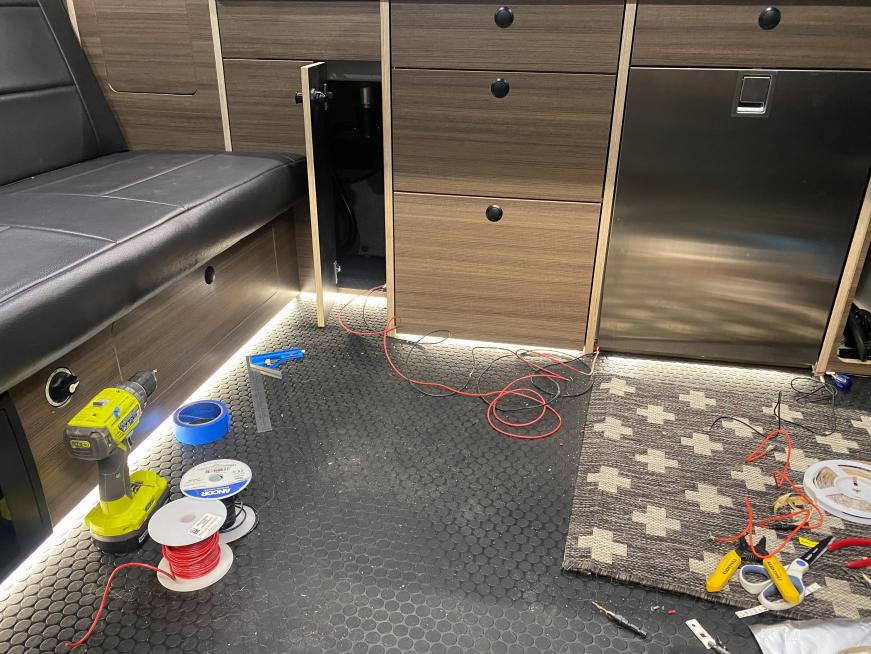
-Then it was on to the main electrical section. Since we were on a time crunch I only really got the main lights, fridge, and a few USB ports wired. This required me to get a few of the main components wired as well. This included the batteries, the Victron BMV, the Victron Orion DC/DC charger, the Victron Lynx Distributor, and the main fuse distributor. All of this was done with high-quality marine-grade wiring and came together pretty well. Once I get the electrical all done and cleaned up I will share some finished photos of my electrical system.
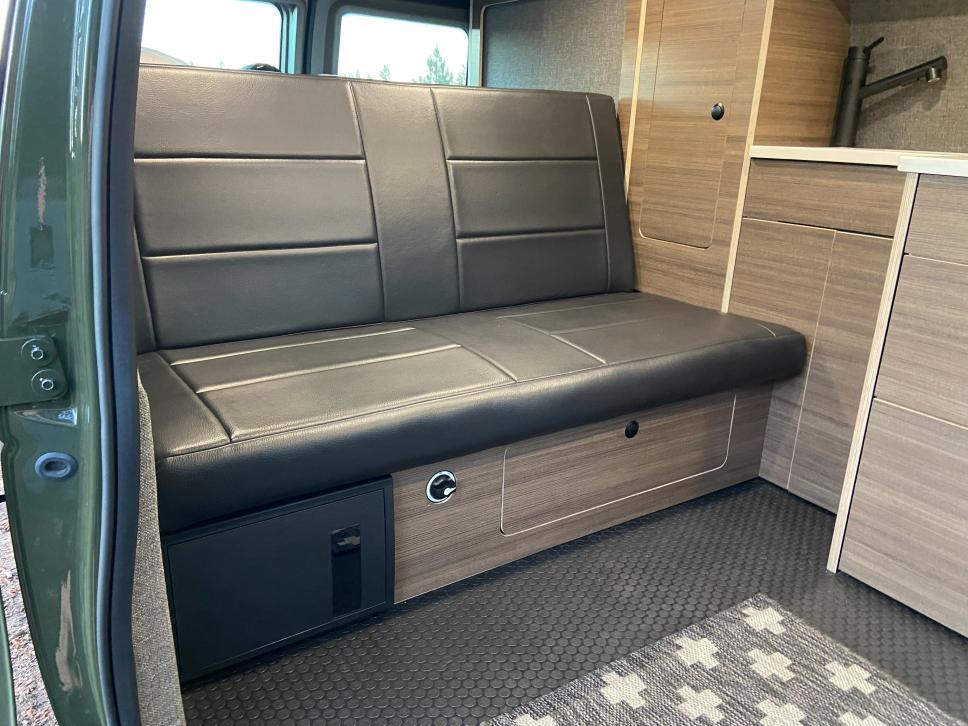
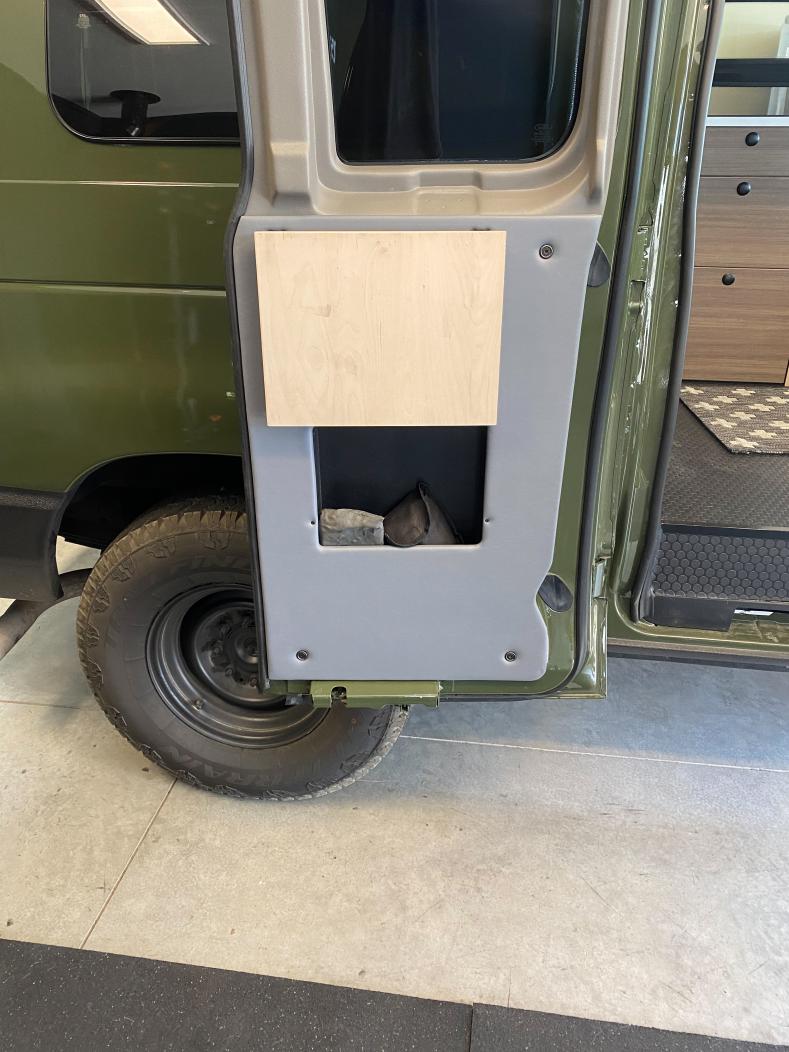
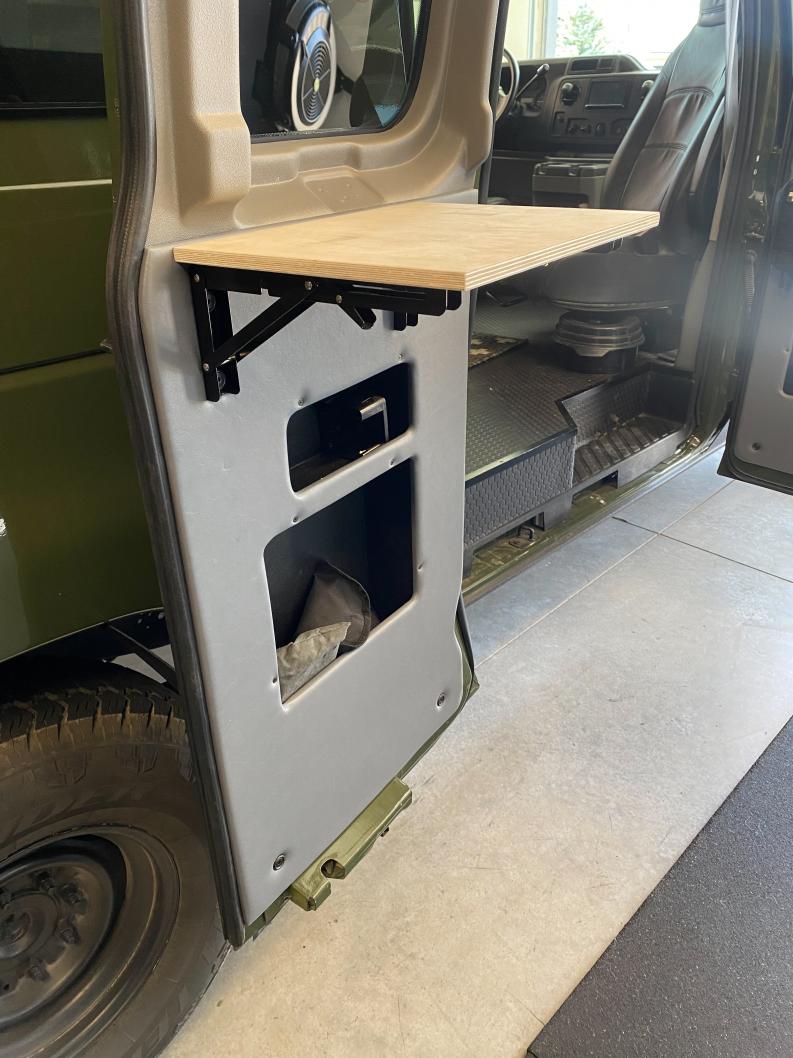

Cabinets:

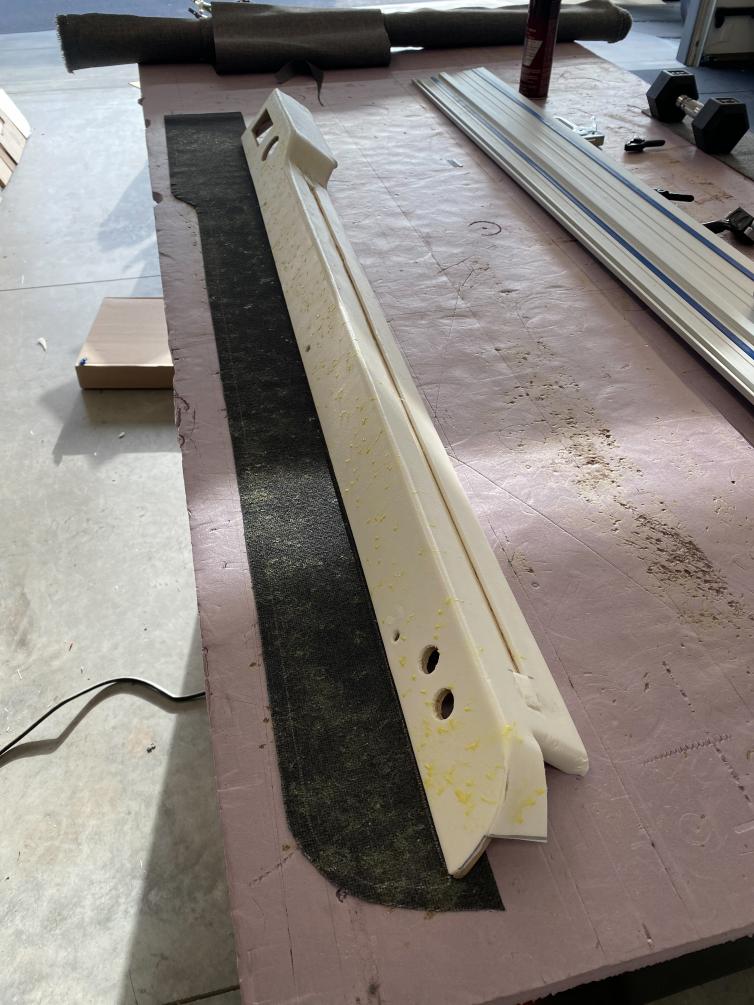
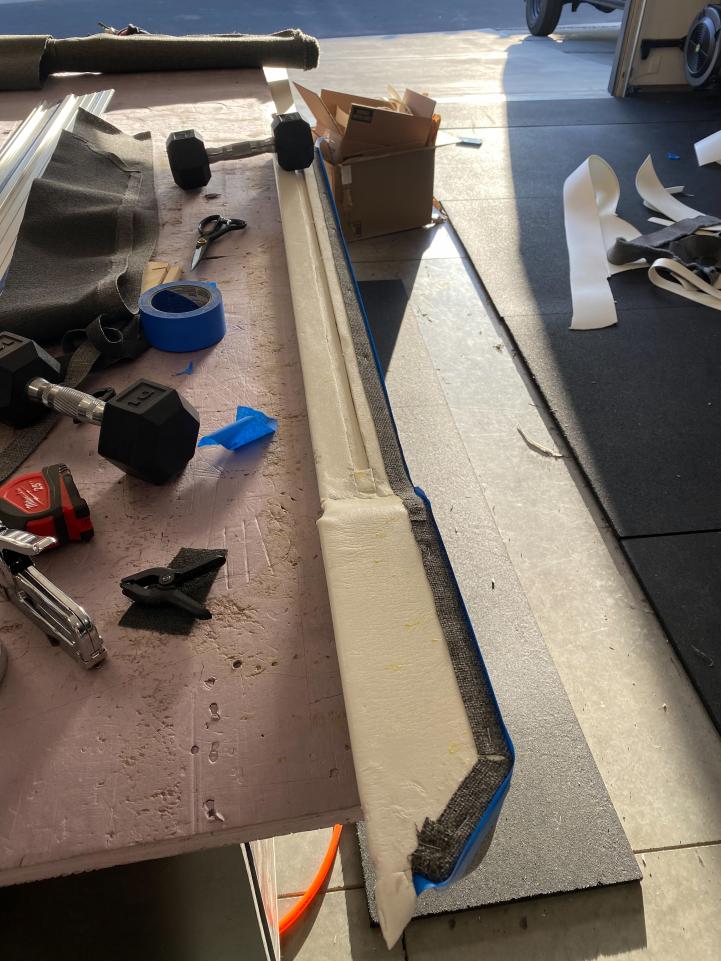
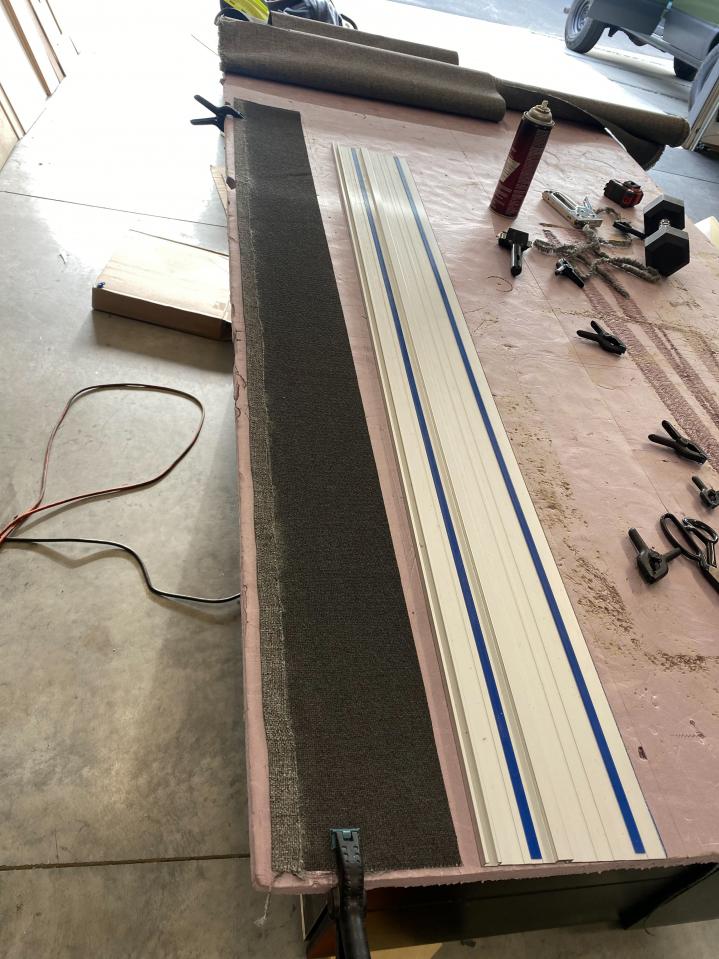
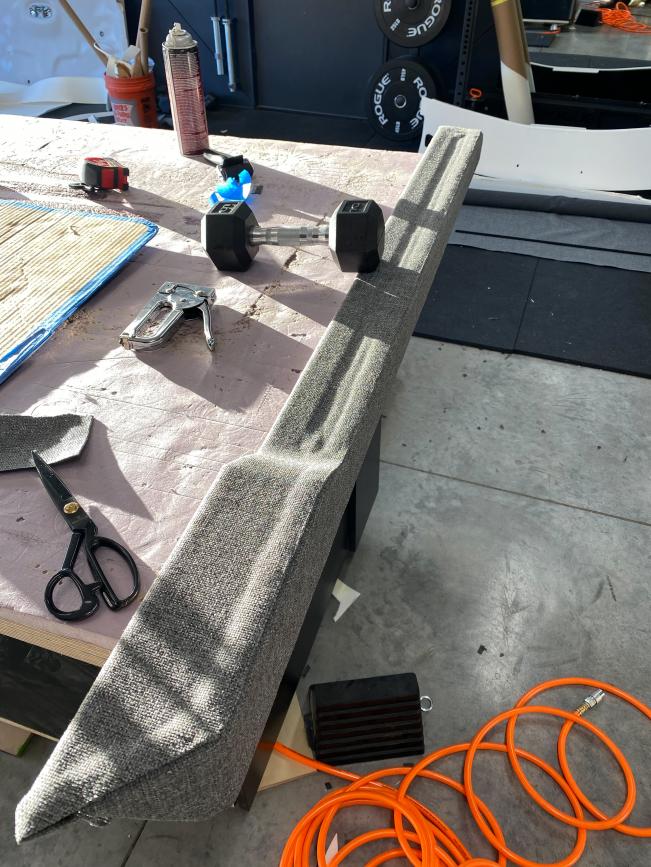
-After getting that done it was on to reinstall the closet door tracks. I made a mistake in testing the tracks without any fabric on the doors, so when I tried to reinstall them they no longer fit. So I routed down the backside of the door to allow for the fabric build-up and now they seem to be fitting and sliding well.


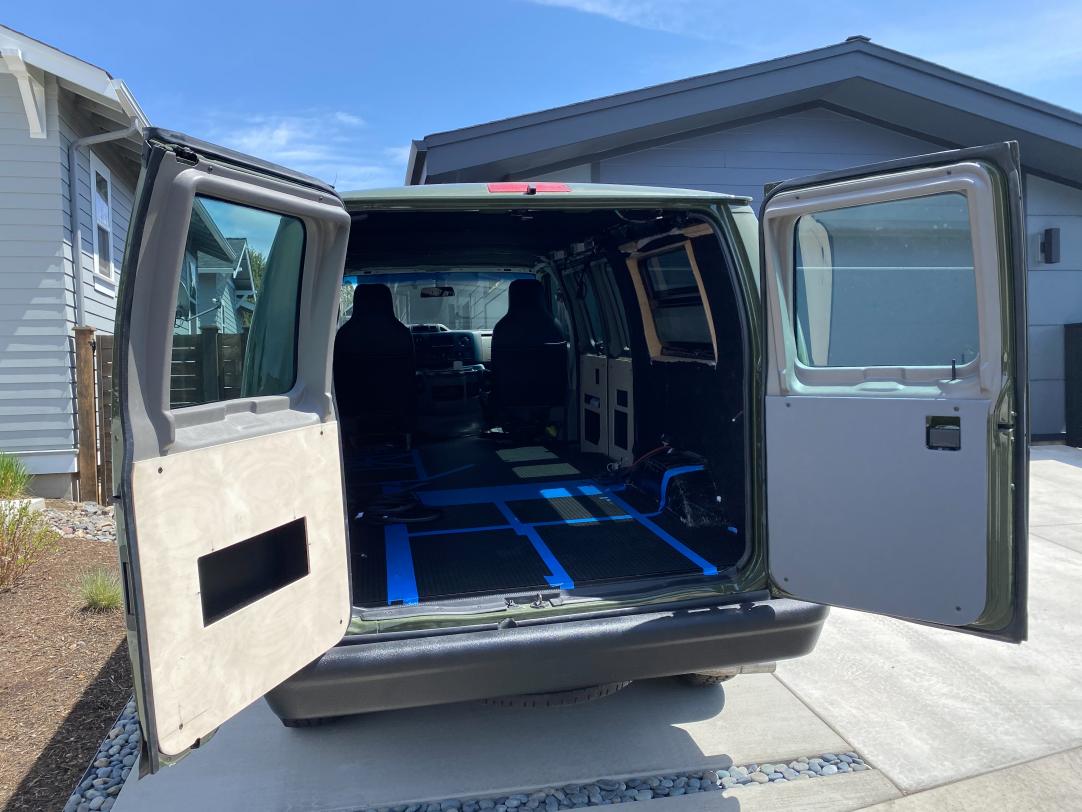
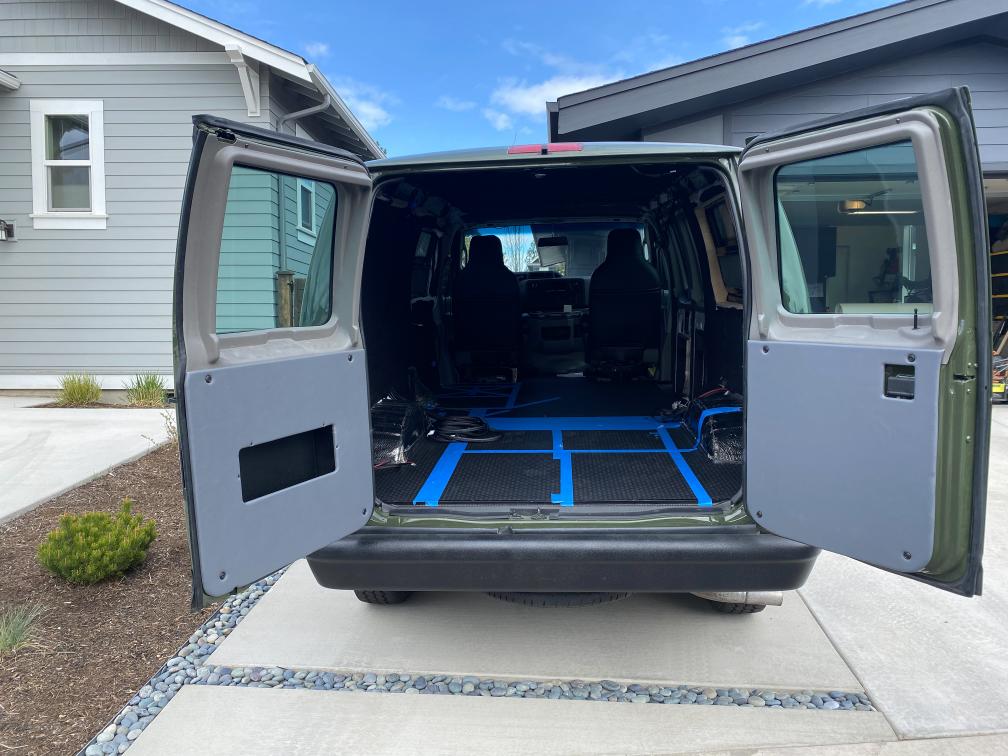
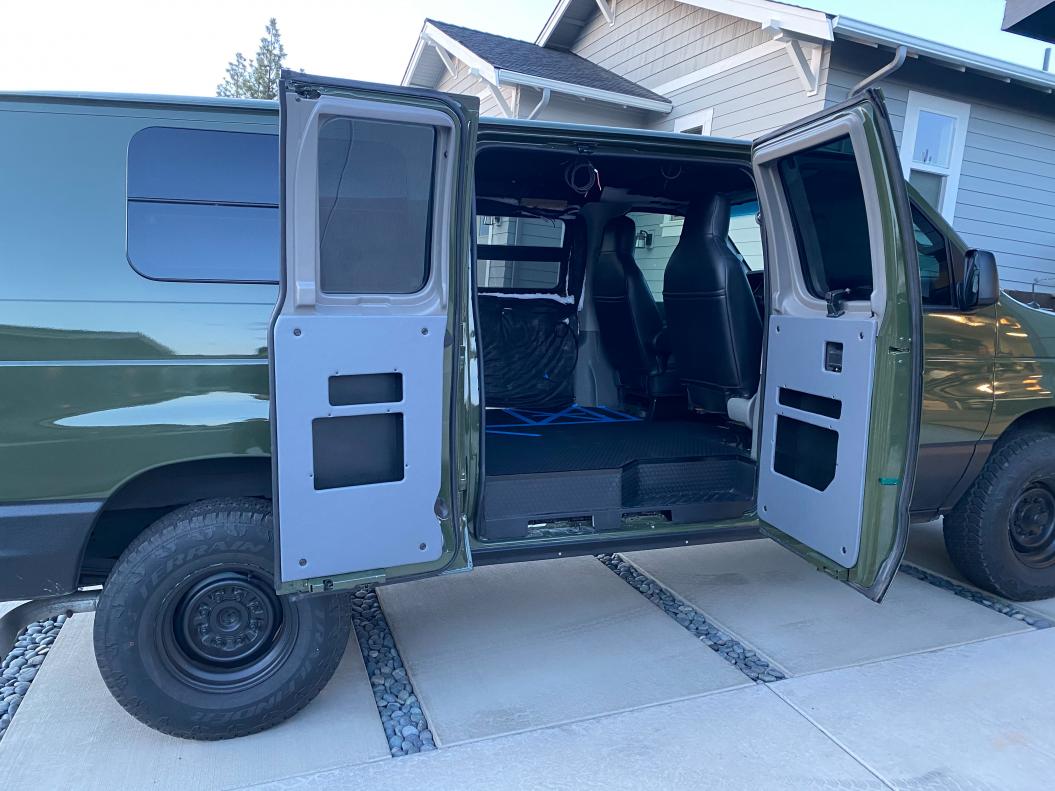
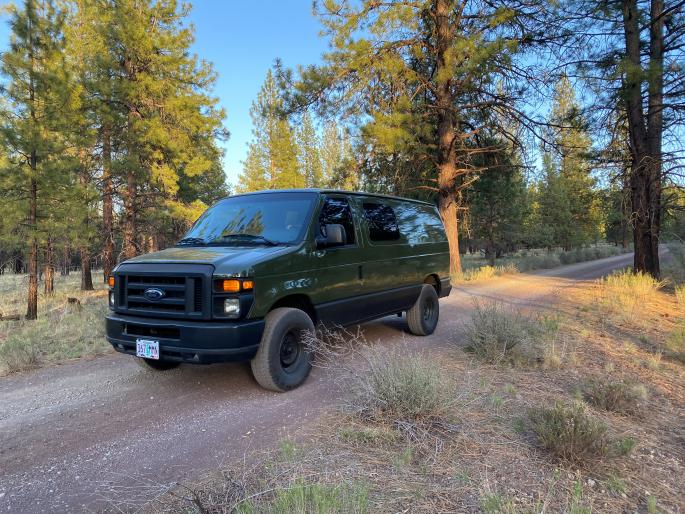
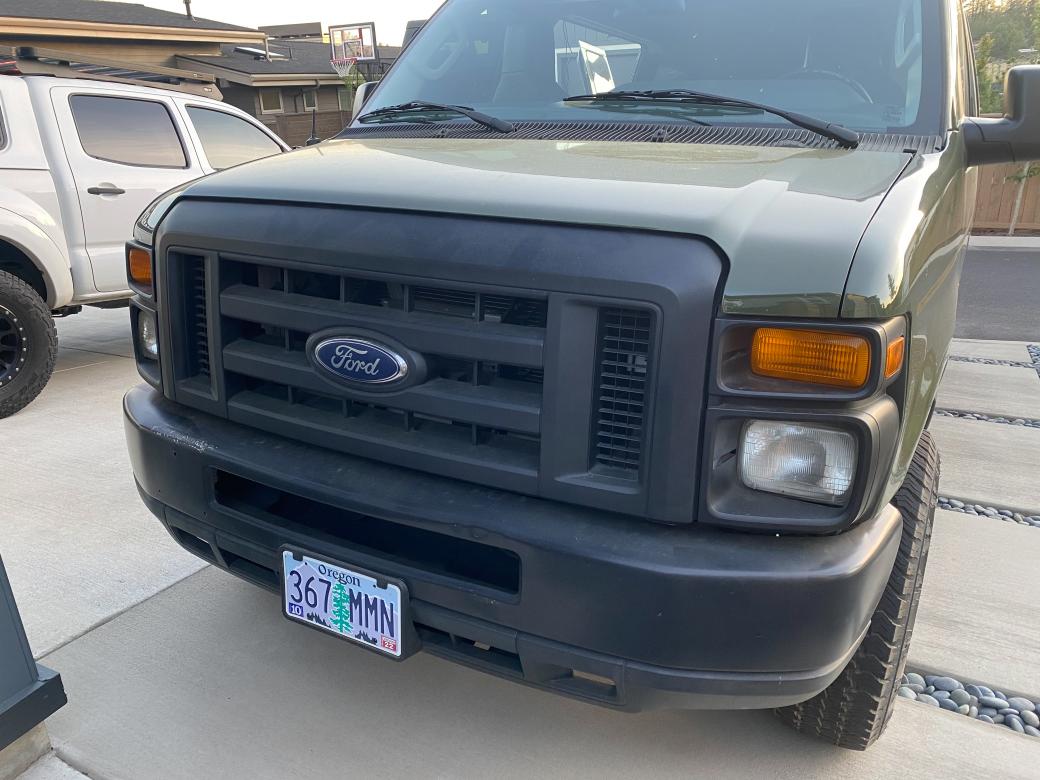
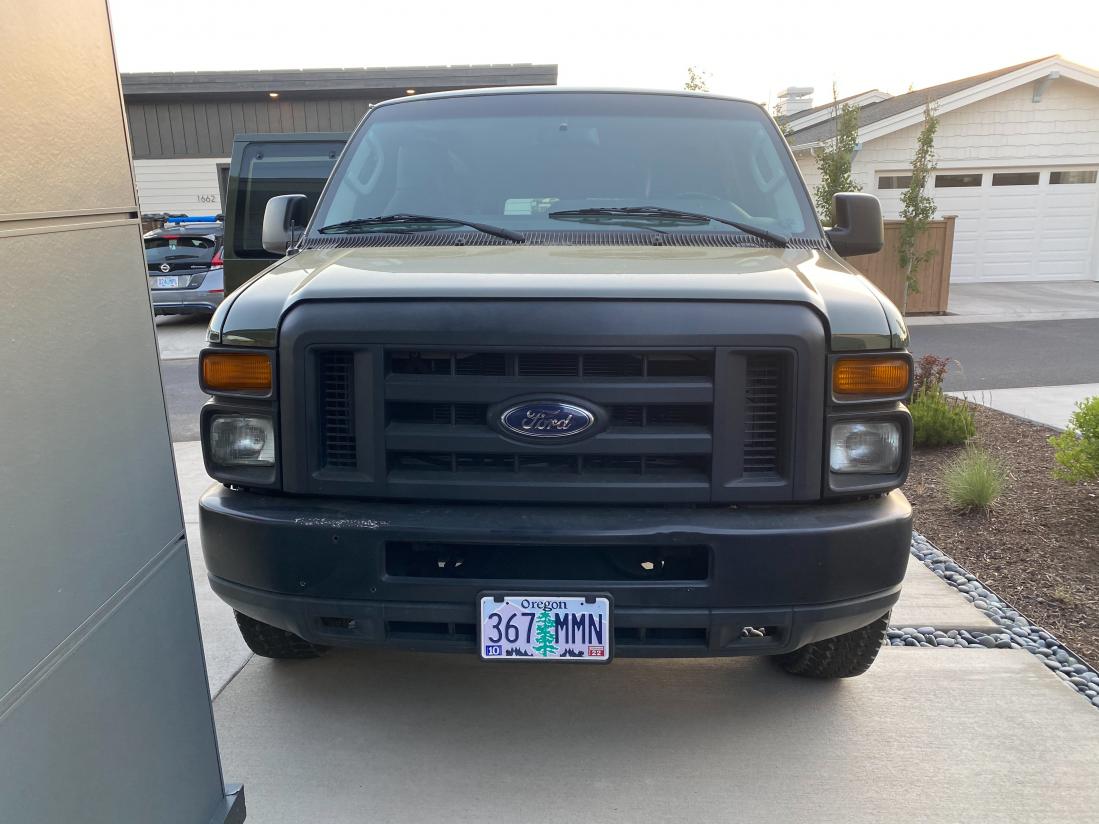
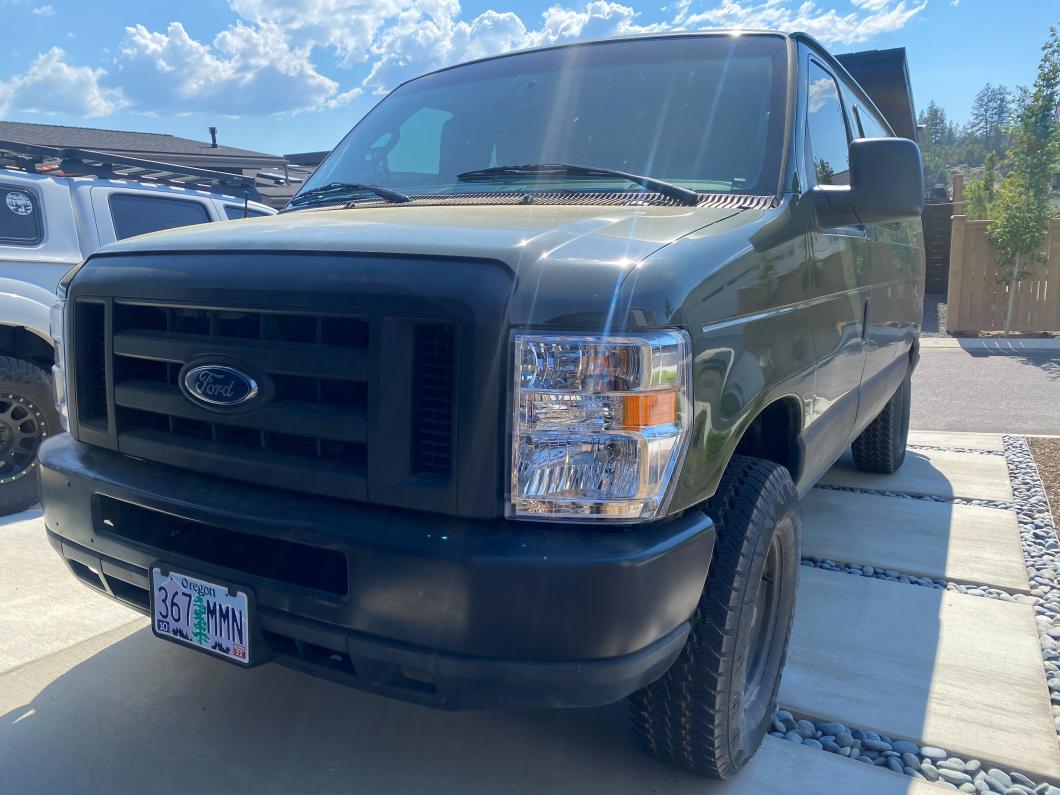
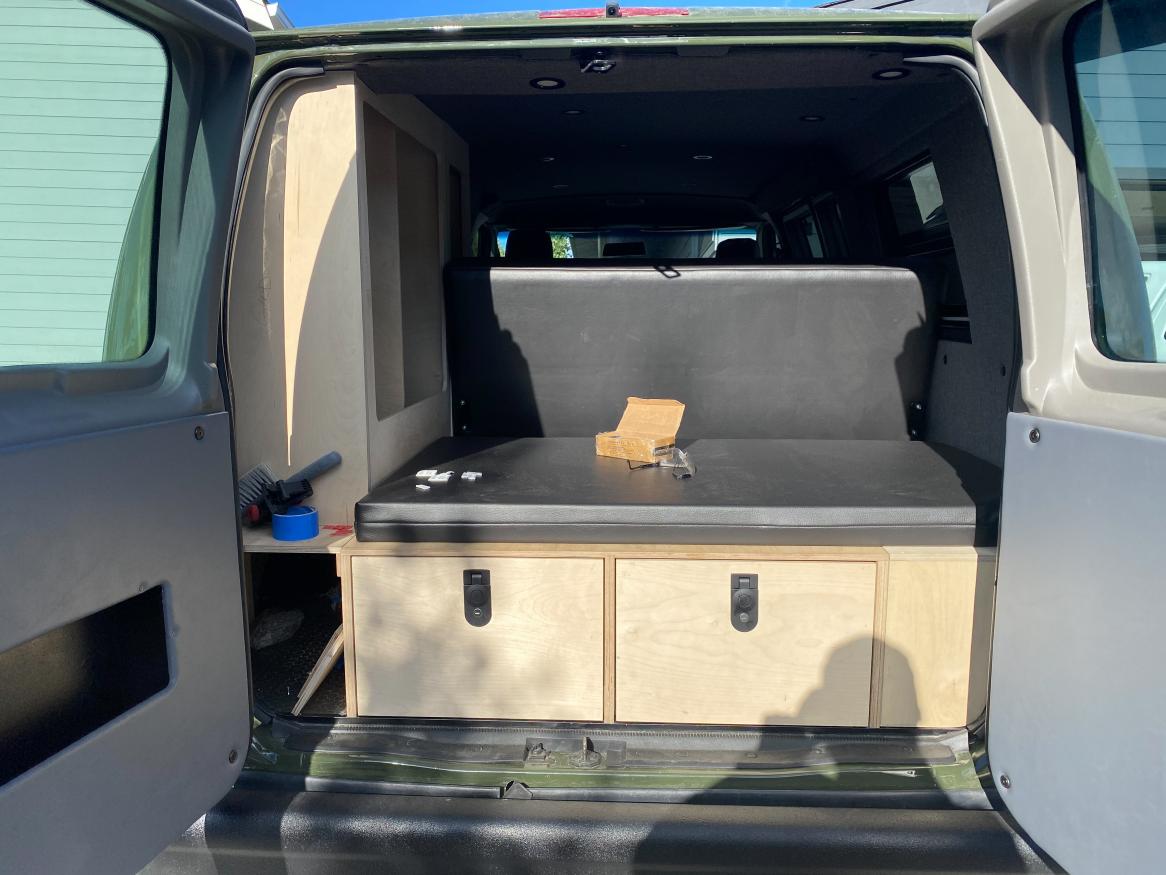
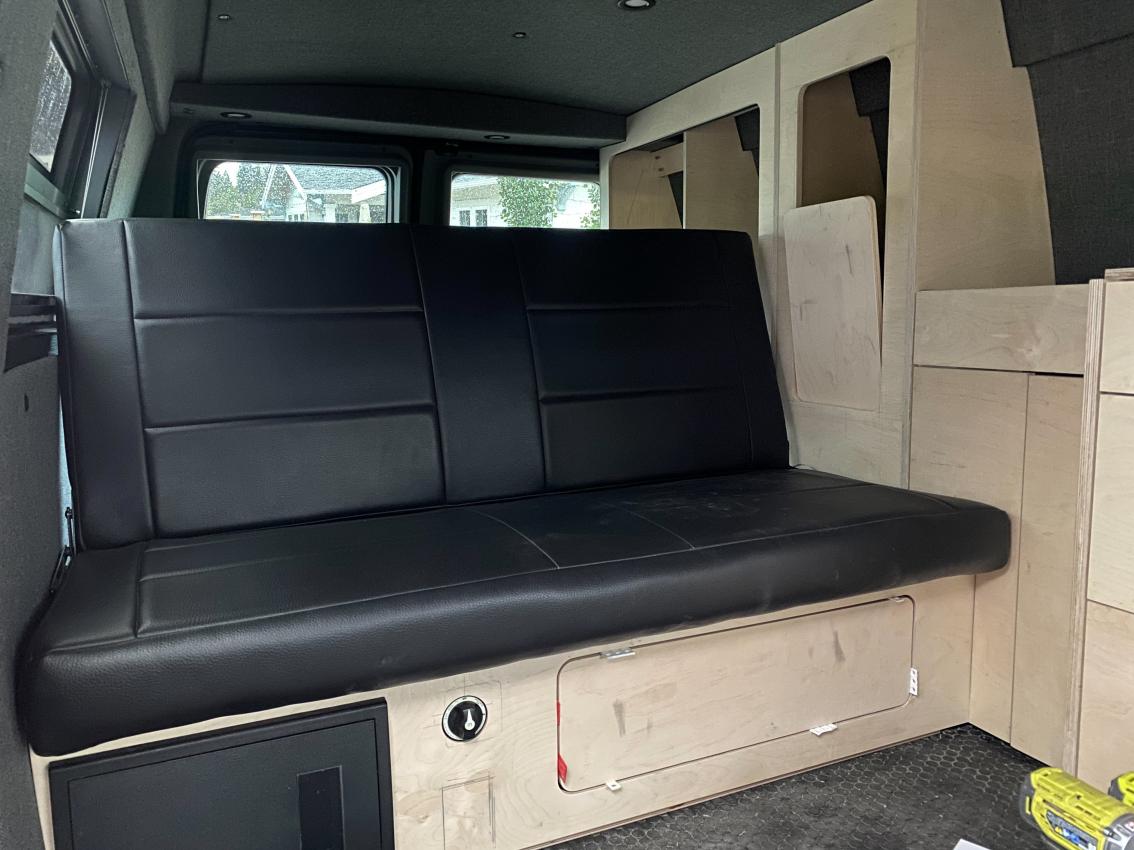
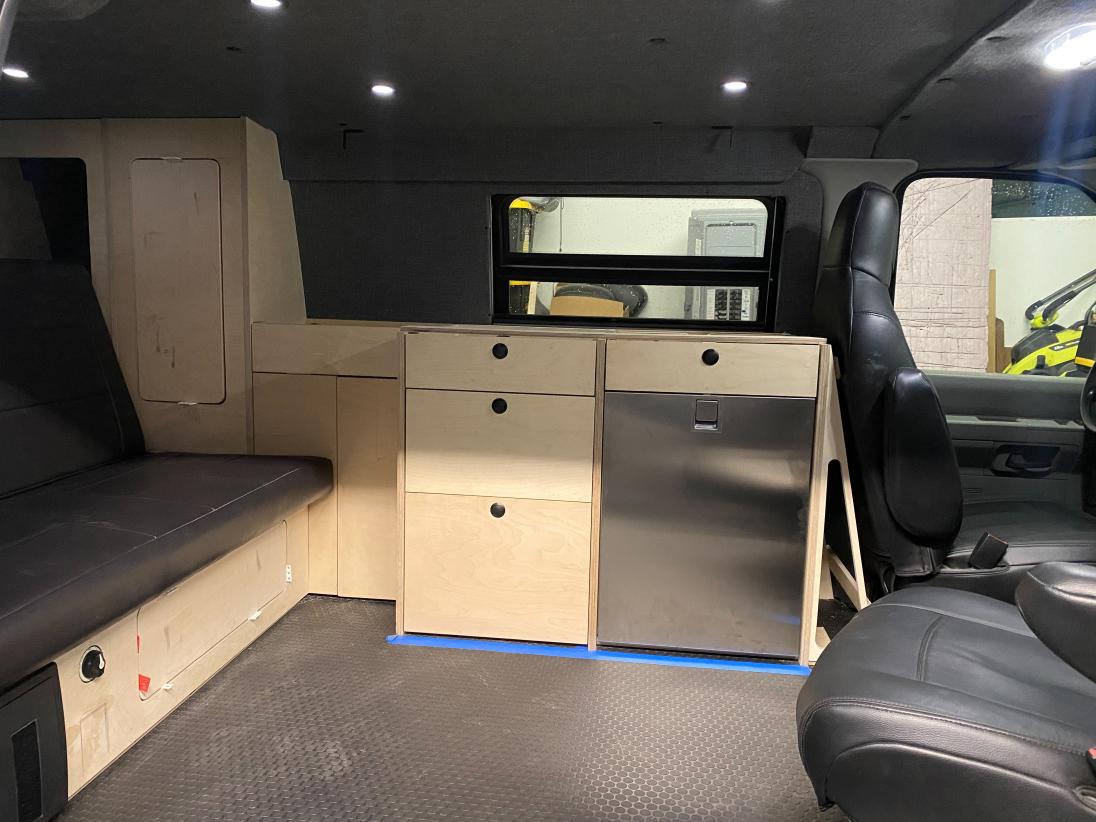
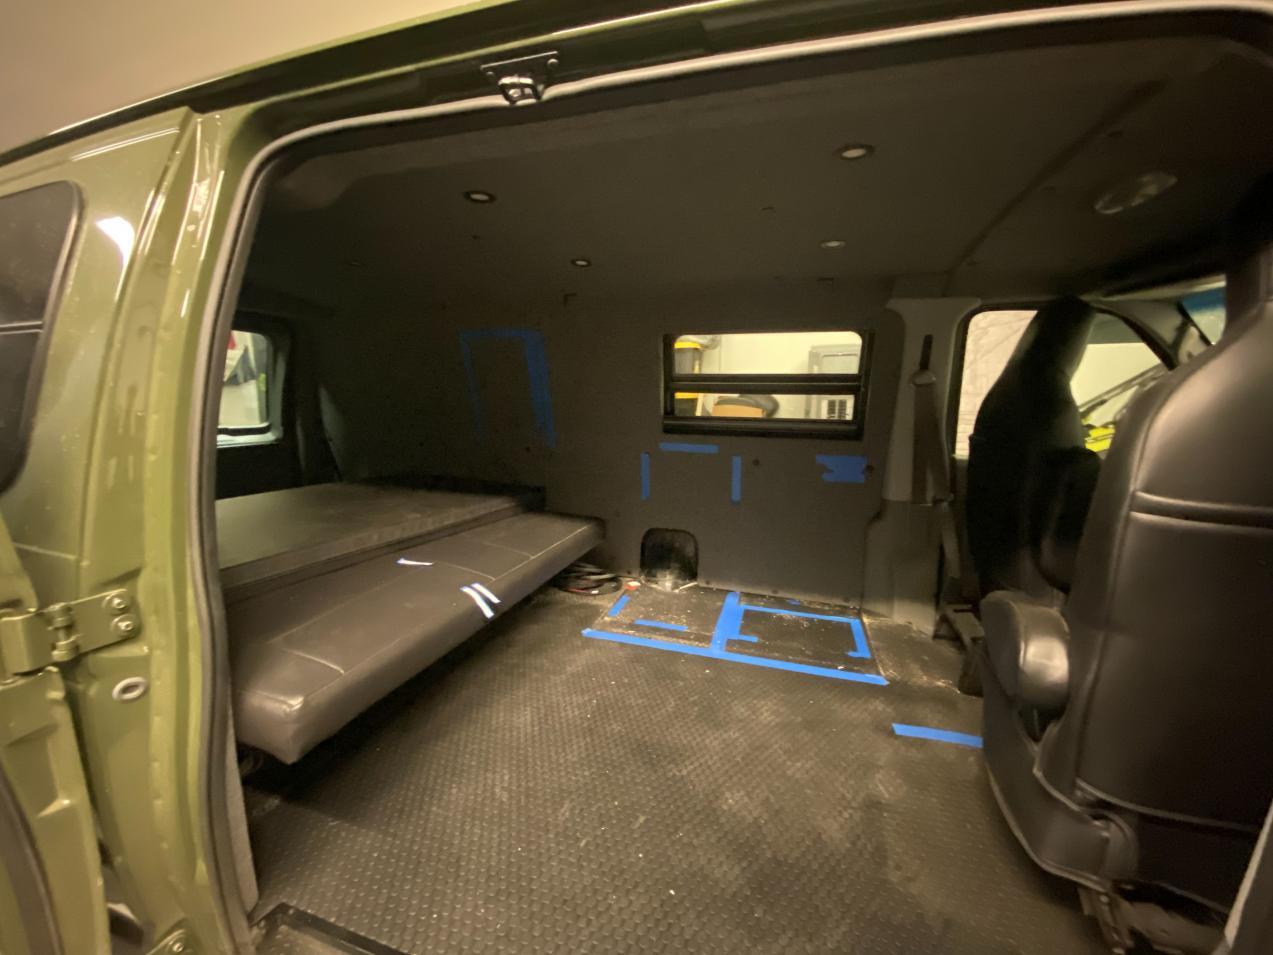
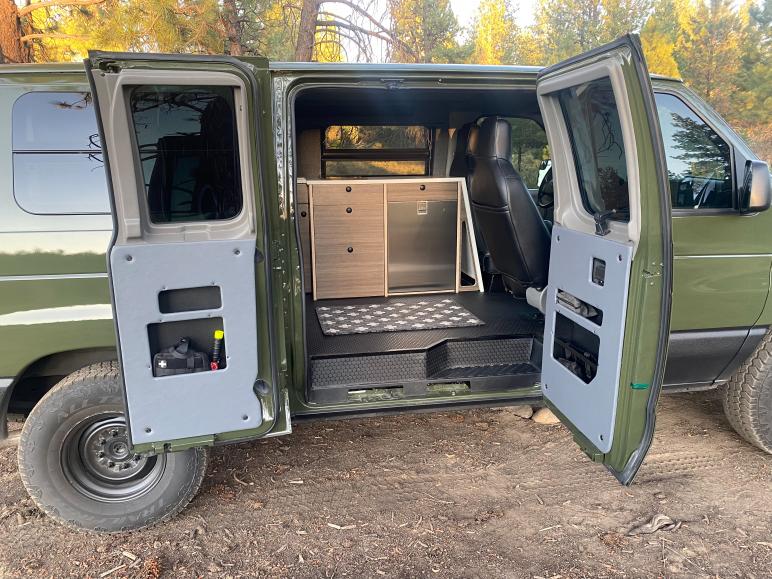
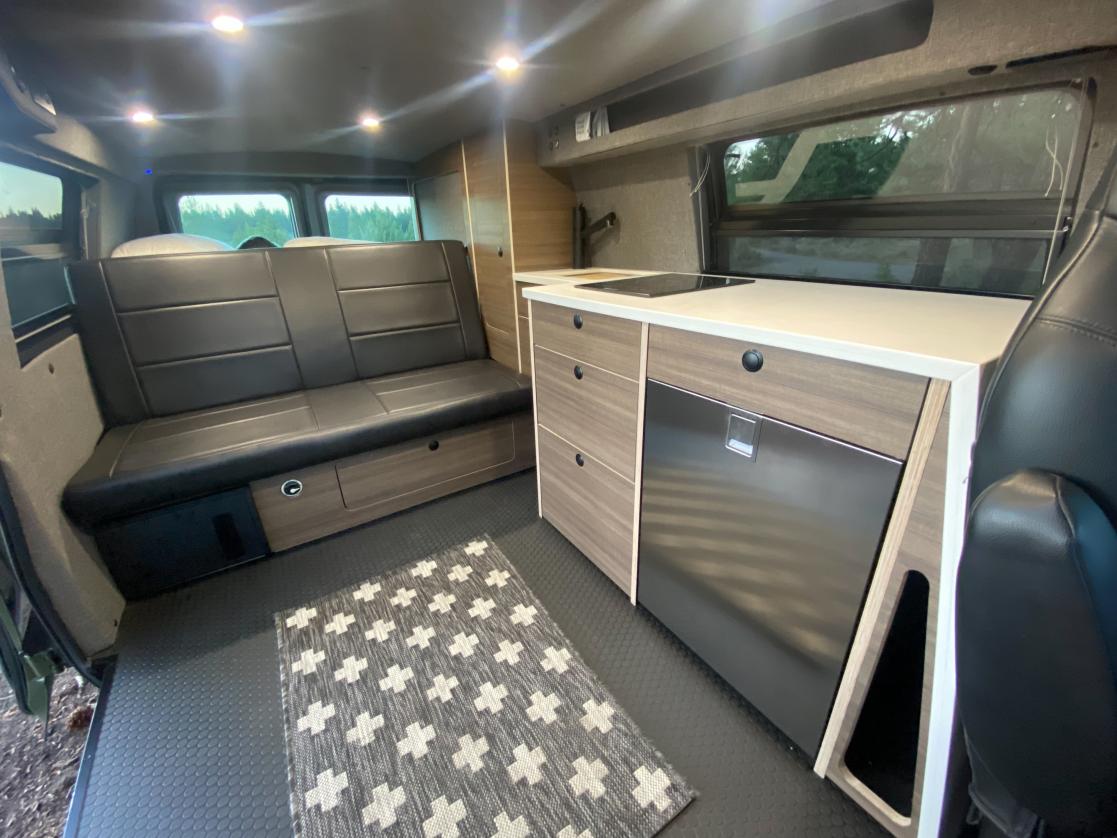
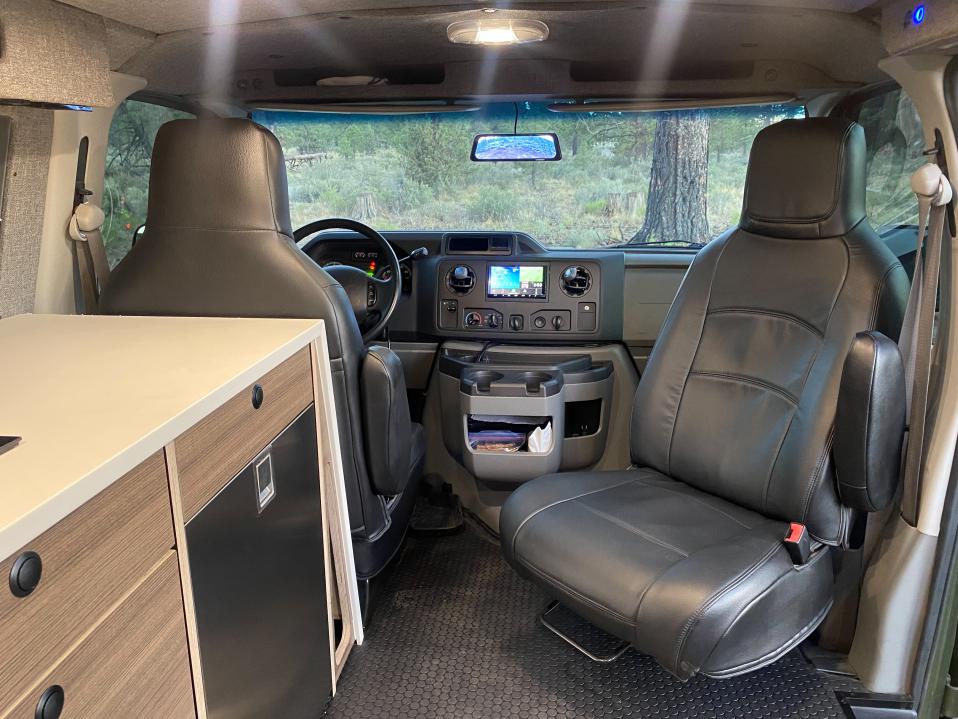
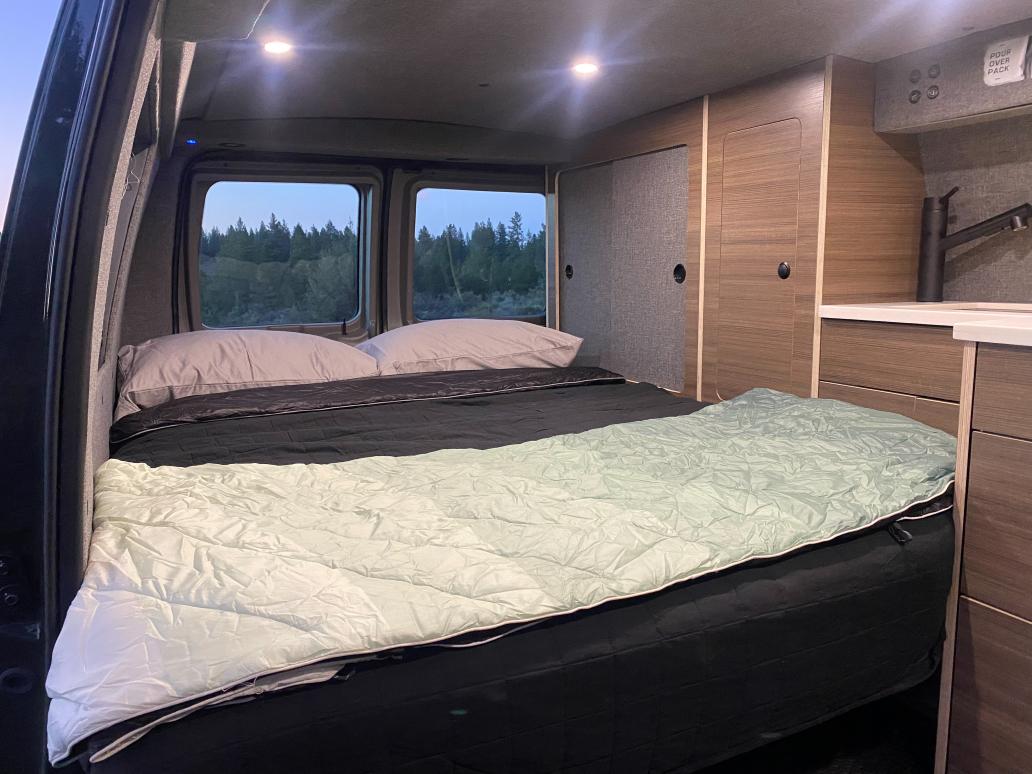
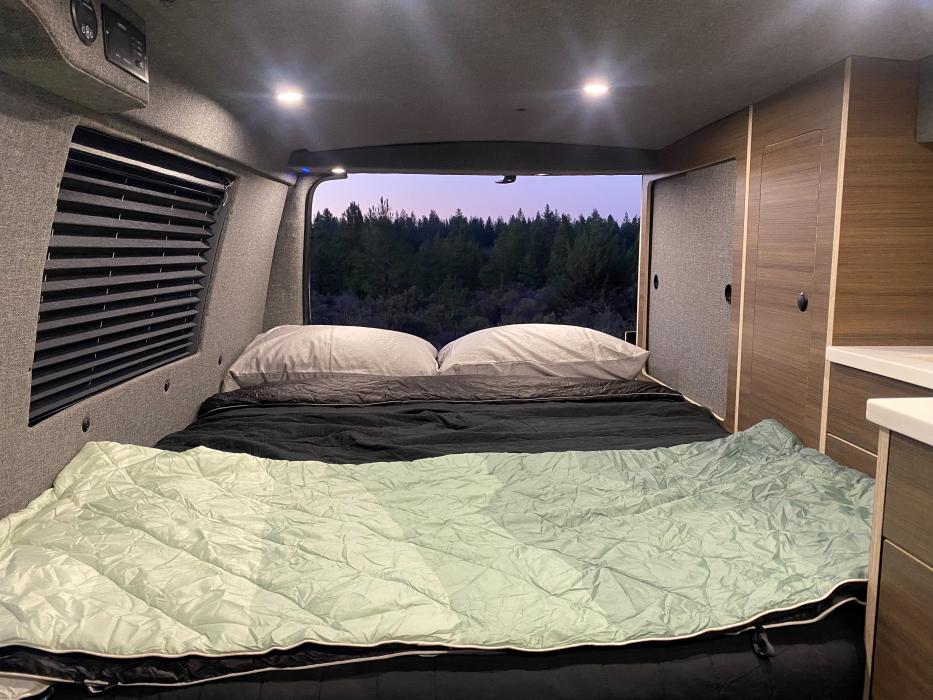
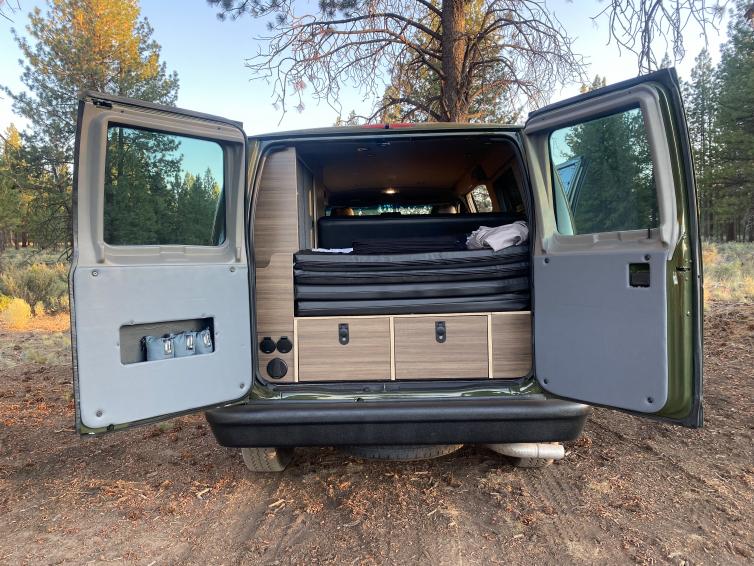
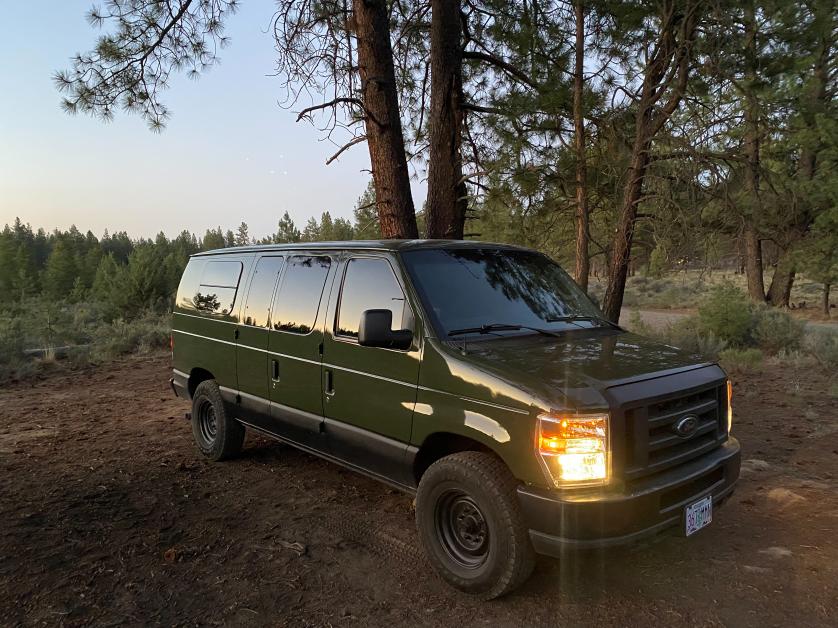
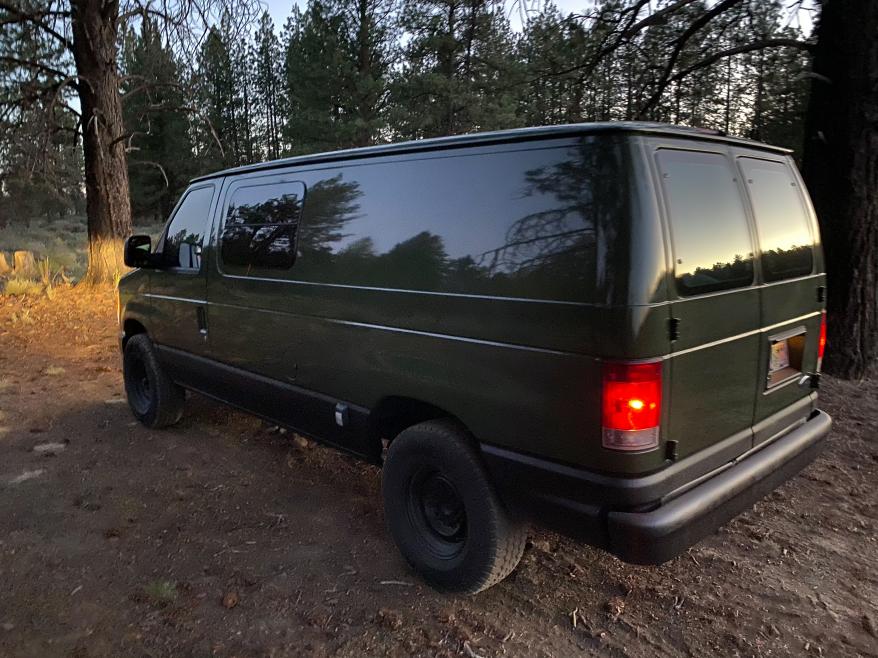
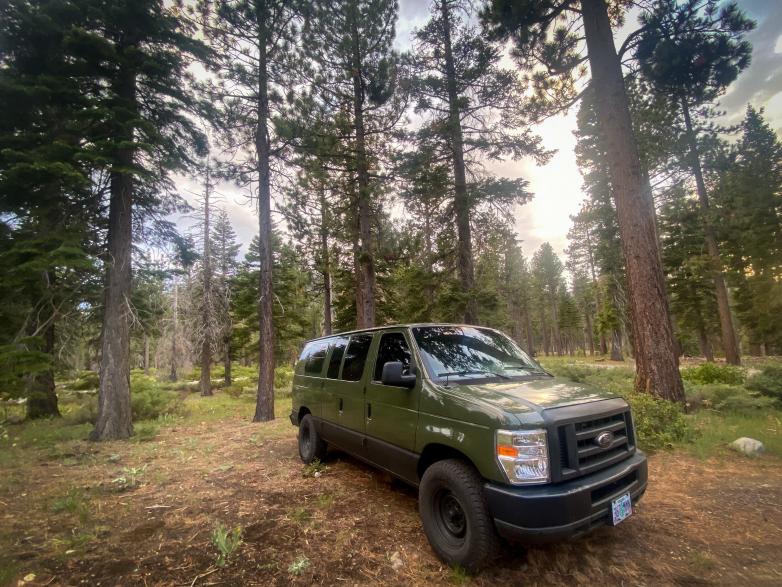
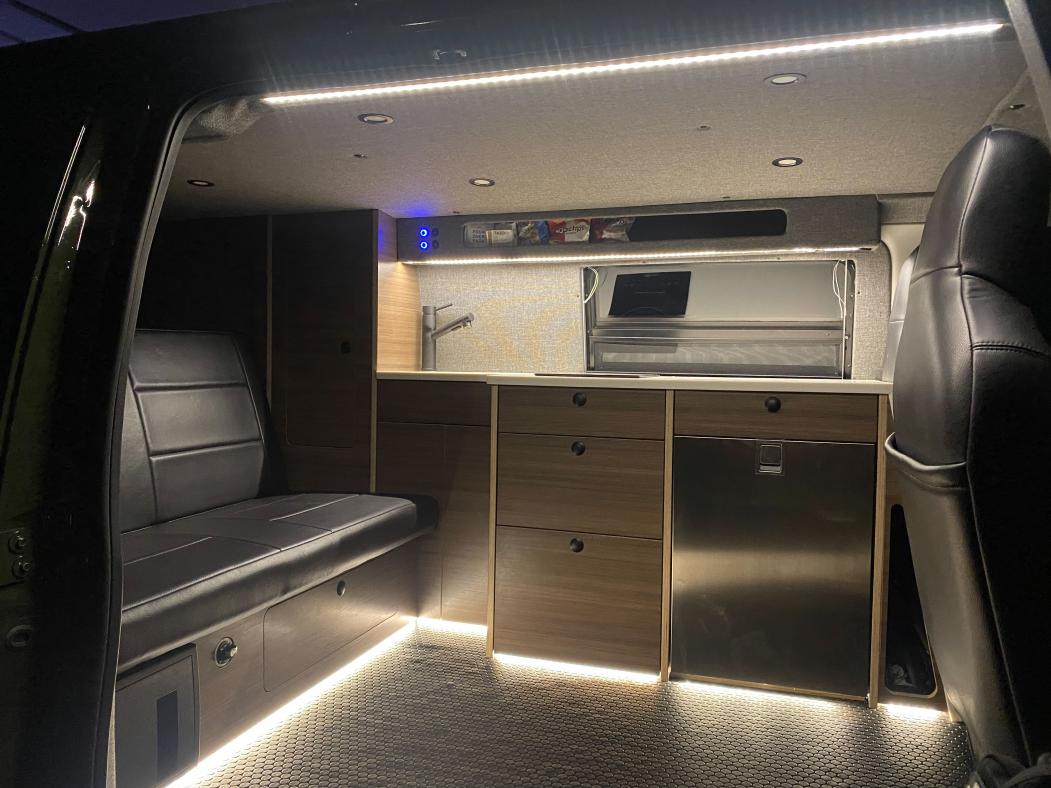
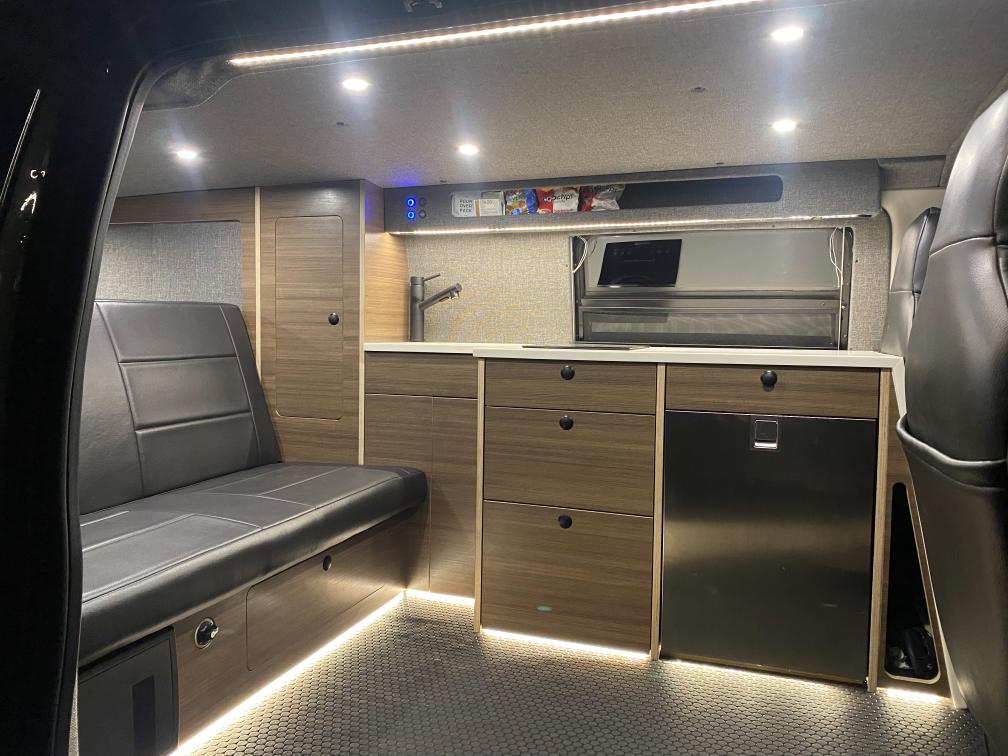
-I am sure I missed some things, but that pretty much takes us to 4 days after our original departure date, where we cleaned everything up, loaded up the van, and hit the road for our shakedown run. All in all, everything worked well and stayed where it was supposed to for our 2,000+ mile shakedown. We only really had one annoying noise which was coming from the latch on the fridge, which I am sure there is a fix for. So now enjoy some finished shots of the van as well as a little video walkthrough we did. If I can figure out how to post it.
 
Last edited:

aarcaris94

Active member
Interior Shots:


Mian:

14991-albums1480-picture45228.jpg

Main Galley
14991-albums1480-picture45222.jpg

Main Galley Outside to Inside
14991-albums1480-picture45225.jpg

From Front (wide angle)
14991-albums1480-picture45226.jpg

From Front
14991-albums1480-picture45229.jpg

Bench and Lower Cabinet
14991-albums1480-picture45230.jpg

Wide Angle Full Shot
14991-albums1480-picture45232.jpg

From Bench to front
14991-albums1480-picture45215.jpg

Baltic Birch Drawer Detail Construction with Blum under mount hardware
14991-albums1480-picture45236.jpg

Bed Mode (wide angle)
14991-albums1480-picture45237.jpg

Bed Mode
14991-albums1480-picture45241.jpg

Bed Mode (Doors Open)

Rear Van Section:

14991-albums1480-picture45217.jpg

Rear Of Van View
14991-albums1480-picture45218.jpg

Rear Drawer Grain Match Detail
14991-albums1480-picture45219.jpg

Rear Drawer Birch Edge Detail
14991-albums1480-picture45220.jpg

Rear Drawer Hardware
14991-albums1480-picture45221.jpg

Rear Drawer Inside View
14991-albums1480-picture45235.jpg

Water Fill, shower connection/controls
14991-albums1480-picture45239.jpg

Rear Bed Mode
14991-albums1480-picture45240.jpg


Rear Bed Mode

 
Last edited:

aarcaris94

Active member
Details:

14991-albums1480-picture45223.jpg

Overhead Buttons with Garage Door Controls
14991-albums1480-picture45224.jpg

Overhead Light Billet Button "On"
14991-albums1480-picture45238.jpg

Bed Lights Controls

Exterior Shots:
14991-albums1480-picture45243.jpg

14991-albums1480-picture45244.jpg

14991-albums1480-picture45245.jpg


Here Is a Quick Walkthrough Video From This Stage Of The Van:


-Up next on the list: Finish electrical and plumbing
 
Last edited:

aarcaris94

Active member
Update:

-Well after a short hiatus from van work projects I got back to work on finishing up most of the remaining list of the interior. I was on another pressured timeline as I was trying to get the van done for a two-week trip that turned into one week as I, unfortunately, injured my shoulder and had to schedule surgery for the second week of our vacation. Knowing I will most likely be recovering for quite some time, I had a strong motivation not to leave any outstanding part of the van. So I picked up where I had previously left off with more work ahead of me than I realized. I tried to take some progress photos as I went, but probably not enough.


Door Updates:

-First project to tackle was to finish out the door panels. I started by locating and installing the molle panel using threaded inserts giving a nice and solid mounting for the molle panel. We decided, for now, to only mount the first aid kit and the element fire extinguisher.

14991-albums1480-picture45725.jpg

14991-albums1480-picture45726.jpg

14991-albums1480-picture45727.jpg

-After the first door I started on the rear 40 door. We used the same rivnut threaded inserts to install a flip-up table which also doubled as a door for the top cubby. This table is made of ½” Baltic Birch that will eventually be laminated in Studio Teak. We may eventually add a drop-down table, but for now, we will leave it off and see if we really think we will need them.

14991-albums1480-picture45728.jpg

14991-albums1480-picture45729.jpg

14991-albums1480-picture45730.jpg

-After the table, I went back to the 60 doors and added a handle using the same solid mounting process as everything else.

14991-albums1480-picture45731.jpg


Electrical Updates:

-Next after getting a little more shoulder movement back after the initial injury I started on finishing out my remainder of lights. I used a waterproof LED strip tape light from superbrightled.com. Using the same one-button dimming modules I used in other areas I set up both the entry LED and the counter

14991-albums1480-picture45732.jpg

14991-albums1480-picture45733.jpg

-Next up were the toe kick lights. I followed the same process but decided to sodered my connections to the tape since I didn't have much room for clearance. I also had to add a few pieces of wood to create a mounting point for the tape. I still need to come back and laminate these pieces black, but they should blend in nicely once done. Now that the lights are in the toe kick shadow reveal becomes a little more intentional. Not necessary, but it is a nice touch that provides some low lights for when hanging out in the van at night.

14991-albums1480-picture45735.jpg

Toe Kick Test Install In Progress
14991-albums1480-picture45736.jpg

Toe Kick Install In Progress
14991-albums1480-picture45737.jpg

Toe Kick and All Lights On
14991-albums1480-picture45738.jpg

Just Toe Kick at 100% (With this harsher light you can see some of the manufacturing issues with the floor)
14991-albums1480-picture45739.jpg

Just New Lights
14991-albums1480-picture45740.jpg

Just New Lights
14991-albums1480-picture45741.jpg

All Lights
14991-albums1480-picture45742.jpg

Dimmed Lights​
 
Last edited:

Forum statistics

Threads
185,842
Messages
2,878,770
Members
225,393
Latest member
jgrillz94
Top