Louisd75
Adventurer
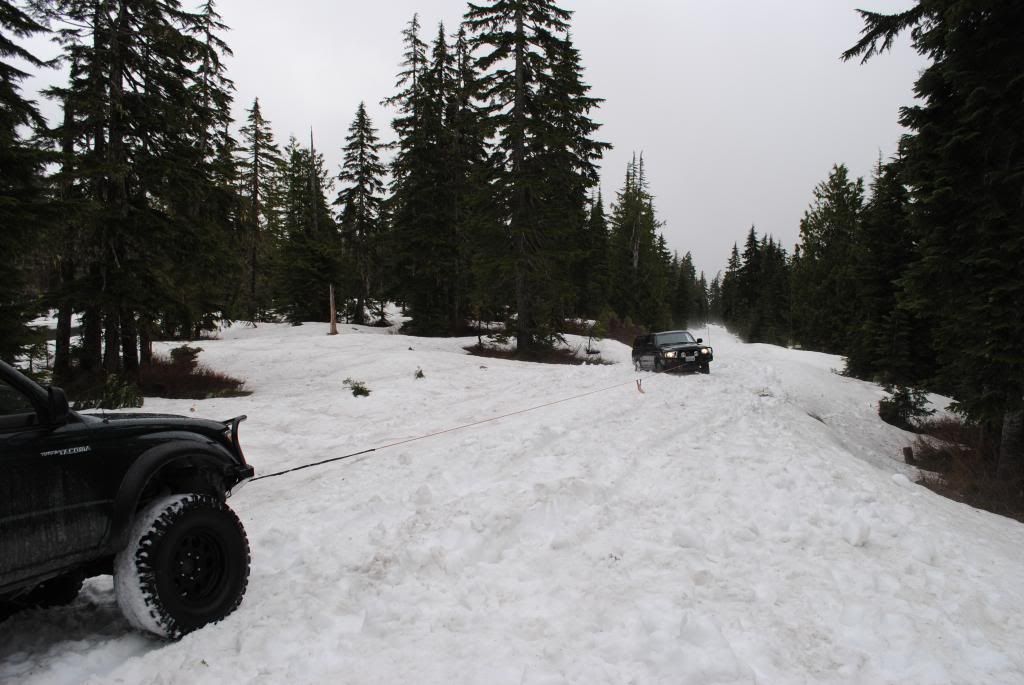
After my last snow run/winch fest I figured I should take a look at the end caps on the frame rails used to hold the front bumper. Lots of this:
resulted in this:

This was the front passenger side. I'm no expert, but I'm pretty sure it ain't supposed to look like that. Or this:

I remember when I originally installed the bumper way back when, the end cap was perfectly flat on the end. Oh well. Off we go. Not too many pictures of the actual process since I was working alone and trying to work quickly, I'll try to describe what I did as best as possible. I started by cutting off the old end caps flush with the frame and then grinding them out. There was a little bit of weld material from the end cap on the inboard side of the frame rail. I was able to chisel it out. The angle iron is going to be against this part of the frame.
Also, this was all a mistake. What I first should have done was measure the location of the stupid bolt hole before getting all gung ho with the cutoff wheel. I had some scrap angle iron, 3" x 3" and 1/4" thick. Probably a bit overkill, but it was free. I trimmed it so that one side of the angle became the new front part and the other side became a leg that ran down the inboard side of the frame. The dimensions of the front measured out at 2 3/4" tall and 1 3/4" wide. I drilled a hole approx 1/2" centered vertically and 20mm inboard based on my best guestimate of the hole location based on the pieces I'd cut off. I then tack welded a new 10mm fine pitch threaded nut on the backside. Here's an incredibly exciting photo from after the chips got done flying:

I ran the bolt through the hole and into a nut on the back side of the angle iron in order to hold the nut in place for a few tack welds. While that was cooling off, I drilled two holes on the inboard side of each frame rail with the largest drill bit that would fit in my cordless drill. These were for additional rosette welds into the sides of the angle iron. By then everything had cooled off and it was time to weld the new caps into position. When the smoke and spray paint settled I had two frame ends that looked like this:

The following morning, with time ticking on my engine hoist rental, I was back at it.

One person can take the bumper on and off, but it's a bit of work. The bumper supports didn't line up just right and it took a bit of colorful language and some persuasion with a hammer and prybar to get it back together. I manged to get everything back together with an hour left on my engine hoist rental. On a side note, if you need to hoist the ARB bumper, the "antennae mounts" on the top are almost directly over the center of gravity with a winch installed. I mounted eyebolts and lifted from them, it kept the bumper nice and level.
There's a big difference in bumper movement that I noticed in just driving around town. Beforehand there was lots of movement going over bumps. Now it's much more solid. I'd say that If you've got one of these trucks and have a winch up front then you should really get this mod done. If the endcap had failed I doubt that the bumper would have fallen off immediately. There are, afterall, two other bolts holding it on (three total per side). Hopefully I would have noticed something amiss before significant damage could occur.

resulted in this:
This was the front passenger side. I'm no expert, but I'm pretty sure it ain't supposed to look like that. Or this:
I remember when I originally installed the bumper way back when, the end cap was perfectly flat on the end. Oh well. Off we go. Not too many pictures of the actual process since I was working alone and trying to work quickly, I'll try to describe what I did as best as possible. I started by cutting off the old end caps flush with the frame and then grinding them out. There was a little bit of weld material from the end cap on the inboard side of the frame rail. I was able to chisel it out. The angle iron is going to be against this part of the frame.
Also, this was all a mistake. What I first should have done was measure the location of the stupid bolt hole before getting all gung ho with the cutoff wheel. I had some scrap angle iron, 3" x 3" and 1/4" thick. Probably a bit overkill, but it was free. I trimmed it so that one side of the angle became the new front part and the other side became a leg that ran down the inboard side of the frame. The dimensions of the front measured out at 2 3/4" tall and 1 3/4" wide. I drilled a hole approx 1/2" centered vertically and 20mm inboard based on my best guestimate of the hole location based on the pieces I'd cut off. I then tack welded a new 10mm fine pitch threaded nut on the backside. Here's an incredibly exciting photo from after the chips got done flying:
I ran the bolt through the hole and into a nut on the back side of the angle iron in order to hold the nut in place for a few tack welds. While that was cooling off, I drilled two holes on the inboard side of each frame rail with the largest drill bit that would fit in my cordless drill. These were for additional rosette welds into the sides of the angle iron. By then everything had cooled off and it was time to weld the new caps into position. When the smoke and spray paint settled I had two frame ends that looked like this:
The following morning, with time ticking on my engine hoist rental, I was back at it.
One person can take the bumper on and off, but it's a bit of work. The bumper supports didn't line up just right and it took a bit of colorful language and some persuasion with a hammer and prybar to get it back together. I manged to get everything back together with an hour left on my engine hoist rental. On a side note, if you need to hoist the ARB bumper, the "antennae mounts" on the top are almost directly over the center of gravity with a winch installed. I mounted eyebolts and lifted from them, it kept the bumper nice and level.
There's a big difference in bumper movement that I noticed in just driving around town. Beforehand there was lots of movement going over bumps. Now it's much more solid. I'd say that If you've got one of these trucks and have a winch up front then you should really get this mod done. If the endcap had failed I doubt that the bumper would have fallen off immediately. There are, afterall, two other bolts holding it on (three total per side). Hopefully I would have noticed something amiss before significant damage could occur.